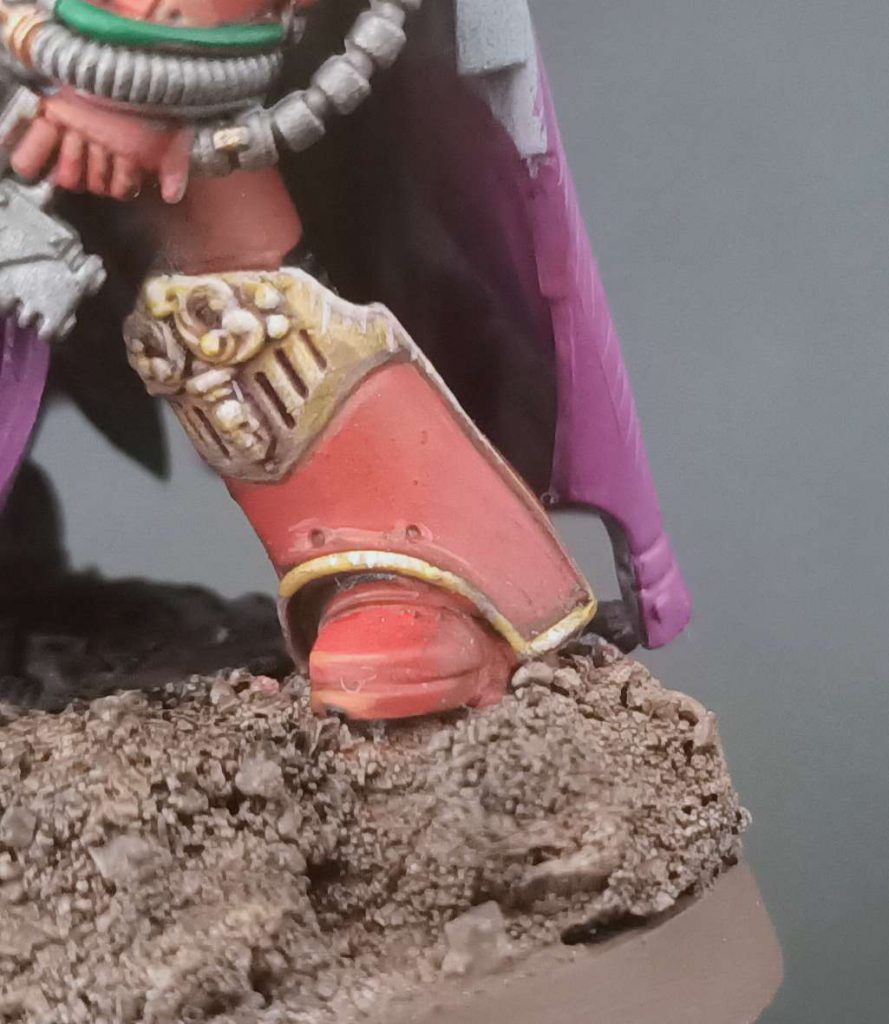
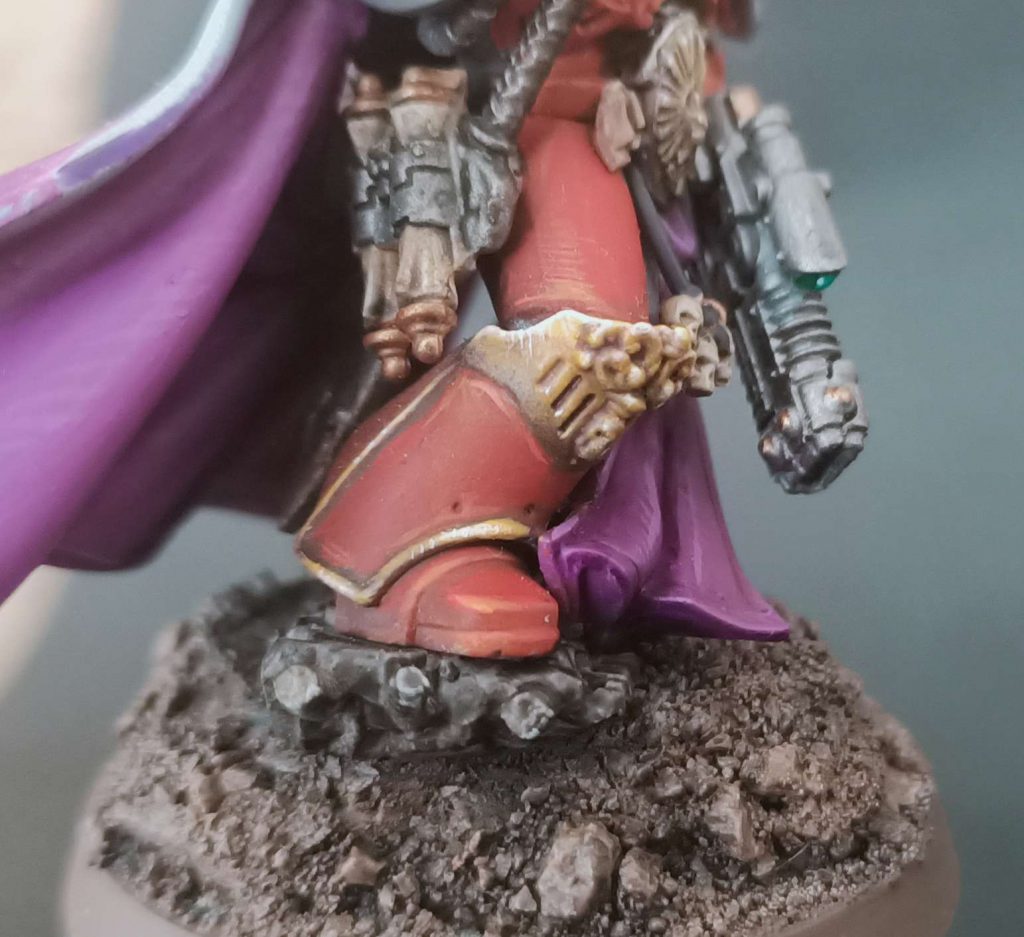
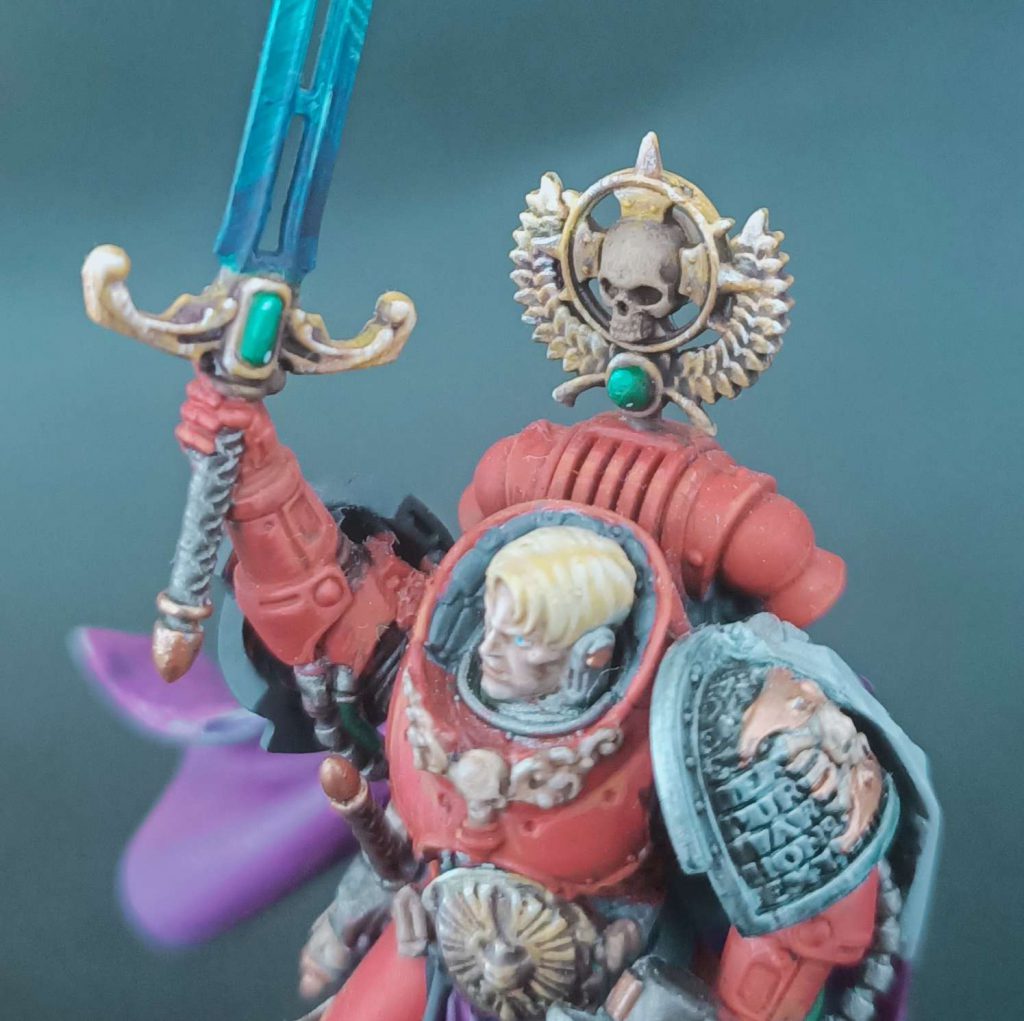
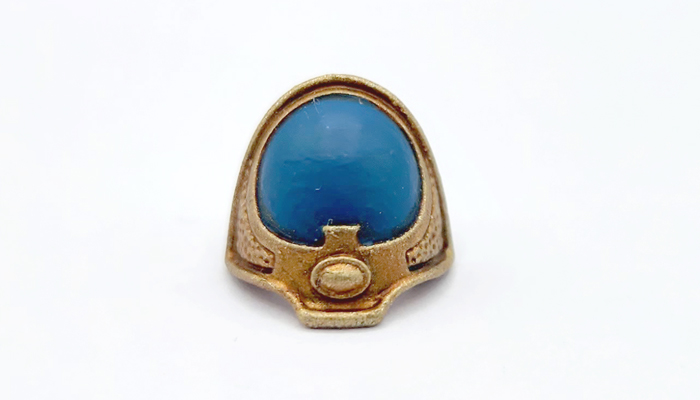
In our How to Paint Everything series we look at how to paint, well, everything, with a look at different styles and approaches from different artists. In this article we’re looking at how to paint gold trim on models.
Whether you’re speeding across the futuristic battlefields of the 41st millennium or knee-deep in the living forests of Ghur, there’s a good chance you’ve had an army which required painting a fair amount of gold trim. Painting gold trim can be one of the most daunting parts of the mini painting process, requiring a steady hand and a lot of patience.
Gold is a particularly common material in fantasy wargames and there are a number of different ways to tackle painting it. From just slathering on metallic paint to doing more complex non-metallic metal (NMM) effects, painting gold can range from incredibly easy to incredibly complex. And the tone of the gold itself matters as well – gold can range from incredibly warm, i.e. very red to very cold, making it a very versatile accent.
While painting delicate gold trim can be difficult, there are some tricks you can employ to make the process easier – even if you’re going for a complicated NMM approach.
Covered in this Article
- Five different methods for painting gold and gold trim, from cooler tones to warmer tones, and from easy to time-consuming.
- Two different ways to paint Non-Metallic Metal (NMM) gold.
- How to paint gold when it’s your primer color.
Bair's Method - Click to Expand
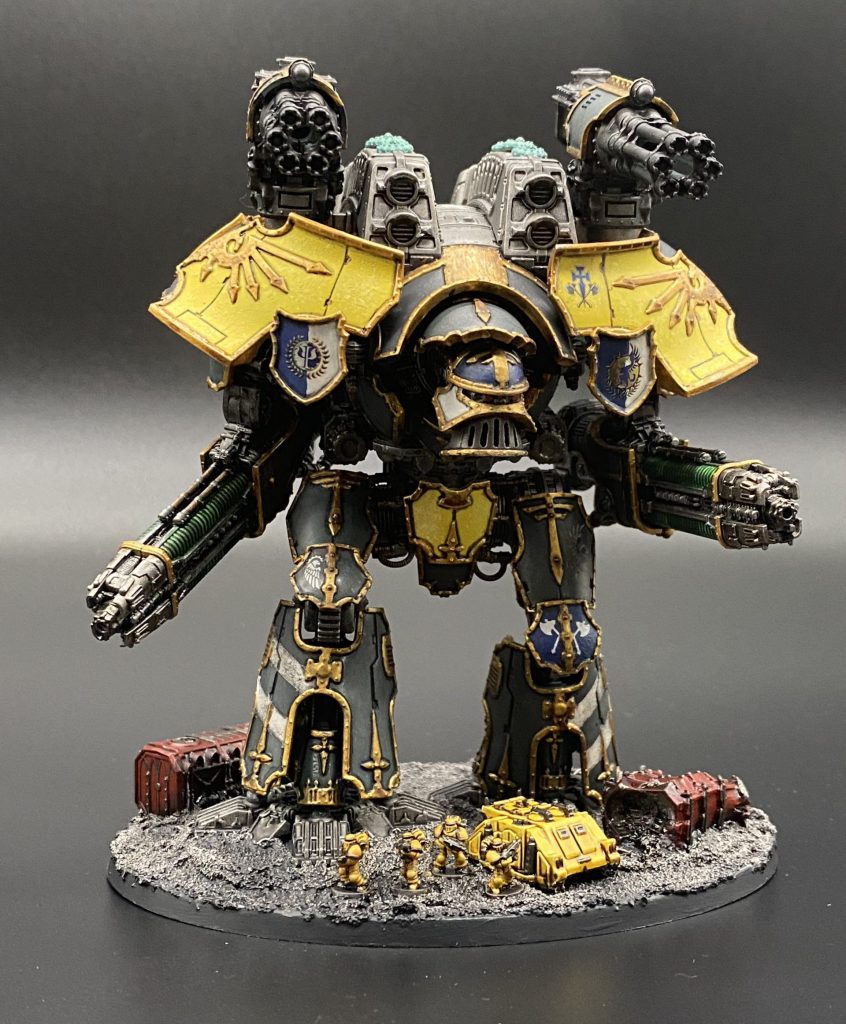
Gold trim on Gryphonicus Titans can be applied to anything.
Priming
Prime the miniature depending on what the panels will be. for the yellow I primed in Wraithbone and for the grey it’s Chaos Black.
Panels
Paint all of the panels their appropriate colours, you’ll likely spill over onto the trim while doing this so it’s easier to first. Also shade these along the edges with agrax or nuln oil the yellow or grey respectively.
Gold Trim
Once your panels are complete use a Size 1 or similar brush; the longer the bristles the easier this will be. Using the long sides of the brush paint along the trim with Retributor Armour. Do not use the tip of the brush for trim as it will take much longer and often lead to more mistakes and spillage onto the panels. If you’re not getting enough coverage with one coat on all areas then wait for it to fully dry and apply a second coat where some of the panel or other colours are showing through. Do not be tempted to try and paint on with a thicker amount of paint as you’ll cover up any rivets and take away from the shape of the trim in smaller areas.
After your gold is done carefully apply Agrax Earthshade over the panels with the same brush allowing it to run into, but not pool heavily, recessed portions. If it starts to pool then dry your brush and soak the pooled shade into the bristles.
Optional extra step: once your shade is completely dry then apply a very light drybrush of Liberator Gold to add back some shine and high light to the trim. This is only necessary for the most pronounced parts such as the shoulder pads.
Colin Ward's Cold Gold Method - Click to Expand
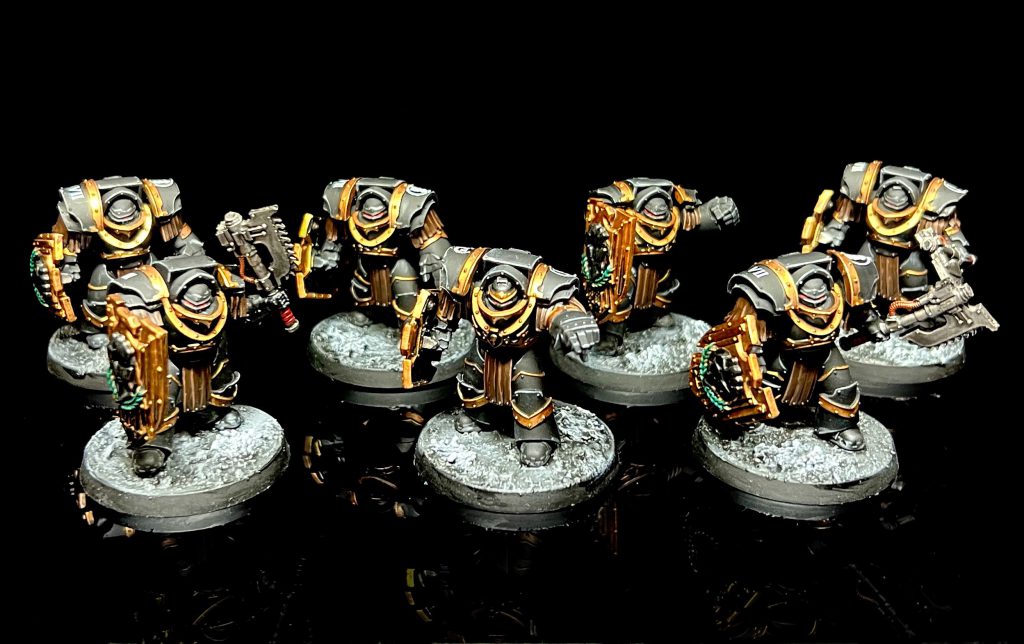
One of the things I love about painting gold is how much depth you can achieve using different washes and temperatures of golds and their highlights. It’s such a versatile metal and the tone of the gold can serve to complement or contrast a paint scheme to make it really stand out. Below I have a few examples of different gold trim schemes using Scale75 paints. I only use Scale75 paints for my golds, as I believe they are hands-down the best gold paints on the market.
Cold Gold Trim (Sons of Horus)
Cold gold works really well to compliment a cold tone color scheme such as Sons of Horus. I like to use it when I want the gold to integrate into the paint scheme without overpowering the rest of the elements.
- Basecoat – Scale75 Decayed Metal
- Highlight – Scale75 Necro Gold
- Wash – I use an oil wash here, though you can also use GW Druchi Violet Shade.
- Highlight – Scale75 Necro Gold
- Highlight – Scale75 Citrine Alchemy
- AK Satin Varnish
Eric Beer's Non-Metal Metallics Method - click to expand
Non-metallic metal (NMM) has a reputation for looking fantastic but being slow and difficult to paint. I’ll demonstrate through this tutorial that you can achieve good results (perhaps not competition winning, but certainly nice) with a modicum of effort!
Several methods can produce a good NMM result. The spectacular, eye tricking results you see winning Golden Demons are generally accomplished with wet blending, but my patented “Lazy Metallic Metal” (LMM) focuses primarily on glazing/rough highlights and looks great from tabletop distance.
Supplies You’ll Need
- Wet palette (you have one right?)
- Vallejo Black
- Dryad Bark
- Mournfang Brown
- XV-88
- Yriel Yellow
- Pallid Wych Flesh
- White Artist Ink
I’ll demonstrate two examples of my technique on differently shaped surfaces to give a sense of how to approach LMM.
Example 1: Autocannon Ejector Port
In general, NMM is about contrast. To convincingly sell the effect, think about how light would bounce off of an object and slowly build up to a pure white highlight at the hottest point. As an aid, it can be useful to take a picture of the area with a light coming from the direction you’d like to mimic to use as reference. I’ve base coated the port black, positioned the light directly above the mini, and taken a reference photo. Note the spots on the skull that reflect the most light.
Now, all we have to do is build up the color towards white, adding in some color along the way. The first highlight I used is a 50/50 mix of Vallejo Black and Dryad Bark, focusing on the “top” of the skull.
Next, pure Dryad Bark:
Now a 50/50 mix of Dryad Bark and Mournfang Brown. With each successive highlight it is important to focus on a smaller area as we narrow in on the hotspot where pure white is reflected.
There was a pure Mournfang Brown step in here, but I lost the image.
Mournfang Brown/XV-88 Mix:
XV-88/Yriel Yellow:
Yriel Yellow/Pallid Wych Flesh:
Pure White. Make sure to focus this just on the hard edges or the very small point where pure white is reflected!
That’s it! With that done, you have a passable NMM effect. This is what my wet palette looked like after painting this:
Below, you can find some reference steps for a slightly more complex shape, the pauldron from a Chaos Space Marine:
As you can see, the blending is quite rough here. Up close you are able to see distinct colors and layer lines but, from a few feet away, it all blends together and you end up with a nice effect. I hope this has been helpful and demonstrated that NMM doesn’t have to be intimidating or out of reach. With some simple glazing and highlighting you can achieve a good result without spending hundreds of hours.
If you want to see more of Mr. Beers’ beautiful little spacemans, follow him on Instagram at @alphericus
Musterkrux's Non-Metallic Metals Method - Click to Expand
So, you enjoy torturing yourself, friend? NMM silver/metal not enough for you? Need to really suffer? Well, NMM gold is here to help you hate yourself in new and appalling ways. Let me be your guide to the nightmare realm: I have such sights to show you…
To start, it’s probably worth covering a few of the core concepts of NMM painting that you need to understand in order to start building up a convincing effect:
1. You need to define a consistent light source. So much of communicating the play of light on metal comes from how it reflects and looks from some angles. Each component of the model that you’re painting in NMM *should* all commuicate a shared light source (ie. don’t have one shoulder reflecting incoming light from the left and the other shoulder reflecting from the right…unless you know exactly what you’re doing). This ties into another concept called OSL (Object Source Lighting) but we won’t unpack that today.
2. Selling NMM as a convincing effect usually means transitioning from black (or near-black) shadows through to pure white points of reflection. There’s some scientific explanation for it that involves explaining that highly reflective curved surfaces don’t *do* diffuse reflection but it’s been a long time since I studied optics so I won’t pretend that most of my answer here would be rehashing whatever you can read on Wikipedia. So, the key point here is that your relfective surfaces should have both a near-black shadow area and a white point to indicate light reflected straight into the viewer’s eyes. If you aren’t bold with your start and end point for your transitions you’re not going to end up with a nice NMM effect.
NMM Gold Recipe:
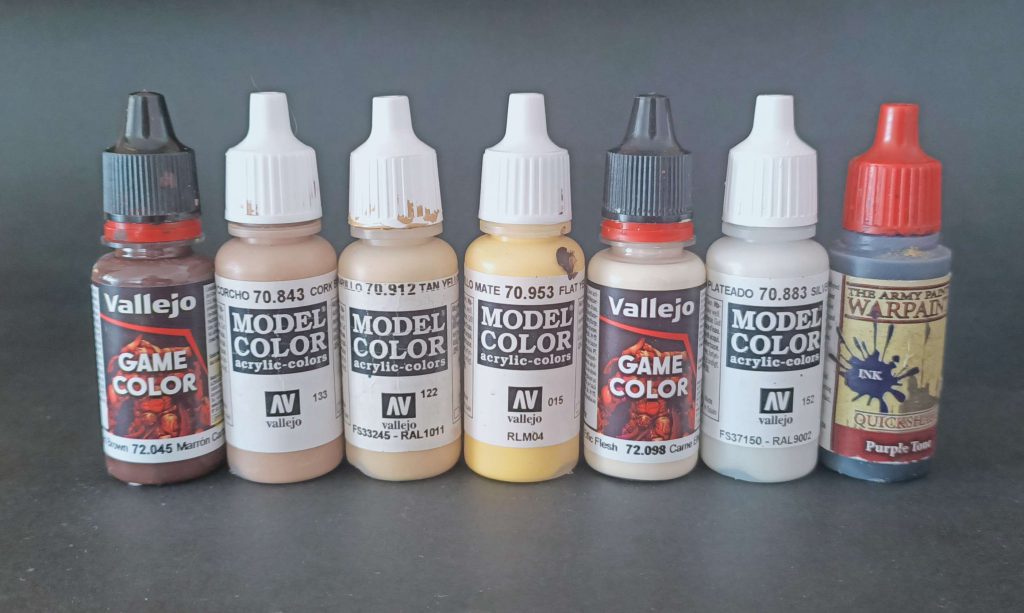
1. The component (or element) you are trying to paint in NMM should start at black (undercoat) or near-black. For gold NMM you can get away with a dark brown (in my example, Vallejo’s 72.045 Charred Brown) if you’re prepared to hit it with a black wash or glaze later. This is also about the time you should have committed to a light source location/orientation.
2. Cover 95% of the element with a dark brown (72.045 or GW’s Doombull Brown), leaving the intended shadow areas (those furthest away or occluded from the light source by other elements of the model) black.
3. Start your blend towards yellow by mixing a 50-50 blend of your dark brown and a mid-tone brown (Vallejo 70.843, Cork Brown, or GW’s Balor Brown), covering about 80% of the element, again favoring the light source and leaving the occluded areas darker tones. This is probably where you’d need to consider whether you’re going to thin your paints done a little more than usual and go for transparency rather than pushing for coverage, you want the other, dark tones to show through to some extent as it gives you a much nicer gradient or transition from one tone to the next.
4. You can either move to a 25-75 blend of dark and mid-tone brown or just go straight to pure mid-tone brown here, just depends on how many layers you want to do. Protip: The more you can do without pulling your hair out the better the final NMM effect will look but this is a time consuming process. Don’t try and pull this off on a horce army, unless you’re insane (noting that only the insane have strength enough to prosper…).
5. As you change your blends you’ll eventually want to start moving into light browns/creams. I use Vallejo’s Tan Yelloy (70.912) but GW’s ‘Flayed One Flesh’ is also fine. This layer might be at somethinglike 40-50% coverage depending on how you’re progressing.
6. Blend through cream and into yellow. Here you can decide if you want a ‘warm’ (aka red) gold or more of a cold one. If you want warm, you’d start blending in an orange-brown of sorts (Vallejo Gold Yellow 72.007, Bronze Brown 72.036 or whatever is to GW’s classic Ta’u Sept Ochre, now Tau Light Ochre) or just straight into yellow. In my case, I like Vallejo’s Flat Yellow (70.953) for colder Golds) but most any yellow works. Usually, yellow has a weaker pigment that other colours, particularly browns, so you might need to do multiple thin coats to build up a solid transition from one colour to the next. If you look at my examples, you’ll see that the identifiably yellow areas represent a small fraction of the total gold element. This is fine.
7. Start blending into your best ‘cream white’. I don’t like pure white as a blend these days, particularly for NMM Gold, so find something that looks like ‘off-white’ (In my case: 72.098 Elfic Flesh but Pallid Wych Flesh should also work). As above, these colours should be a small fraction of the element and almost limited to ‘edge highlighting’ levels of coverage. You can also roll back and use this edge highlighting to capture any areas that might catch a light reflection independent of their surrounding areas. This is part of the trick of NMM gold, it’s not a smooth transition across the element, there are going to be nubbins, protrusions and other sphere and sphere-adjacent protuberances that catch the light in their own way. In my examples, you can see how the bottom of the vents in the Marine’s knee-pads are catching some light and given a bit of reflection to them.
8. Very sparingly, add white dots to points of brilliant reflection on the model. If you’re cheeky, like me, you can also add very small, parallel lines of white (or the off-white above) to further sell the metal reflections. Less is more with white in NMM, I find. Too much nd you make the model look unfinished or unconvincing.
9. You can add some watered down purple wash (or even a Constrast paint like Luxion Purple) into the darker recesses to help sell that this is gold and not just ‘shiny yellow metal’. Part of this is colour theory, the blue/red in purple helps contrast with the other colours in play (yellow and brown). Finally, if you think you haven’t quite hit the transition from white to black, consider using a black wash (or a very carefully thinned and applied contrast black, Black Templars by preference, Black Legion contrast is way too strong to use as a glaze/wash). If need be, touch up your pure whites and you’re done!

TheChirurgeon's Method - click to expand
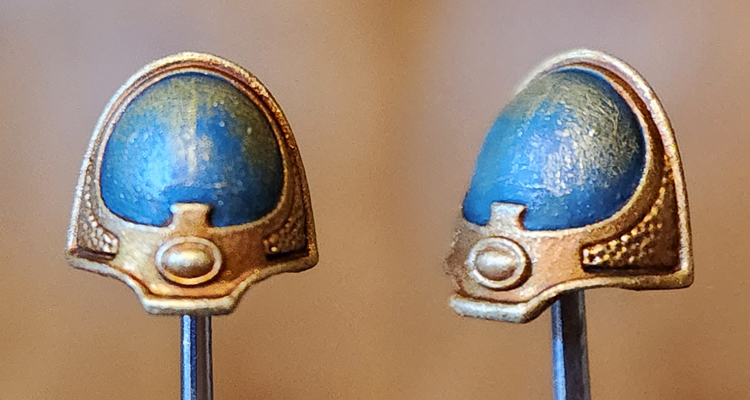
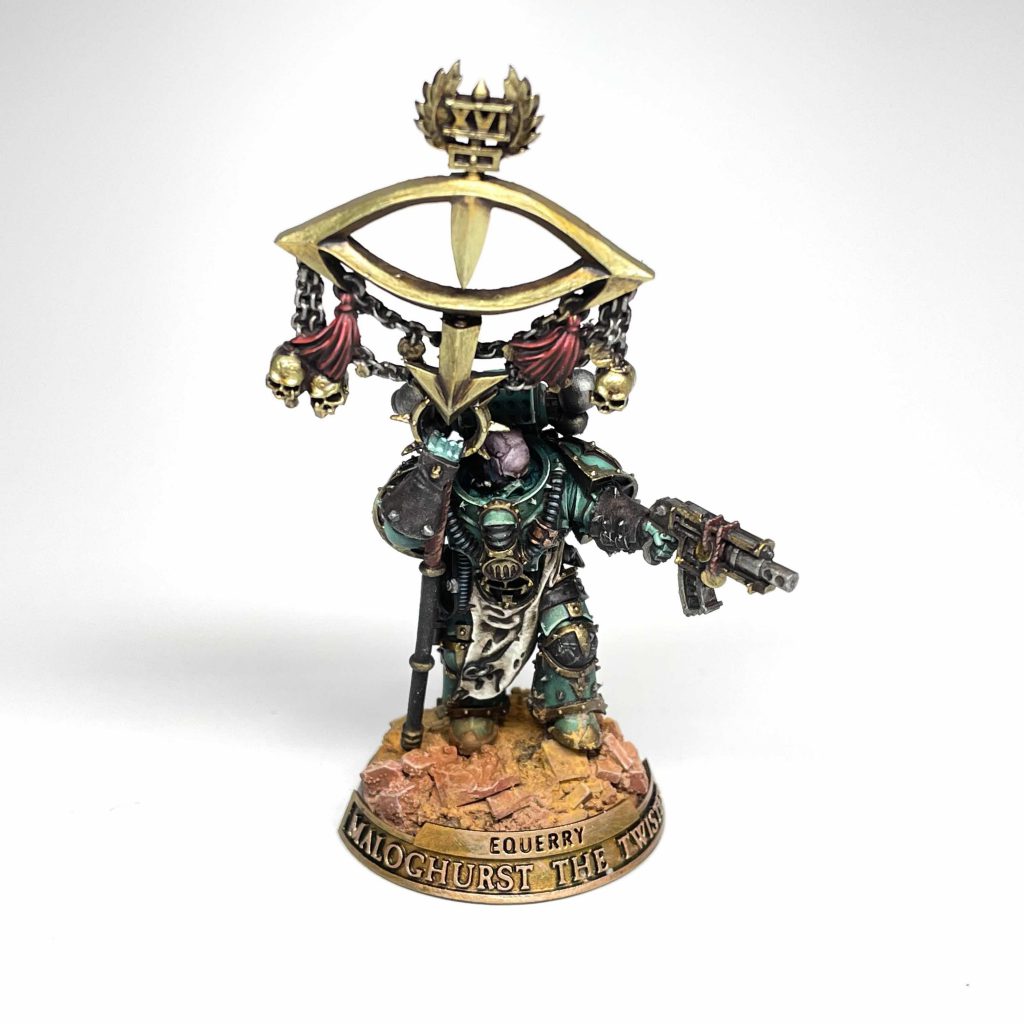
At least half of my time spent painting gold trim has been in the service of painting my Thousand Sons, who have a ton of small details and gold trim ringing every part of their blue armor. There are two ways to go about painting gold trim on Thousand Sons, and I’m going to detail both here, though you can find more on the process (and how to paint the rest of the model) in our guide to painting Thousand Sons.
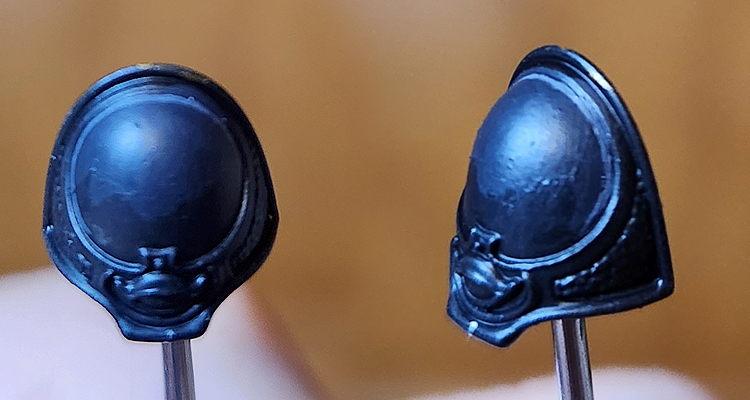
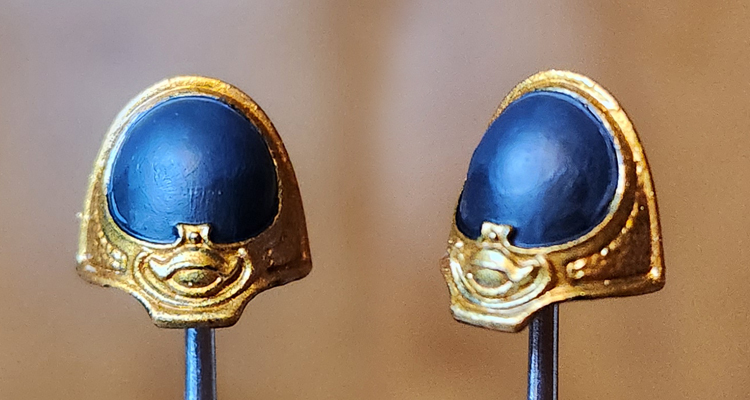
Method 1: Priming the Model Gold (the GW Method)
There’s a certain train of thought that it’s easier to paint models like Thousand Sons and Chaos Space Marines with lots of trim if you prime them the color of the trim, then fill in the armor colors later. This idea has particular weight if you’re going to be painting the armor a flat color, and aren’t liable to hit the trim and require a lot of clean-up.
Step 1: Prime the model gold
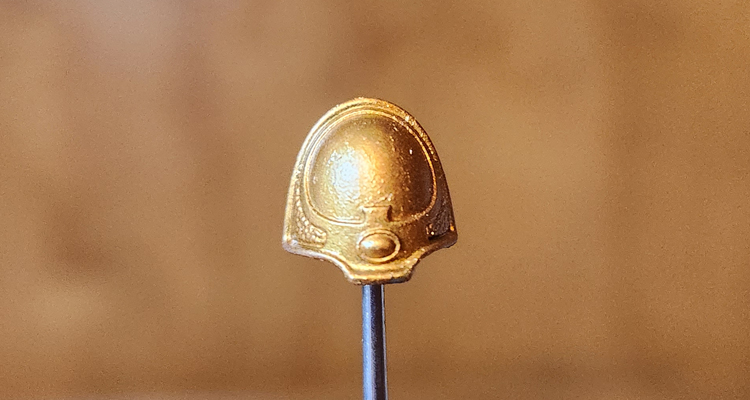
The easiest part of this. Prime the model whatever gold you’re looking to use. In this case I used GW’s Retributor Armour. Clean up any spots that need a bit of extra gold.
Step 2: Wash the gold
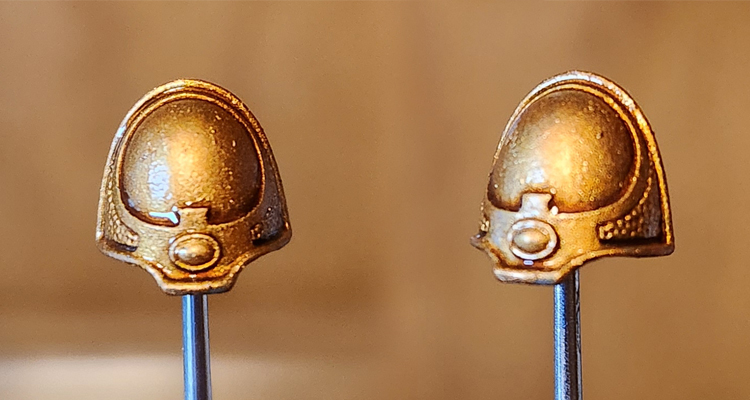
The next step is applying a wash to the gold. This will shade the gold, but also tone down some of the shininess, giving it a more burnished look. We can bring that back up later, but for now we want to create dark recesses in the gold parts of the model. For the GW’s Thousand Sons studio scheme they use Reikland Fleshshade here, though I tend to use Agrax Earthshade, as you’ll see in the example below. Reikland gives the gold a redder, warmer appearance.
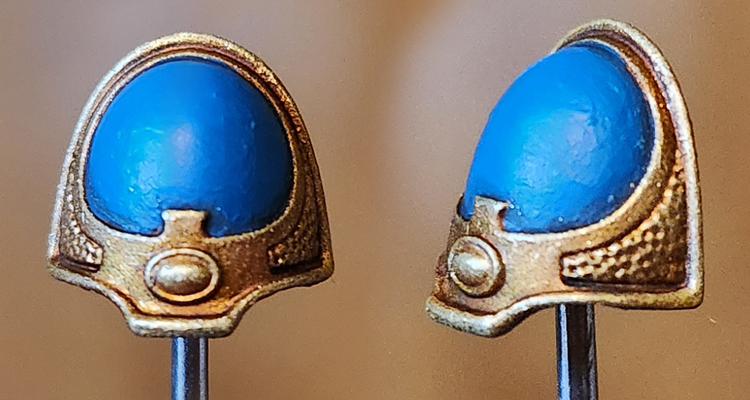
Step 3: Block in the Panel Color
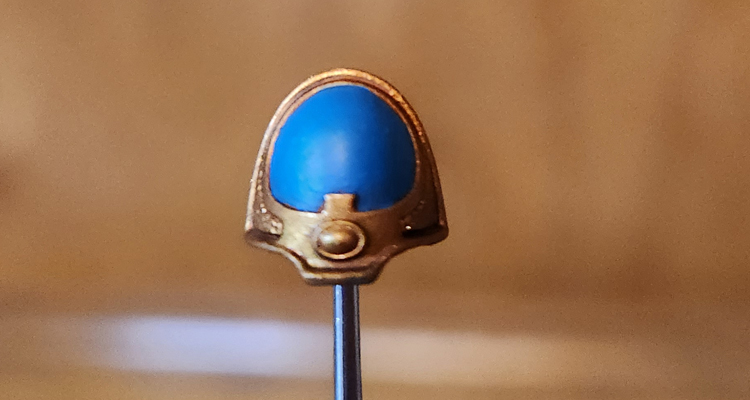
Next comes blocking in the panel color. You don’t have to be super-precise here but make sure you don’t hit your trim – you can leave some small gaps between the panel and trim if you want, as we’re going to color those in during the next step. For the GW scheme, the color to use here is Thousand Sons Blue.
Step 4: Wash the Panels
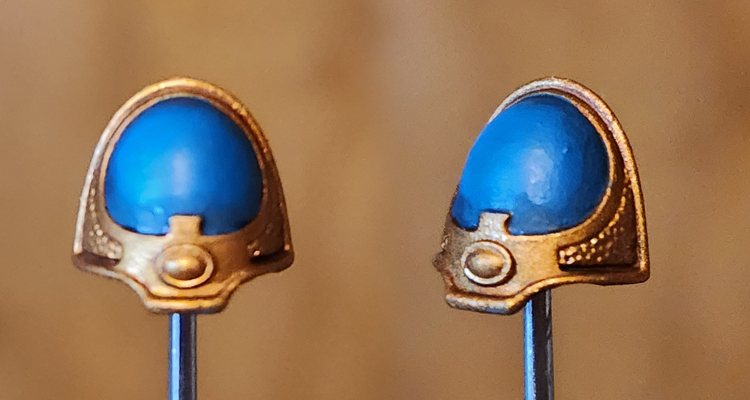
Now it’s time to wash the panels. We want to use a black shade for this – the GW method uses Nuln Oil – to create dark, black recesses between the armor panels and the gold trim. You can go over a bit here, but the important thing is that your wash pools in the edge between trim and armor panel.
Step 5: Drybrush the Trim
In this next step we’re going to drybrush the trim with a lighter gold. The GW method uses Sigmarite but I used Liberator Gold here, and those are basically the same color, just with different consistencies. The goal here is to catch the raised edges – you can go over the panel color as you do this, just make sure you’re avoiding the dark recesses we just painted.
Step 6: Finish the panels
After that’s done, go back and recolor the armor panels, making sure to leave your dark lines between the panels and the trim. After this you’ll want to add details like transfers or painting the gemstone, and if you’re careful, you can add some highlights to the armor panels. Though if you’re planning to do more gradient work with the armor panels, I’d suggest painting the trim second.
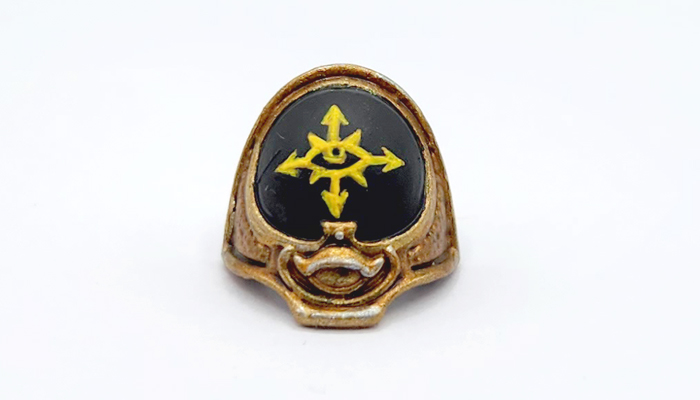
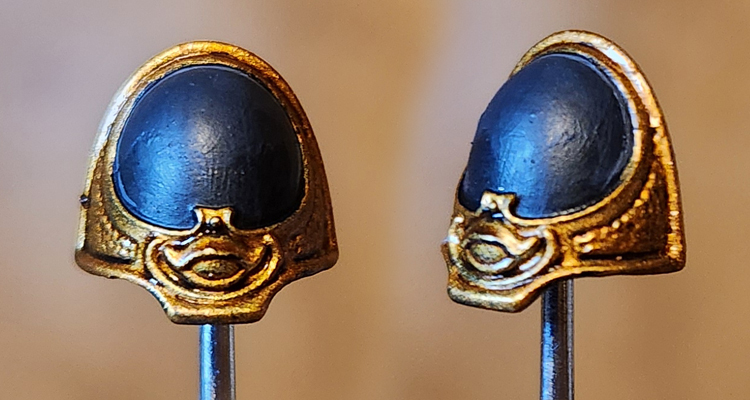
Method 2: Priming the Model Any Other Color
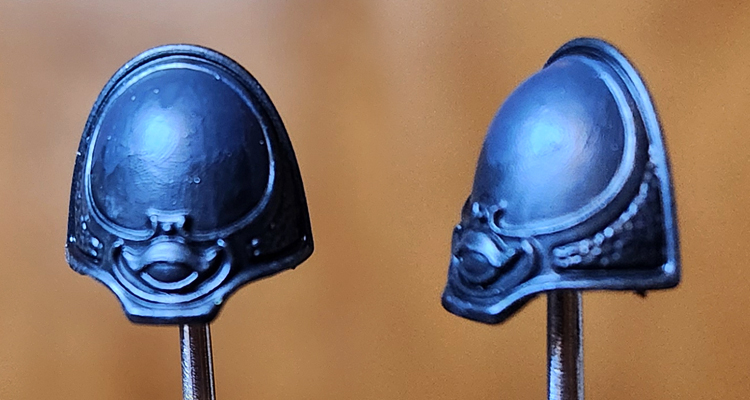
If you’re looking to do more involved work with the armor panels, like giving them a gradient, then you’ll want to paint the armor first and do the trim later. In that case, prime the model whatever color works best for your basecoat.
Step 1: Gradients
In this example I’m painting a Rubric Marine shoulder pad for the Black Legion. I tend to do some subtle gradients here, mixing up from Abaddon Black to Corvus Black, which is a more like a cool dark gray. If I do this for the whole model, it’ll be done quickly with a larger brush, and I won’t worry about the trim at that stage, making it ideal to come back and paint the trim later. In this case I usually do four mixes/shades: Pure Abaddon Black, 2:1 Abaddon:Corvus, 1:2 Abaddon:Corvus, and pure Corvus.
Step 2: Panel Lining
I tend to do panel lining highlights before I do my gold trim. This gives me room to clean things up before the trim goes down. For black armor I do a thin line of Mechanicus Standard Grey. If you’re going to wash your trim around the edges or paint the recesses, you’d do it here as well.
Step 3: Trim Basecoat
Time to paint the trim. For this trim I’m using GW’s Retributor Armour. If you want a darker gold there are ways to get there with shades and washes, or you can start with something more brassy, like Screaming Bell. This is also where you want a steady hand – you want to paint the trim without touching your armor panels. Take your time here and use multiple thin coats.
Step 4: Wash the Trim
Next we need to wash the trim. This will give it a deeper, burnished look and darken the recesses. This both gives the trim definition and also will make the highlights pop that much more. For this example I’ve used Agrax Earthshade.
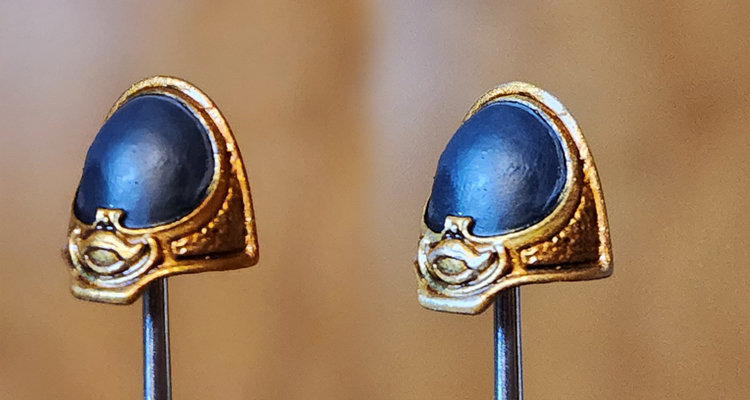
Step 5: Highlights
The final step is three stages of highlights: First I hit raised areas that are larger spots with the base trim color, in this case Retributor Gold. You can most easily tell where I did this on the upper eyelid on the lefthand side shoulder pad – I don’t want a blotch of Agrax wash sitting there so I came back and painted the whole lid.
Stage 2 is edge highlighting> First I hit the edges with Liberator Gold and then I hit the very tops and corners with a silver, in this case Runefang Steel. This gives the gold a very shiny look and really makes the edges pop.
Have any questions or feedback? Drop us a note in the comments below or email us at contact@goonhammer.com.

