
There are many things people love about the hobby of miniature painting and wargaming, but painting their model’s tiny faces is often not one of them. I love painting miniature faces! I think having bare heads (even in Astartes armies where it makes 0 sense for them to be un-helmed) adds so much depth, character, and life to my army. That said, I know it is not everyone’s favorite subject and there are definitely challenges to overcome when doing it.

This article will be the first of a two part series on this topic; namely, painting your little dude/dudette/@%#^#$@’s face! This article will be a list of general tips and tricks for making the face painting process a bit easier to try out for the first time or just get better at, and the second will be painting a face itself in a step by step guide. The overall goal with these articles is to make painting faces more approachable, give you some tips to get past the fear, and let you start enjoying painting your miniature’s faces a bit more.
Without any further ado, let’s get into it.
It’s Just Paint
My first piece of advice to you is that it’s just paint; you literally cannot mess it up beyond repair. Don’t be afraid of it! Your first few attempts may not end up looking the way you’d like, but that’s okay! You’re learning, and everyone starts somewhere. Worst case scenario, just take some isopropyl alcohol on a cotton swab or makeup sponge to the face and try it again, but I encourage you not to do that. A painted model is always better than an unpainted one, and a finished army painted to an okay standard will always look better than a semi-painted army where the couple painted models are world class. Our goal here is improvement, not perfection. For marine players at least, I know you probably have lots of spare heads kicking around that you can use for practice; who cares if you mess one up?
Get Comfortable
Good posture and good lighting are critical for you to improve your painting, both in general and with faces in particular. Invest in a good desk chair and a good lamp, whatever that means to you. You don’t need to break the bank, but you shouldn’t be sitting on a stool and painting on a hefty tote. Sit as straight up as you can, or lean back in a position that is comfortable to you. Try not to slump over your painting table too much, and definitely don’t hunch all the way over. Your desk and chair should work together to allow you a comfortable and healthy posture.
For your light, make sure it is bright enough to illuminate your figure fully and make sure you are not straining your eyes to see. I like an LED work lamp, preferably in a bar pattern. You can find these anywhere online or your local office supply or hobby store. Worst case scenario, get yourself a pair of drafting lamps from IKEA or similar and get yourself some white LED bulbs, 5000K; those were my workhorse lamps for a long time.
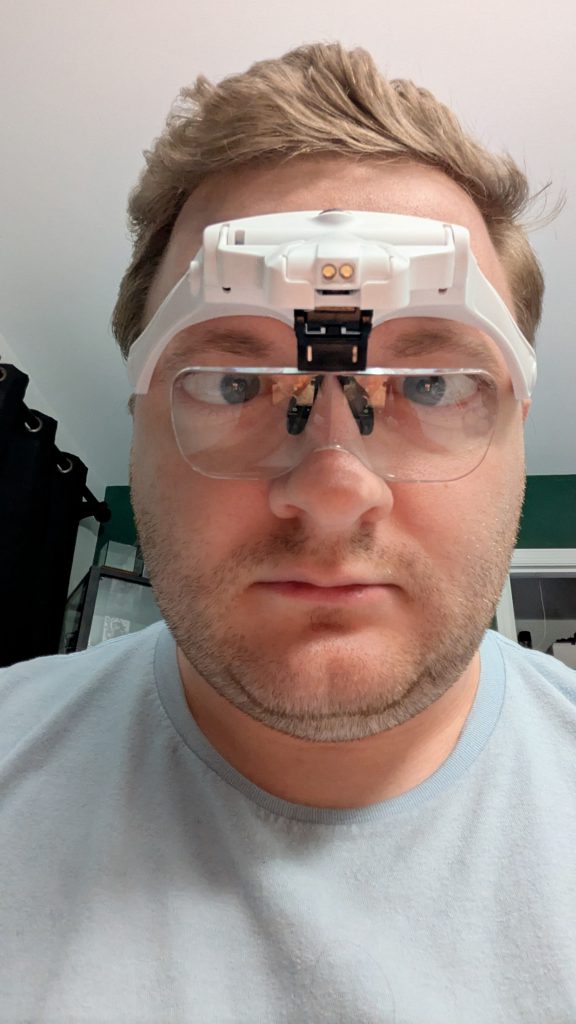
Magnifiers
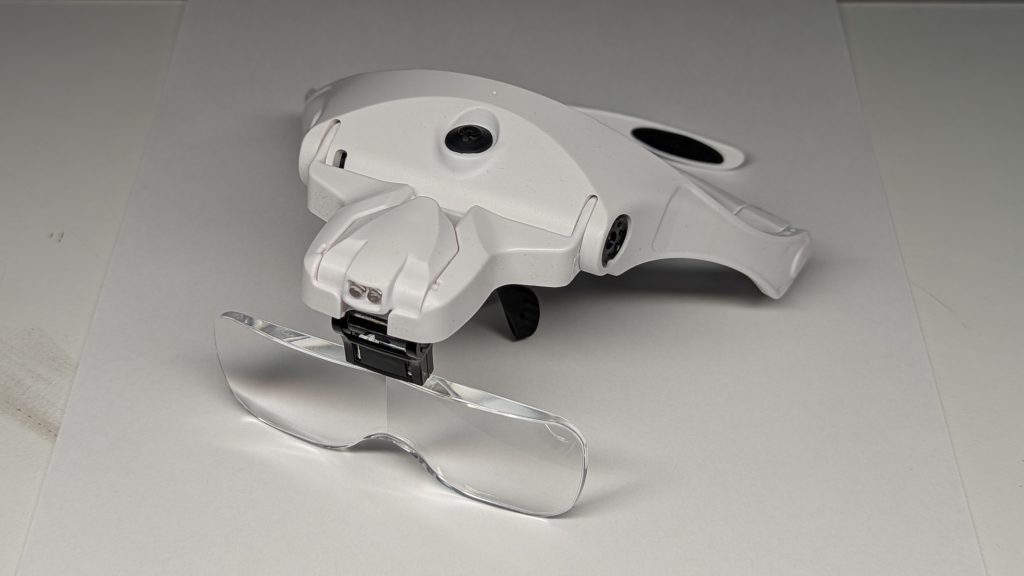
Speaking of not straining your eyes, you should invest in a cheap pair of magnifying glasses. Yes, I’m talking sexy goggs. They help immensely, especially when you’re trying to paint a face smaller than your pinky thumbnail. I started using them just for small details like faces (seriously, do you know how small some of those Kingdom Death faces are?!), but now I use them almost any time I’m painting anything more than a base coat. As it turns out, you can paint something better if you can see it better; funny how that works, isn’t it?
Duster Brush
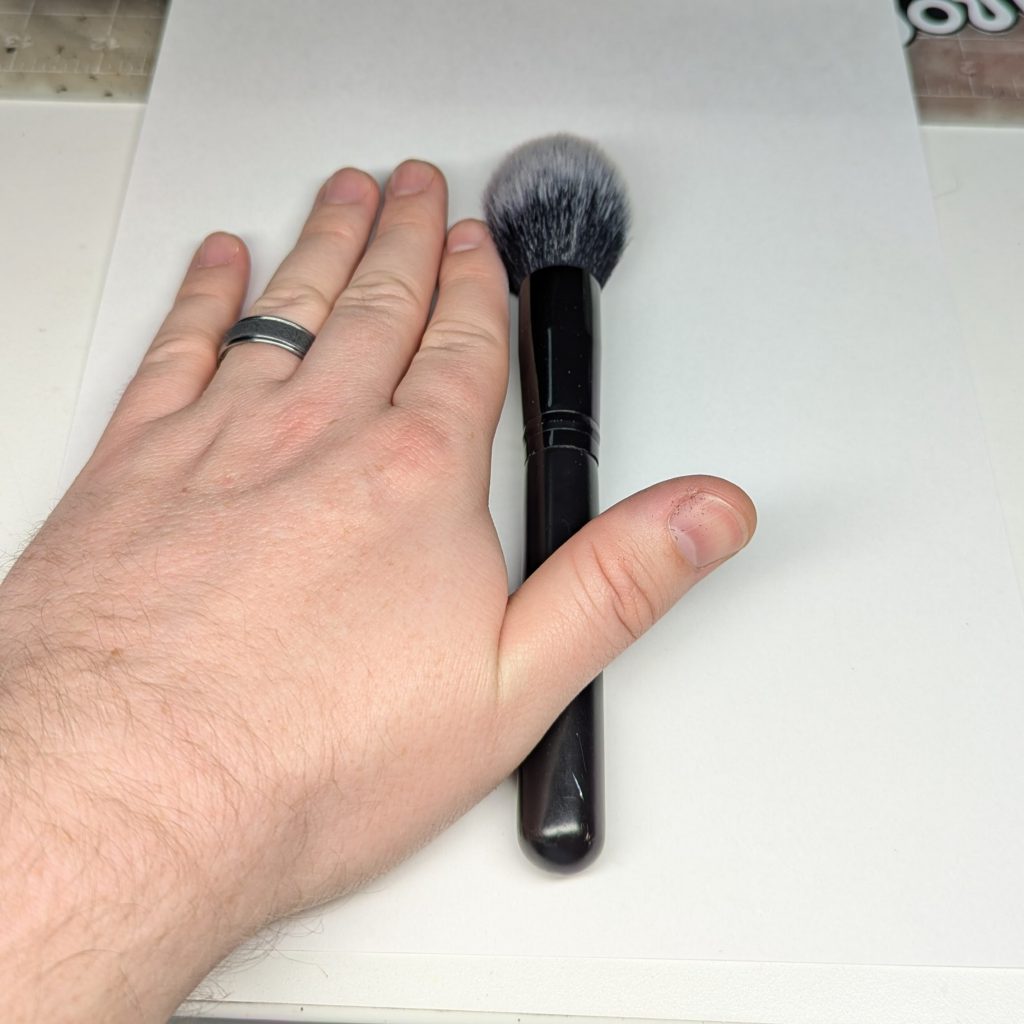
It is always a good idea to dust your models before you sit down to paint, but that goes double when you’re going to paint a face. Even small particles left on the surface of your model will make it impossible to get a smooth finish in your figure, and over time will create texture with the layers you will be adding. This is one of the few things that can’t be fixed without starting over or at the very least setting you way back. I just have an oversized makeup brush that I give my models a pass over with before I start painting. If you buy a set from any online retailer or store for dry brushing, you will likely have one floating around somewhere. Trust me; it takes like two seconds, and it can save you a world of pain later.
Brushes in General
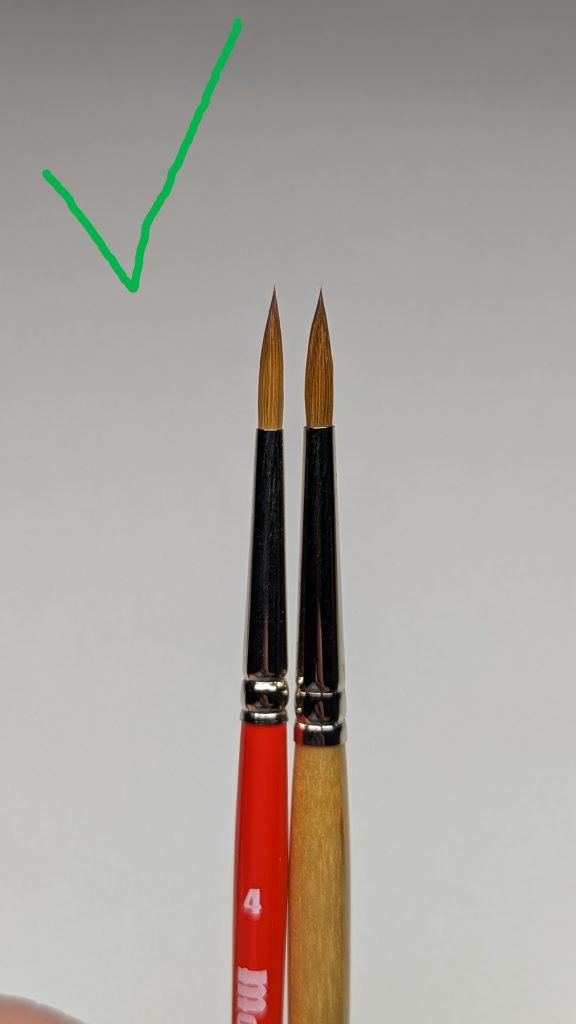
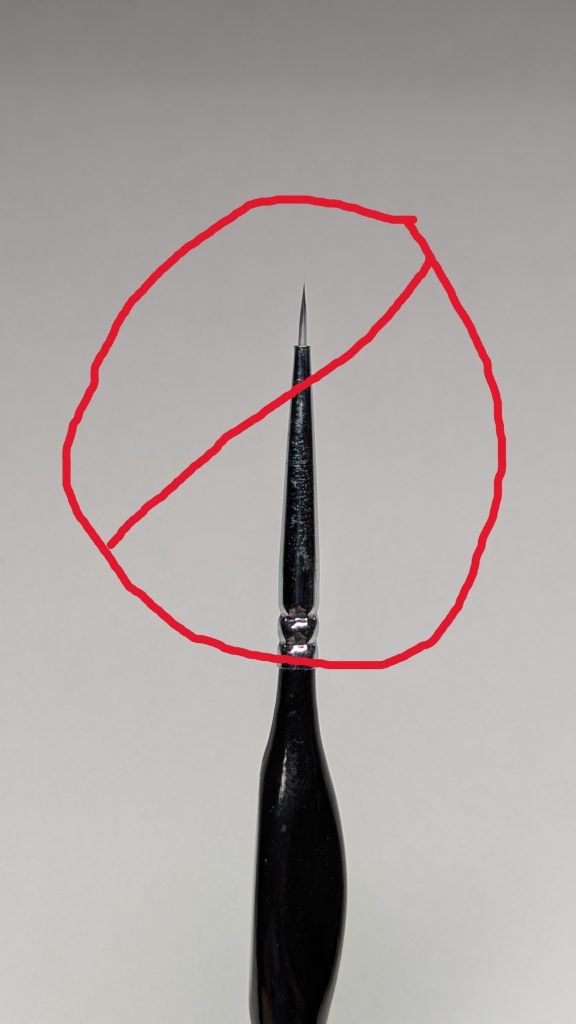
Now, let’s talk about the big one; the brush. I could write an entire article on this (and might), but I’ll keep it to the basics. You will want a Kolinksy sable (or similar natural hair) brush. There are dozens of brands out there and you may not know where to start. My recommendation for US painters, a Dick Blick Masterstroke Red Sable short-handled round, size 2-3. For EU/outside US painters, maybe try an Element Games Kolinksy Regiment brush. I recommend these because they are readily available and relatively cheap (10-13 currency) for what you are getting so you don’t need to worry about “messing up” your fancy brush while you’re learning a new technique. If you have a brand you prefer to try instead, knock yourself out. What you are essentially looking for is something with a sharp point and a large belly (insert average wargamer joke here.) You do not want a teeny tiny brush with 3 bristles on it that are 2 cm long. The reason for this is that you do not want the paint drying out in your brush before you go from your palette to your model. If there is nowhere for your brush to store moisture, that is what’s going to happen. Then when you go to dot the eye, nothing is going to happen. Then you’ll try to dot it again…and again…and again…and then the entire contents of the brush will spooge out the end of your brush and gum up your model’s eye socket and you’re going to have a bad time. See the below pic for an example of what you’re looking for, and what you should avoid. Same advice applies for free handing, but that’s a different topic for another day.
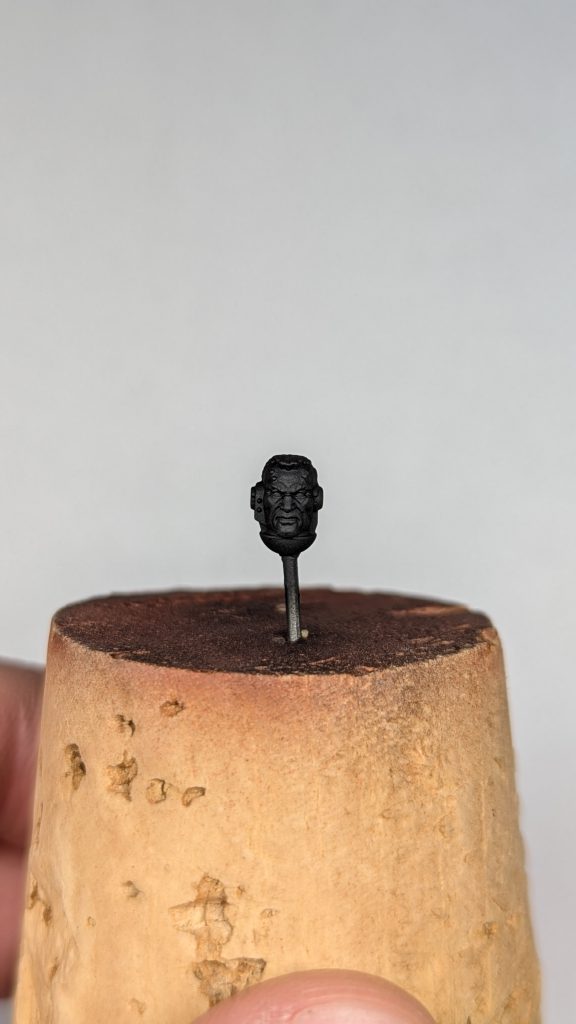
Zenith Highlight/Pre-shade
Now that we’ve gotten all the gear acquisition out of the way, let’s get into the meat and potatoes of actual techniques. You have probably heard of the zenithal highlight before. If not, you’ve probably heard of a pre-shade. All these terms mean is creating a light map on your figure before you go to paint. “Zenithal” simply refers to a highlight made by the sun at its “zenith” in the sky, or highest/strongest point, and how that light would affect your miniature. The black/white zenith is the classic, but you can do it with any color really. I would still recommend something light for the actual light though, as it will make it easier to work with the lighter skin tones that seem very common. Even if you are working on a darker skin tone, the pre-shade will help you understand where the light is on your figure’s face and help you see more detail that a flat base coat might let you miss.
You can do this with a rattle can or drybrush, but your best/smoothest results will be with an airbrush. I am a firm believer in the cult of the airbrush, but that is also another rant for another day.
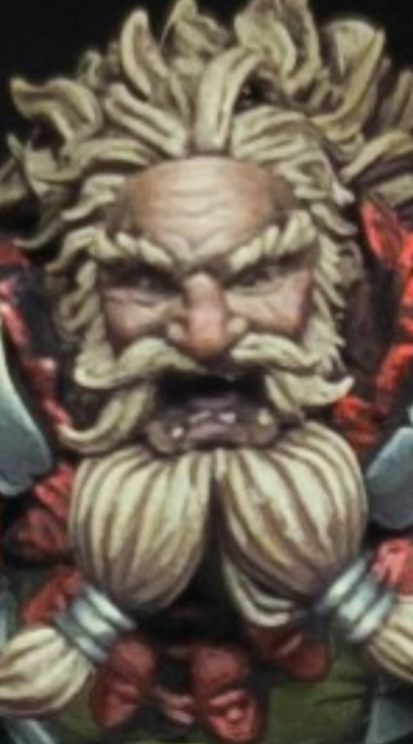
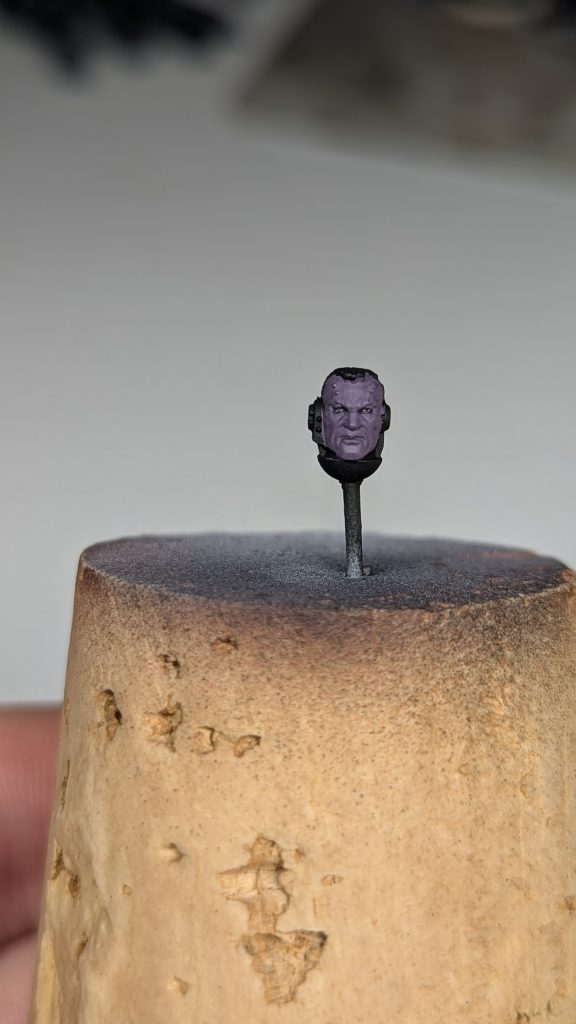
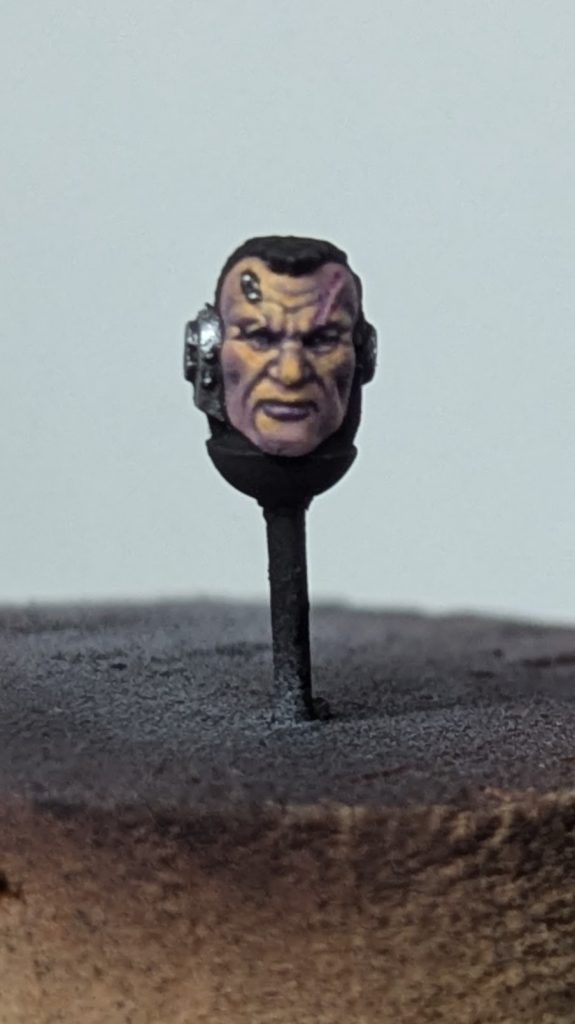
Paint the Eyes First
Once you have put in the main shadows on your face, I recommend painting in the eyes first. I promise I’m not skipping steps or telling you to paint the rest of the owl, I just will cover this in more detail in the main article. The eyes are by far the trickiest part of painting the face, so if you can get them the way you like them first, you can just paint the rest of the face around them. Plus, you can use the other skin tones to “neaten them up” if you need to (if they aren’t quite even, if you over-brushed a bit, etc.) Also, because most eyes sit in the recesses of the sockets (I’m assuming some level of humanoid or similar creature here), once you have the shadow tones in there you probably aren’t going to be messing around with them too much after that. Again, I could probably write a whole article on painting eyes, but another tip you can try when doing this is flipping the model upside down to paint the eyes. Different strokes for different folks, I find this helps on the camera left eye but not so much on the camera right eye.
Brushstrokes and Brush Control
This is something you will have to practice to get better at; unfortunately I can’t give you a picture or download for better brush control. I’ll be honest with you I still struggle with some of these best practices myself sometimes. But here are some tips to help.
First; stabilization is key. Elbows on the desk or arms of your chair, hands met in the middle, model and brush held close together. This will give you the most control and the most stability for painting fine details. Find the version of this that works best for you. For example, I like to sit back in my chair with my elbows on the arms of my chair, and the model and brush held on my chest/belly. One time having a bit of a gut comes in handy.
Second; as you’re all well aware, the face on a 28mm/wargaming sized model is small. Like, really small. As such, textures can build up quickly and ruin an otherwise fine paint job if you’re not careful (see earlier warning about dust.) Once you have your stable position, you want to work on your strokes. Have a light touch with your brush and put your paint on as lightly as you can. This may come as a surprise to you, but bearing down on your model like a toddler with a crayon will work against you and you will likely end up putting more paint on it than you intend. Too much paint increases the chance that you will create unwanted textures. Which leads me to—
Third; don’t overwork your paint. Once you put a layer of paint down, maybe with one or two corrective/touchup strokes, leave it alone! Let it dry all the way. If you start moving paint around while it is still drying, you will do what’s called “tear” the paint. This is one rip and tear you don’t want. Basically, the paint on the top of your layer that is still exposed to the air will dry faster than the still liquid paint beneath it. Trying to touch or move the paint while that layer underneath is still drying will rip the “scab” of dry paint on top and give you the dreaded “coffee stain” at worst, give you a little ripple of gummy paint at best that will create a texture and be very difficult to fix. Again, like the dirt. Those of us that have used washes or speed paints and have tried to move it around a little too long know this phenomenon all too well.
Something that can help with this if you are an impatient painter like me (15 seconds is too long to wait!), you can speed up this process by using a hair dryer. Word to the wise though, DO NOT do this is you’re using washes or speed paints, just let them dry on their own. I’m not sure why, maybe Goobertown can make a video on the chemistry of this at some point, but drying a wash or speed paint with a hair dryer can make the paint go glossy. If the whole point of the exercise is trying to control the direction of light on our model, the last thing you want is for your Reikland Fleshshade to make your Space Marine sergeant glisten like a Christmas ham.
That’s it for now! With these tips, hopefully you can feel a bit more confident in tackling some faces of your own! I highly recommend you give it a try on your own.
Watch this space for Part 2 which will be a more classic step by step tutorial of me painting a head from the Horus Heresy melee weapon upgrade box from start to finish.
If you ever want feedback on something you are painting, feel free to reach out to me on instagram or in the Goonhammer discord server @meltabombed; I’d be happy to take a look at what you’re working on! Or if these tips helped you, please let me know, I would love to hear from you!
See you all next time!
Have any questions or feedback? Drop us a note in the comments below or email us at contact@goonhammer.com. Want articles like this linked in your inbox every Monday morning? Sign up for our newsletter. And don’t forget that you can support us on Patreon for backer rewards like early video content, Administratum access, an ad-free experience on our website and more.
