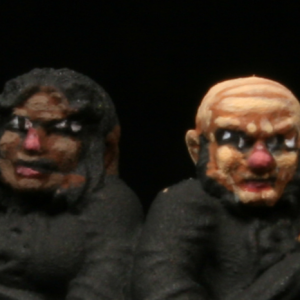
We’ve all been there. You’re trying to scare the opossums out of your basement with an air horn when you suddenly think “I would really like to paint a face on a miniature smaller than my thumbnail.” If you’re some kind of weirdo who has never had this thought, don’t fret. Everything in this article applies perfectly well to “normal” sized miniatures!
…but why?
Why bother painting detail on such small minis? You couldn’t possibly see any of this on the table top, right? Wrong! With the right techniques you can get plenty of details visible from a distance. And then you get to watch your fellow gamers’ minds go pop when they bend down and see the tiny faces.
Smaller scales are more forgiving to paint than you might assume. 10mm is great for learning techniques that can be daunting at 28mm. Want to learn Non-Metallic Metal? Start on 10mm miniatures! Always wanted to try wet blending? Try it on some 10mm miniatures!
You’ll also be pleasantly surprised to find that less patience is required to paint an amazing 10mm mini. The small size acts as a kind of safety valve against the sculpt being overwhelmed endless, tiny details.
Getting Started
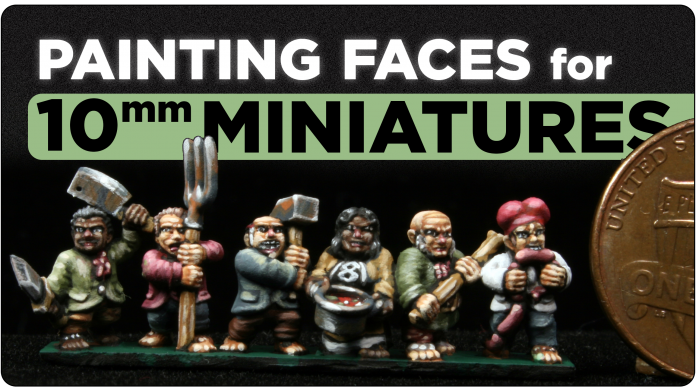
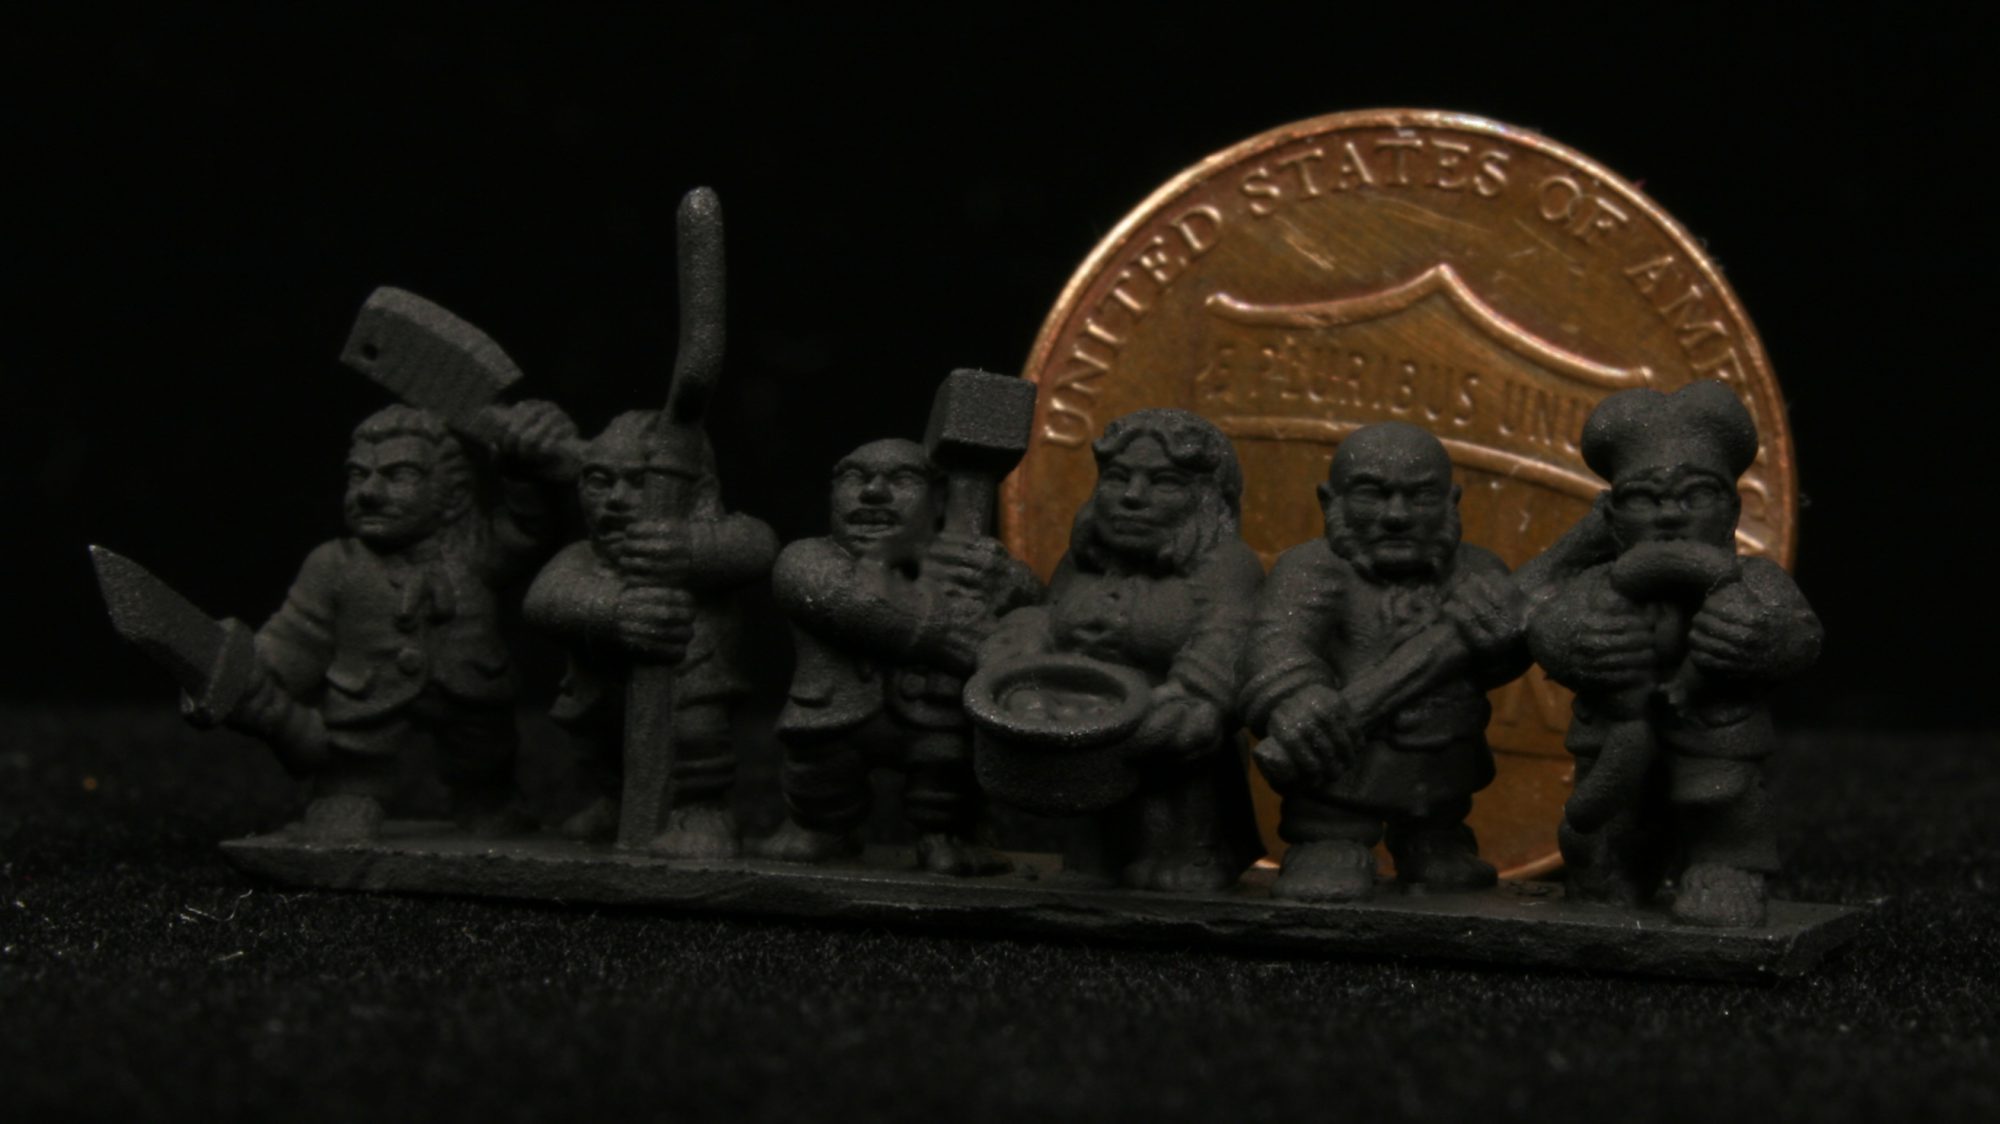
For this article, I will be painting a strip of Onmioji’s 10mm Halfling Militia for my Warmaster army. You can get the STLs for these lovely halflings here.
You need a really good brush for painting a face on a 10mm miniature, but not necessarily a tiny one. Smaller brushes hold less paint and will dry out quickly, and brushes with shorter hair are much easier to fray. I use a Da Vinci Maestro Size 1. Its extra long bristles are good for forming a point and keeping paint out of the ferrule.
Small scales benefit tremendously from high contrast. That’s why I always start with a black base coat and work my way up. Leaving a black outline between the parts of the minis really brings out the details. If your minis are 3d printed, its a good idea to get a reference picture of the sculpts. The details can be hard to pick out after they’ve been primed with flat black.
Eyes
The eyes are the most important part of the face and you should not worry one bit about other details until you can do a decent set of peepers. I have two methods for painting eyes, and each has strengths and weaknesses.
The “Messy” Method
If you’re still learning the ropes of fine detail-painting, or coming from larger scales to 10mm, then what I call the “messy” method is the best way to get started. Cover the eyes with white paint. You can be sloppy here. It may take two coats to get it pearly white. Then place a long, thin, vertical black stripe to mark your pupils. Then clean up the mess around the eye with your black.
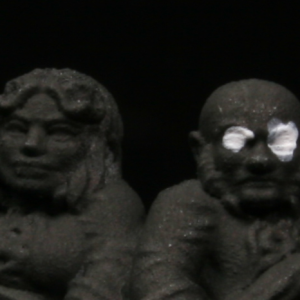
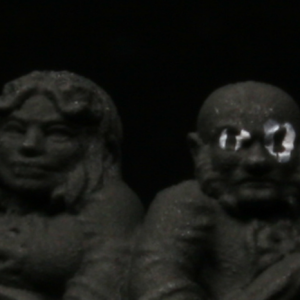
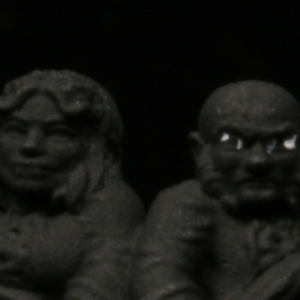
This method does not require as much brush control, but the eye you end up with may not be accurate to the sculpt. Eyes painted this way will tend to drift around the face or be too close together or too far apart. While not my preferred method, I still fall back to “the messy” if the eyes are awkward to reach, like if a weapon is in the way of my brush.
The “Clean” Method
When your brush control is sufficient, you should prefer the “clean” method. Cover the eyeball with a horizontal band of white. Try to stay true to the miniature. If you go beyond the eyeball, correct it before adding the pupil. Once the white part is satisfactory, use your brush to add a perfect little dot.
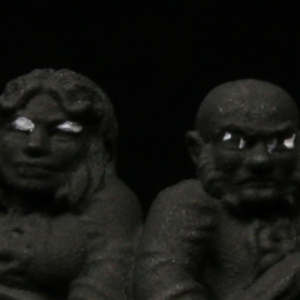
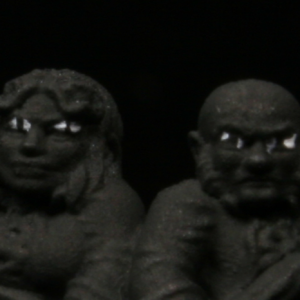
This method is faster and more accurate, but requires good brush control and an unobstructed view to the face.
The Face
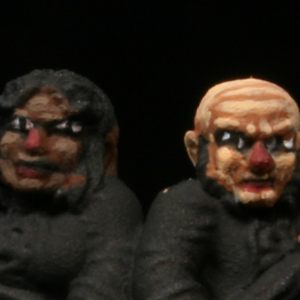
Now base coat the face, going carefully around the eyes and mouth. Feel free to slop paint on the hair or shirt, but don’t you dare get paint on those eyeballs. Leave a sliver of black around the eyes, it will make them stand out at a distance.
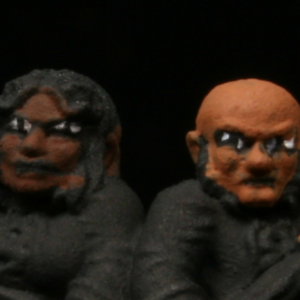 Painting the rest of the face is all about layering up. Each layer is lighter in tone and smaller than the layer beneath. You’ll need at least 3 to 4 layers. Because the face is so small, each layer goes by quickly. I don’t use wet blending or any fancy techniques, its all just layering.
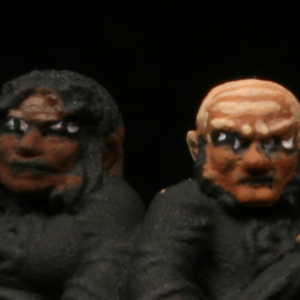
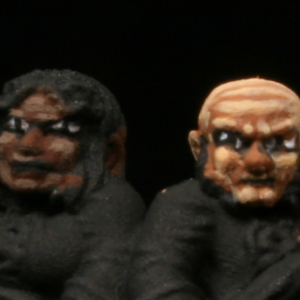
You can add a ton of personality to your tiny people by leaving slivers of your base coat in strategic places. A line going from the edge of the nose to the edge of the lips will bring out a smile or grimace. Horizontal lines along the brow will make the figure look old and haggard. Ball shapes above and between the eyes make an angry, furrowed brow. A ball shape under the eye makes bags under the eyes. A small vertical line on the chin makes a dimple.
The Mouth and Nose
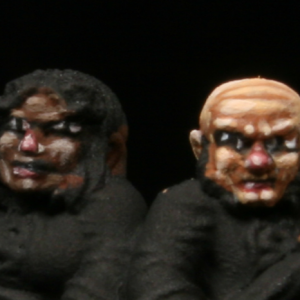
For the mouth, we ultimately only care about the bottom lip. If you got any paint on the lip while you were layering up the flesh, then restore the black. Base coat the lip with a dark red. Leave a sliver of black around the lip if you can. Mid tone with a pale pink and add a highlight dot on one side. Lips are a brush control challenge, but really make a face look good.
A reddish nose adds some character. Base coat the nose with the same red that you used for lips. Mix the red with your flesh tones as you layer up. You can use your paint to imply a lot of different nose shapes. A vertical highlight from brow to tip will make a long “roman” nose. Leaving a horizontal strip of base coat in the middle will give the nose a bulbous or upturned look. Bring out the nostrils with a single tiny dot on each side of the nose.
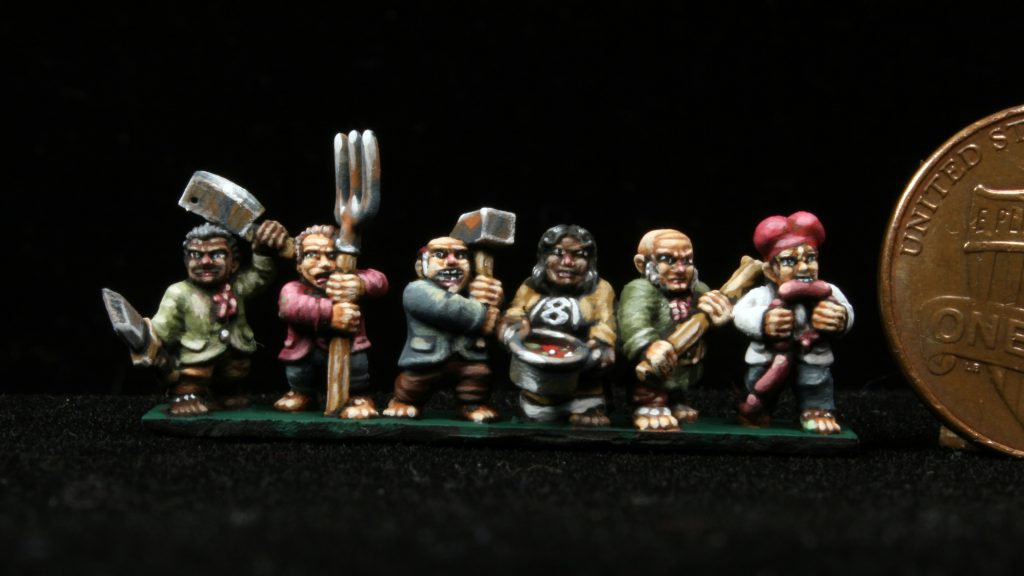
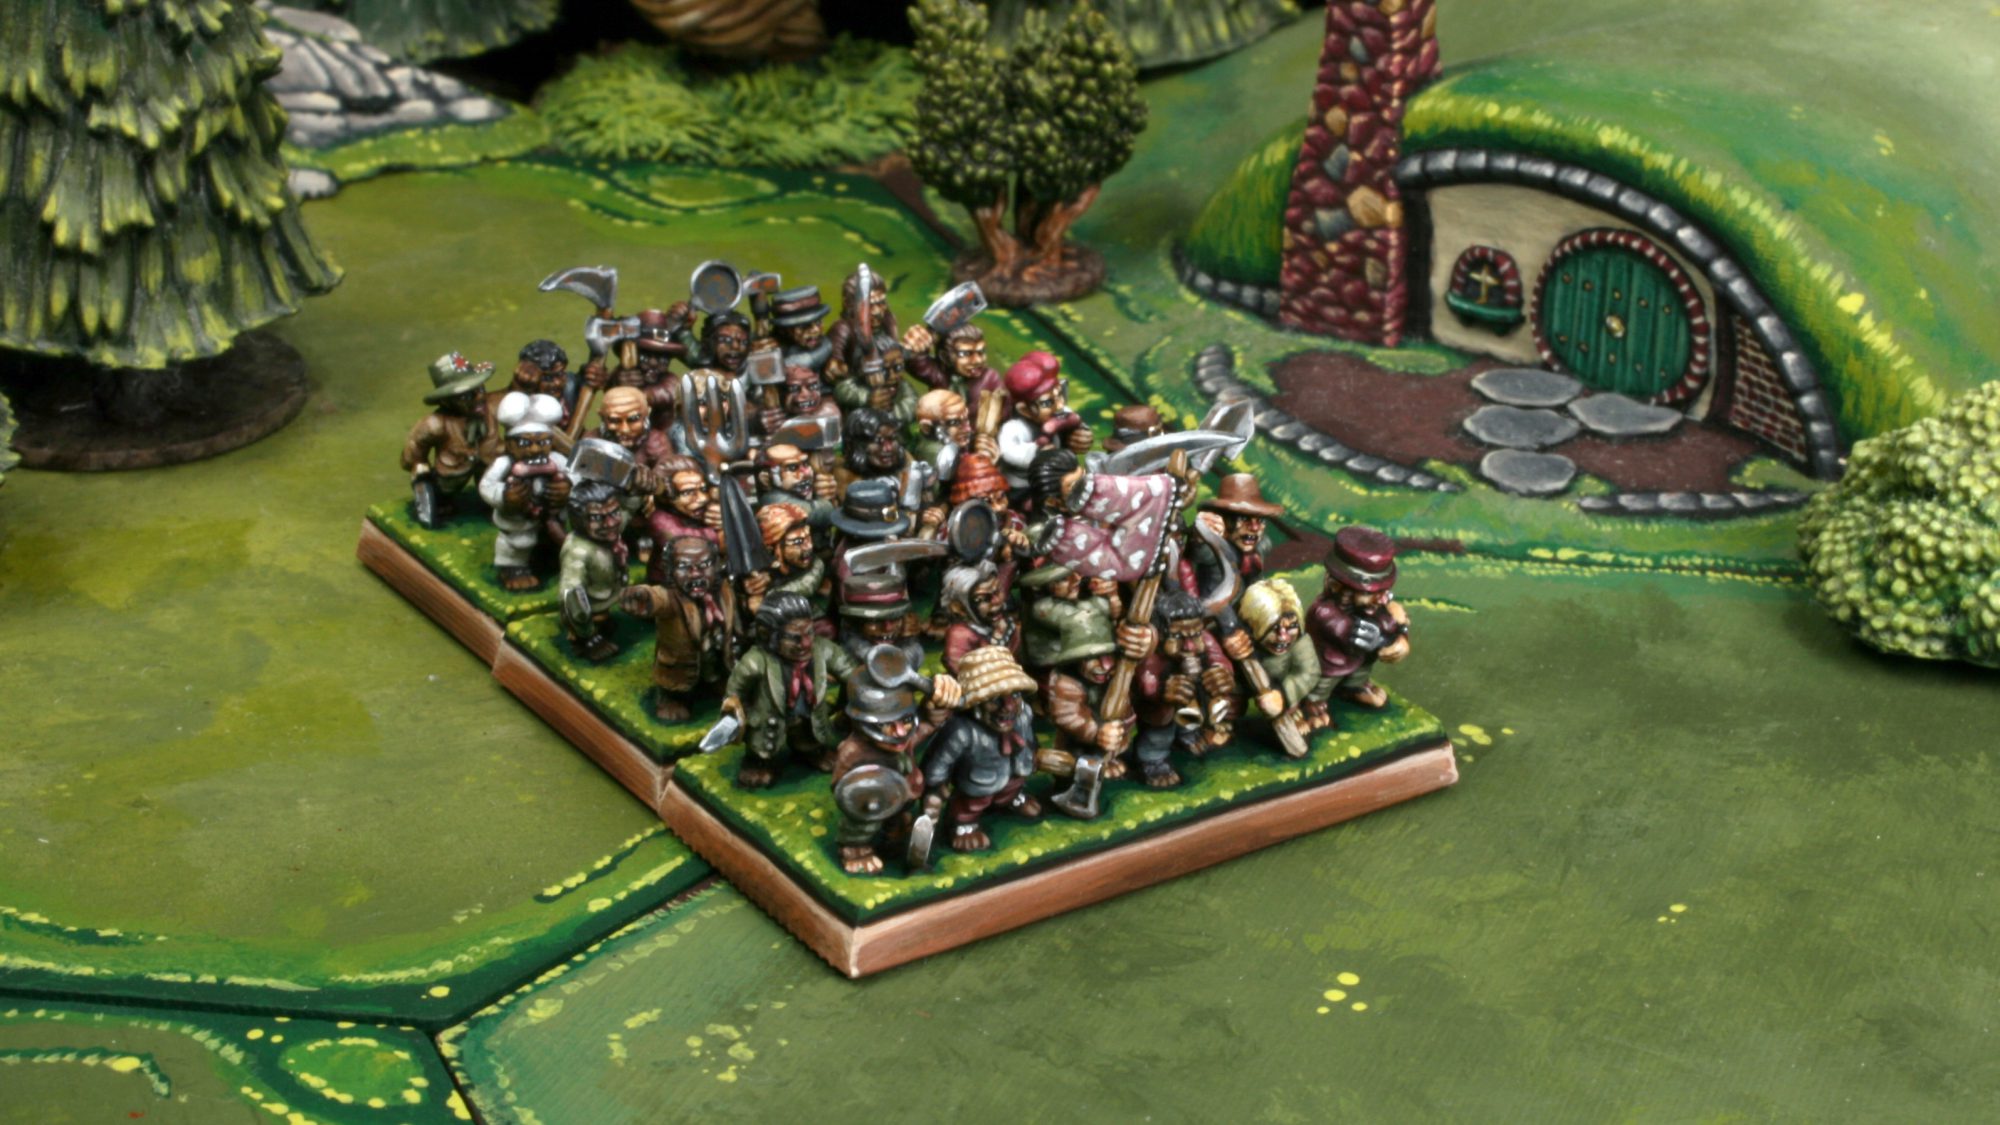
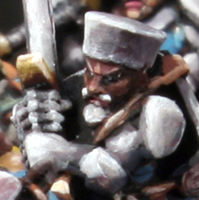
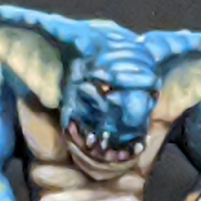
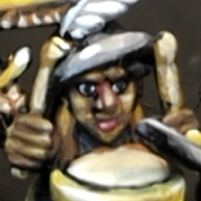
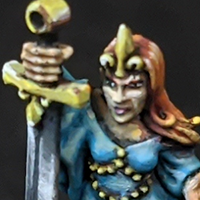
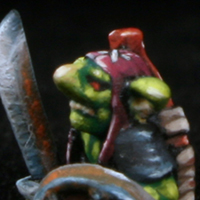
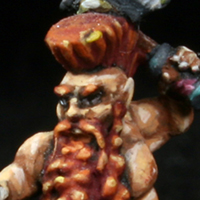
The faces are the hardest part of most 10mm miniatures. I finish the faces before moving on. Here’s a little gallery of some of my favorite 10mm faces.
Have any questions or feedback? Drop us a note in the comments below or email us at contact@goonhammer.com.
