This article is part of a larger series on how to paint Space Marines. To return to that series, click here.
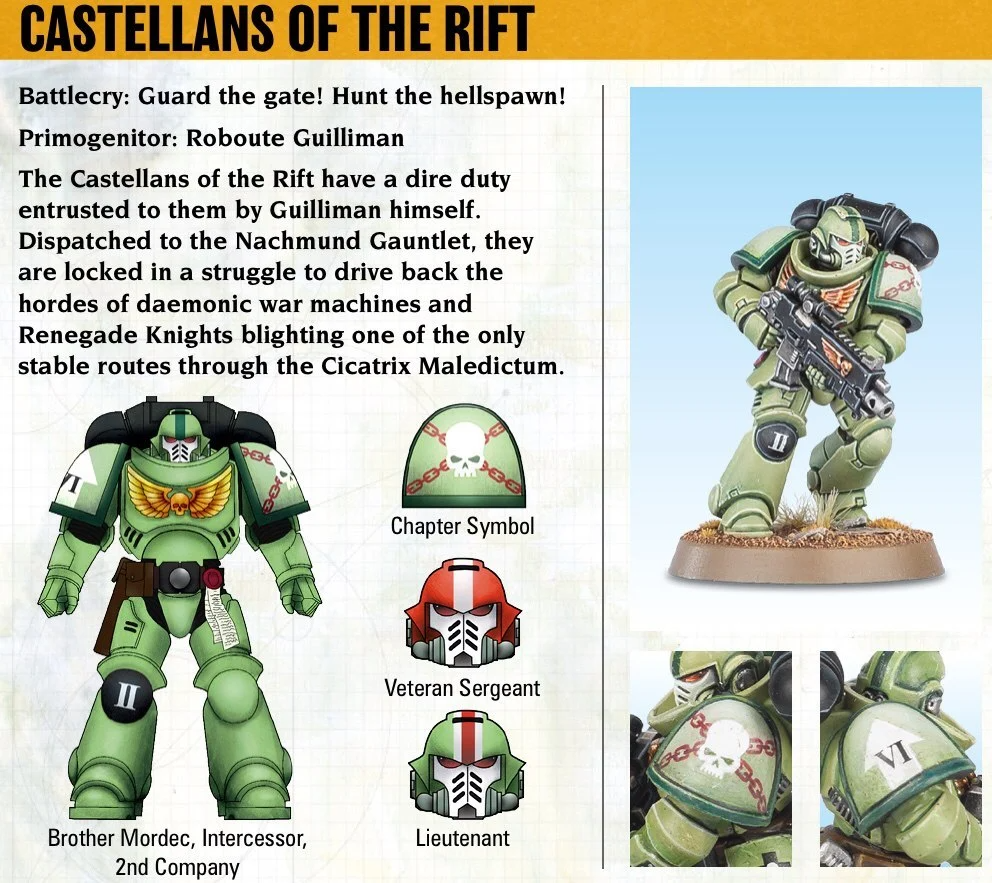
The Castellans of the Rift are an Ultima Founding chapter comprised entirely of Primaris Space Marines. Their primary mission in the lore is to defend the Nachmund Gauntlet, a relatively narrow stretch of the galaxy which acts as the only safe passage across the Cicatrix Maledictum. If you want to cross the massive warp storm separating the Imperium from the Imperium Nihilus, you’ve gotta get through them.
Castellans of the Rift Heraldry - Click to Expand
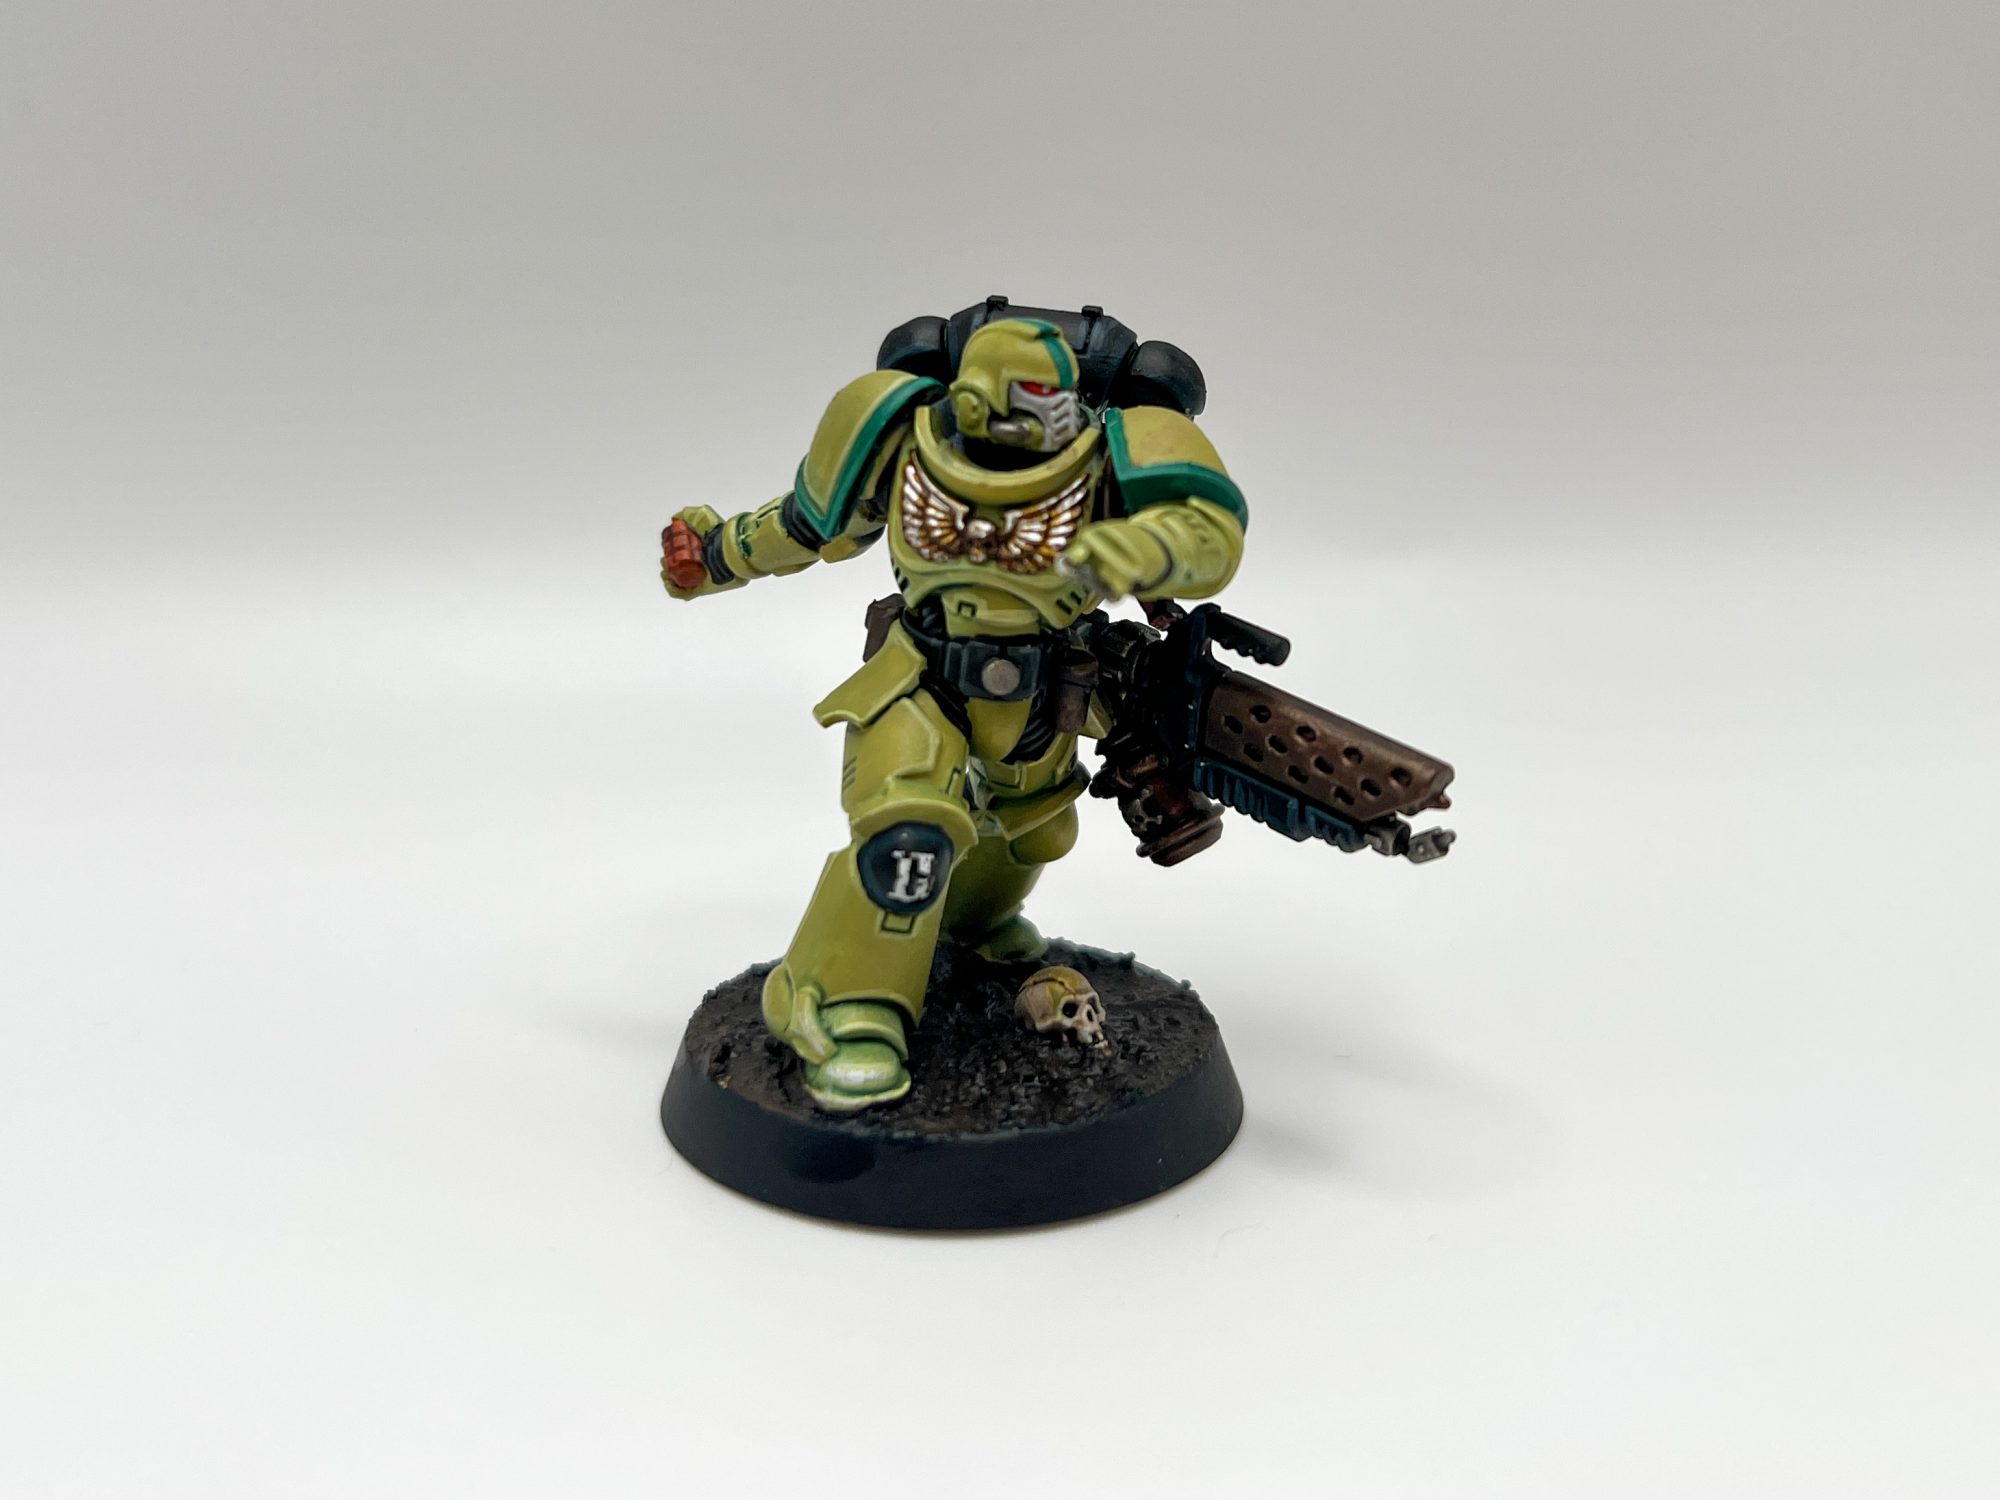
When the editors put out the call for someone to paint one for a HTPE article, I jumped at the chance because I thought their scheme was an interesting one that was far different from other things I’ve been painting, providing a chance to use green tones and contrast sharply with some blacks. So I decided to give it a go. Here’s how I painted an Infernus Marine of the Castellans of the Rift chapter.
A quick note on paints – I have a lot of paints from numerous manufacturers, but for this model I tried to stick with Citadel colors where possible. If you see a color listed that you don’t have and you don’t want to pick it up, any similar color across ranges will work. If you’re not sure just pop a comment below and I’ll see if I can find something close.
Green Armor
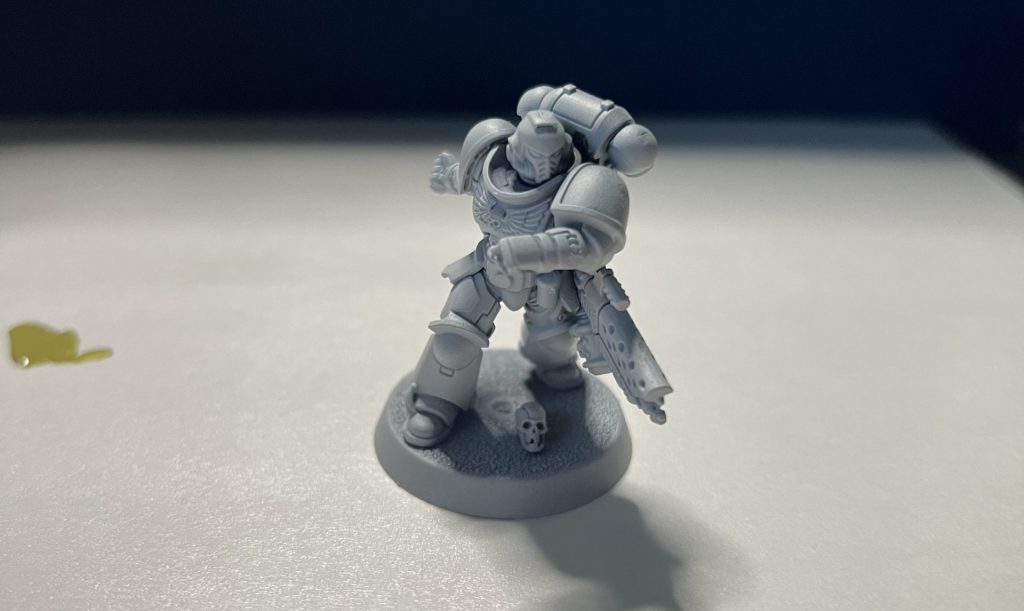
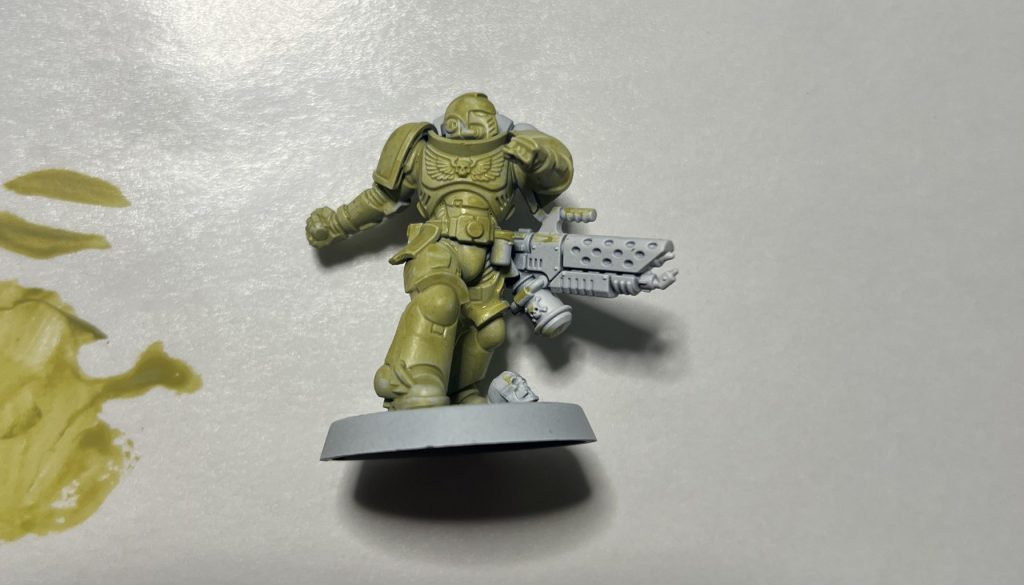
I began by priming the entire model white as I planned on using the citadel color Ogryn Camo as the primary color for the armor.
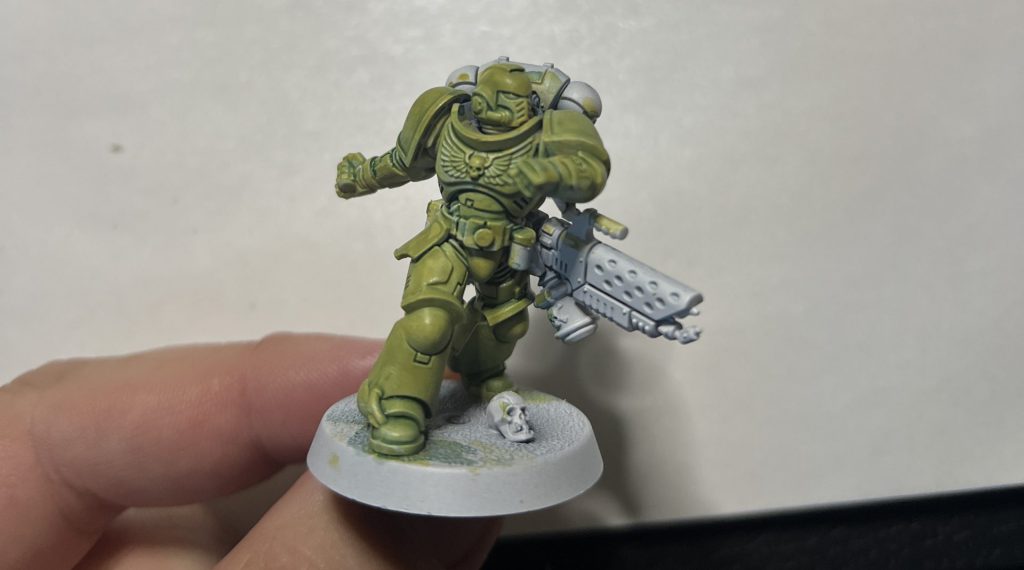
For the armor base coat, I applied 3 coats of Ogryn Camo, letting each coat dry completely before adding another.
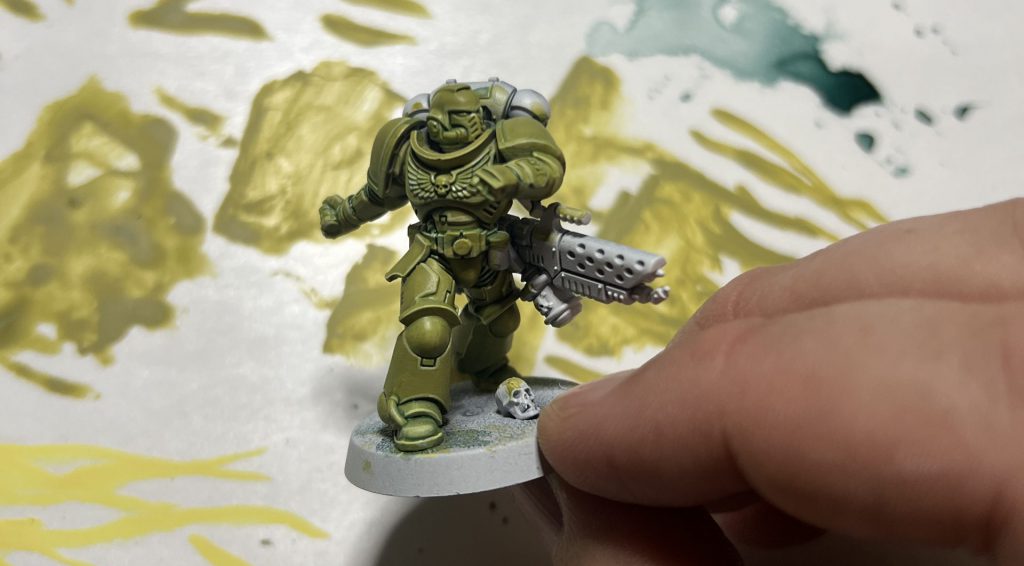
After allowing the final base coat to dry, give the entire model a wash of Coelia Greenshade mixed 1:1 with water. Try not to let the wash pool in any big areas.
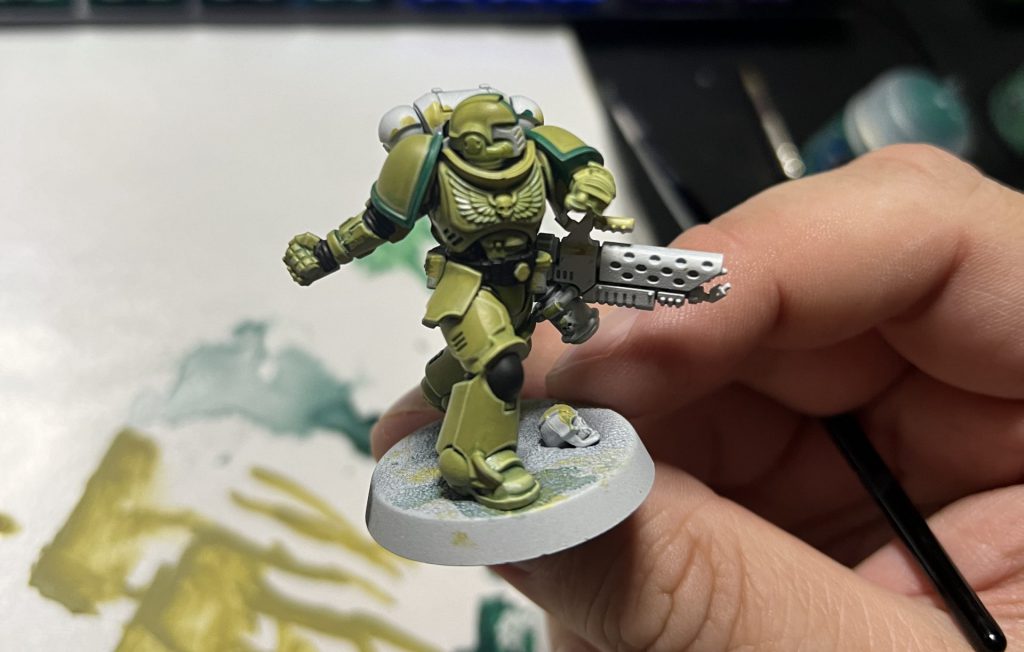
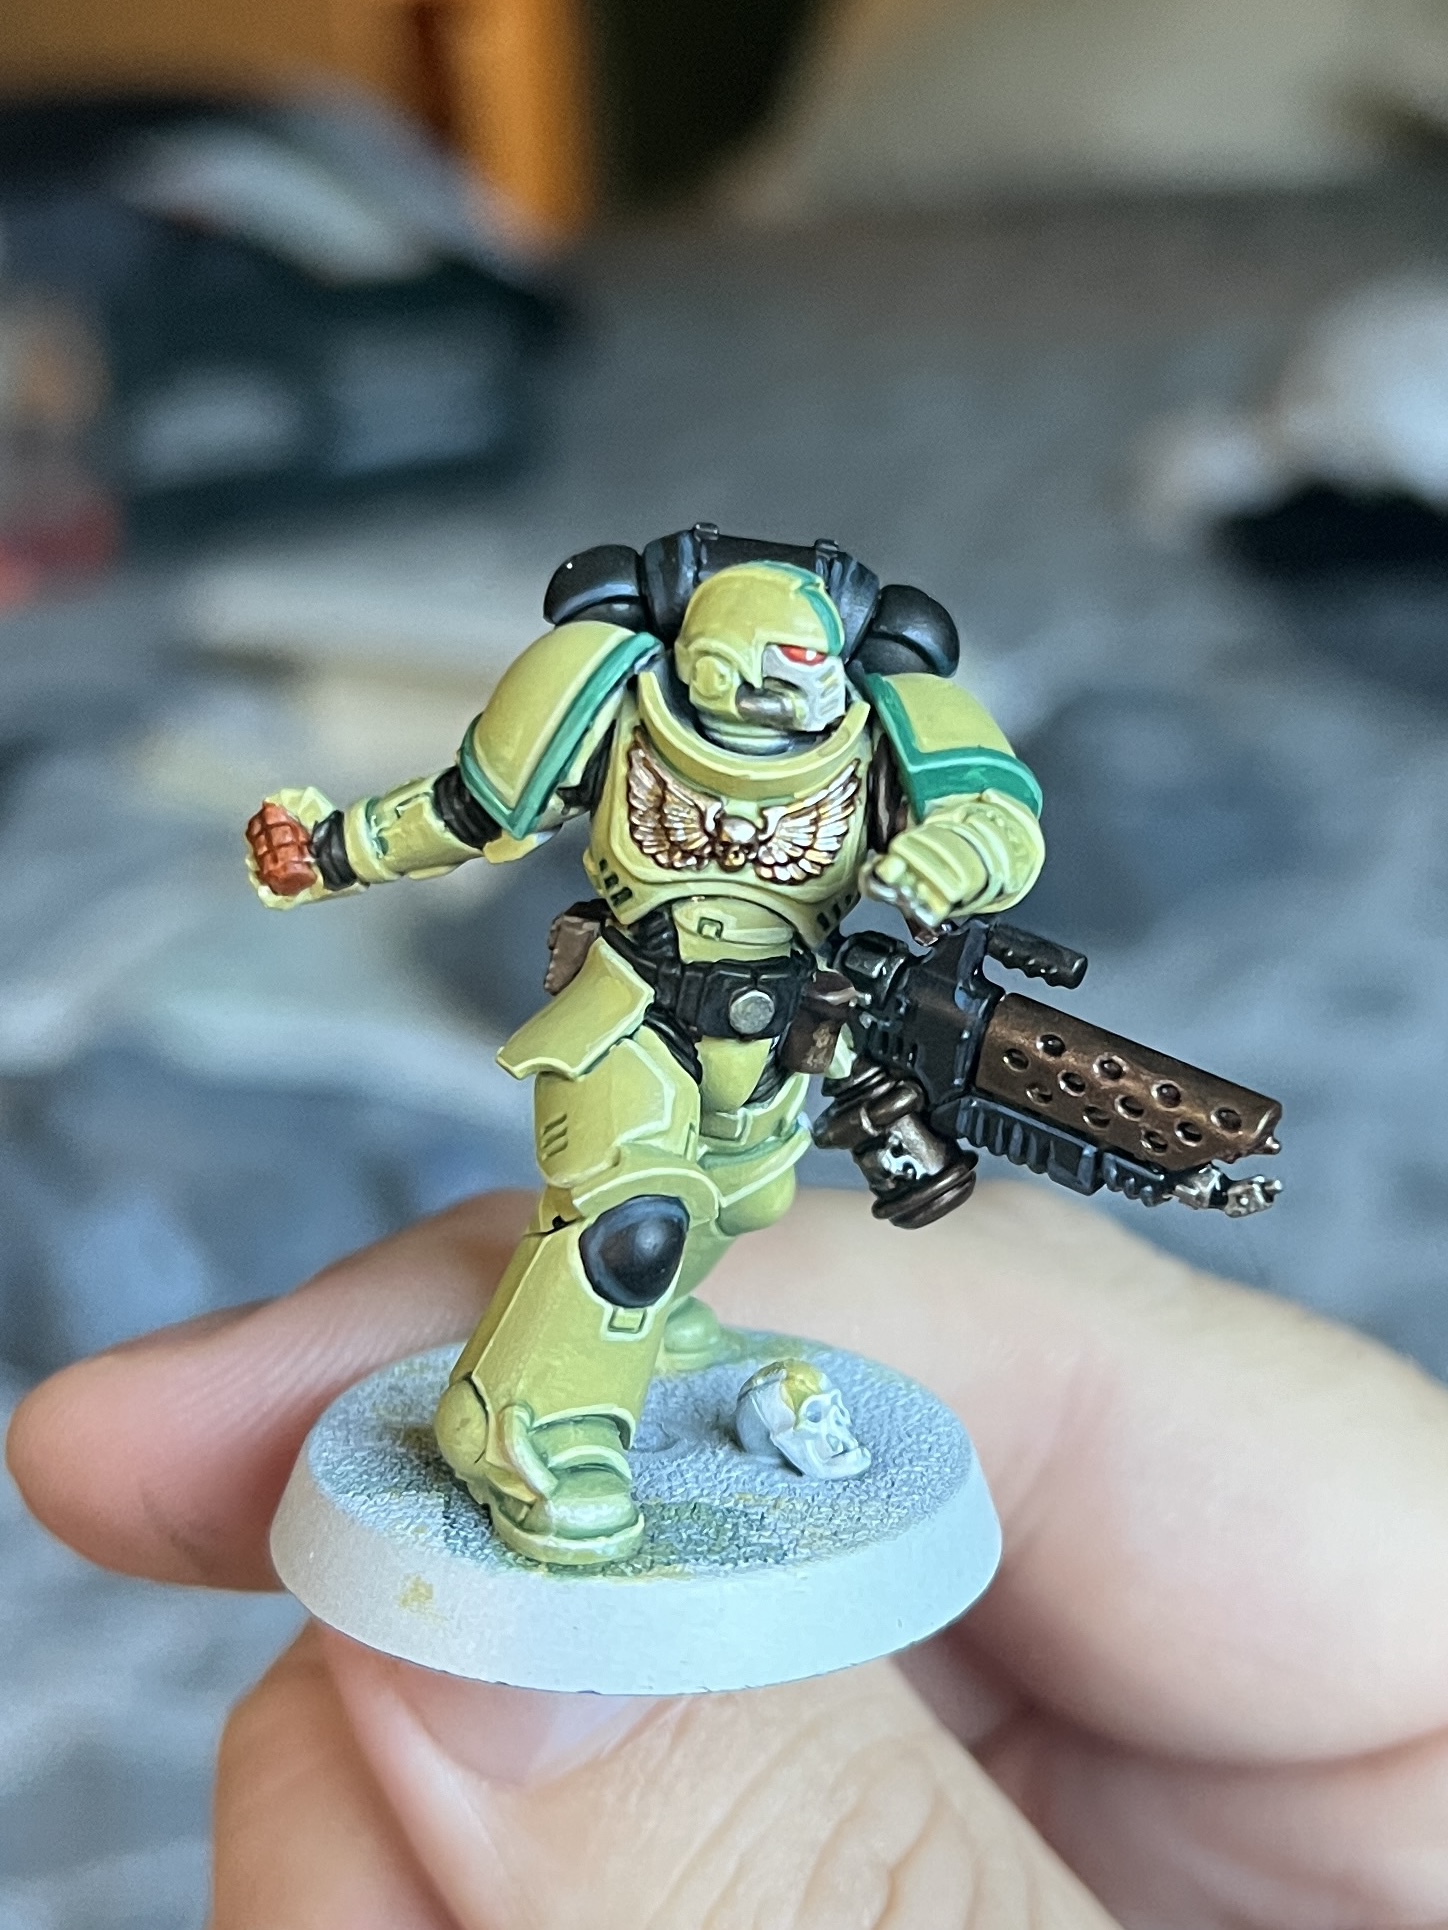
The next stage of the green armor is to layer Ogryn Camo back onto the model in big flat areas. The goal is to leave a little of the greenish-blue tint in some areas to hint at blue-green armor but really the majority of it should be that flat Ogryn Camo color. Once this is done, the last stage of the green armor is to edge highlight with Dorn Yellow.
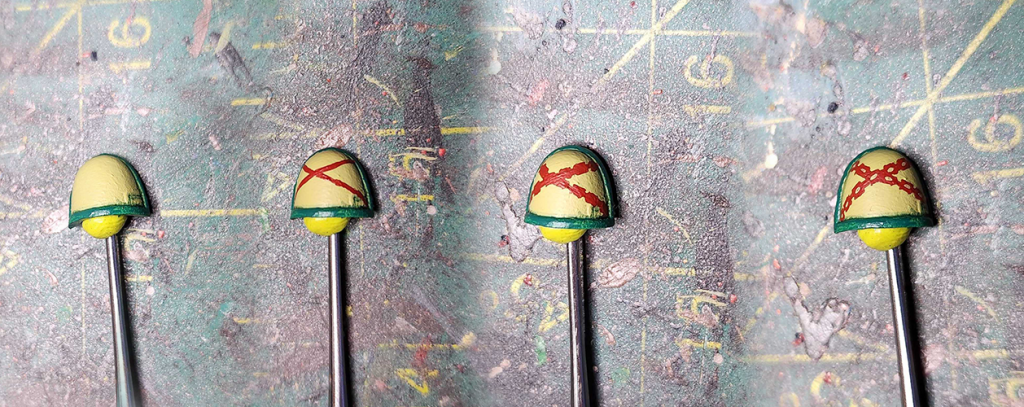
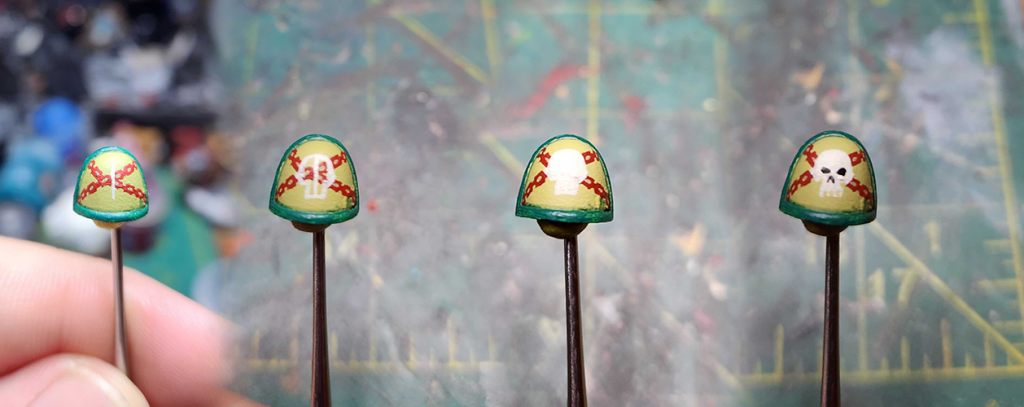
For the dark green helmet stripe and the pauldrons, I did a basecoat of Kabalite Green followed by an edge highlight of Sybarite Green.
The Rest of the Model
Aside from the green armor and green stripes, there’s only a handful of colors I used to finish the model.
Black Areas
I base coated the knee pad, the under suit, the belt and the power pack with Vallejo Model Color Black (70.950). Once that basecoat was done, I then used Abaddon Black on the knee pad, the flamer casing and the backpack. The reason for this is that VMC Black is very matte whereas Abaddon Black is a little more satin. I’ve also found that VMC Black rubs off really easily and Abaddon Black helps it to not do that. To highlight the black, I used Dark Reaper followed by Thunderhawk Blue, but that was only for the knee pad, the flamer casing and the power pack. For the belt and under suit, I just added a little white to the VMC Black to edge highlight.
Metallics
There’s only 2 metallic colors on this model, Gold & Silver. For the Gold, begin by painting the Imperalis with a basecoat of Scale 75 Necro Gold. At this stage I also painted the flamer vent section and the promethium tank with the same color. To finish the Imperalis, edge highlight the raised areas with Scale 75 Dwarven Gold, followed by Scale 75 Elven Gold. Give the Imperalis a wash of Reikland Fleshshade and the flamer casing and promethium tank a wash of Agrax Earthshade. The final step is to pick out a few sections of the Imperalis with a bright silver. I use the new DIO Drybrush Paint from AMMO by MiG, but any bright silver will work. It’s technically a drybrush paint, but it can be layered on with just a bit of water.
For the Silver – the pipes on the head, the round section of the belt buckle & parts of the flamer – literally just basecoat Iron Warriors and then wash Nuln Oil. That’s it. You can pick it out with a bright silver like the gold above, but I didn’t.
Brown Areas
For the brown areas – the pouches & the flamer strap – I used the Duncan Rhodes Painting Academy Two Thin Coats Cuirass Leather then stipple an edge highlight (instead of dragging your brush along the edge, bounce it up and down a little bit, leaving the base color along the edge) of Duncan Rhodes Painting Academy Two Thin Coats Ancient Forest. Finish by giving all the brown areas a wash of Agrax Earthshade.
White Mask Section, Lenses, Grenade & Purity Seal
The final parts of the model are the white portion of the mask, the lenses, the grenade and the purity seal. Begin by base coating all 4 of these with Corax White. For the mask, mix Nuln Oil with Water in a 1:3 ratio (1 part nuln oil, 3 parts water) and wash the bottom part of the mask. The goal is just to shade it, you don’t want to flood this area. Finish the mask by highlighting with Pro Acryl Bold Titanium White. For the grenade I used Citadel Contrast Gryph-Hound Orange, followed by a wash of Agrax Earthshade once the contrast paint dried. For the lenses and the wax on the purity seal, I used Citadel Contrast Baal Red. For the paper part of the purity seal, I just wash over the white with Agrax Earthshade. The final step is to add two white dots in the lenses with Pro Acryl Bold Titanium White.
This article is part of a larger series on how to paint Space Marines. To return to that series, click here.


