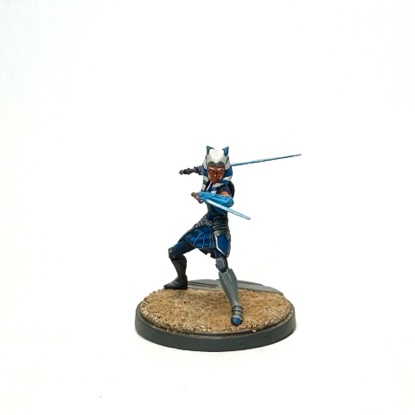
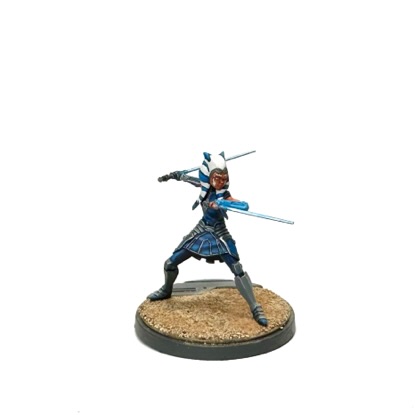
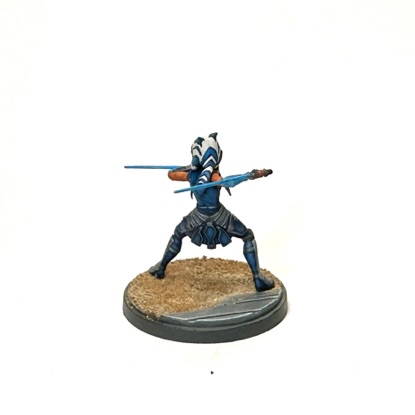
Happy Ahsoka release day! To celebrate I’m sharing my recipe and techniques for Ahsoka Tano, Jedi No More. Ahsoka has been one of my favorite Star Wars characters since I first watched Clone Wars and was thrilled to see her as part of the Shatterpoint core set. We’ve had loads of tactics articles and painting guides for Shatterpoint, and you can find them all here.
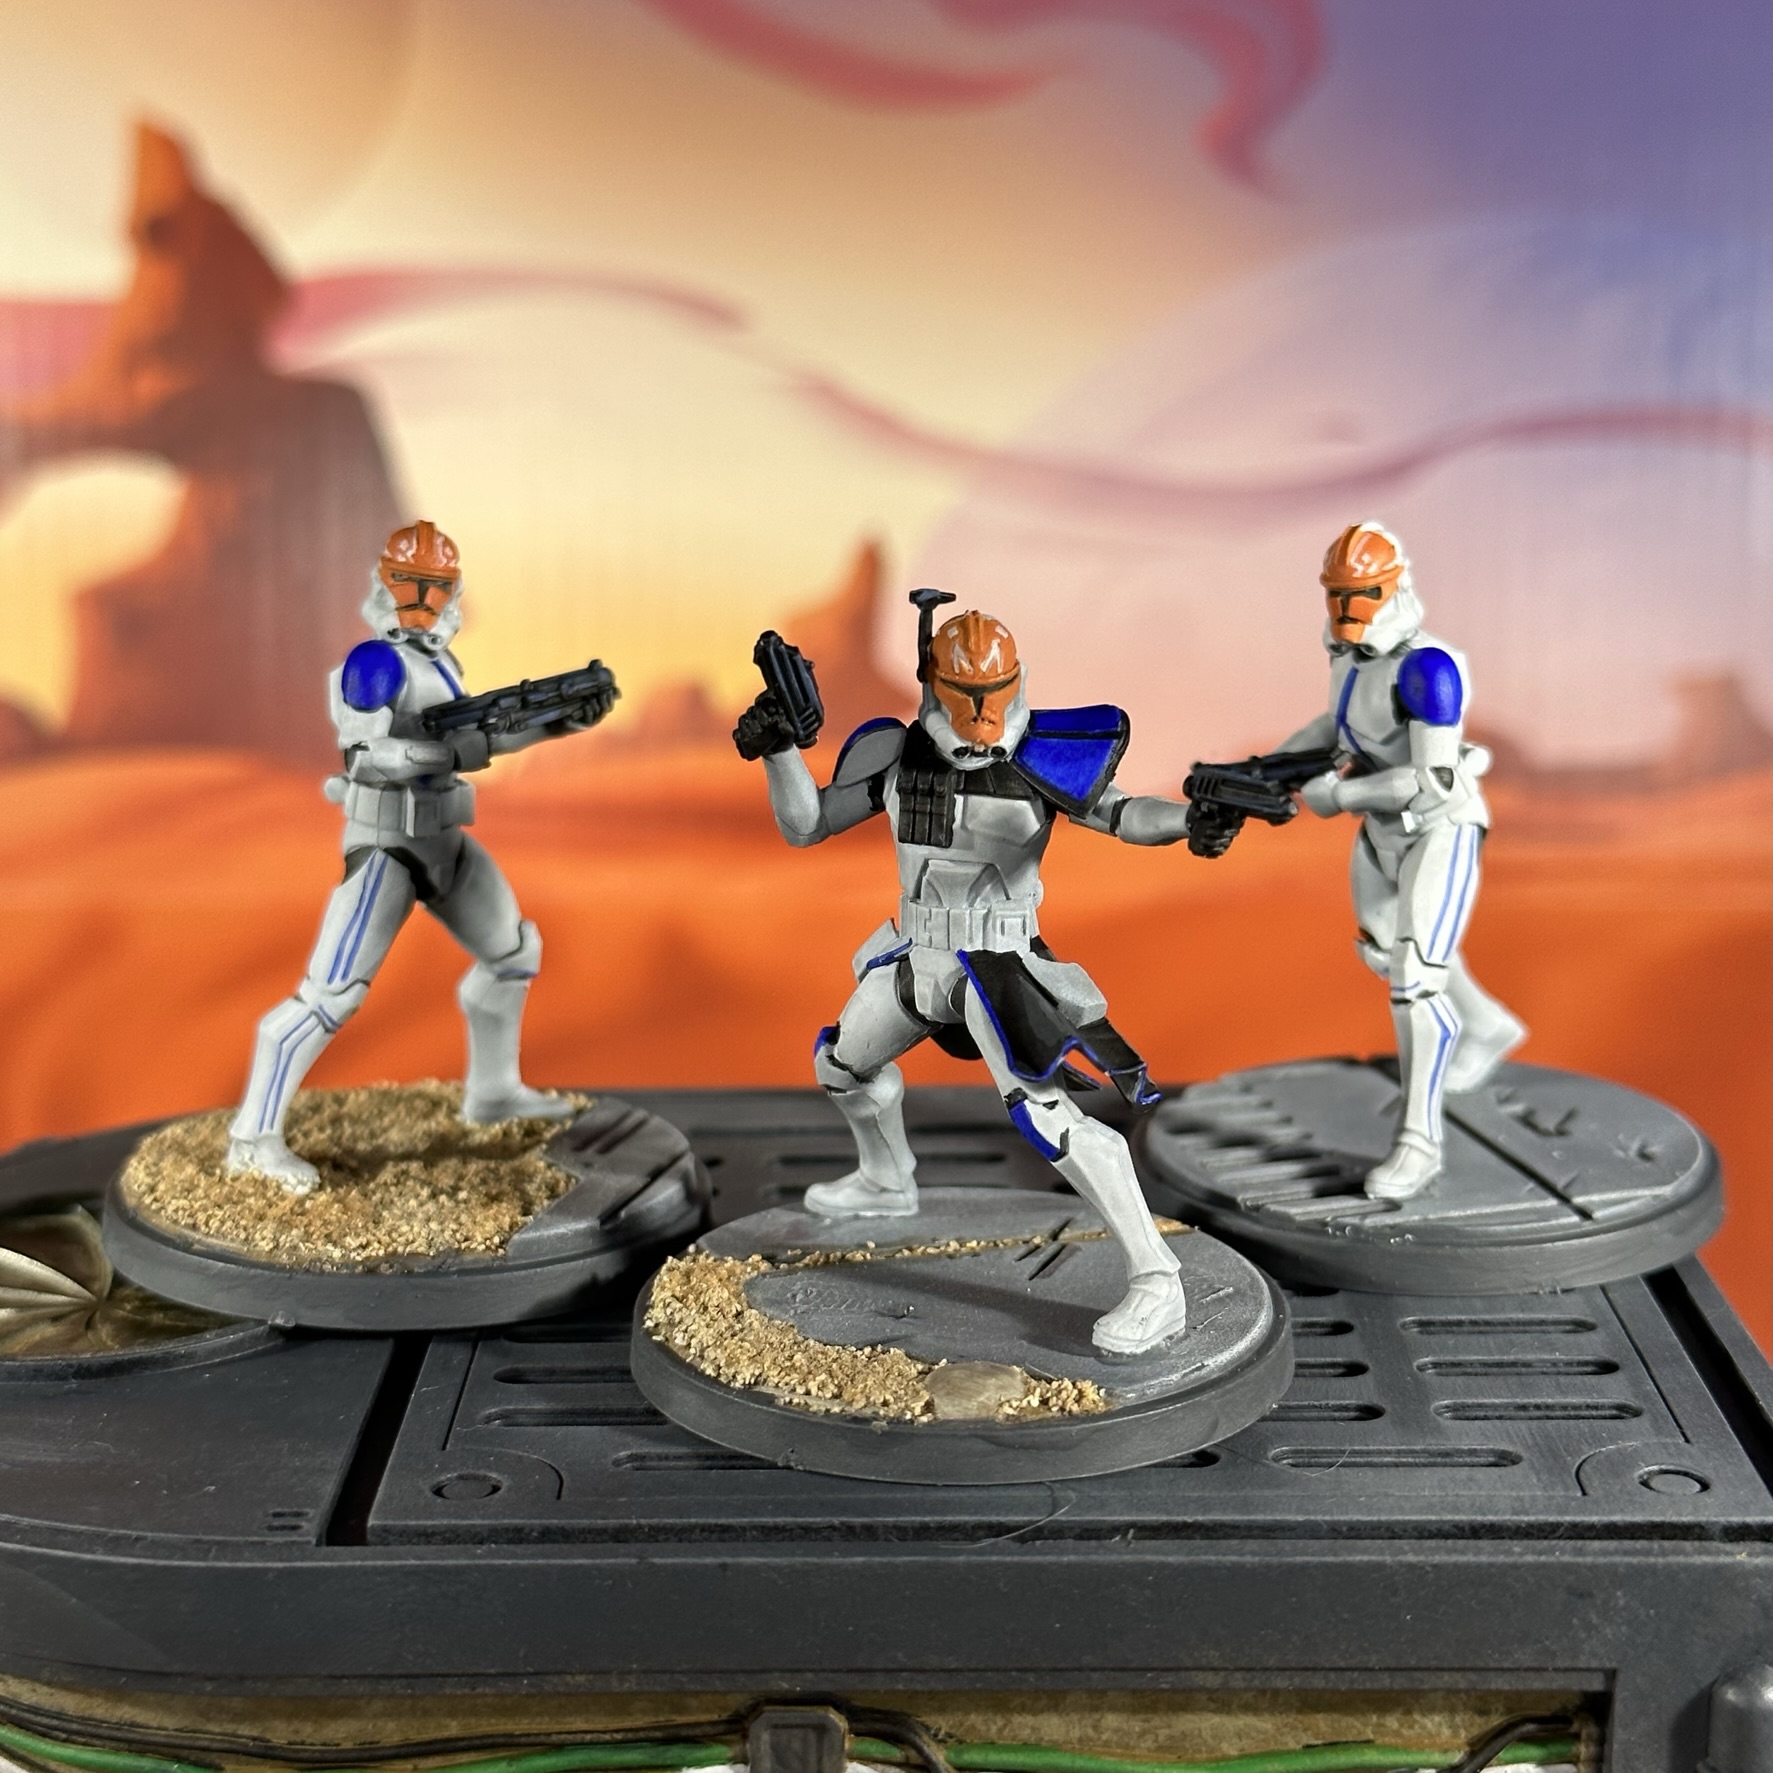
This particular iteration of Ahsoka comes late in the Clone Wars show, and she is wearing her Siege of Mandalore outfit. She has walked away from the Jedi Order and is on her own until Bo-Katan Kryze recruits her to find Maul. Despite being ordered away from Mandalore, Anakin sends a Rex and a division of the 501st, renamed the 332nd, to support Ahsoka and returns her lightsabers to her. It’s a poignant moment in the series and the 332nd even repaint their armor in her honor. In fact, I loved this part of the show so much my 501st and Rex are painted as the 332nd!
This particular outfit of Ahsoka’s is a study in blue. Her combat dress is blue and silver, her boots are a darker grey version of clone armor, and her lekku (head tails) have blue stripes. Even her sabers are blue, meaning the only contrast we have is her skin and the white of her lekku.
I chose to use the same base blue for her dress and lekku, but highlight with different colors and her lekku to a brighter blue in order to draw focus to her face. My base layer for everything was ProAcryl Payne’s Grey, a color I fell in love with. As you can see it’s a very dark color, that provides a deep blue base.
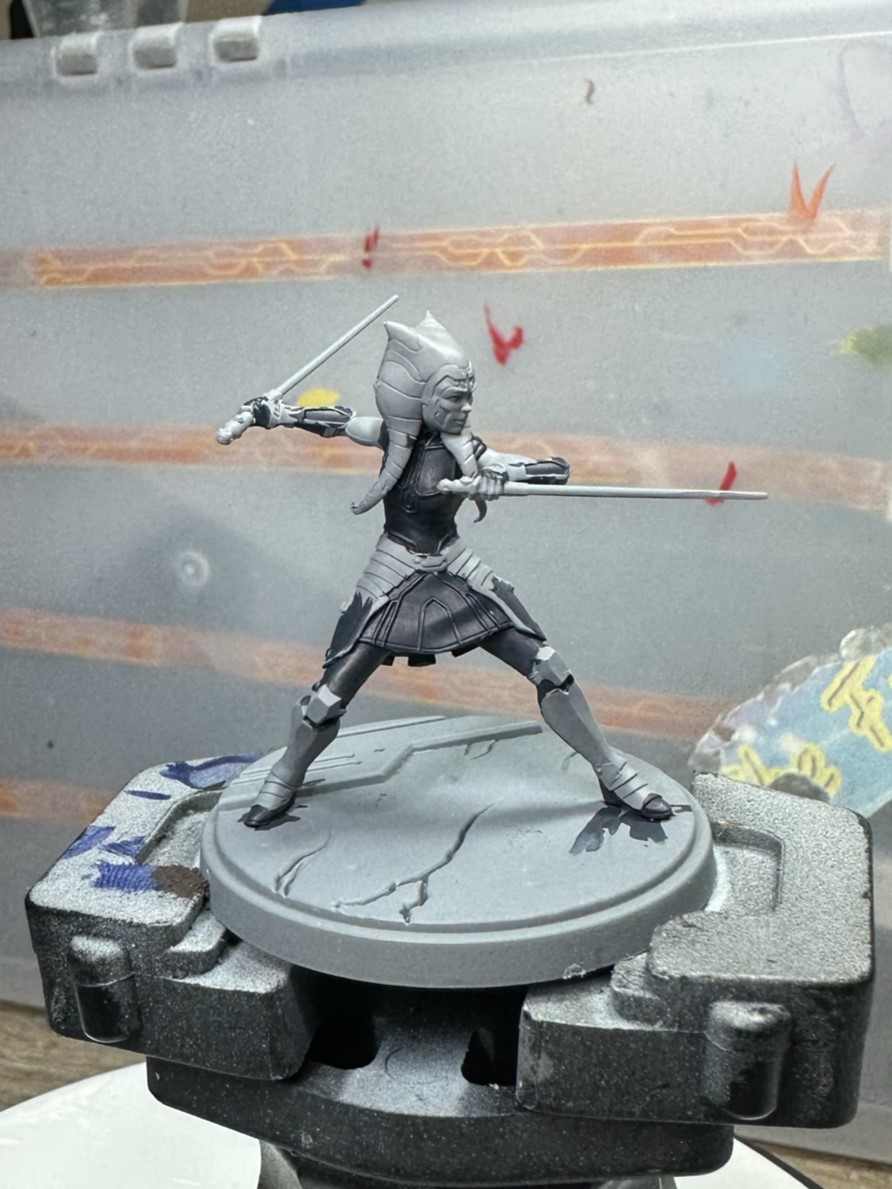
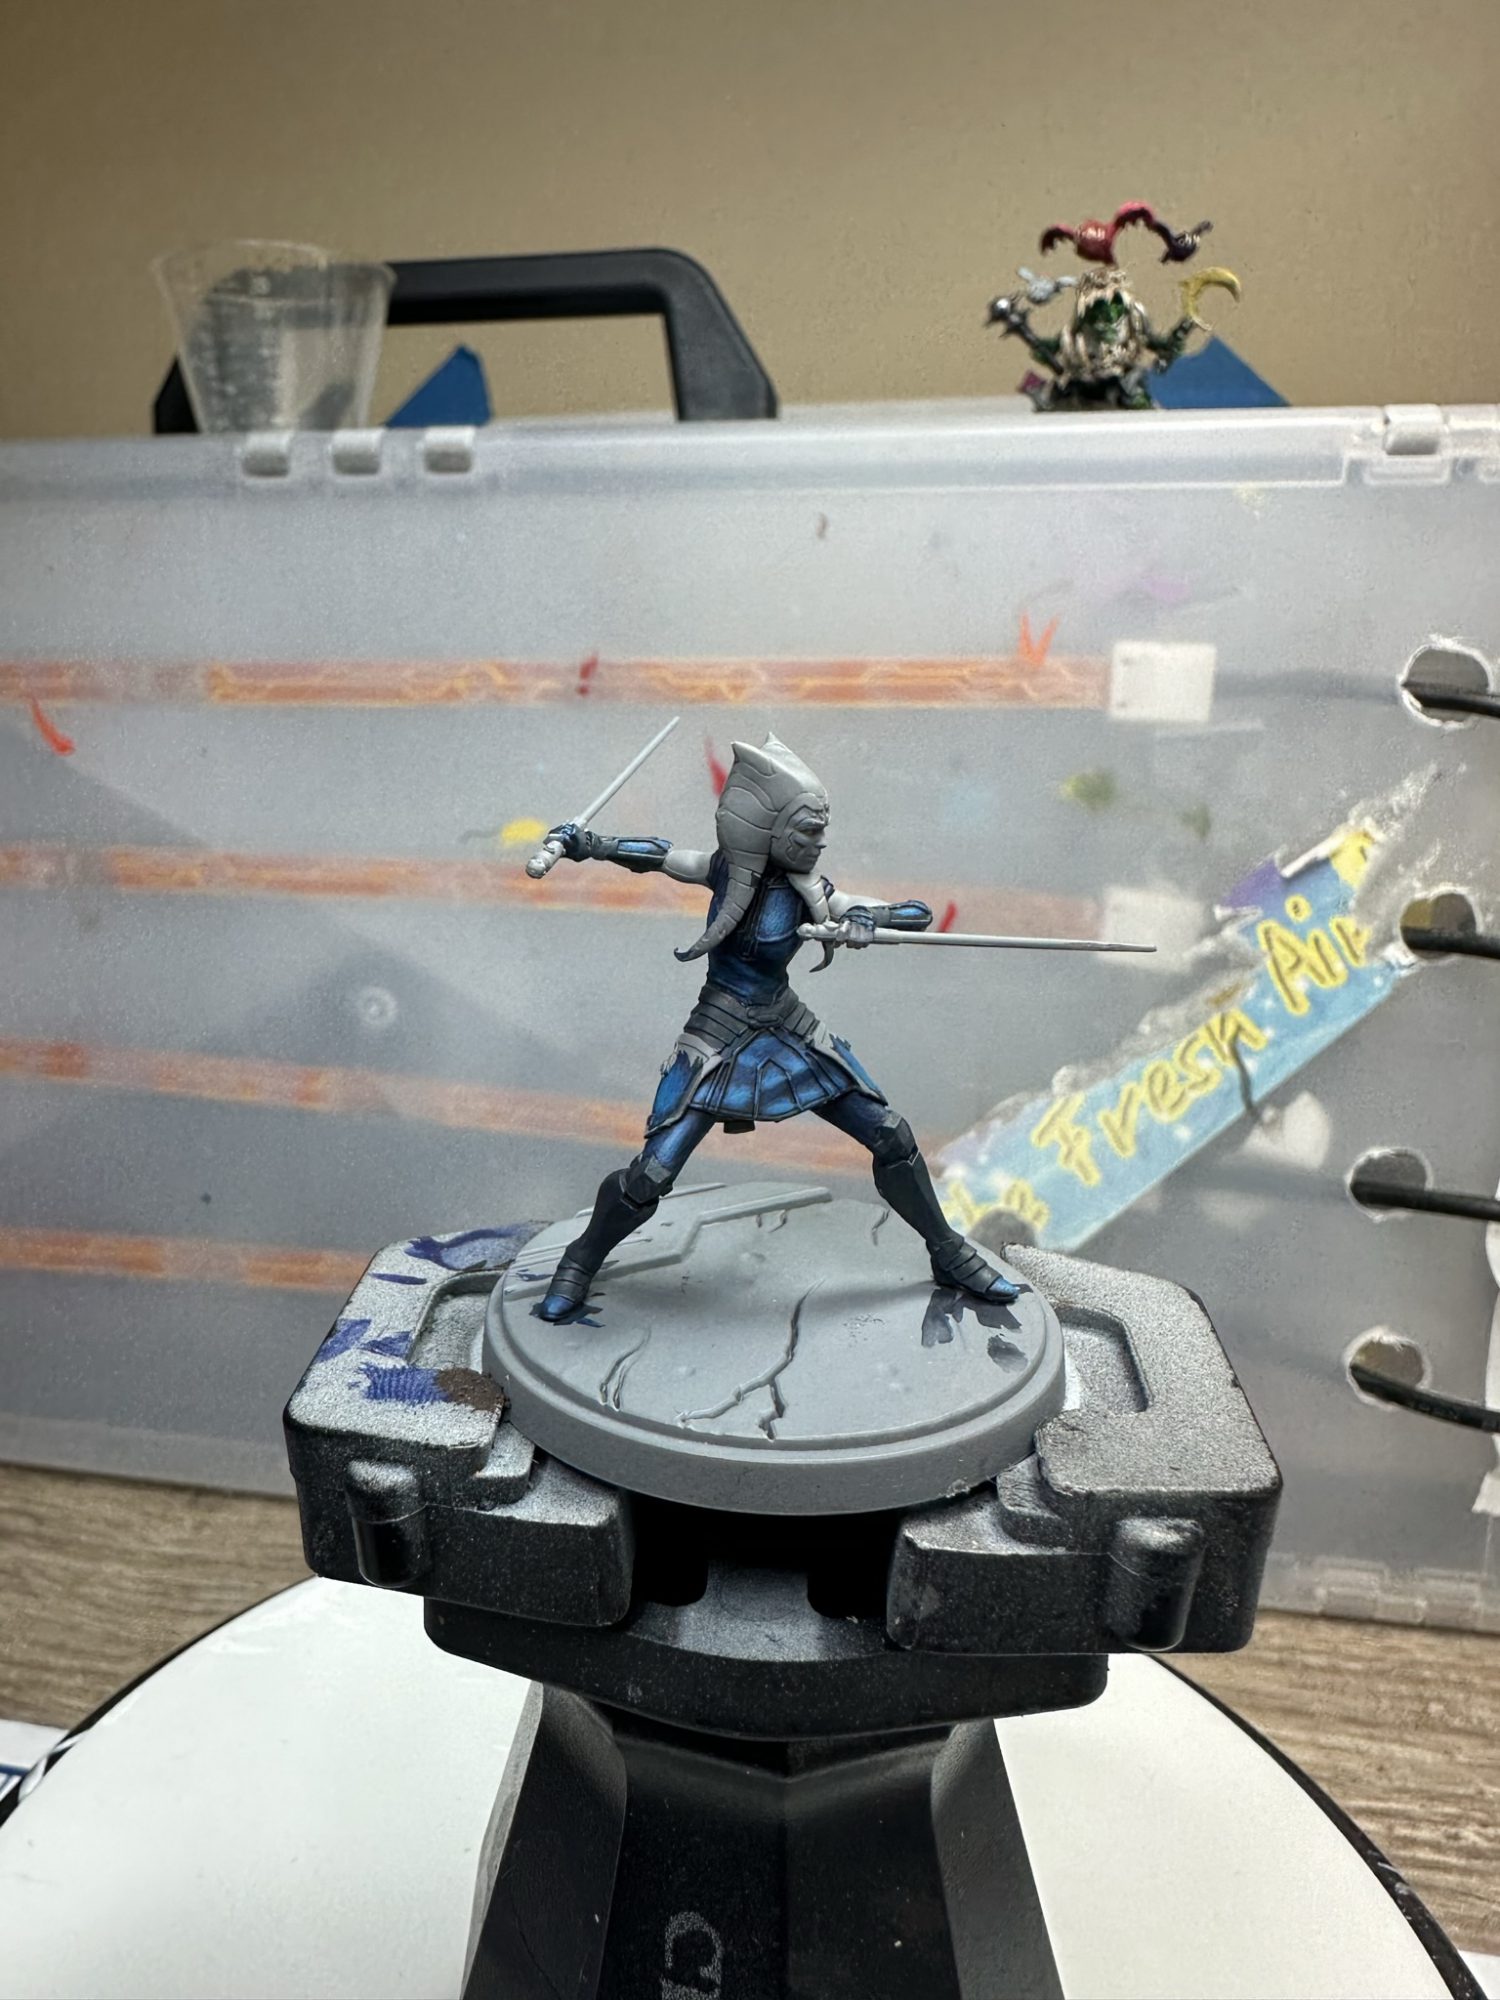
From there I highlighted using Kantor Blue, The Fang, and Ahriman Blue. The Payne’s Grey (and ProAcryl paints in general) make fantastic bases for blending as they are super rich in pigment. They sort of of overpower other paints initially meaning you can slowly add your blending colors in to get really smooth transitions.
In the above image I went ahead and base coated the armor panels on her boots and skirt with black. Their final color will be Eshin Grey with a Dawnstone edge highlight. The siler trim on her skirt was Scale75 Black Metal and Speet Metal. For her skin, I began with a layer of ProAcryl Burnt Orange on her arms and face. I like to do eyes after the first base layer of skin so I went ahead and did hers at this point. A near-white, like Corax White, is my go-to here.
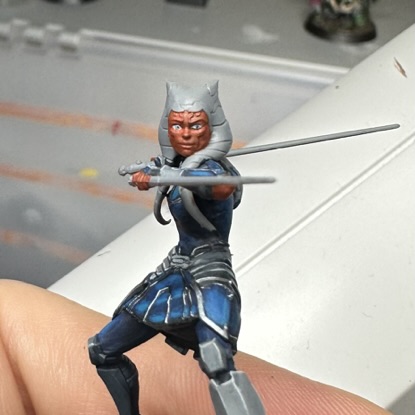
One of Ahsoka’s defining features is her blue eyes, so I figured I’d take a stab at painting irises. There was no secret trick, just careful dotting with my smallest brushes. It’s easy enough to paint over and try again until it looks ok.
Filling in her face markings is easy as they’re sculpted in, and I did it with Corax White at the same time that I painted the lekku. I then highlighted her face and arms by mixing ProAcryl Orange into the Burnt Orange. While I don’t have progress pictures of these stages, it was a basecoat of Corax White, highlighted with Pallid Witch Flesh and ProAcryl Transparent White (another magic color.
The blue stripes on the lekku began with Payne’s Grey once more and were also highlighted with Kantor Blue. However, instead of going to Ahriman Blue like I did on the clothing I went with Lothern Blue. Not only is it brighter, which is what I wanted on the highest points, it also has less green in it and keeps it a purer blue. Because I went with light highlights this tonal difference is subtle, but it helps to distinguish the two major blue parts of the model.
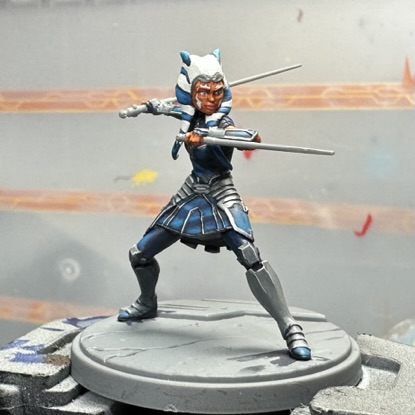
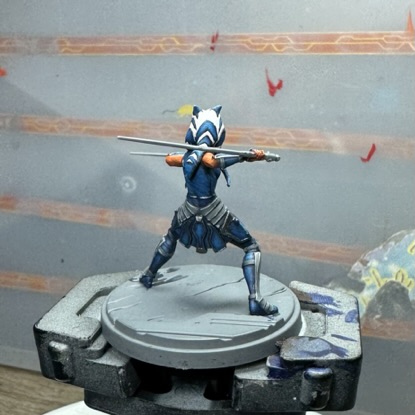
The final step was lightsaber glow and basing. I used the same techniques I used in my Obi-Wan tutorial. Drybrush Transparent White in the areas where I want glow, then drybrush over those areas with Vallejo Flourescent Blue. The sabers themselves are painted white and then glazed with the fluorescent color and edge highlighted white in the direction you want to display the miniature.
I’m lucky in that my basing scheme uses red-orange sands and washes, which helps contrast against all that blue!
