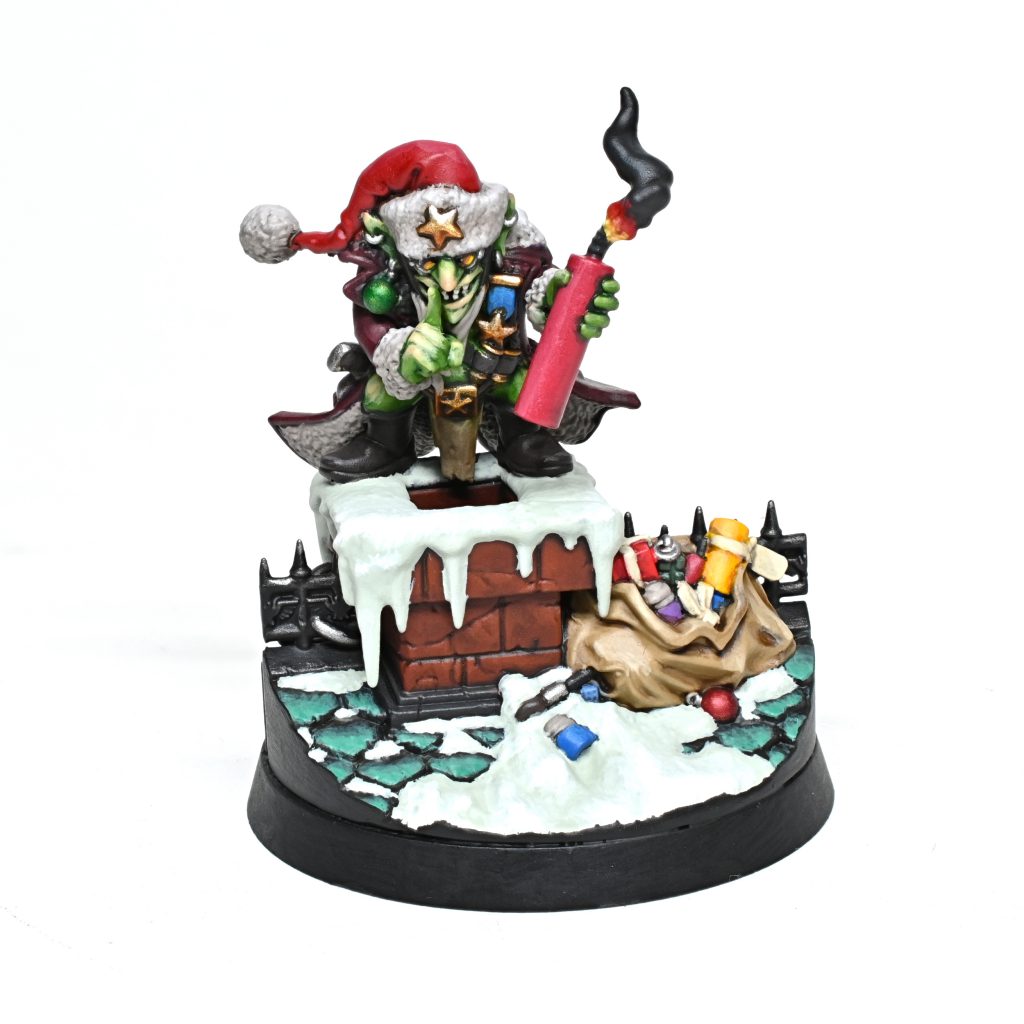
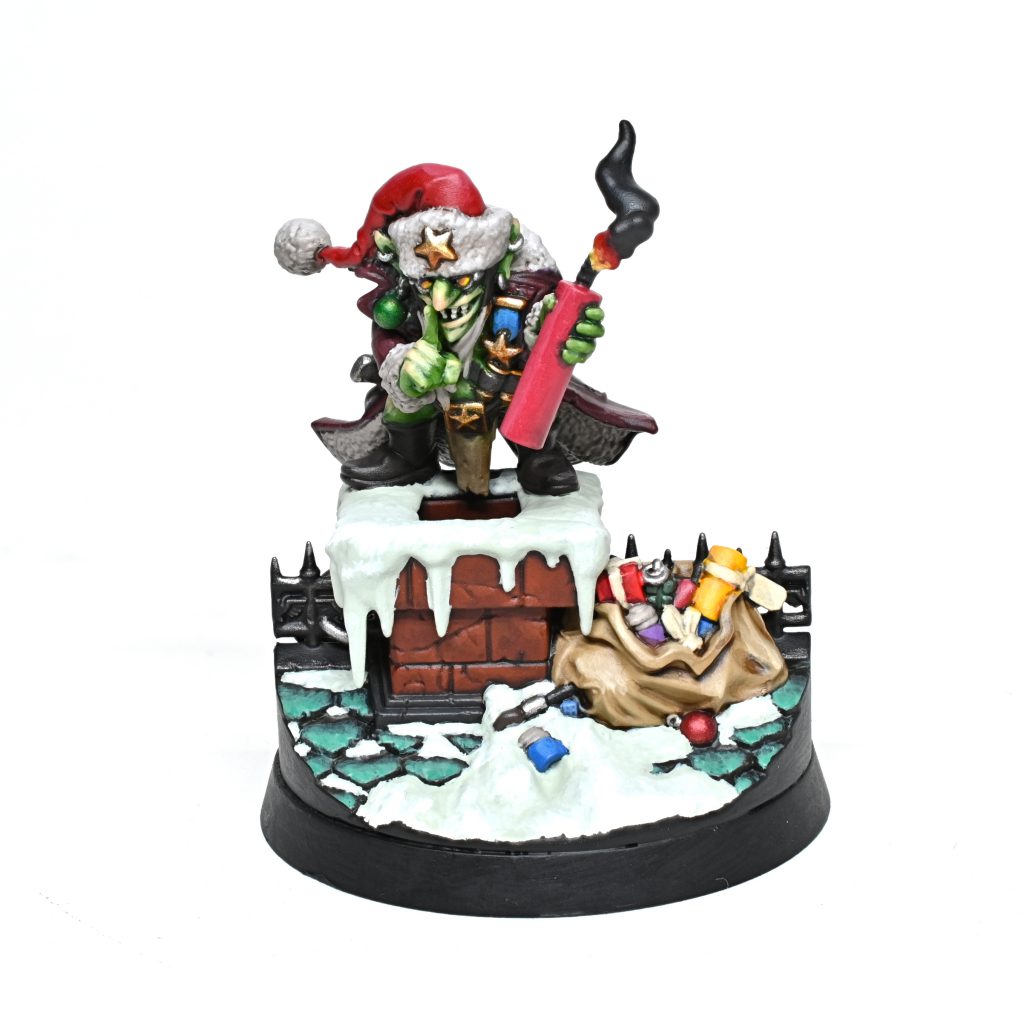
Games Workshop has a pretty wide range of model material complexity, at one end you can do necron warriors with maybe three at the bare minimum, and at the other you have their mini-dioramas which can include an uncountable number of different surface textures and materials.
Da Red Gobbo’s Surprise is very much at the latter end of that range.

Quite frankly this model has a ton of details, which I am going to lay out how I did in the following approximately 1500 words. Note that this is with me keeping it simple rather than going all out on effort, the kinda tome that would end up being is the thing of nightmares. (Mostly mine for having to write it.)
I would suggest using this article as a reference rather than a step-by-step guide, as most details can easily be winged in your own style but my choices and thought process might help when you get stuck!
One last bit before we get into the actual body of work, I usually tend towards base coating everything all in one go before moving on. Which is normally fine when writing a guide since often that means at most four or five colours before washes that I then augment with details later on. The Red Gobbo is going to make that rather impossible, instead I have broken the various details off into smaller descriptions mostly from start to finish on a particular material.

Unfortunately, this doesn’t really align to the chronological order of the brush work so I’ve elected to do small collections of photos associated to a particular grouping of recipes that have been cut out of my normal progress pictures. This does mean you’re going to get to see some pixels and blur from poor focus but I lack a fancy streaming set up, so this will have to do for now…
Enough distracting myself from the horror I am about to unleash upon you poor reader, let’s start with the Gobbo himself!
There are an absolutely obscene number of different textures concentrated into this the surface area of a single grot, which is going to make for a lot of different recipes to lay out…
To begin in a familiar place for me his skin is just my usual ork recipe thats been unchanged for the last couple of years, start out with a basecoat of Vallejo golden olive washed Biel Tan in a sloppy allover mess before just hitting the deepest recesses with coelia to make them pop. Moving on to the highlights on the skin, now if you wanted to stick to a more conventional ork skin tone you could use some saturated greens, perhaps elysian green or moot, but my style of orks are a little different. I start layering in the highlights with a very thin layer ogryn camo, then follow it up with krieg khaki and finally ushabti on the brightest points. You could stop there but I like defining the most flushed bits like ear tips, knuckles and lips in kislev followed by cadian, in almost a reverse highlight. The idea being the extremities are a darker colour from blood or other fleshy bits being particularly close to the surface.
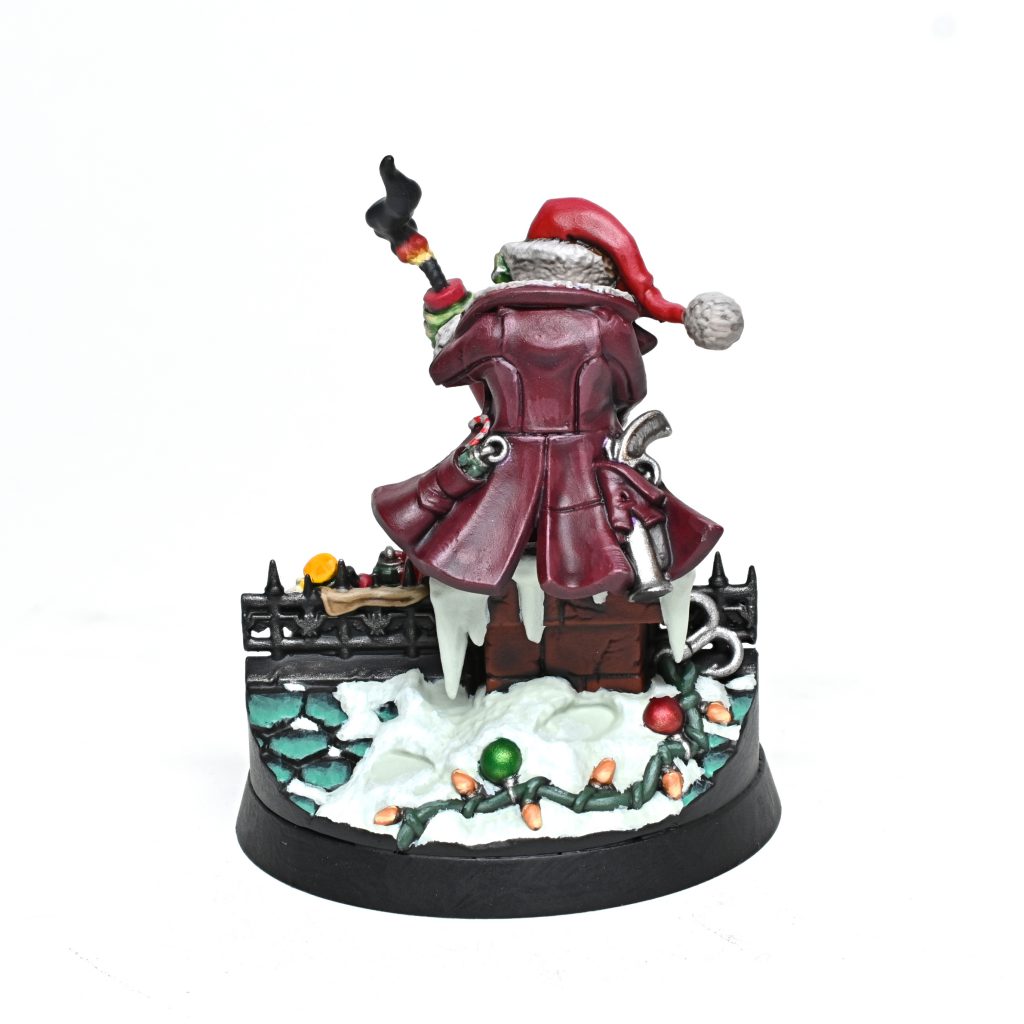
Gobbo has a couple of colors of red leather and cloth on him, with the most substantial bit being his leather coat which I begin by basecoating vallejo nocturnal red, before washing it with druchii. Once that dries we move on to something that is going to be common to most of the materials in this article, a way of getting quick highlights without going digging for a specific paint is to select some bright yellow/white that you can mix into the base coat still sitting on your palette to get a sequence of highlights. In this case I used screaming skull for most of the colours on the model and unless I say otherwise you can expect that is what I used, this saves a bunch of time in hunting down colours when you have this many materials on one model but you need to be careful as it can result in slightly desaturated highlights that skew towards being similar.
The other thing that you can expect to see a lot of on this model is using very heavily thinned agrax, it should be almost transparent as that will mean you get little pooling with only the recesses and folds getting notable tinting if you are careful to keep your brush very lightly loaded. While I often drown things in a wash, you usually want to avoid that on these cleaner materials as that makes more work later when you need to clean up with highlights. Most of Gobbos non metallic details get the same sequence of thinned agrax followed by highlighting with a sequence of mixes of the base coat and screaming skull, circling back to the reds, his hat is exactly that recipe: Mephiston followed with thin agrax and highlights of mephiston and screaming skull.
The rest of the details that applied to include his loin cloth (based zandri), the stick of dynamite (wazdakka), the fuse (corvus black), and the ribbon his medal hangs from (caledor sky). His boots are close other then a wash and is a leather I have used a few times, dryad bark washed wyldwood then highlight up dryad and screaming skull. The fur goes the other way and shares the common wash but gets highlights by mixing in white to the basecoat of Rakarth as I actively wanted a desaturated and bright white. The candy cane is basically just the same colours of the fur but skipping a wash and with bands of mephiston.
There are a handful of different metals festooning our friend, the most obvious are the golds in retributor washed snakebite before highlights of liberator then storm host silver. I used skullcrusher brass for the brass, duh, that got washed agrax and highlighted with the basecoat and stormhost. Then there is the bright steel common to most of the model, which is iron hands steel washed agrax with highlights of the basecoat and stormhost.
The goggles are the penultimate detail of this section, where it follows our usual lens pattern over a base of corvus black then moving up in crescents of mournfang, skrag, yriel, and finally flash gitz, with a simple reflection in white. We can finally be done with the Gobbo once we get to the detail of the sparkle of burning fuse, which is just a quick blend from flash gitz through mephistion and then into corvus black and black legion for the smoke.
Next up lets look at that roof that holds everything up…
The roof is a bit less overwhelming but still more different colour recipes then a surprising number of my army schemes.
We’ll find a couple of new metal tones here along with the bright steel reused from above, starting with the copper roof. It has a coat of Warplock bronze that then gets washed a couple of times with wyldwood, which will all but obscure it but serves to give a slight metallic hint to the areas not covered by corrosion. Which in turn is added by a series of thin coats of syberite mixed into nhilakh oxide, I tried to add these in a slightly streaky and varied mixture to imply the corrosion settling in different ways depending on the wear and imperfections of the roofing tiles. I was trying to be high contrast with this, but I think it is a little too high contrast so pulling it back a bit with a dark brown mixed in might help. The roofing iron is iron hands steel coated with up to two coats of black legion to darken it down before reusing the basecoat for highlights.
The chimney has a base that is Skavenblight dinge washed with nuln oil that I ended up skipping a highlight on. The bricks of the chimney itself are simple as well, beginning with Monument hobbies burnt sienna, a wash of Agrax and then the basic highlight of the base coat and screaming skull.
The most surface area of the roof is covered by snow that is at best a experimental choice of colours, it is just Monument bright warm grey layered with mixes of the base colour with white added. When applying the layers I wasn’t really intending to create a highlight rather more implying the different behavior of the snow. Closer to the warmth of the roof it will be a bit melted or compressed in the footprints, and thus darker instead of the bright white of fresh loose snow. Piled up on the snow there is the set of Christmas lights, which end up having a trio of new materials. The rubber coated garden wire is waagh flesh washed nuln and then the standard highlight pattern, the stray Christmas ornaments are just thinned warp lightning and flesh tearers respectively. The light bulbs are a simple gem effect achived with jokaro orange mixing up towards dorn yellow, I wanted to keep them as a simple constant orange because there was already enough complexity but you could use mephistion, warpstone and caledor sky as the base colours if you wanted the RGB classic thats in NA.
Ok almost done, just Gobbo’s sack left now…
Ok so everything here, with one exception, has the same thinned agrax wash and basecoat with successive mixes of screaming skull mixed in. The only outlier is the labels got a wash of sepia instead, and honestly that is probably unneeded you could just use the agrax here and be fine. Now, this has been long enough already so lets bash out a list of the various bits and bobs that are new here:
- Red presents are evil suns
- Paint pots have rakarth lids on top of genestealer purple and caledor sky
- Grenades are waaagh flesh like the cable on the christmas lights
- Ribbons, bows, and lables are screaming skull
- The lonely spilled die is calgar blue
- Finally the sack itself is zandri dust
A detail you may note I missed until after taking pictures is to squiggle in a few lines of text in wyldwood on the label for that one present.
So after all that effort all we have left is to varnish and apply a couple of coats of black legion to the rim of the base. (The molded design means that you need to be super careful with this to avoid potentially having black on the roof or snow.) Congratulations are in order for anyone who managed to read the entirety of this article without going mad in the way it sent me while writing it, laying out everything I did on the model seems frankly absurd when looked at all together and I was keeping things simple, hats off to the real painters who did this guy to the level of detail the Eavy Metal painters did…


Have any questions or feedback? Drop us a note in the comments below or email us at contact@goonhammer.com.


