While I made many good decisions when I was at the 2022 Warhammer 40K Grand Narrative in New Mexico, and made some notable bad ones (I didn’t rent a car), I made a second decision after either too much alcohol or not enough alcohol: I bought a Forge World Thunderhawk Gunship. And when I got home, it was promptly placed into a box and taken over to my still-undergoing-renovations house, as I was planning on moving out of my condo then. And then, inevitably between furniture delays and the desire to build and paint an entirely new army (Dark Angels), the Thunderhawk box kind of sat.
But I was determined to get the thing built and painted before the end of 2023. During the NoVa Open 2023, the vendor I was second most-interested in talking to (after Toledo Game Room) was the Magnet Baron, a purveyor of fine magnets for the discerning Wargamer. M. Baron had been advertising a magnetization kit for the Thunderhawk, to enable it to securely fit on a flight stand. With a flight stand (consisting of a foot-long acrylic cylinder), four 25mmx3mm magnets, and a nifty little rock piece to hold the flight stand to a base, I decided it was time to begin. And thus, dear reader, I will take you through my journey on building one of the coolest Forge World Models!
Now here is where I will refer you to my friends Rob and Greg’s article: How to Build Everything: Warhound Titan. Much of what they said in that article applies to the Thunderhawk: this is a big Forge World resin kit. You will need tool beyond your clippers, super glue, hobby knife, and pin vise. In my case, I focused on using 2mm brass rod because I had a drill bit that size and they were nice and sturdy. But in terms of cleaning and building the large chunks of resin, you’ll have to do the same process with this kit as they did with their Warhound Titans. Everything they said then is still true today, except the Thunderhawk is probably a little bit more forgiving – it’s a 2017 mold and so enjoys the benefits of modern GW engineering. Likewise, Jack Hunter’s article on assembling the Reaver Titan and the drill bits necessary was something I probably should have read *before* working on my Thunderhawk.
First things first: READ THE INSTRUCTIONS! When it comes to assembling major sections of the Thunderhawk, those have to be done in order. The model was designed to fit together in a specific way.
Alright, now, to the steps of my Thunderhawk build:
The first steps are in building the fuselage, and the fuselage consists of seven main sections: the assault ramp/nose cone, the canopy, the front top fuselage, the front rear fuselage, the front bottom fuselage, the bottom rear fuselage, and an intake exhaust vent to hold the bottom two portions of the fuselage together. Let’s take these in turn:
1. The first steps are going to be assembling the nose cone. Just follow the instructions, though adding a set of magnets to hold the door closed may not be a terrible idea. I wish I had done it in mine, though after priming the door stay closed via friction.
2. To build the top front fuselage, you will have to add the cockpit piece. At this juncture, I went ahead and assembled the entire cockpit, painted it up, built, assembled, and painted the two pilots. For the full assembly of the model this section was going to be covered up by the canopy. I also drilled two 2mm holes into the back of the top front fuselage to pin it to the top rear fuselage.
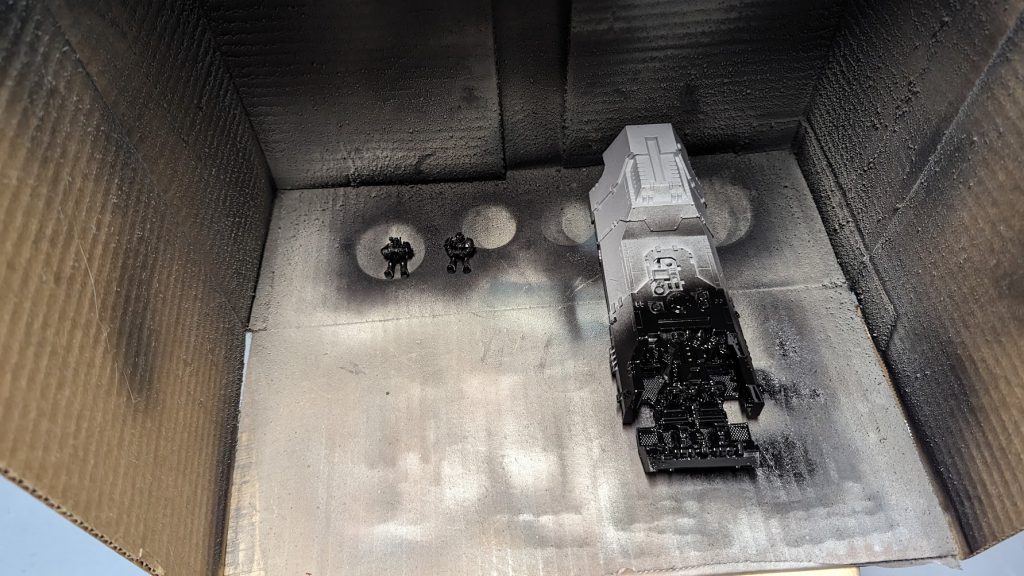
3. For the canopy, I just used a bunch of Vallejo Liquid Mask on the portions that are supposed to be transparent.
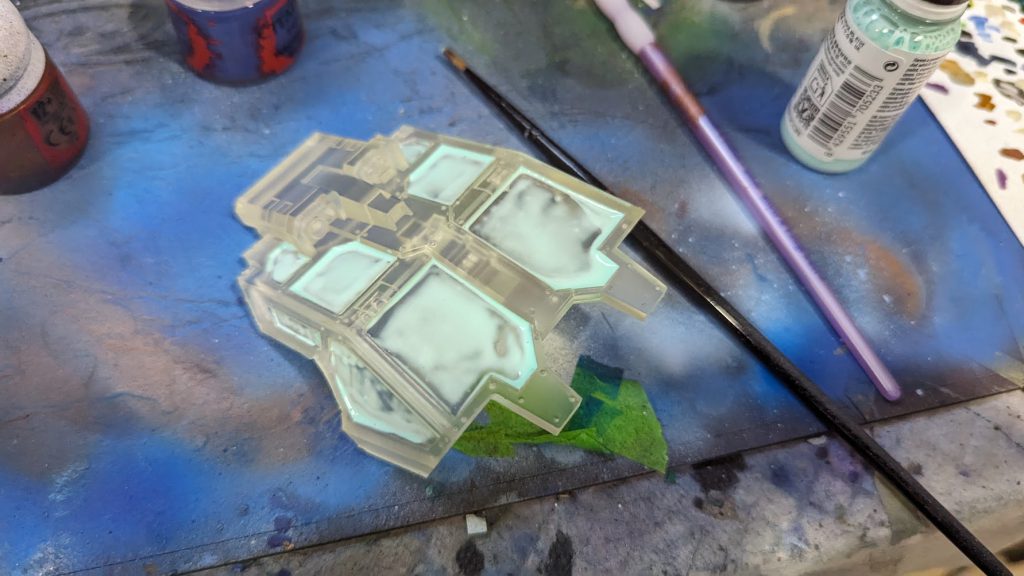
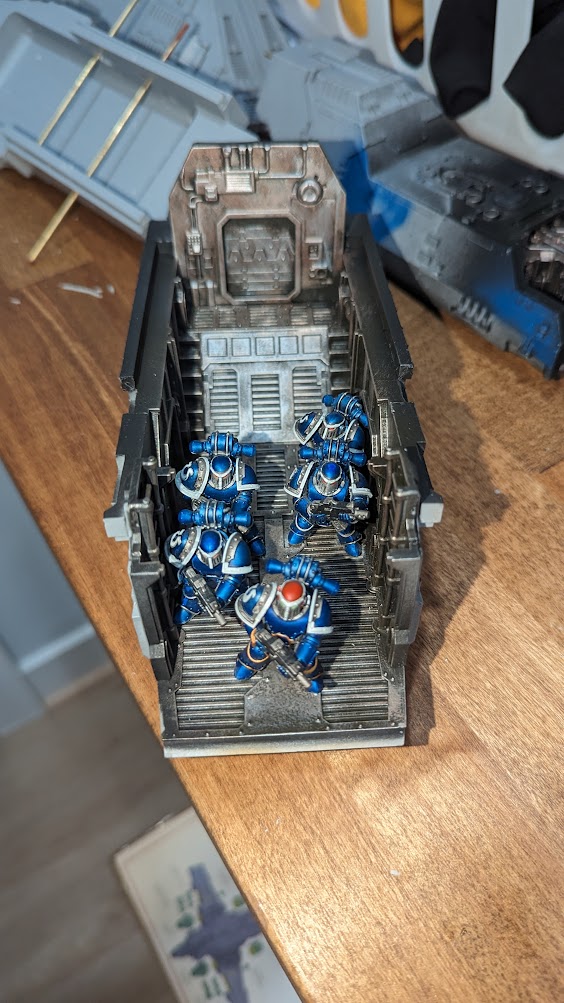
4. For the bottom front fuselage, you have to put in the two ladders, and an internal wall. I painted up the bottom front fuselage as well, and put in a small squad of Space Marines in there. I also added in two holes to pin into the bottom rear fuselage.
5. The top rear fuselage requires you to assemble the airfoils. You can leave them to flap free, but even though my Thunderhawk technically *can* do that, it doesn’t necessarily want to. You will also be attaching the attack wings to the top rear fuselage, and the top part of the main wings will be attached to the top fuselage.
6. The rear bottom fuselage is going to be one of the more deceptively complicated pieces to get ready for assembly. This is where you will be attaching the main wings to the fuselage. I also drilled more holes into the connection points between the front and rear to help hold them together.
7. Piece #5, the “Centreline Engine Intake”, is a large piece that will overlap between the two bottom sections. The piece is where the Thunderhawk balances, which I did not realize when I was building the model. This, dear reader, is where I made a major mistake in building my Thunderhawk. I should have, at the assembly stage, drilled a hole one inch in diameter into this piece with a wood drill bit. This would have given the Thunderhawk additional stability because I could have put a one inch magnet into the hole and had the support rod fit into the hole. Please don’t make the same mistake I did!
Keep all of these sections separate for now.
At this point, it was time to take care of the most challenging part of assembly: making sure the wings can be attached to the Thunderhawk.
As can be seen, the wings are gigantic solid chunks of resin. That means they are heavy. And while you could simply epoxy the wings to the hull, the risk with that is the wings will torque themselves off. So what I did was I drilled holes into the fuselage to fit brass rods. These brass rods would be long enough to have about an inch into both wings. I put two rods into the bottom fuselage and one rod in the top fuselage. I then dipped the rods into paint to mark where on the wings to drill.
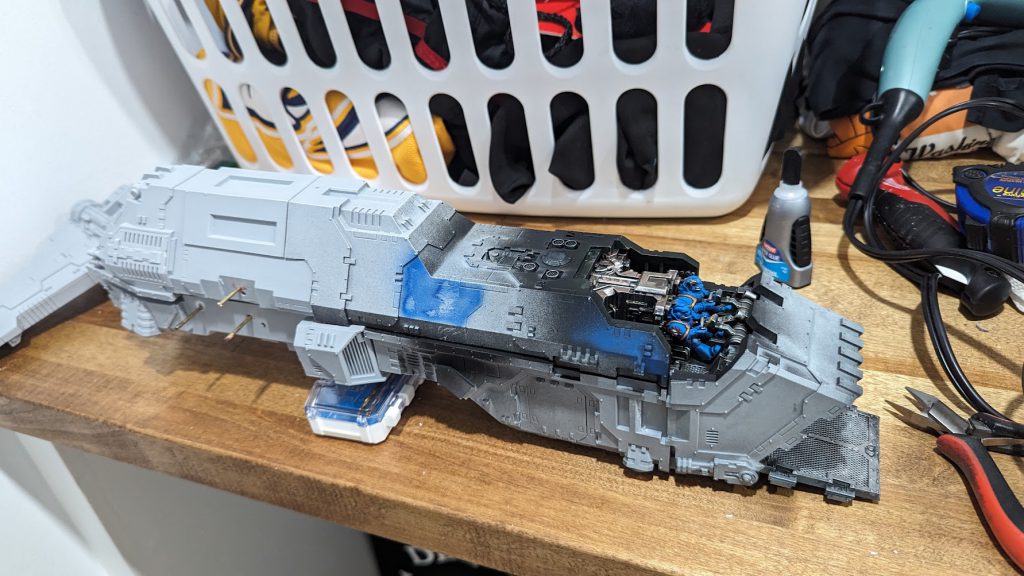
Once everything was drilled, I used five-minute epoxy to assemble the various pieces except for the nose cone. I put the two top fuselage pieces together, then I put the three bottom fuselage pieces together. I then epoxied the top and bottom fuselage. As this was setting, I then epoxied the main wings together to help hold the top and bottom fuselages stay together. After a harrowing ten minutes or so, everything set without any major gaps. The hard part was done!
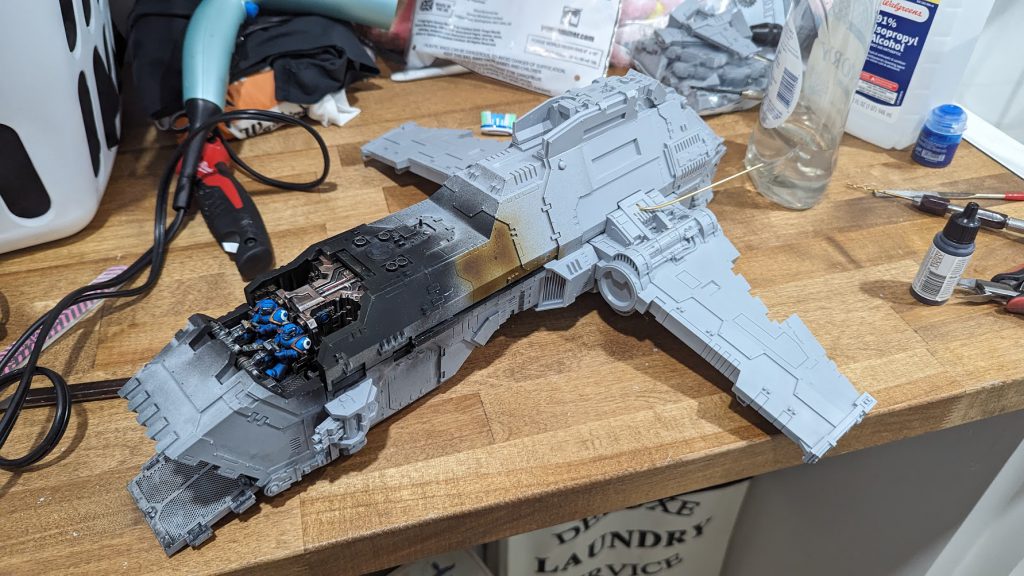
I then attached the nosecone. Because the nosecone was having some trouble fitting, I assembled the hull-mounted heavy bolters to help set the nosecone in place. This worked wonders, but would prove mildly difficult for painting.
Afterwards, I mostly continued to follow the instructions to super-glue the various portions of the Thunderhawk together. I added a brass rod support into the more prominent upper tail. For the attack wings, because I was planning on having the wings normally “up”, I put magnets into the wings and the wing coupling to hold them up. I also drilled holes into the fuselage in order to give the attack wings some additional support. This was probably not necessary, but it ultimately helped support the model. I also left the attack wings off the main model for ease of painting.
Ultimately, I had the following sub-assemblies by the time I finished building the Thunderhawk:
1) The main hull + wings
2) The attack wings
3) The Wing-mounted Heavy Bolters
4) The Missiles
5) The Turbolaser
6) the Turbolaser Batteries
7) The sixteen thrusters
I did not build my Thunderhawk with the landing gear extended. I instead drilled another hole (about 10 cm) into the front landing gear foot, and put in a 10 mm acrylic rod in order to give the Thunderhawk additional support. This has kept the model relatively stable for now.
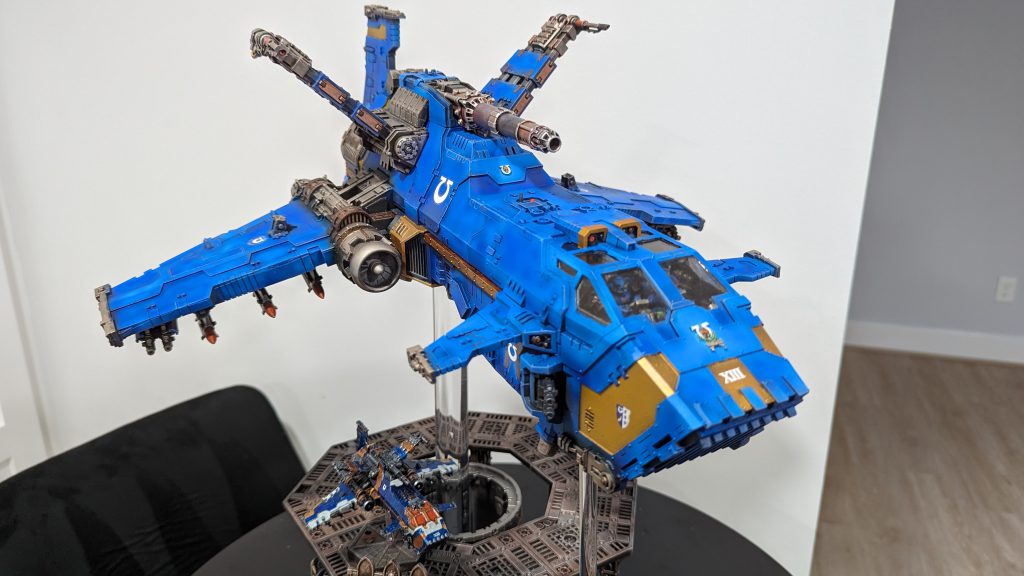
I primed the model with a can of GW Chaos Black. It’s expensive but for Forge World Resin, it’s probably the best primer to work with. I then gave it a spray of Munitorum Varnish to protect and seal the primer. There’s some debate as to whether one should varnish then prime, but for this build I’ve had a fair bit more luck with primer then varnish versus varnish then prime. I then painted it up in my current Ultramarines scheme, a process that took a couple of weeks because of various life events.
For my base, I picked up an 8” x 10” Basswood Oval Plaque, and glued the little base connecter onto the base. I then took a couple of Sector Mechanicus kits to build up a terrain-base in order to keep the Thunderhawk consistent with my Ultramarines’ Army Sector Mechanicus theme. After most of the base was done, I wound up deciding to add the additional 10 mm support, so I had to drill a hole into one of the pipe and set the bottom of the 10 mm support in there. It took some adjusting, pinning, and more epoxy, but it eventually worked.
Have any questions or feedback? Drop us a note in the comments below or email us at contact@goonhammer.com.
