Basing is a critical part of the painting process. Armies on the battlefields of the 41st Millennium or the Mortal Realms will find themselves fighting across a wide variety of terrain, from lush jungles to barren rockscapes, industrial wastelands to agrarian fields. Your basing helps tell the story of your army – where are they fighting and why? In the spin-off How to Base Everything series, we look at different methods for basing your miniatures, so that you can locate them in time and space.
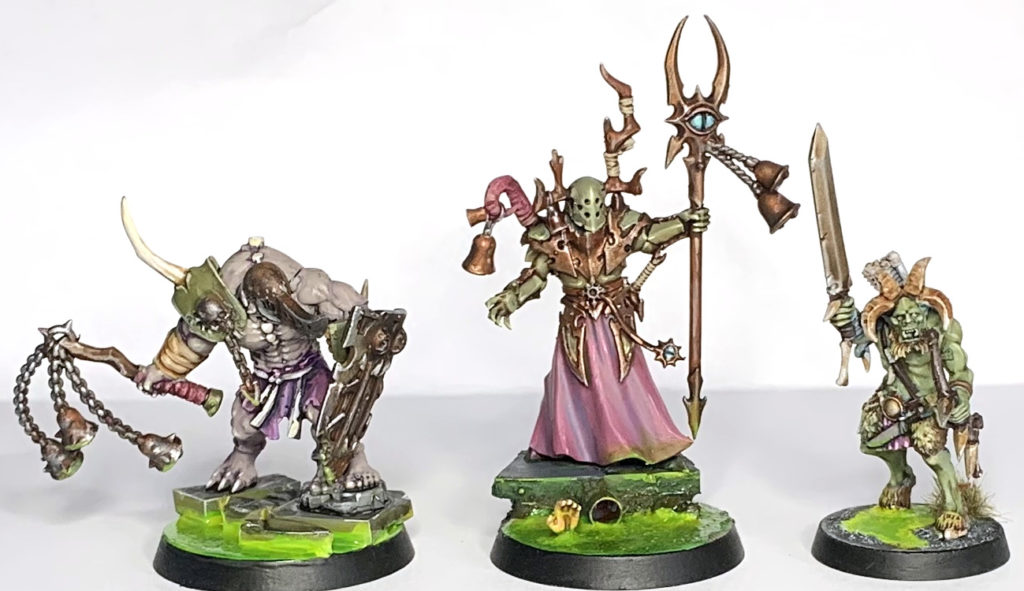
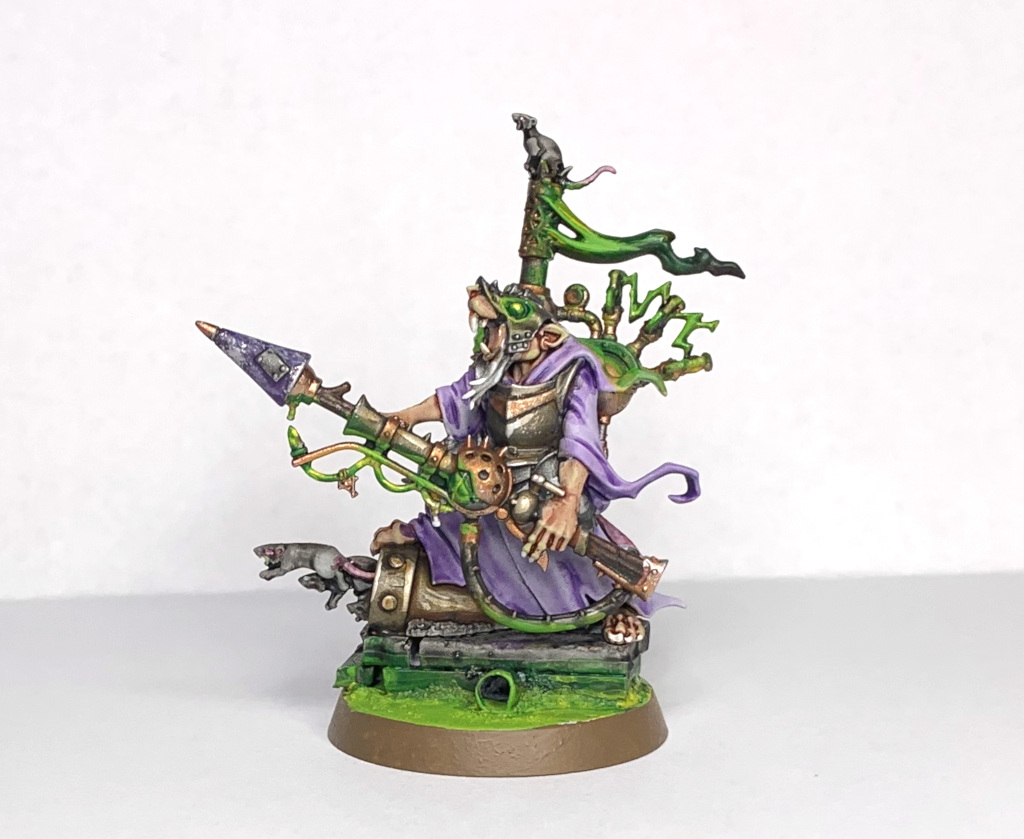
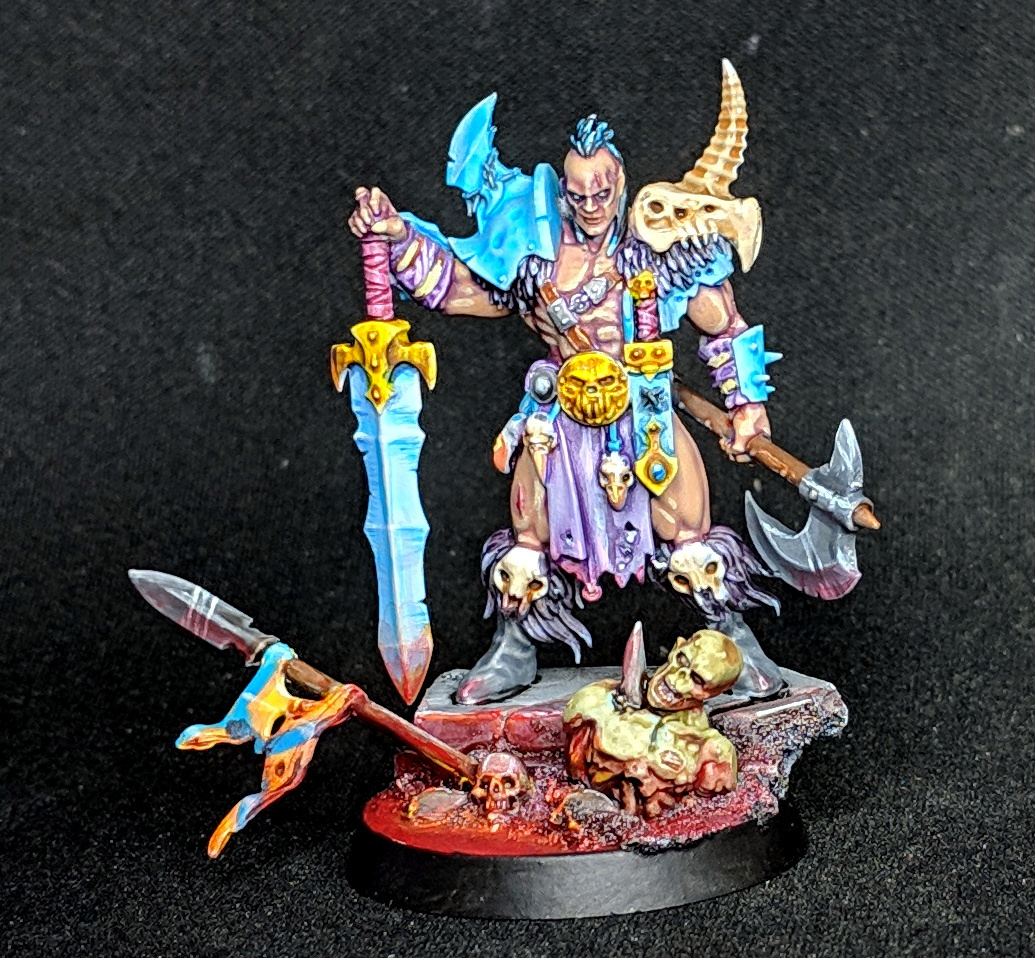
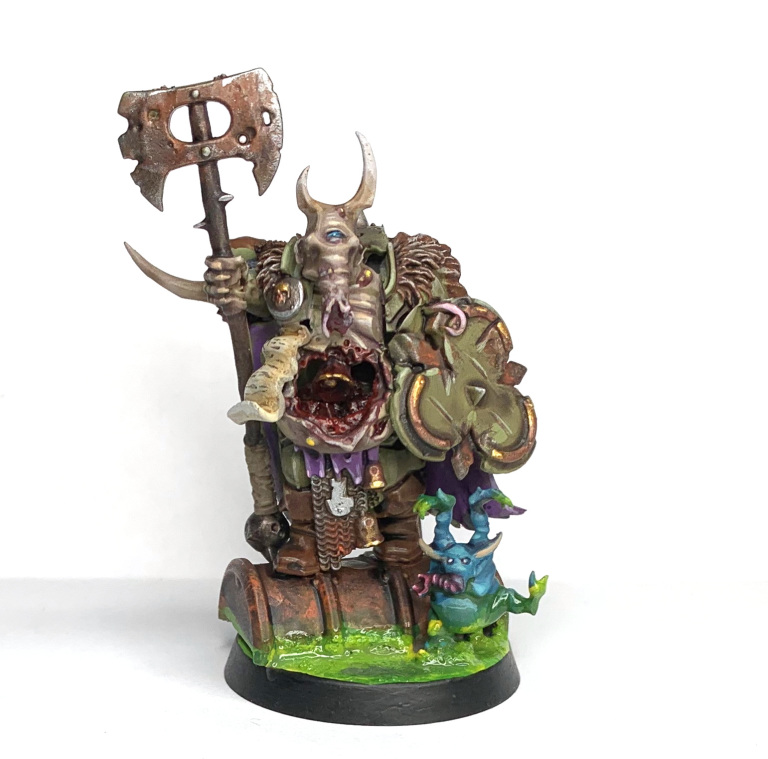
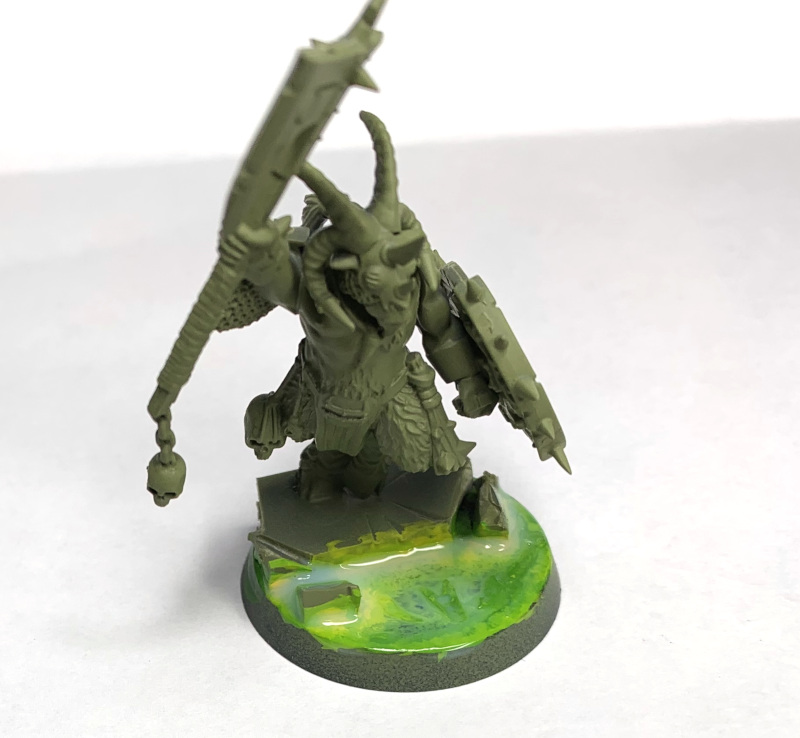
When I started painting up some Nurgle units for Age of Sigmar I decided to go green, that is to go make some slimy looking bases not try and Carbon offset the Sorcerer. What I ended up with was something like this:
What you’ll need
Here’s the paints I used for the green slime bases:
| Moot Green [Layer] | |
| Biel-Tan Green [Shade] | |
| Flash Gitz Yellow [Layer] | |
| 'Ard Coat [Technical] |
How to do it
Step 0
I primed the model in Deathguard green, but any colour will work for the end effect so prime with what you prefer (I chose green because it was all I had to hand at the time). Obviously over black you may need a few more coats.
Step 1
Paint the entire slime-to-be areas in one thick coat of Moot Green, that’s right, 1 THICK COAT, not 2 thin ones, 1 THICK COAT.

Step 2
With the Moot Green paint, still thick and still very wet, get some Flash Gitz Yellow (again thick and not thin) and brush it into the green, pushing it towards the edges of the slime where it meets other things, (rocks, floating debris etc..) so if there was something in the middle you’d want to push yellow towards the item from all sides forming a circle around it in yellowy-green goodness.

Step 3
Because the paint is so thick it’ll still be wet enough for this trick, which is to dab patches of Biel-Tan green into the areas you want some darkness or variation (deeper areas etc..)

Interlude
Because the last 3 steps are really quick, you’ll want to hairdryer the model until it’s dry, or go for a walk because it’ll take a few more minutes to dry otherwise. Once it’s fully dry it’ll look like this:

How depressingly matt
Step 4
Now get your Ardcoat, and absolutely smother the greeny-yellow goodness in it.
Step 5
Once that’s dry (again Hairdryer is the pal you need), wash any recesses and surrounding areas in Biel Tan

I also painted the base rim at this point, because I can hairdryer it dry the same time as the wash.
Step 6
Time to hit the edges of the rocks with some Moot Green, and a bit of Flashgitz Yellow for the bits you want to brighten.

et voila. Your new green swamp is all shiny and nice. (Ignore the black bit on the edge I messed up with a stray hair on the brush).
Get Gross With It
That wraps up our tutorial on slime bases and hopefully it’s given you the inspiration you need to start making your own gross, slimy bases. As always, we’re excited to see your results, and if you have any photos to share or questions, comments, or feedback, drop us a note in the comments below. Or shoot us an email at contact@goonhammer.com.

