Basing is a critical part of the painting process. Armies on the battlefields of the 41st Millennium or the Mortal Realms will find themselves fighting across a wide variety of terrain, from lush jungles to barren rockscapes, industrial wastelands to agrarian fields. Your basing helps tell the story of your army – where are they fighting and why? In the spin-off How to Base Everything series, we look at different methods for basing your miniatures, so that you can locate them in time and space. In this week’s How to Base Everything, Goonhammer’s resident(?) Catachan jungle fighter, BuffaloChicken, is here talking about how to make jungle bases for minis.
I’ve been asked to produce a basing tutorial for my jungle theme, and when the Goonhammer Squad calls I (sometimes) answer. If I did it too regularly, they’d start to think I’d been domesticated.
But this article seemed like a valuable addition to the hobby vault, and while I personally opt for a jungle theme this method should work just as well for a more traditional woodland or autumn base. Just swap out a few ingredients to taste, using the handy links at the bottom of the article, and otherwise follow the directions. The Creating and Basing Terrain article should be required reading before you really get started, as it has a lot of inspiration about using terrain (and similarly, basing) to help tell a story around your models. The Playing With Your Bits article also has some advice on acquiring, sorting and storing bits, which applies to creating fun bases as well as models.
BuffaloChicken’s 15-Step Method to Amazing Jungle Bases
Despite “15 steps” sounding like a lot, these bases are relatively straightforward and simple. The most challenging part of a good forest base is collecting all the right materials, and to make that as easy as possible I’ve included links whenever a product or item is mentioned. Links are not necessarily to the cheapest or most ethical places to purchase items, so decide that on your own – they’re simply included as a starting point to illustrate the exact items being used. At the end of the article I’ll include some additional links for hunting down your own preferred materials.
Step -2: Assemble your model and glue it to the base along with any additional desired bits of rubble, discarded equipment, scampering wildlife, or other scenic elements. My armies all have a “temple ruins” theme pulling from an eclectic assortment of Eldar, Tomb King, and Lizardmen parts.
Step -1: Apply PVA glue to base and dunk in sand – I actually dislike most sand sold for model basing, as the grains are too regular in size. I use sand from outdoors, with a grain mix like this photo, baked at 400 degrees to sterilize and dry it. From browsing online, this seems like one of the best options. Alternatively you can buy two different hobby sands of different grain size and mix them… if you’re doing a whole army, you’ll likely need two containers anyway!
Step 0: Prime Krylon Flat Black Paint+Primer.
Those three were free steps, on the house, and don’t count toward your 15 basing steps. Lucky you! With those pre-steps done, we proceed to the main event.
Step 1: Vallejo Charred Brown basecoat on soil.
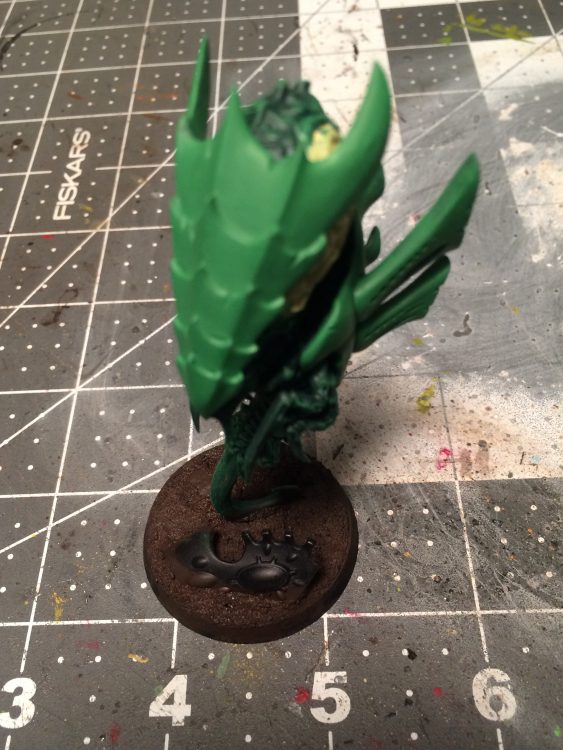
Step 2: Vallejo Earth drybrush on soil.
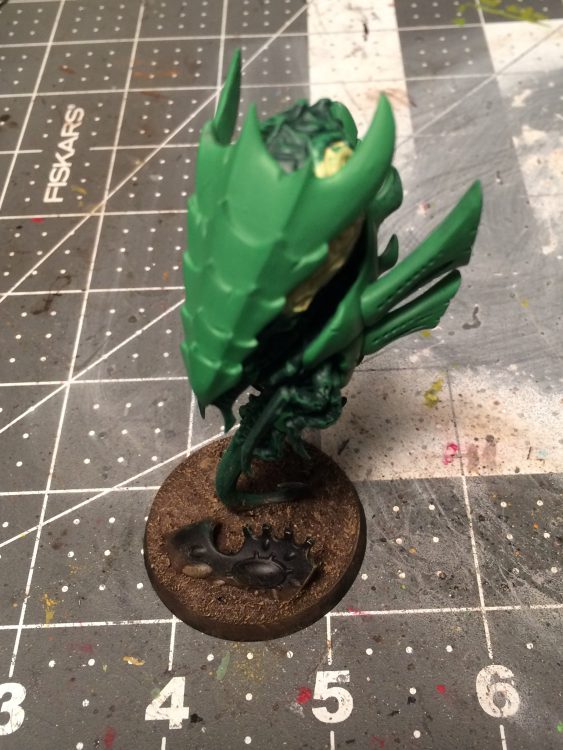
Step 3: Vallejo Desert Yellow basecoat on ruins and stone.
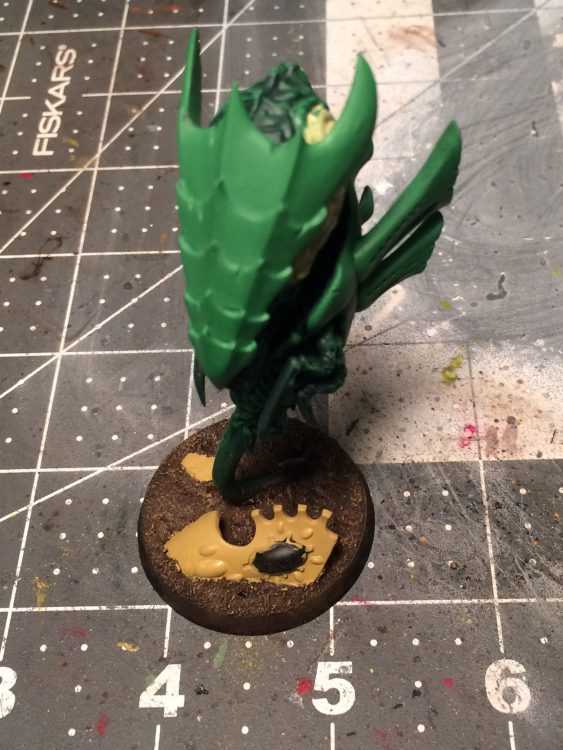
Step 4: Vallejo Bonewhite drybrush on ruins and stone.
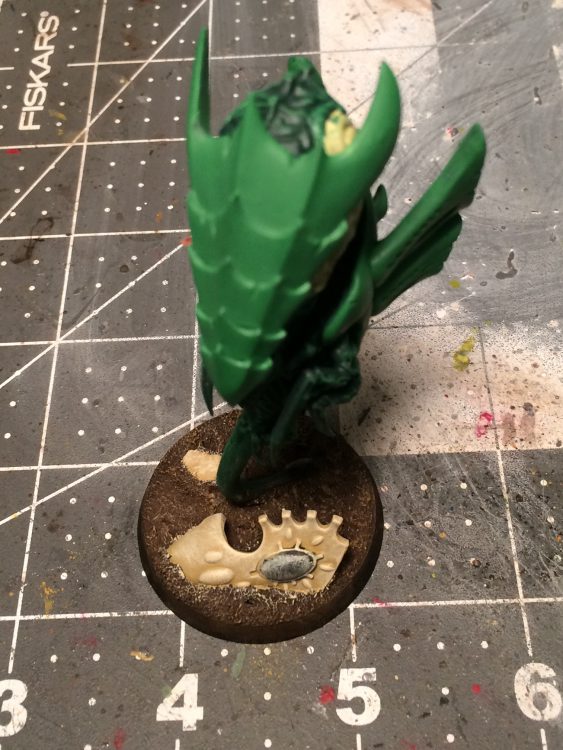
Step 5: Citadel Hashut Copper basecoat on metal bits.
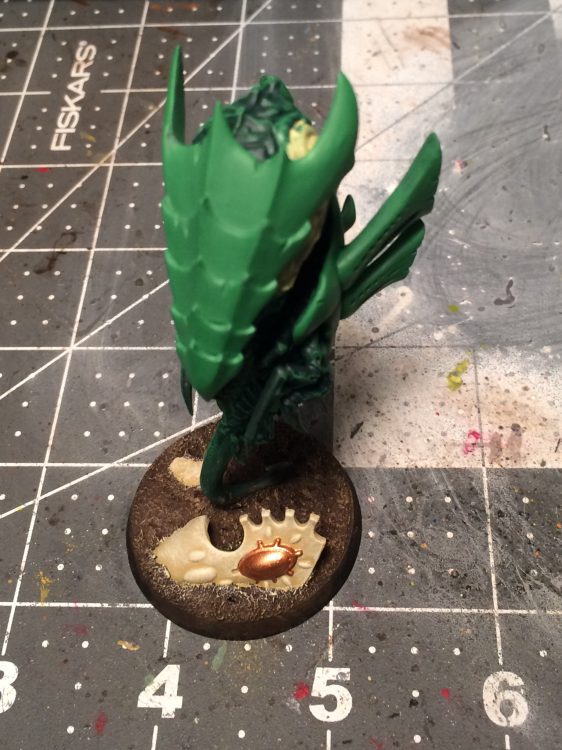
Step 6: Citadel Agrax Earthsade wash on ruins, stone, and metal bits.
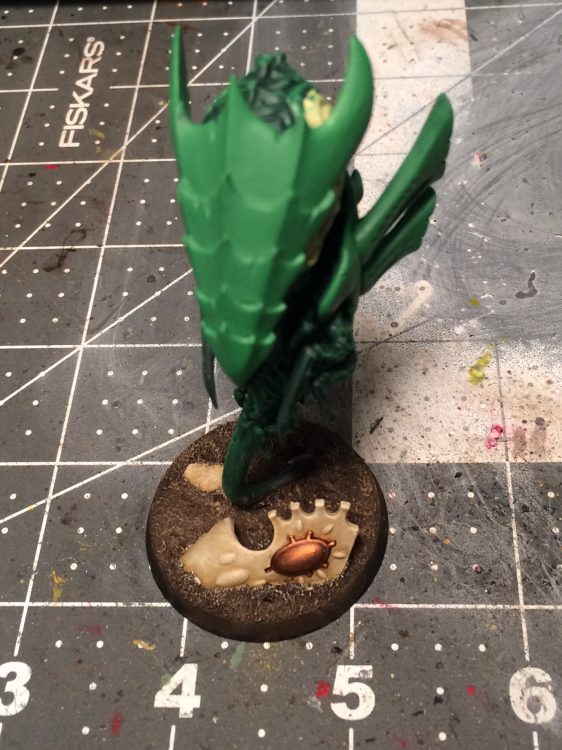
Step 7: Vallejo Bonewhite highlights on ruins and stone.
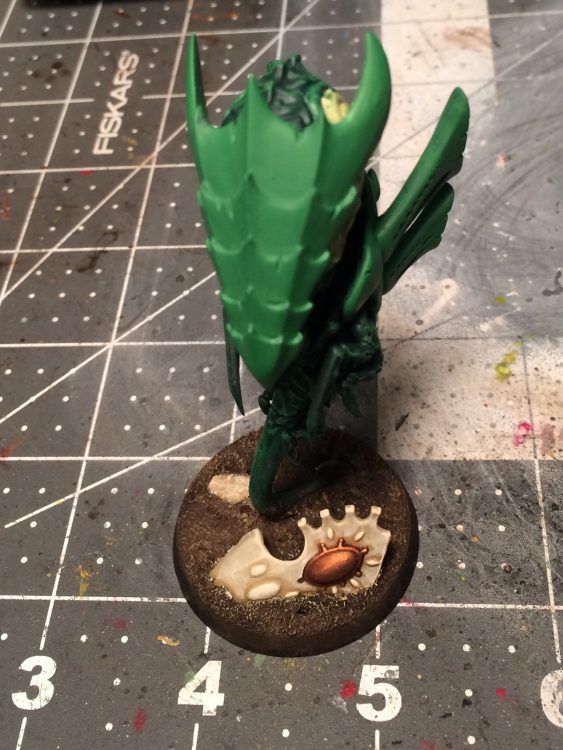
Step 8: Citadel Hashut Copper highlight on metal bits.
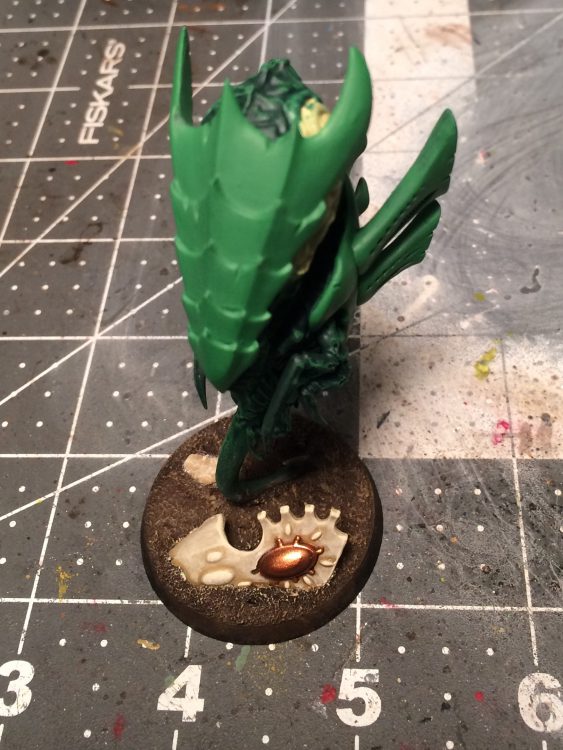
Step 9: Vallejo Chainmail Silver highlight on metal bits.
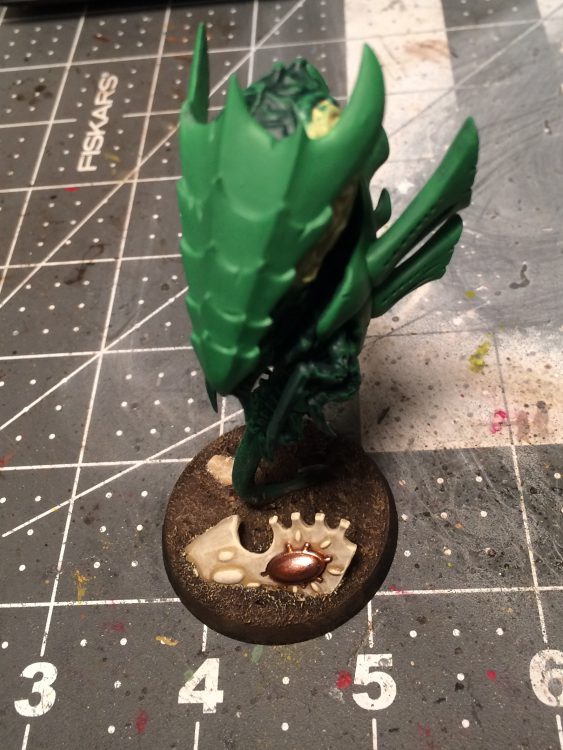
Step 10: Citadel Nihilakh Oxide wash on metal bits.
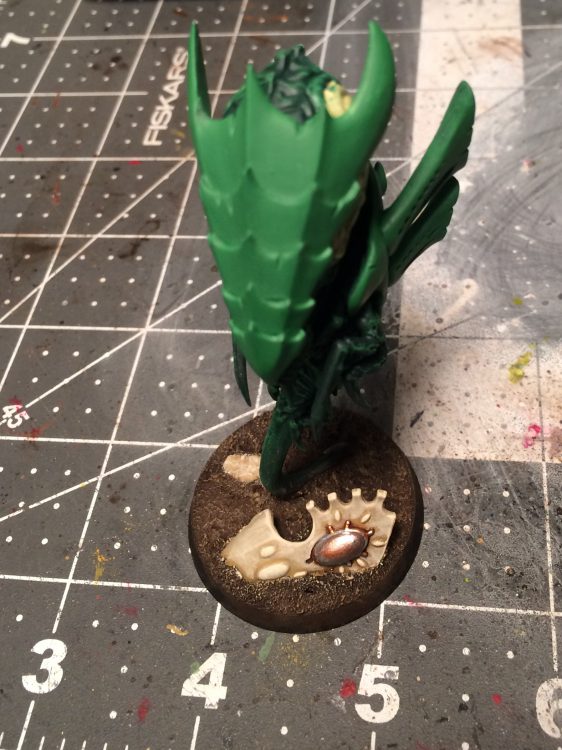
Step 11: Drill a hole in the base with a pin vise and glue in plastic terrarium plants with superglue. I’m using this product on this particular base.
Step 12: Apply PVA glue to roughly 1/3 of soil, and dunk in flock/turf (I use Games Workshop Modelling Flock, which is apparently no longer available anywhere. I really spent a lot of time looking for it for you guys, I swear. Something like Woodland Scenics Scene-A-Rama Grass is probably your closest bet).
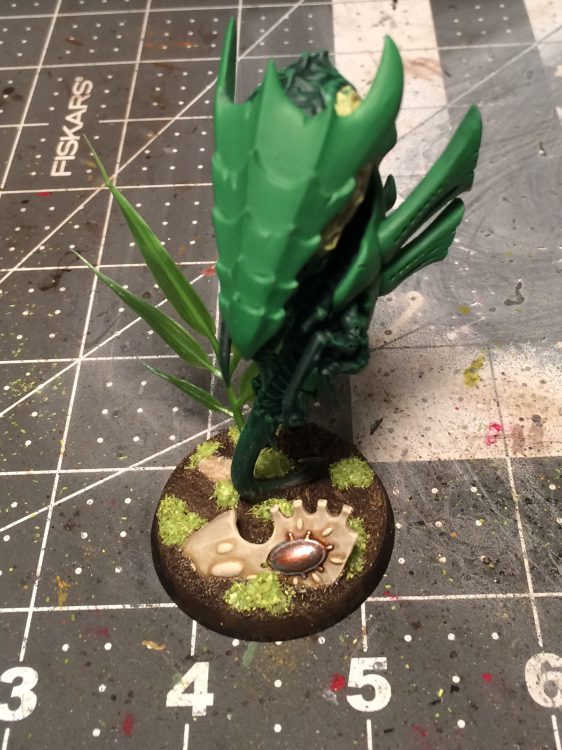
Step 13: Add tufts (with superglue) and clump foliage (with PVA glue) to taste. Adding these tiny decorations is honestly my favorite part of model-making, so savor it!
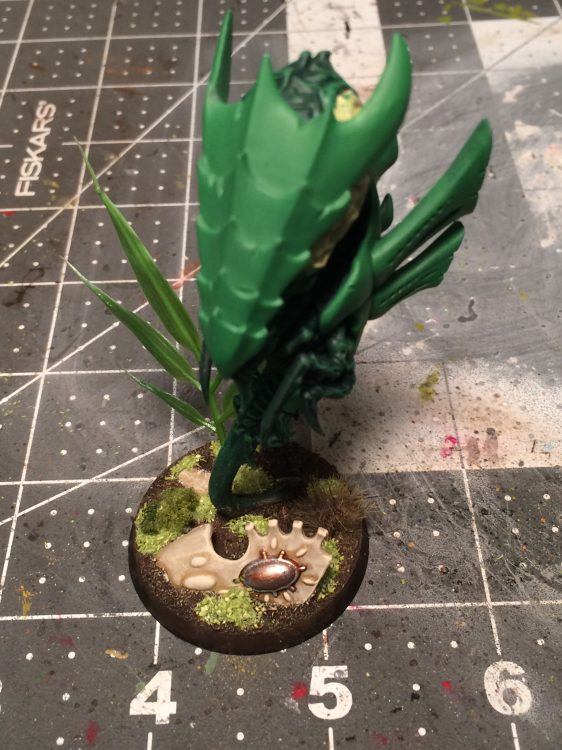
Step 14: Add several drops of PVA glue, and sprinkle on scatter foliage. I’m using Secret Weapon’s scatter foliage.
Step 15: Vallejo Black on base rim. If you pull a SRM move and use a different color that’s fine, just don’t say I didn’t warn you.
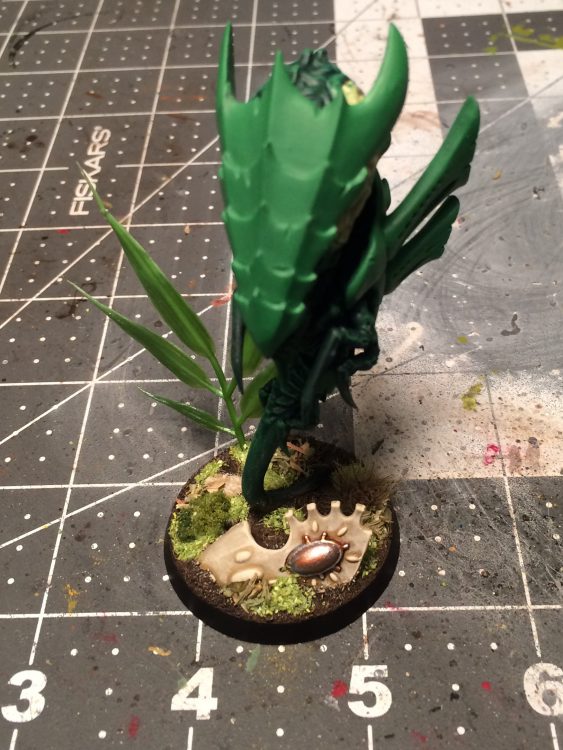
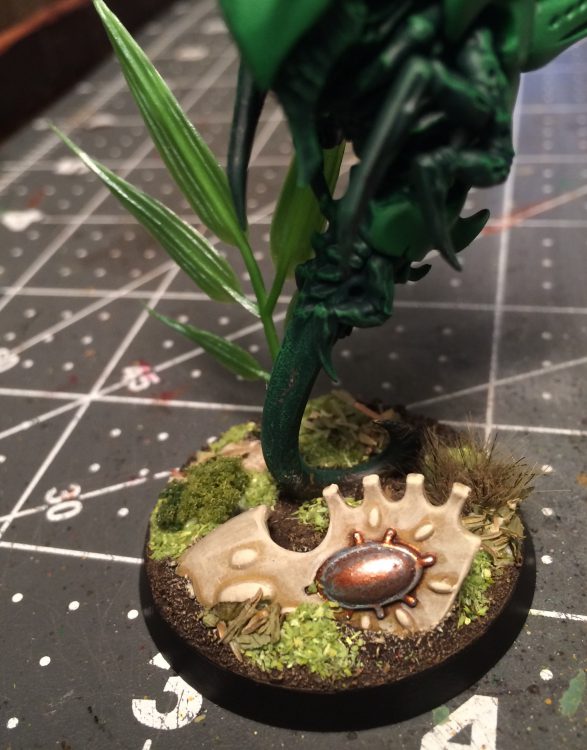
And a final look at the finished base. To go the extra mile you could paint some green splotches and streaks on the tan stone using Citadel Deathworld Forest or successive lines of Citadel Athonian Camoshade. These stone ruins are also a perfect place to have some fun and test your hand at bullet pings, frag scarring, or impact craters to give your forest a war-torn look. Additionally, there’s an endless world of different scatters/flocks/tufts available, and adding a few more dots of PVA glue and different materials will make the jungle look even more realistic. This is just a starting point, and you can dress it up as much as you like!
Additional resources for acquiring materials:
- Green Stuff World website or eBay store for an incredible selection of basing materials. Their blossom tufts in particular are great for adding a spot/contrast color to your models – my Catachan army uses yellow and white as spot colors, for example, so I use yellow and white blossom tufts to subtly carry the scheme on the bases of models that don’t otherwise use those colors.
- War World Scenics for another incredible selection, particularly for variety of fun tufts.
- Gale Force Nine Jungle Basing Kit if you want a simple “variety pack” with one click.
- Zoo Med Natural Bush collection for the best plastic plants I’ve found. Another hint: search for “terrarium” instead of “aquarium” plants, so they look like proper jungle plants instead of fish habitat.
- For small streams and puddles, Woodland Scenics Water Effects is a simple product that looks great and requires no complicated resin epoxy mixing.
Have fun and remember to ALWAYS share photos of your models. Anything else is just selfish!
You can always find BuffaloChicken’s latest model photos on Instagram.


