Basing is a critical part of the painting process. Armies on the battlefields of the 41st Millennium or the Mortal Realms will find themselves fighting across a wide variety of terrain, from lush jungles to barren rockscapes, industrial wastelands to agrarian fields. Your basing helps tell the story of your army – where are they fighting and why? In the spin-off How to Base Everything series, we look at different methods for basing your miniatures, so that you can locate them in time and space.
Aeronautica Imperialis has captured my attention lately, with its beautiful models and promises of high-flying dogfighting action causing slightly more plays of Aces High than normal. However, one thing has really been throwing me off here, and if you take a moment you should spot it too:
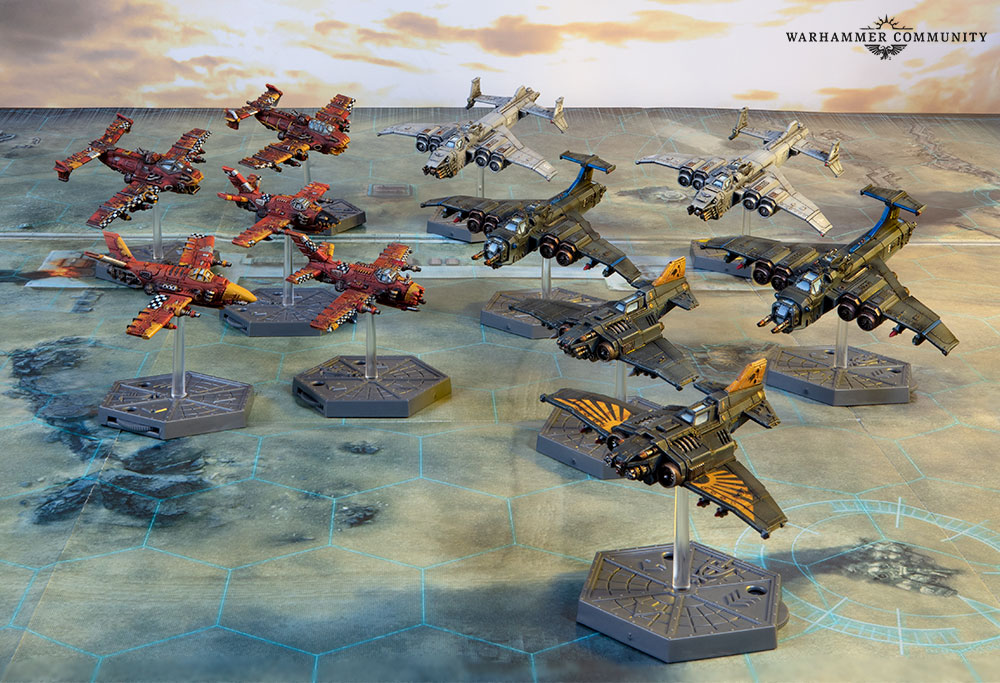
What Kind of Savage Plays with Unpainted Bases?
Damn near everyone is posting pictures of these beautiful, lovingly-painted planes online but almost to a fault every one of them is leaving the bases unpainted, Games Workshop included. There are some considerations to be made here, so I’ll get them out of the way first:
- The bases need to remain functional for the game
- The models need to be painted separately (or carefully) to avoid getting paint on the flight stands
Maintaining Functionality
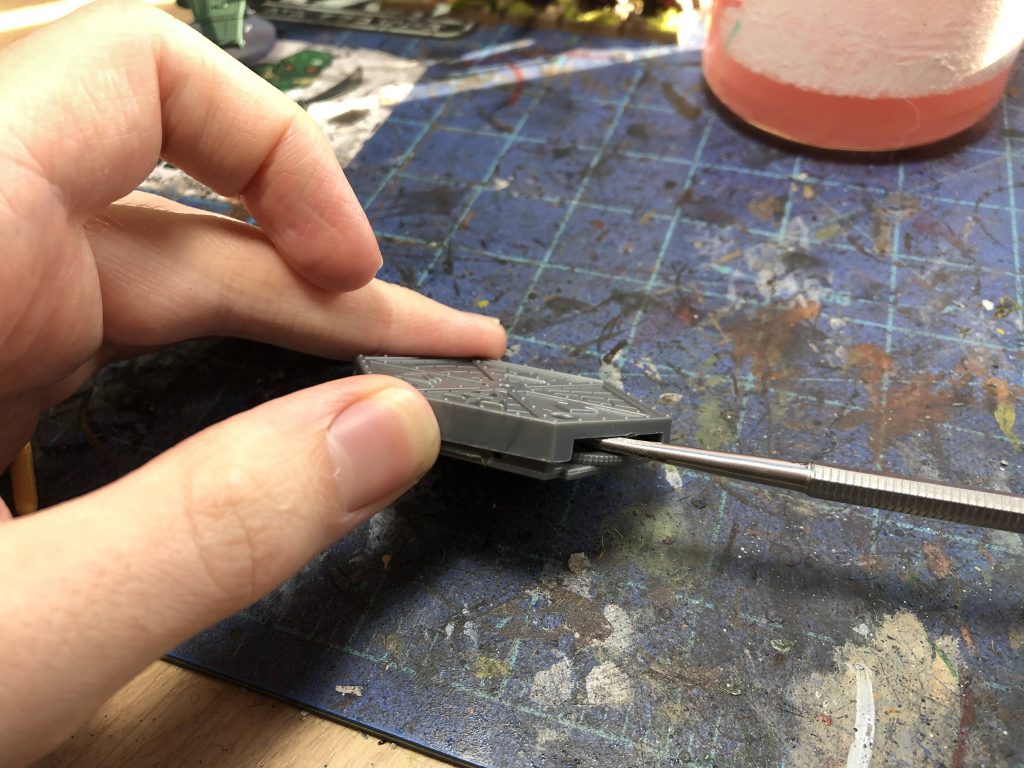
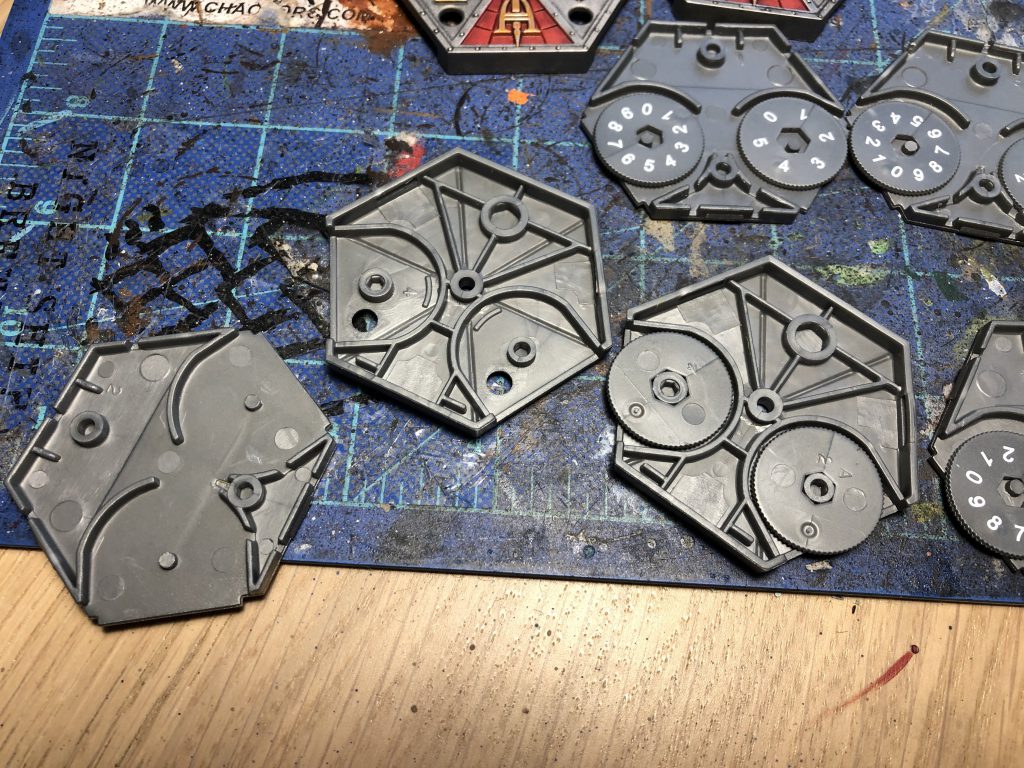
First off, if we want to paint these, we will need to prime them. I didn’t want to gum up the altitude and speed wheels with paint, so I disassembled the bases first. They aren’t really supposed to come apart, but by sticking a flathead screwdriver (or similar flat bladed metal tool) between the wheels and the base I was able to pop them apart with minimal strain on the plastic. There’s little tabs inside which hold the pieces in place, and we will use those to snap the bases back together at the end.
Once they’re separated, we can prime them as we would any other model. For mine, I wanted to create a “radar” style of base while maintaining the industrial, riveted-as-hell Imperial look, so I primed them Leadbelcher. Some people might want to take this opportunity to make more modeled or scenic bases instead, but I wanted to preserve the readability of the base above all else.
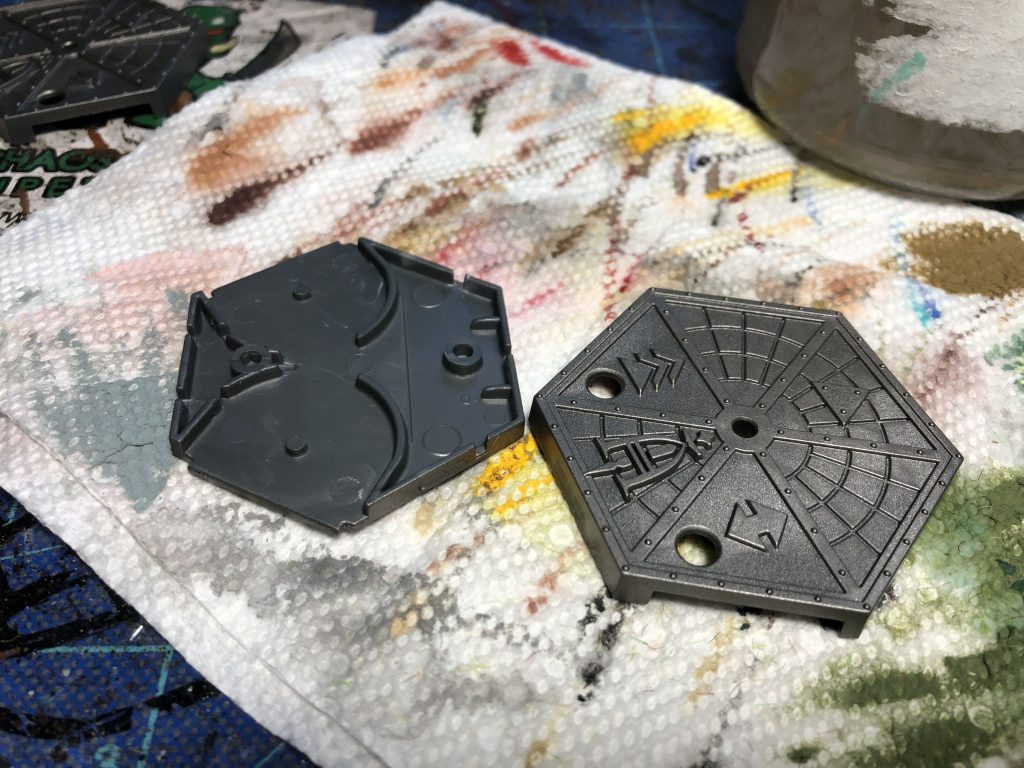
While no paint will be going on the bottom half of the bases, I did want to prime them as well to maintain the base rim color with the tops. If you want to you can go nuts highlighting the copyright info on the bottom, I’m not a cop.
Painting the Bases
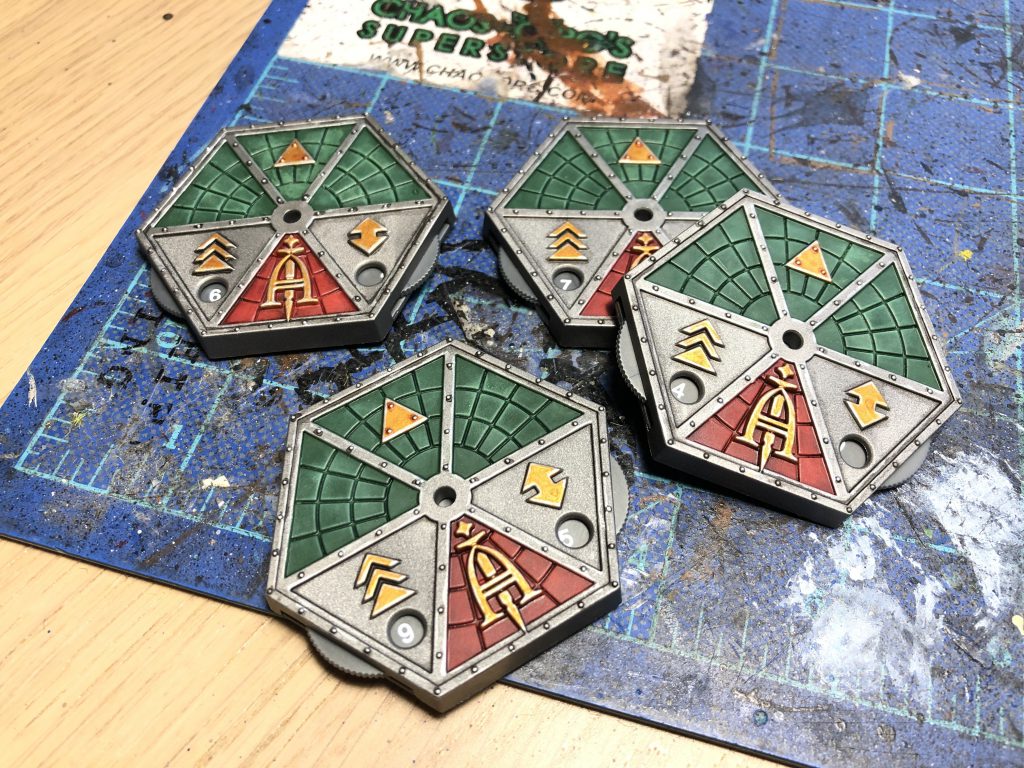
With the pieces separated and the concept set, it’s time to actually paint these guys. I’ll be working from the inside out, as there’s gonna be a lot of washing and drybrushing here. For the front arc of the radar, I decided to paint it in green, while the back arc in red would suitably represent the “Oh-shit-they’re-behind-me” factor of being tailed. For the green I went with Waaagh Flesh, washed with Biel-Tan Green to give it some depth and saturation, then successive drybrushes of Warboss Green and Skarsnik Green, focusing around the center of each panel. The red was Mephiston Red, washed with Carroburg Crimson for similar reasons and drybrushed the same way with Evil Sunz Scarlet and Wild Rider Red. The top layers of both of these should give enough yellow and orange tones respectively to keep it from looking like a Christmas tree.
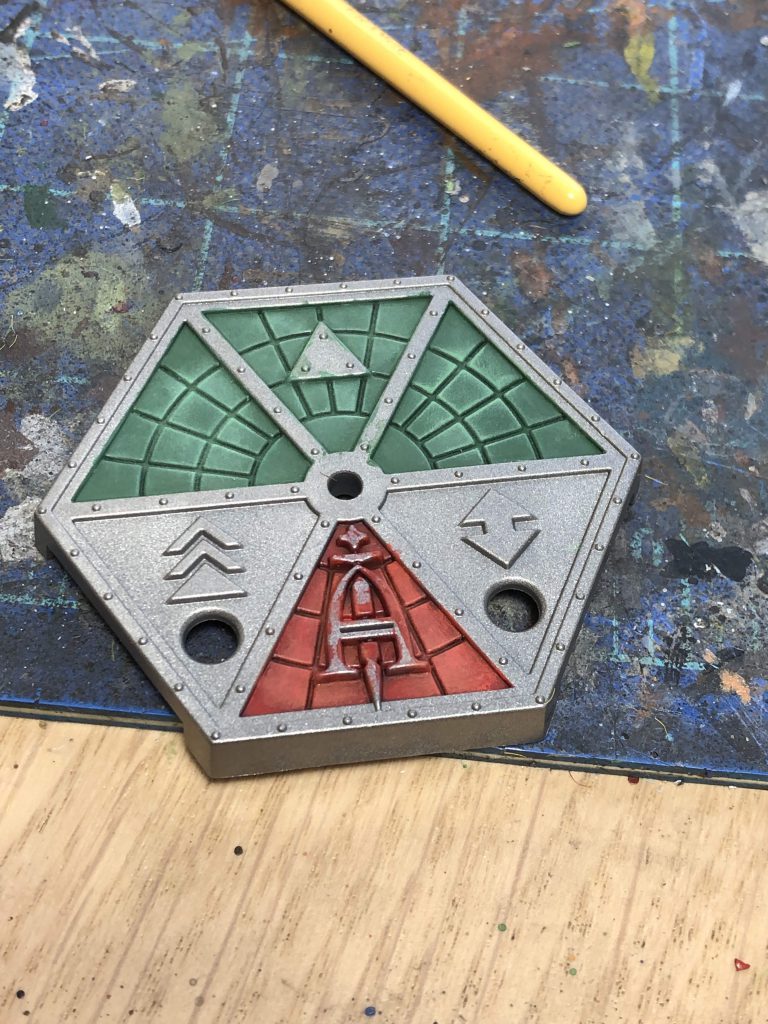
I then pin washed each rivet and the recesses of the parts I was keeping metal with Nuln Oil. I picked out the little arrows that tell altitude, speed, and facing with Retributor Armour, as those are actually important to the game and I wanted to highlight them for functionality. I also painted the AI logo the same way in case I forgot what game I was playing, I guess. I washed the rivets on the gold with Reikland Fleshshade, then highlighted all the metallics with Stormhost Silver. At this point, the bases are more or less done. This is also the point where I realized I could have done the metallics first and drybrushed everything but what are you gonna do. Here is when you would probably want to varnish the separate components, as they will be getting some wear and tear from gaming and you don’t want to gum up the wheels.
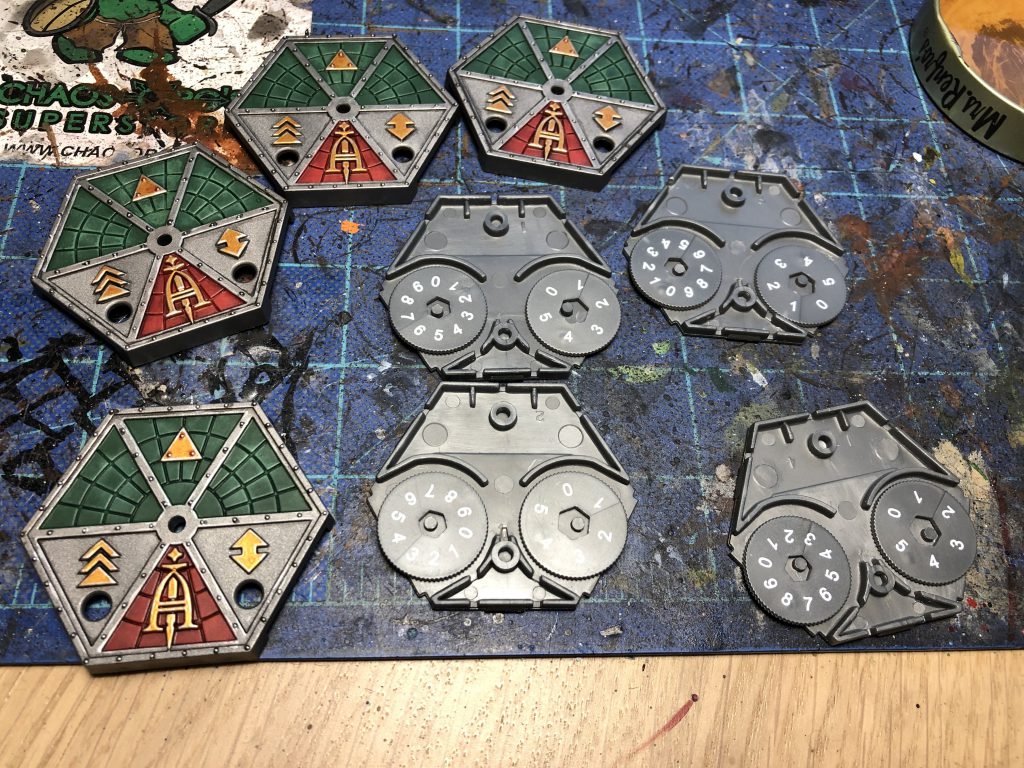
Do take care with reassembly. The two wheels have different values, with speed on the left going up to 9 and altitude on the right going up to 5. The wheels have a bit of wiggle room on the bottom, so stick them into the back of the top half. I’ll illustrate that in the next photo. With the wheels in place, you can just snap the bases back together with a bit of pressure.
Painting the Models Separately
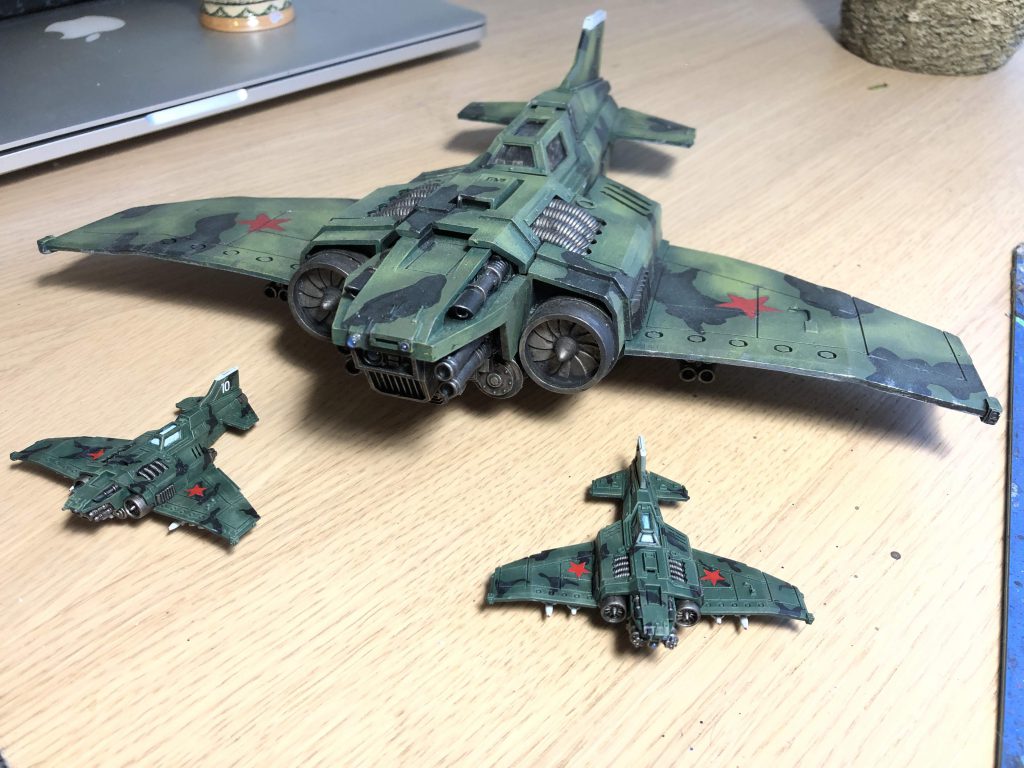
Painting the models on the included bases and flight stands was out of the question for me, but I have a tried and true system I use for painting bits in subassemblies. I use little wooden offcuts from an old MDF paint rack I had (spare plastic bases also work), then glue flat-backed thumbtacks on them with the point facing up. From here I can drill a hole in whatever I want, whether that’s weapons, heads, or tiny airplanes, and I glue them on with superglue. Fortunately, Aeronautica models all have sizable divots where the ball and socket joint for the bases goes, which is a perfect place for some light pinning.
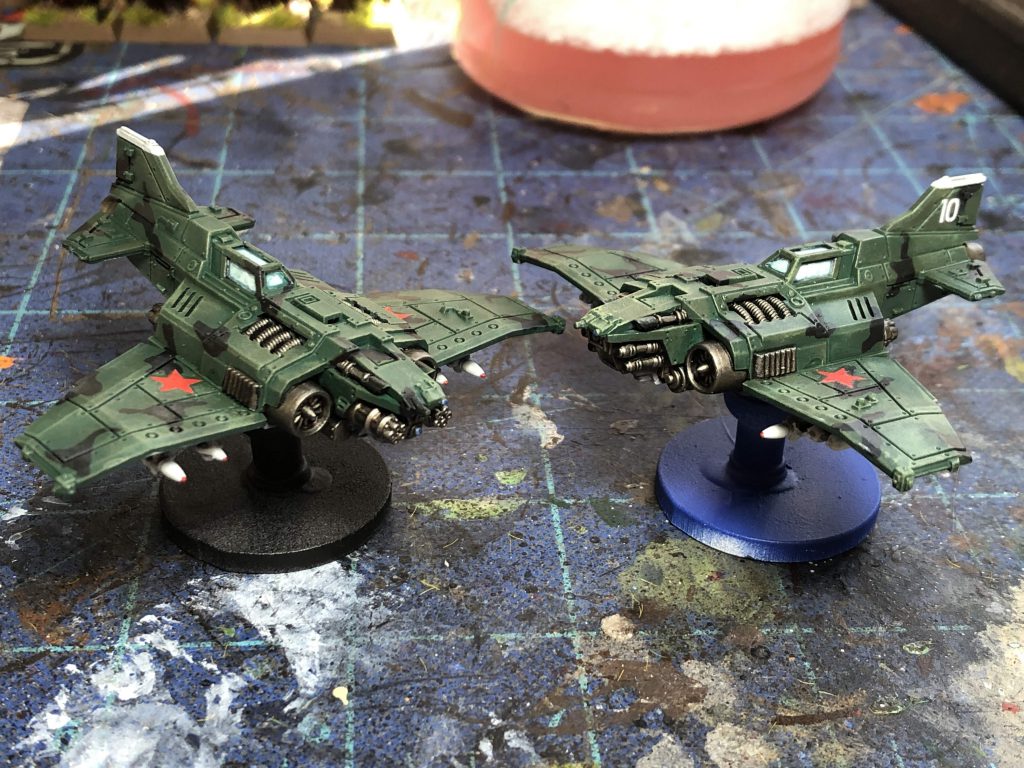
I’ll leave how you paint your tiny space planes up to you, but I painted mine to match my Valhallan Imperial Guard regiment. Maybe I’ll do an army showcase on them if Corrode keeps bothering me. Similar to the bases, I varnished the planes at this stage as well.
Putting it all Together
Now that everything is finished, you can just pop your little planes on their stands. The pressure should keep most of them on without any issues, and by leaving them unglued you can adjust your planes to make it look like they’re banking or diving (while making the appropriate sound effects, of course). Leaving the pieces separate makes transporting them easier, and means a broken flight stand isn’t the end of the world. You can glue them if you’d like, but a quick note about superglue and clear plastic – it can often fog up the area around the join and make it look frosted. For this reason as well as the rest I mentioned, I’d leave them unglued.
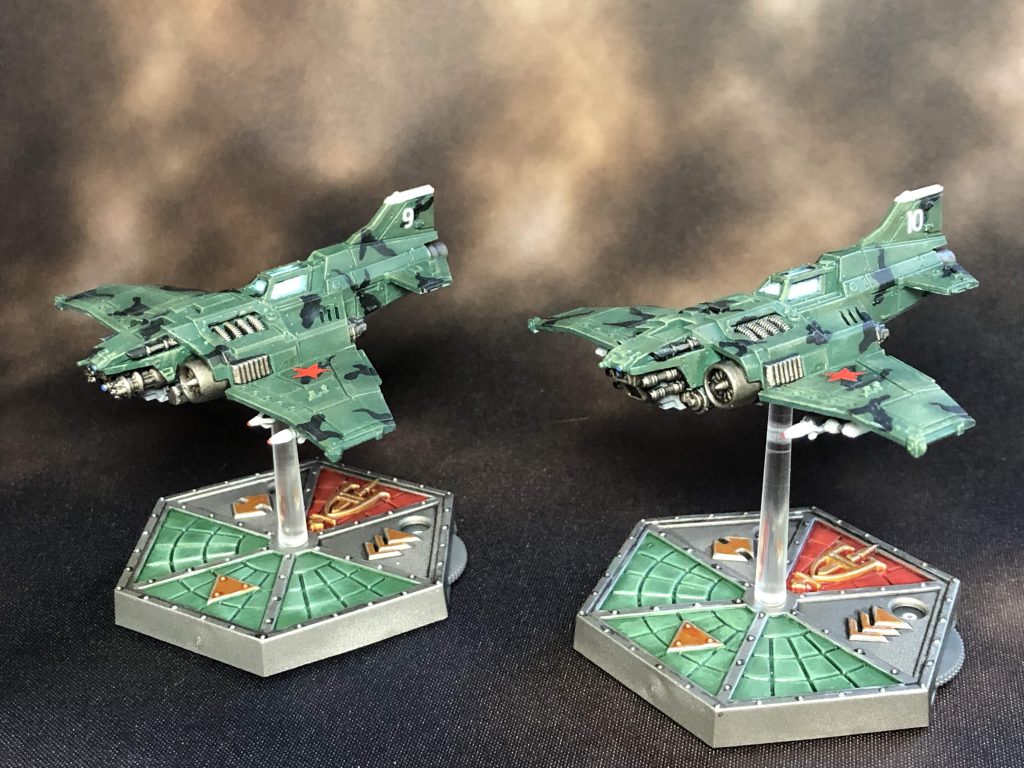
With the bases finished you’re clear for takeoff!


