Welcome to Horus Heresy Tactica, our series that provides a deep dive in a specific mechanic, interaction or aspect of play in Warhammer: the Horus Heresy.
Before any game of Warhammer: the Horus Heresy can begin, our units have to be put on the table, and this fiendish business known as “deployment” can cause no end of headaches and troubles. Though every table layout and army is different, and there can be no hard and fast rules as to where exactly you should deploy your units, there are some basic principles that can help you make those decisions.
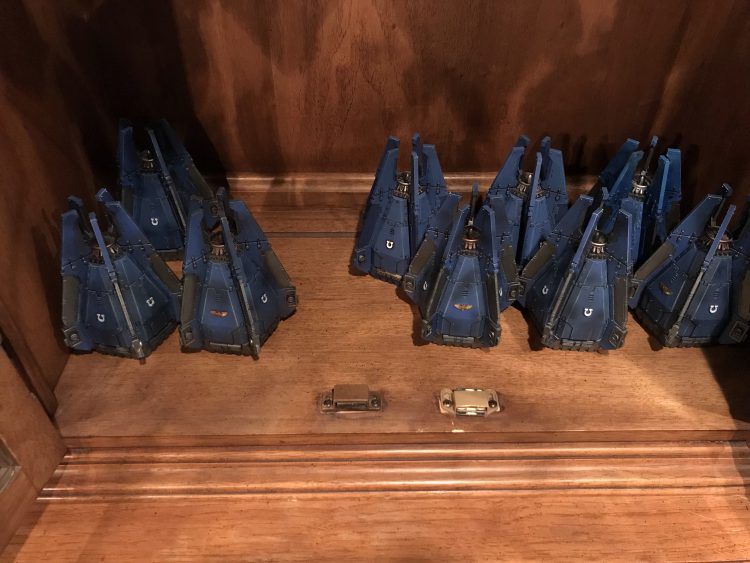
This article assumes that you’ll be deploying the bulk of your force in the normal manner. If you’re running a Drop Pod Assault list then, obviously, things are going to look very different for you.
What to deploy
One of the first considerations to make is: what of my army do I want to deploy on the table? Unlike in Warhammer 40,000, even if you do not have any units in your army that can enter a special kind of reserve, you can choose to play any unit (that isn’t immobile) into Reserves. These units will not be placed on the battlefield, and will arrive at a variable time later in the game. There are a handful of good reasons to place units in reserve, but most of the time if they’re not going to be in a special kind of reserve (such as a Flanking Assault or Deep Strike Assault) then it’s probably not a good idea to do so. The main reason is that while you may think that it could save them from an early turn’s shooting (and to some extent it will, since if you’re going second then if it starts on the table it can pick up a lot of fire) the Interceptor reaction means that a unit is likely to experience fire from enemy units when they enter from reserves anyway.
If your opponent has a strong shooting army (especially with a lot of Guided Fire) but not many Augury Scanners or other ways of giving themselves bonus Interceptor reactions, then putting a couple of key units in reserve can be beneficial. These should always be units capable of engaging at range, as you’ll be entering from your battlefield edge and the chance of getting into contact with the enemy any time soon is minimal. Also units coming in from normal reserves can’t charge the turn they arrive, so do bear that in mind.
Other kinds of reserves should also be considered. Deep Strike Assaults and Flanking Assaults will be getting their own Tactica article, and so we won’t cover them in detail here. In short, these forms of reserves allow you to get units in position that wouldn’t benefit from normal deployment, or can take advantage of the difference in entry to the battlefield. You’ll generally know which units fit this description.
One question that is worth considering is units with the Scout and Infiltrate special rules. These units also get the Outflank special rule, meaning they can be placed in Flanking Assaults. The question of when to do this is tricky, but generally if your opponent has good coverage with Augury Scanners, Djinn Sight or other mechanisms of locking out Infiltrators, or you think you cannot get your unit into a useful position with a scout move, then putting them in a Flanking Assault is a good idea. Generally it’s best to limit the number of units you place in one though, so don’t go overboard with a Reconnaissance Company list or anything, and just take the lumps of your opponent prepping for your force well and deploy relatively normally in such a situation.
Creating Combat Groups
When you are looking to deploy your army it’s generally good practice to divide your force into a number of combat groups. Lots of configurations of units in Horus Heresy work best when in concert with others, whether that’s a unit that provides a direct buff or bonus to another, or whether that’s something as simple as a screening unit defending a shooting unit from charges. You also want to break your army up into sections that can tackle different kinds of threats, but how you do that depends a lot on if you are deploying first or second.
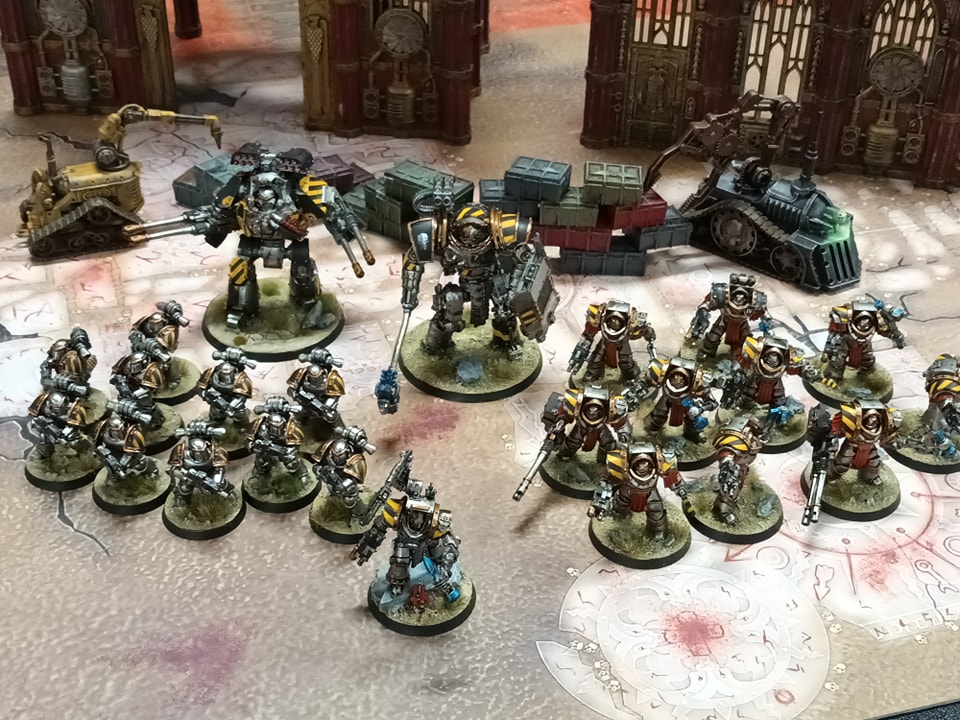
When you deploy first you get to define the way in which combat groups are arranged on the field. You’ll be placing units and your opponent, ultimately, will be responding to your placement. The only exception here is in the limited number of missions that have Staged Deployment, and in that situation you’re still kind of doing the same thing, just one unit at the time.
The goal as the player to deploy first is to build combat groups that can tackle a flexible number of threats. You’re going to be faced with an opponent who deploys to try and take advantage of your vulnerabilities, so you want to try and shore them up as much as possible. Create groups of units that can easily take on lots of different threats, and which can defend themselves from enemy action in a variety of ways.
The alternative is to throw caution to the wind and bank on your opponent not seizing – if you want to go this way then your goal is to create some solid backline groups that hold ground, while your aggressive assault groups push forwards and hit certain kinds of target with overwhelming force (the “alpha strike”). The risk of this second strategy is twofold: first if your opponent seizes you can find yourself without good defences against certain kinds of attack in several of your groups; but second if your alpha strike fails you’re likely to find yourself exposed, strung out and easily overwhelmed. This is especially the case if your opponent has good reserves that can turn up where needed to counter your groups that have overextended.
As the player deploying second your job is to react and counter your opponent’s deployments as much as possible. Assess what your opponent has deployed and what the strengths and weaknesses of those combat groups are, and then try and deploy your own groups that are tailored to exploit their weaknesses as much as possible, or best resist their strengths. For example, if you opponent deploys a lot of strong anti-armour units on one side of the table, it’s worth deploying infantry and other units they’ll struggle to tackle, to try and hold them up and overwhelm them.
Line of Sight Blocks and Cover
One of the major factors to consider when deploying is the layout of the table. We’ll be looking at table layouts and what makes a good one in a different Tactica article, but generally we can divide what’s on the table into four categories:
- open ground (stuff you can see through clearly, doesn’t provide cover, and isn’t difficult or dangerous terrain)
- difficult or dangerous terrain (stuff you can see through clearly, doesn’t provide cover, but slows movement or makes it dangerous)
- cover (stuff you can see through clearly and doesn’t slow movement or make it dangerous, but provides a cover save)
- line of sight blocker (stuff you can’t see or move through)
Some stuff that’s difficult or dangerous also provides cover, and some cover also blocks line of sight to some extent. It’s a muddy set of categories but it gives us a framework to talk about it.
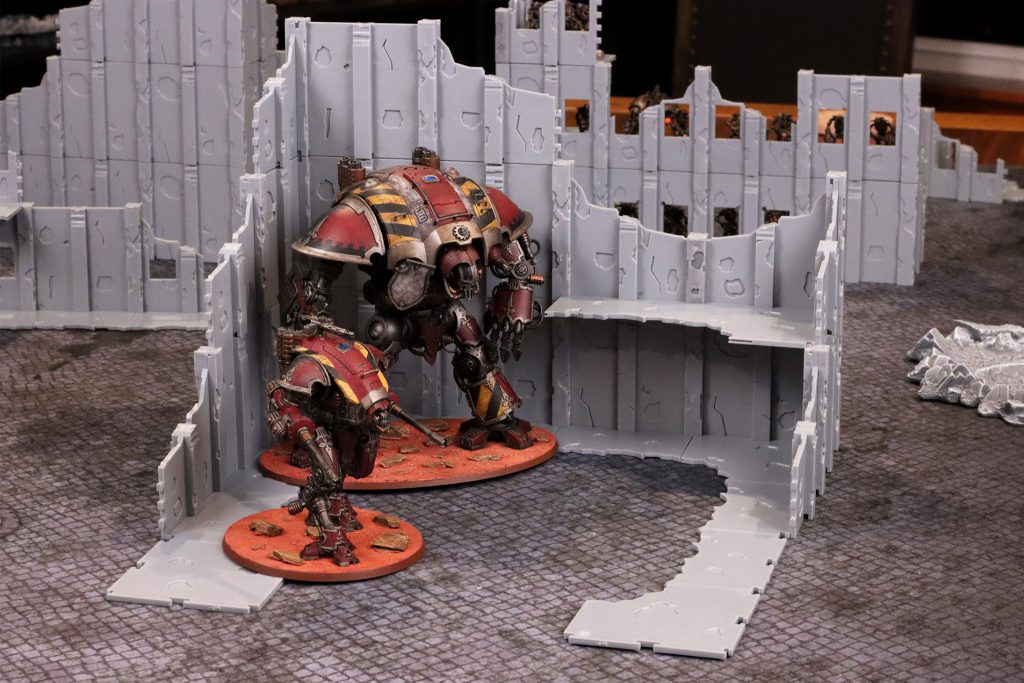
Open ground is what you’re looking for to advance and to shoot across. If you want to be moving upfield or getting a clear shot at the enemy, then “corridors” of open ground are essential to your success. When you think you’re likely to go first you’re looking to deploy long range shooting either in these corridors, or behind line of sight blockers where you can move into these corridors with ease. When you’re going second, you’re looking to avoid being in these corridors as much as possible, because if you’re in them you can be shot at, or you can be advanced upon and assaulted.
Difficult or dangerous terrain isn’t something you ever really want to enter in play, but if you’re very sure you don’t want a unit to move once the game has begun it’s not a bad thing to deploy into. That’s because you won’t be affected, but anyone attempting to assault the unit or get too close will. If you’re not sure though, being on the other side of it from your enemy is a decent idea, because it at the very least makes getting to you harder. Difficult/dangerous terrain is mostly a way to prevent enemies getting to you.
Cover is a tricky one, because it can be very beneficial, but only against some kind of attacks and only for some units. By default cover provides only a 6+ save, with ruins at 5+, meaning that if the unit already has an invulnerable save at that level or better, it’s entirely pointless. Terminators, for example, should never bother being in cover – there’s literally no point for them. Obviously it also only matters against attacks where the ap is such you’re not getting a normal save, so an artificer armour sergeant can sometimes be as good as cover, since ap2 is much rarer than ap3. However it can offer a good level of security to units that are well armed but vulnerable, like a Heavy Support Squad, or units that get certain benefits from it, like those with the Skirmish subtype.
Line of Sight blockers are one of the most important parts of the board to consider when deploying. If you’re going to likely take the second turn the goal is for as much of your army as possible to be hidden behind them, while making sure they’re a position to actually able to get out and do something on your first turn. For the player who’s likely to take the first turn they’re more of an obstacle, but if you can place units in a way that conceals them behind it and then they can move out and be effective there’s no downside – you might always get seized upon.
Scout and Infiltrate
The last major consideration when it comes to deployment is how the Scout and Infiltrate special rules play in.
Infiltrate units may be deployed after all other units (yours and your opponent’s) have been deployed. If you both have infiltrators then you roll off and the winner decides who goes first, deploying these units alternately.
Infiltrators can be played more than 9″ away from an enemy unit as long as no unit can draw line of sight to them (including in a building, but notably not in ruins or other cover). Otherwise you can put them anywhere more than 12″ away even if they’re in plain sight. Infiltrators can’t charge in their first turn.
Infiltrators are a joy for those who get the first turn. It’s an easy way to get close and cause some chaos, especially if armed with dangerous weaponry (a Seeker squad with combi-meltas is the perennial favourite). However, be very cautious of infiltrating a unit when you’re going to get the second turn, and be very aware of what will happen if your opponent seizes and your infiltrators start the game where you’ve deployed them. The other major use for an infiltrate unit is a sniper squad placed in a high location outside your deployment zone.
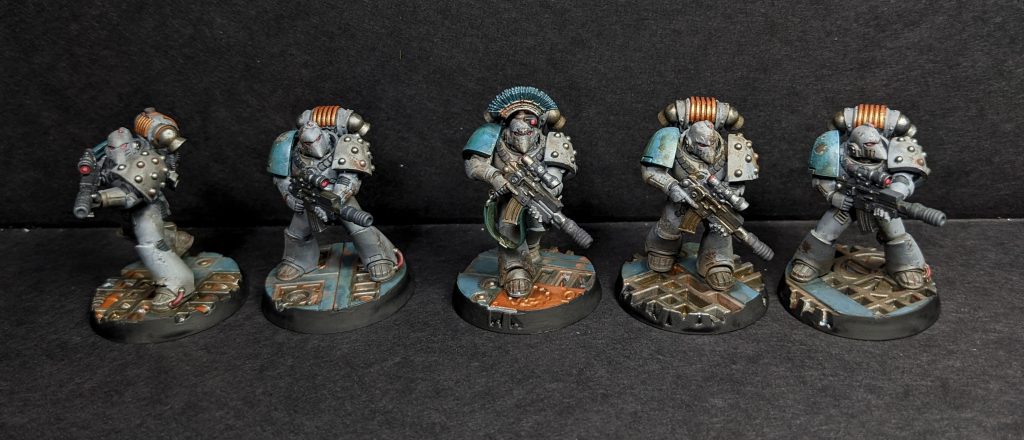
One last note is that infiltrators can’t charge, but they can be charged and fight. So units with Counter Attack are actually great to drop onto objectives, especially in missions with progressive scoring.
Scout lets you instead, after everything has been deployed including Infiltrators, slightly adjust the position of your units. Infantry, Artillery, Dreadnoughts and Automata can move up to 6″ of their current position, everything else 12″. They can’t charge in the first turn if they do this.
Use this if you have the first turn to get them in a position so they do not have line of sight blockers interfering with their shooting. If you have the second turn, use it to get them in a better defensive position you couldn’t reach in your normal deployment zone. You can’t get closer than 9″ to an enemy unit though, so you can’t use this with Infiltrate to really close up the gap for Meltas or anything, but you can use it with cheap sacrificial units (like Scouts) to prevent enemy scout moves towards you if you’re going second.
In Conclusion
Deployment in Warhammer: the Horus Heresy is an exercise in knowing what to deploy and what not to deploy, and how to match your deployments to the table layout and what your opponent is bring in their list. Try and be aware of the major threats in the enemy list as you deploy, looking to counter them as best you can, and shore up your weaknesses against them.
