
If tournament play becomes part of your hobby and gaming goals, a display board is a great step to elevate the appearance and presentation of your army. If you’ve never made one before or played around with making gaming terrain, the prospect of making display board can be daunting. That said, the range of display boards can stretch from very simple to the extravagant. Regardless of the scale of your project, there are some important steps to consider before you even start purchasing materials or taking knife and glue to your materials.
Planning
This is probably the most important step of creating a display board. Start by gathering the models for the army that you want to display. Lay them out and get a good idea of the footprint of their bases. Arrange and rearrange them until you find a layout of them that shows them off and looks good. Measure the space they take up. Then ask yourself some questions. Are they cramped? Are all your units mashed together? How much of the display board is going to show? Are they too spread out?
Once you have your minis laid out and you have an idea for the dimensions that your display board needs to be, you can start thinking about what you want it to look like. A lot of this will depend on what basing you chose for your army. Color aside, what do you want on it? Hills, terrain features? Adding elevation can help to show off models towards the rear of the display board, or even adding terrain features with different levels can help to spread out your minis and allow for a smaller display board. Any terrain you add can be a framing device or backdrop for your army. Theme it to flow with your basing will help to make it feel more cohesive.
The building of the board is one aspect. The other thing to consider is traveling with it. Where do you plan to attend events? Will you be driving or flying? Flying adds a very different set of considerations, especially with sizing. Too big and you’ll be stuck checking it for every flight. And that may determine how you build it and what materials or terrain you use. Using magnets or some other positive, but removable, attachment method can make your board infinitely more travel friendly.
Materials
So what’s the best thing to make a display board out of? Well….. I don’t think there’s a cut and dry answer here, though there’s a plethora of options to start from. Finding a premade option like a framed cork board or a tray with handles can give you a nice base to work from. With premade options, you’re limited to the sizes they come in and sometimes the materials aren’t the best to work with, either not accepting paint or glue really well or just being cheap. For a lot of hobbyists though, these provide a great base, where you don’t need woodworking skills or tools and still get a great result without a ton of effort.
Beyond what you chose to use for the base of the display board, it’s important to be considerate of the materials you use for the rest of it. What can work for terrain may not work here. Think about weight, durability, and how it’ll interact with the other materials. And you may have to compromise, for example, using insulation foam for a hill. It’s easy to work with, lightweight, but not the most durable.
Making a Simple Display board
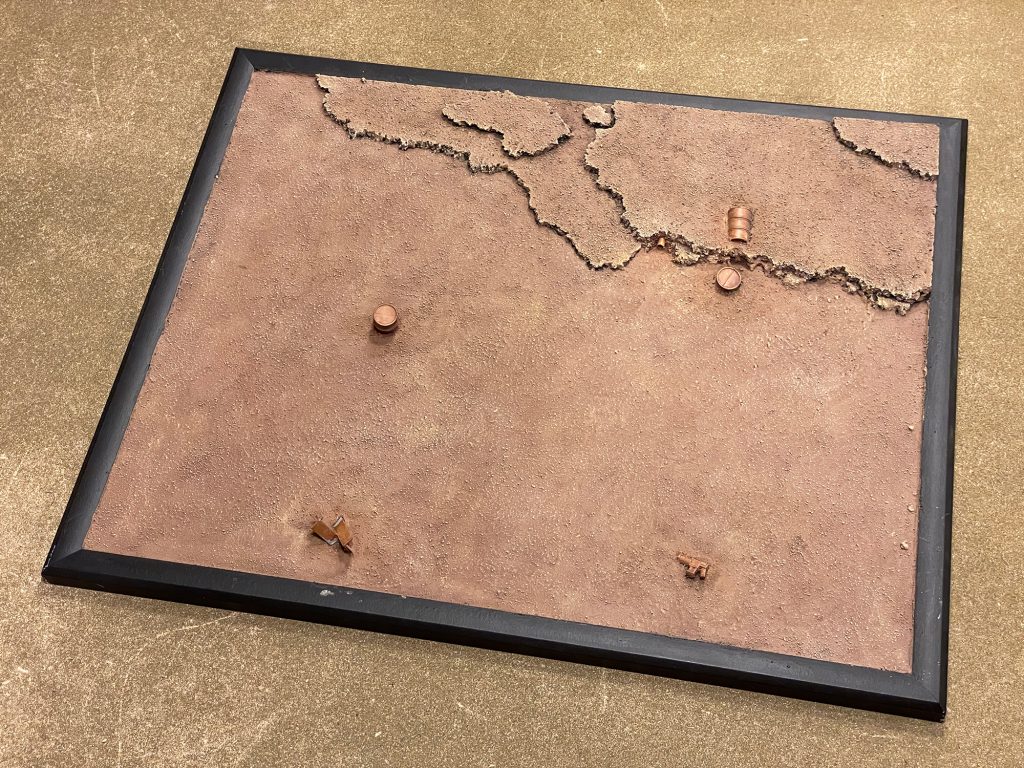
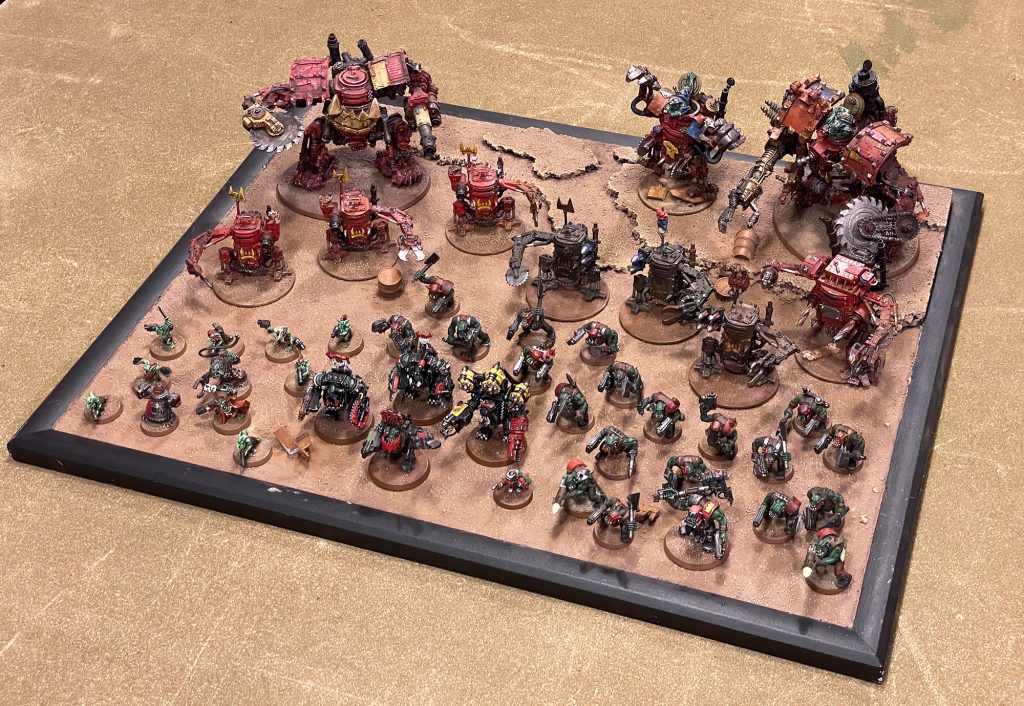
I made this board a decade ago before I took my Ork Dread Mob to a tournament. I used a framed cork board as the base and used sheets of cork to build up a rocky rise towards the back. I added a sunken barrel and tank trap and an outflow pipe.
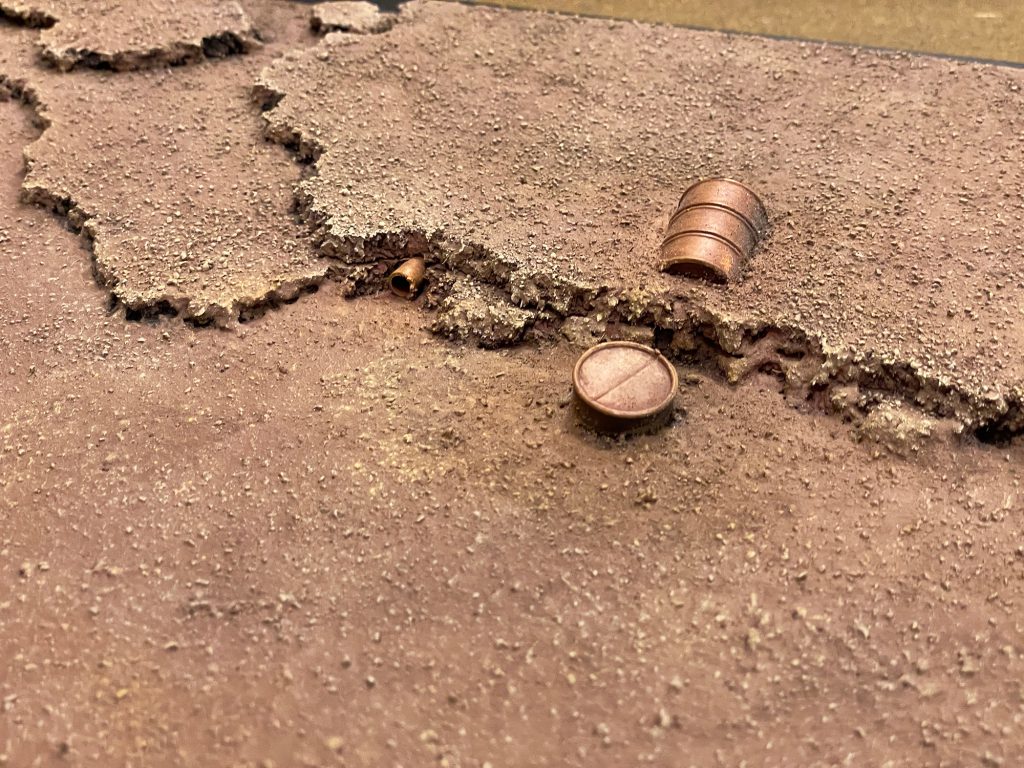
My thinking behind it was to keep it very simple and let the minis be the focus. The tank trap and barrel have both broken off multiple times over the last decade and have been glued back in just as many times. I used the same base paint as my orks and painted the edging black.
SRM’s Cautionary Tale
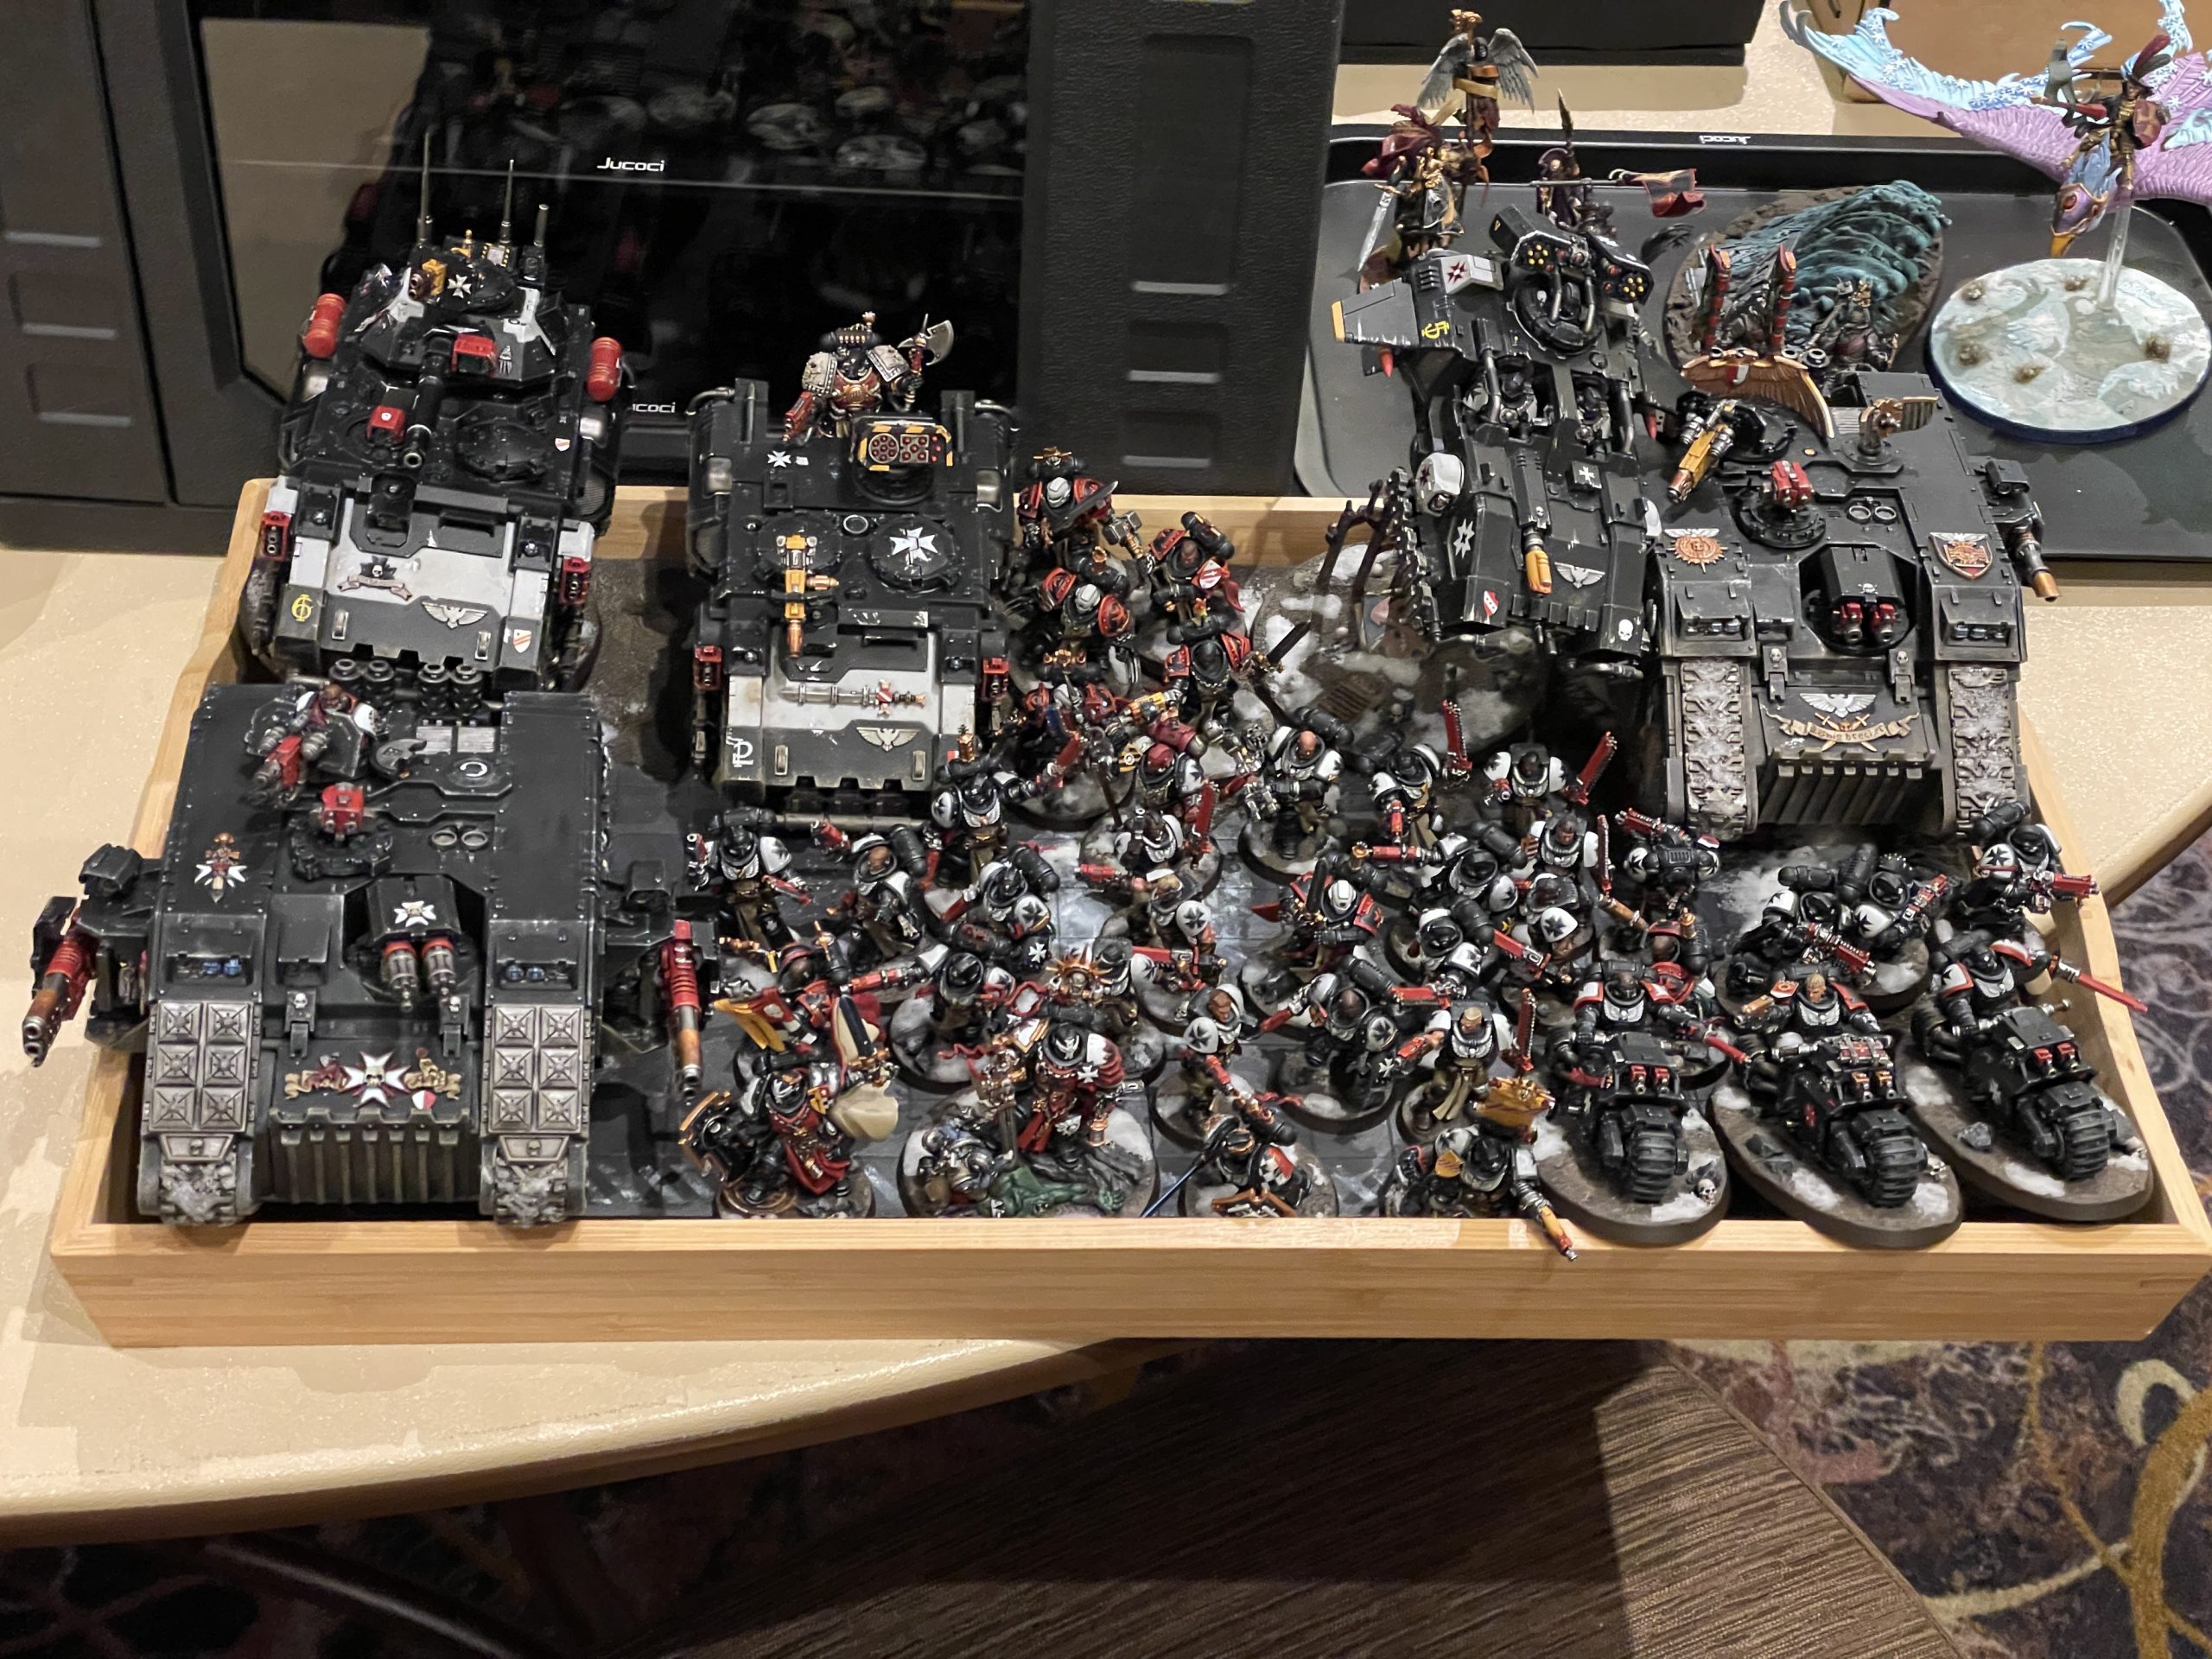
Before the Tacoma Open in 2023, I decided to make a new display board. I stumbled at step 1 of Dylan’s approach, failing to measure how much room my dudes took up. Resultantly, I made a lovely Kill Team display board that I had to cram 2000 points of Black Templars onto.
I had purchased a tea tray from IKEA and gotten a few slabs of MDF cut to fit. I figured this way I could have a bunch of display boards available as inserts that would drop into this one tray, and have a fairly versatile and space-efficient way of carrying stuff around.
I wanted a sort of landing zone look, based heavily on some of the maps from the original Dawn of War. I started by gluing down two full Warhammer Fantasy movement trays using PVA glue, and clamped them down with some bar clamps from the hardware store. I also took an MDF offcut and glued it down across the back with wood glue to give some height variation. I next used air drying clay and built up some mud and dirt around the board, reapplying a second layer after the first dried and contracted. While it was still wet I glued in the various bits of debris you see scattered around, as well as the little landing pad lights and escape hatch.

I sprayed it black and hit it with Dryad Bark and Mechanicus Standard Grey, then did a lot of washing and drybrushing to get the colors you see above. Greebles were painted pretty predictably as well, with sponging and drybrushing doing all the lifting. None of it was particularly challenging; if anything it’s just harder to physically maneuver around the board while painting than anything else. That’s kind of the crux of why I don’t like painting terrain very much. Where I chose to wild out was with the skull marking and hazard striping. I messed around in Illustrator, then printed and cut out a bunch of stencils with a hobby knife. I did some tests here, where I tried sponging onto a piece of card, and I found the results to be satisfactory. With that, I taped down the stencils with masking tape and sponged them with Ulthuan Grey for the white markings, and Averland Sunset for the yellow ones. I added snow after, which took a few layers to get looking good. Mixing a bit of white paint with glue and snow makes for a nice, thick paste which holds a little stronger and looks a little whiter.
When making your own display board, please be smarter than me and make sure your army will actually fit on it. Learn from my mistakes, dear reader.
Have any questions or feedback? Drop us a note in the comments below or email us at contact@goonhammer.com. Want articles like this linked in your inbox every Monday morning? Sign up for our newsletter. And don’t forget that you can support us on Patreon for backer rewards like early video content, Administratum access, an ad-free experience on our website and more.
