In this series about the hobby basics, we’ve covered assembling your models, priming them, painting them (in traditional and “one coat” methods), basing them, and even varnishing them. You’ve been dutiful, disciplined, and followed our sage advice from the beginning and now you’ve got some killer models to bring to your local game club to kick some ass with. Your heart races.
Only one obstacle now stands in your way: actually getting your models to the game store in one piece. That seems pretty important.
Transporting models is often an afterthought. When I first started the hobby, all my guys were just transported in a Tupperware box with some newspaper and I called it a day. As long as I didn’t trip, shake the box too much, hit a speed bump too fast, or put the box down too aggressively, I was probably fine.
There are much better ways to transport models than what I was doing back in high school, though. Honestly, many methods of transporting models aren’t even any more difficult than what I was doing back then. While transporting models doesn’t have to be a difficult part of your hobby, knowing how to do it wisely will save you some heartbreak and literal breaks.
Why should I care about transporting my models?
I mean, you did just spend all that time assembling and painting them. I would be shocked if you’re reading this and don’t care about proper transport. If you’re unconvinced, maybe I can sway you.
The most obvious issue that arises from improper transporting is your models will break, and you’ll need to repair them. This isn’t the end of the world: models break, it’s a fact of being in the hobby. Ideally, they break somewhere that was already glued together, or gets broken off the base. While there’s no such thing as a good break, these are much easier to repair. These breaks are usually very clean, and some glue will make your model good as new.
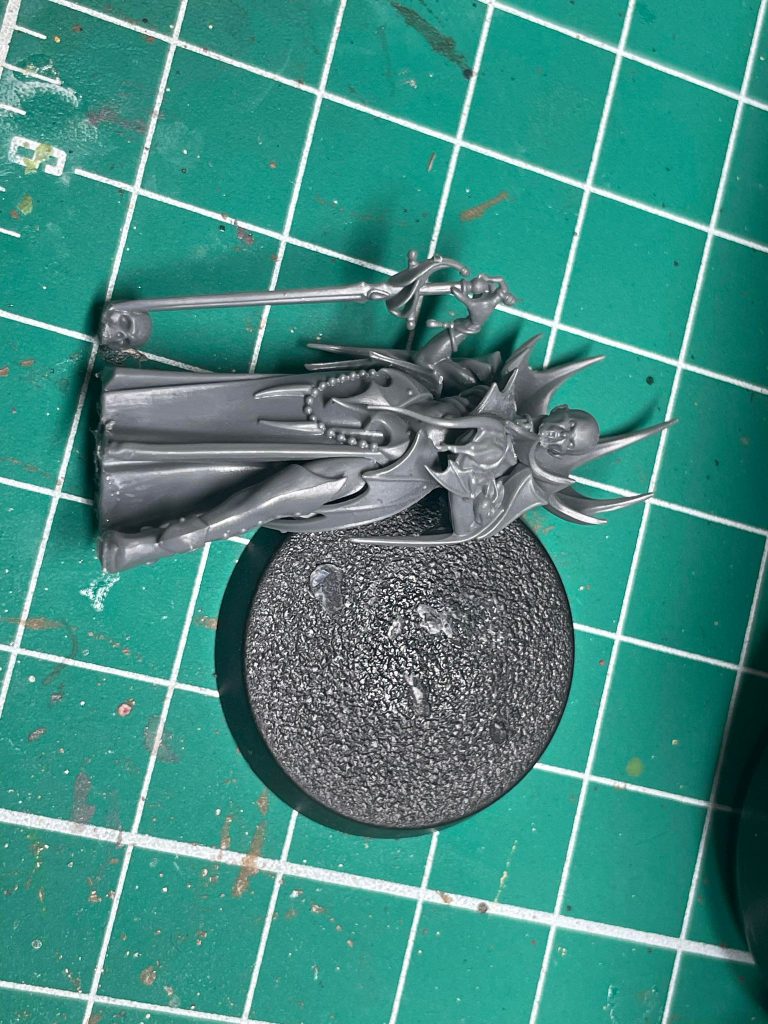
The problem breaks are breaks that aren’t at a glued joint. When plastic (or god forbid, resin or metal) breaks, repairing it is a much more involved process. Sometimes you’ll get lucky and glue makes it good as new, but for this edition of Hobby 101 we will say the best thing we can do to fix breaks like this is avoiding them happening at all with proper transport.
Paint chipping is another serious issue that can arise from just tossing all your models in a box carelessly. There’s often a serious risk of paint being slowly chipped away as models bump against each other, especially if you don’t varnish them.
Finally, proper transport of models makes it much easier to get your models out and put them away when it’s time to play your game, and keep track of all your guys. There’s very little more frustrating than losing a model in transport, and now your ten man squad of Space Marines is forever a nine man squad.
The Humble Army Tray
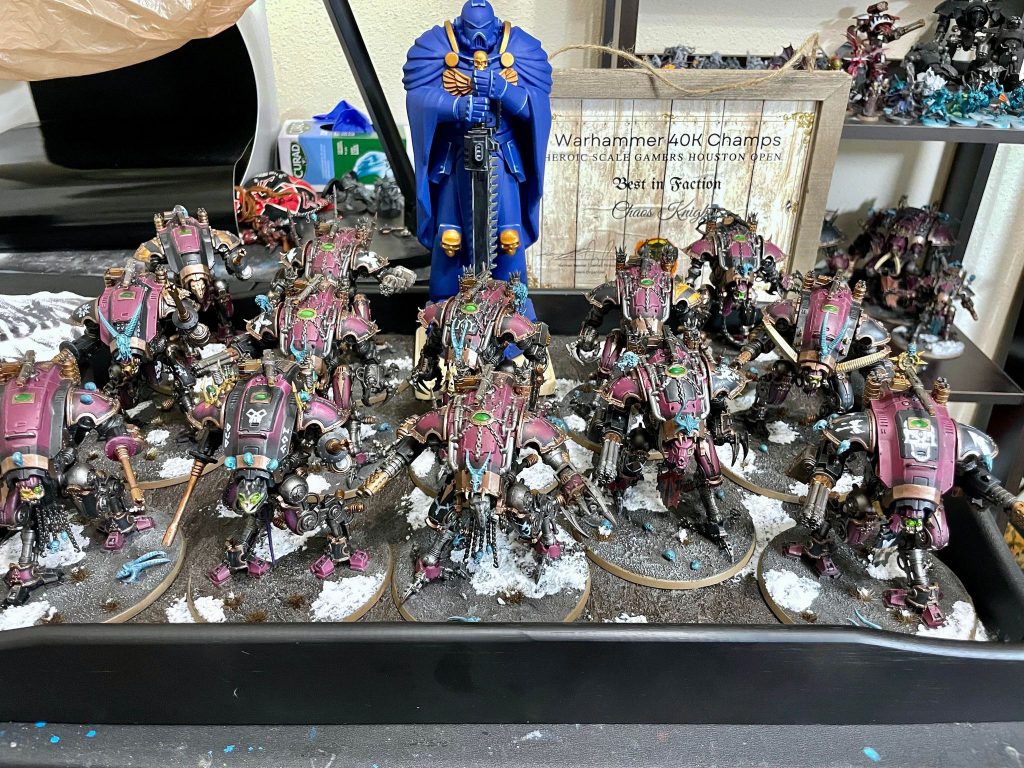
Local travel (especially if you happen to have access to a vehicle) is pretty simple. You can usually get away with putting all your models in a box or in a serving tray and going to your destination from there. Make sure while you are doing this that you aren’t just putting all your models in one big pile: place them on their base standing up, with space between the other models on the tray.
If you get a serving tray as your local model transport of choice, there’s a great opportunity to decorate it up to make a little display tray out of it. Just prime the tray, and take the lessons we learned from basing and apply it all over the tray. It’s not always the most exciting work, but it makes for an easy hobby project so your army can arrive in style.
Oh, by the way, if you have a romantic partner, a word of advice: you should tell your romantic partner about why you’re ordering a serving tray, and don’t let them stumble upon it and think “How sweet, they’re going to surprise me with breakfast in bed!” It’s a very awkward conversation to explain that this is not a serving tray for acts of love, comfort, and bed pancakes, but rather for all your plastic dudesmen.
Yes, I do know this from personal experience.
Army Cases
For longer distance travel, or times where carrying around a box/tray of models really isn’t feasible (like on a subway train), we turn to more involved methods of transporting our models. These methods usually involve an army case. A good army case is anything that’s hard on the outside, with plenty of space on the inside for models. You can find specific army cases for sale, but in a pinch a large toolbox or other DIY cases can work (more on that later!) The way you transport models with cases can be mostly broken up into two categories: foam or magnets.
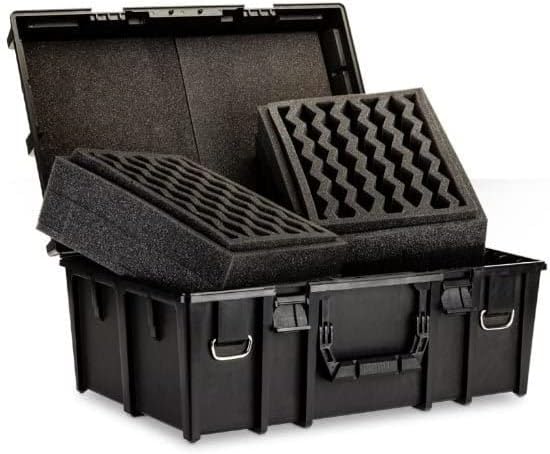
Foam cases, like the cases sold by Games Workshop, use flexible foam (usually polyurethane foam), to protect your models during transport. The advantage to using foam cases is that it’s very straightforward to use. Foam requires no additional work on your models, like magnet transportation does. The most work you would need to do for foam transport is cutting away slots for your model to fit in, if you need to do that at all. The Games Workshop cases don’t need anything to be cut at all, and you can even purchase foam trays exactly sized for models for the most convenience. Additionally, foam sheets aren’t very hard to find, and not terribly expensive.
The disadvantage is that your models probably won’t be as snug with foam: even with the soft edges of foam, a particularly bumpy ride may mean your models will still break. So if you plan on flying, foam can be risky unless you’re okay with the possibility of repairs or make sure all of your foam is cut pretty exactly for each model. Additionally, if you have a whole bunch of differently sized models, you’ll end up with a lot of foam laying around to try and transport all of it.
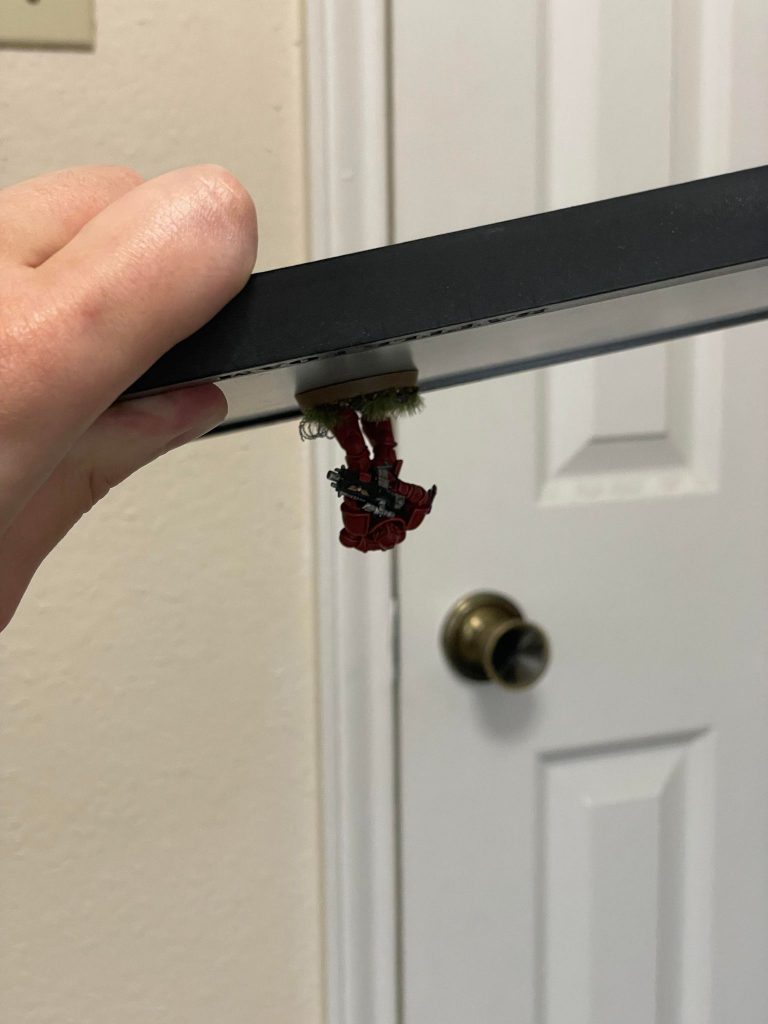
If you’re looking for a very straightforward transportation method, foam is good. Personally, I recommend investing in magnets, and magnetizing the bases of your models. This does require a little bit of extra work and materials, as well as either creating a carrying case that magnet-capable or investing in a carrying case with magnetic shelves. The extra work to magnetize your bases is pretty simple though, and the advantages of having magnetized cases makes up for it several times over. Magnetized models wont bounce around during transport, in fact if you do it right those models won’t move at all. You can turn the case upside down or shake the case up even, and a well magnetized model will stay right where it is.
Magnetizing your Bases
Most bases don’t sit flat against the ground. Usually, only the edges of the base, also called the lip, is the only part that makes contact with the ground. The rest of the base where the actual model is on is raised above the ground, meaning that there’s room underneath it for a small magnet. If the base has a magnet attached to it, then it’ll stick to a metal surface and ta-dah, you’ve got magnetized transport ready to go.
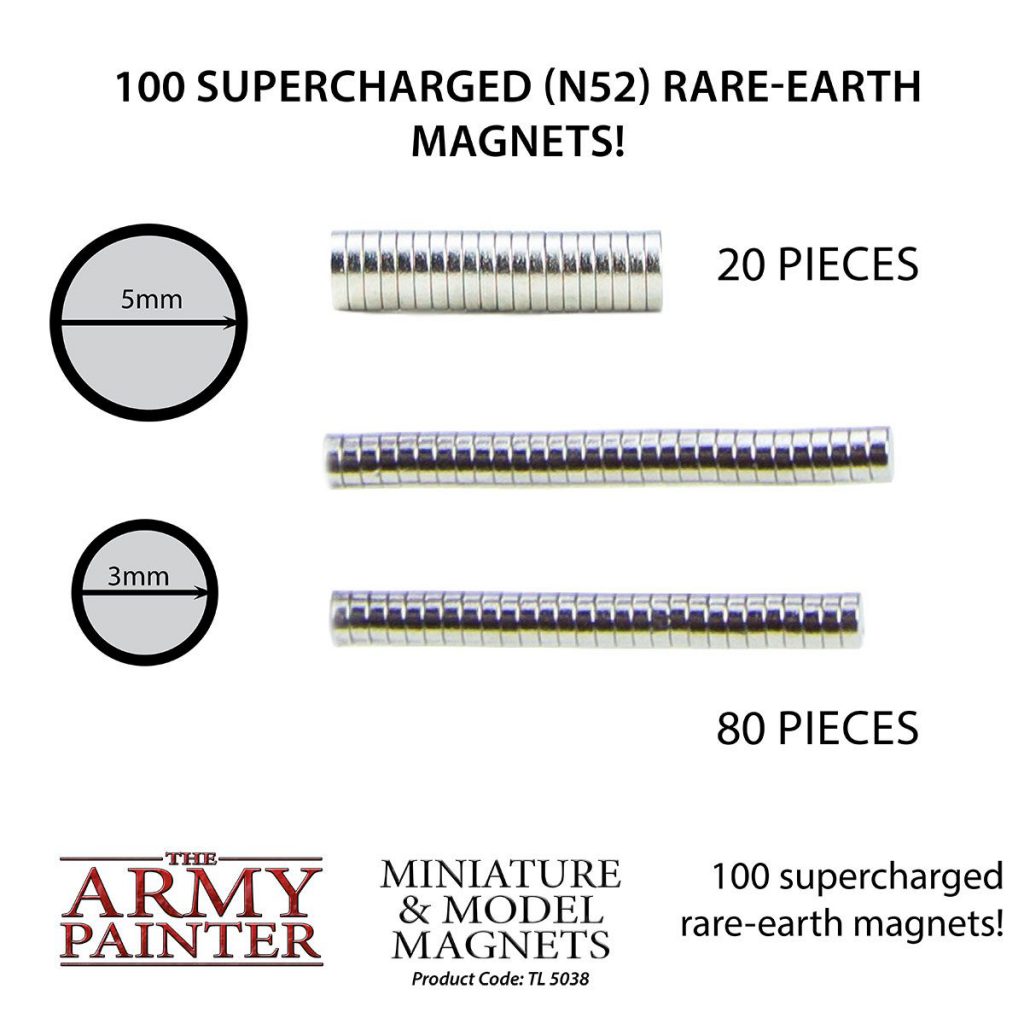
Rare Earth Magnets are very small magnets that are perfect for magnetizing the bases of your models. The Army Painter Miniature Models and Magnets set has 20 5x1mm magnets that are strong enough to hold a model in place during transport, so if you’re looking for the right magnet to buy I’d start there.
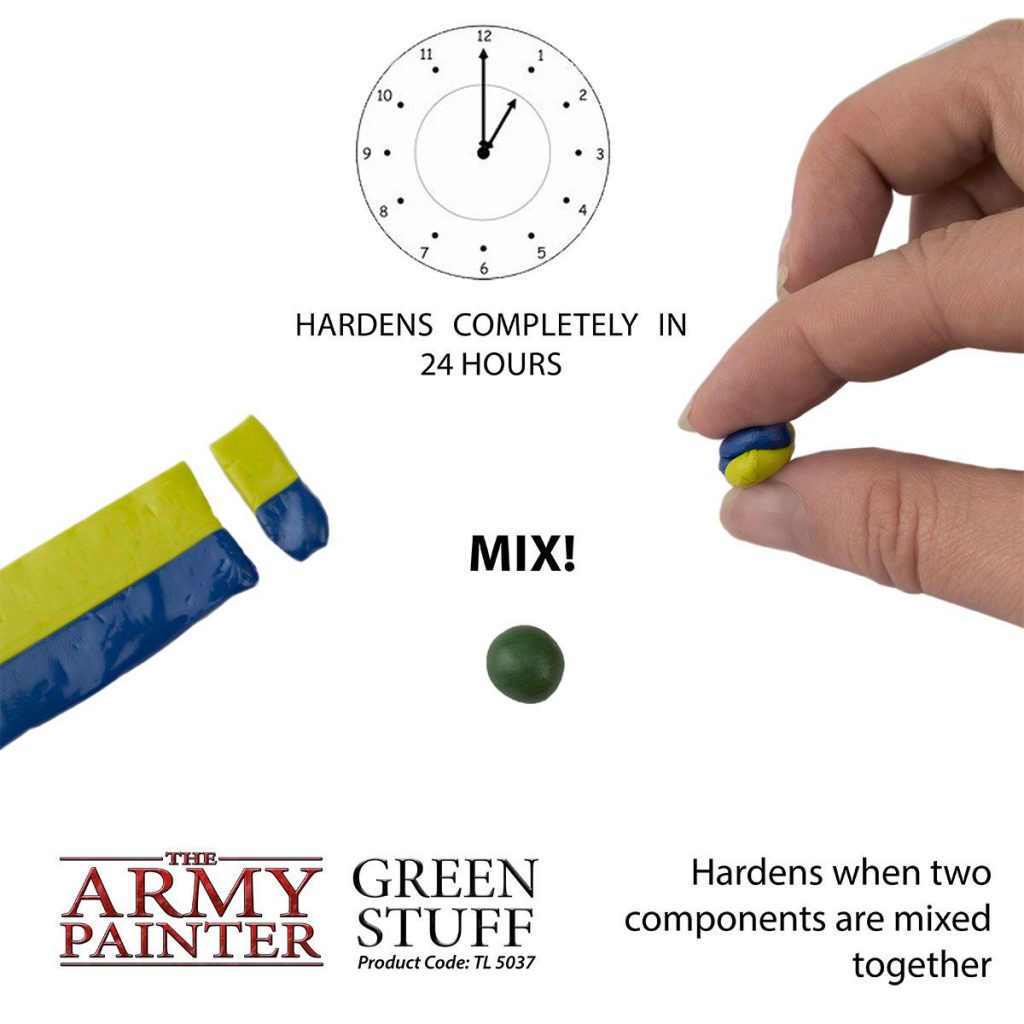
You’ll also need some “Green Stuff”, better known as Kneadatite. Green stuff is a putty that can be used in modeling, sculpting, and filling gaps in models, as its very malleable when you first mix it but hardens very well after about 8 hours. Most Green Stuff is pretty much the same, so get you some Army Painter Green Stuff with those magnets and you’re ready to rumble.
So why the Green Stuff? You’d think you would just be able to glue the magnet to the base and call it a day, right? Well, two issues with that. First, the magnet might not sit flush against the ground, and the magnetic pull is strongest with the magnetic surface and the magnet touching.
Secondly, if we just glue the model to the magnet, the amount of surface area where the magnet touches the base and the amount of surface area that the magnet touches the magnetized surface are the same, and it turns out the magnet would much rather stay on the magnetized surface. So, you’ll keep running into issues where you’ll pull the model away from the magnetized surface, and the magnet breaks away from the model, and you’ll keep having to reglue the magnet to the base.
Using Green Stuff, we can solve both of these issues. First, we need to knead a small ball of Green Stuff. Get your fingers wet to make handling the Green Stuff much easier, and knead together equal parts yellow and blue putty until you have a nice Green Ball.
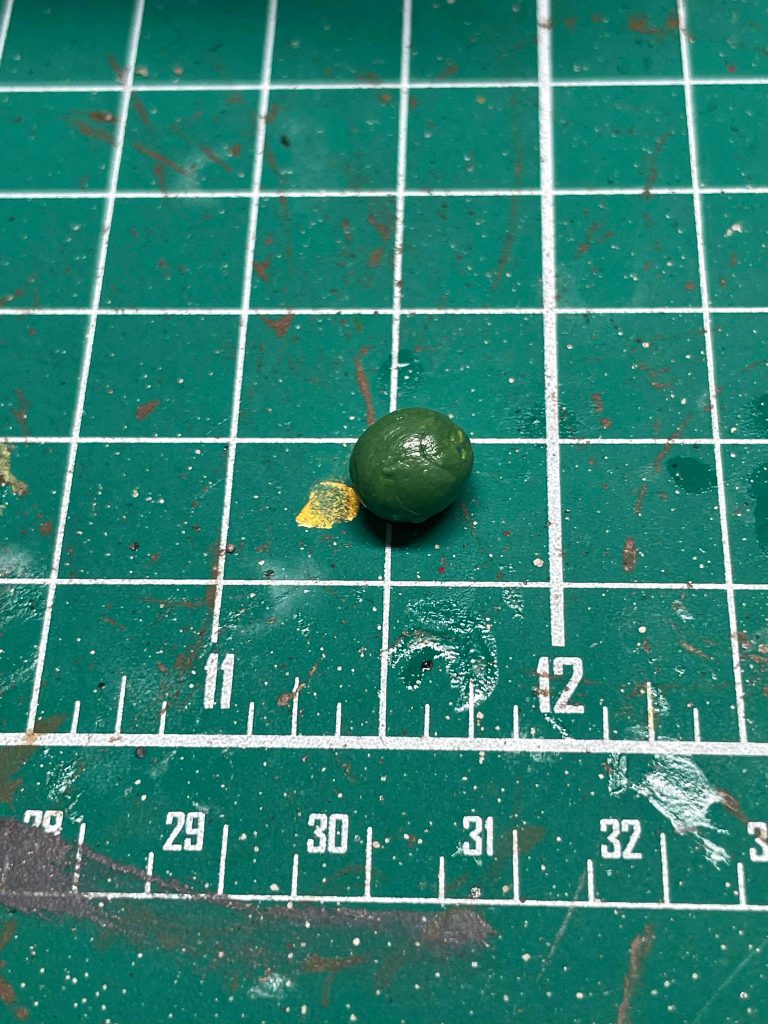
Put that ball under the base of the model you’d like to magnetize the base of, and push the base down gently to spread out the Green Stuff until it’s flush with the ground. Once it’s flush with the ground, superglue that to the bottom of the base.
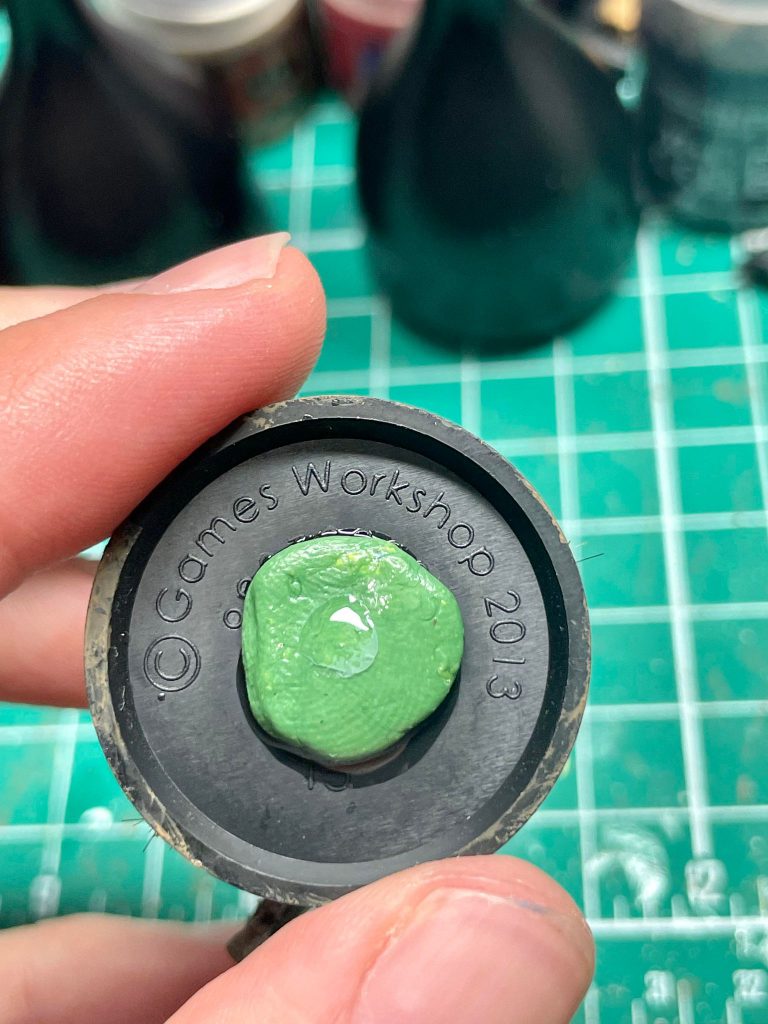
Then, put the Magnet you want to use on the Green Stuff with a little bit of glue (polarity shouldn’t matter here, so don’t worry about what side of the magnet you use). Once again, press the model down until the magnet and the Green Stuff are flush with the surface. Let all the glue dry, and tah dah, we’re all set.
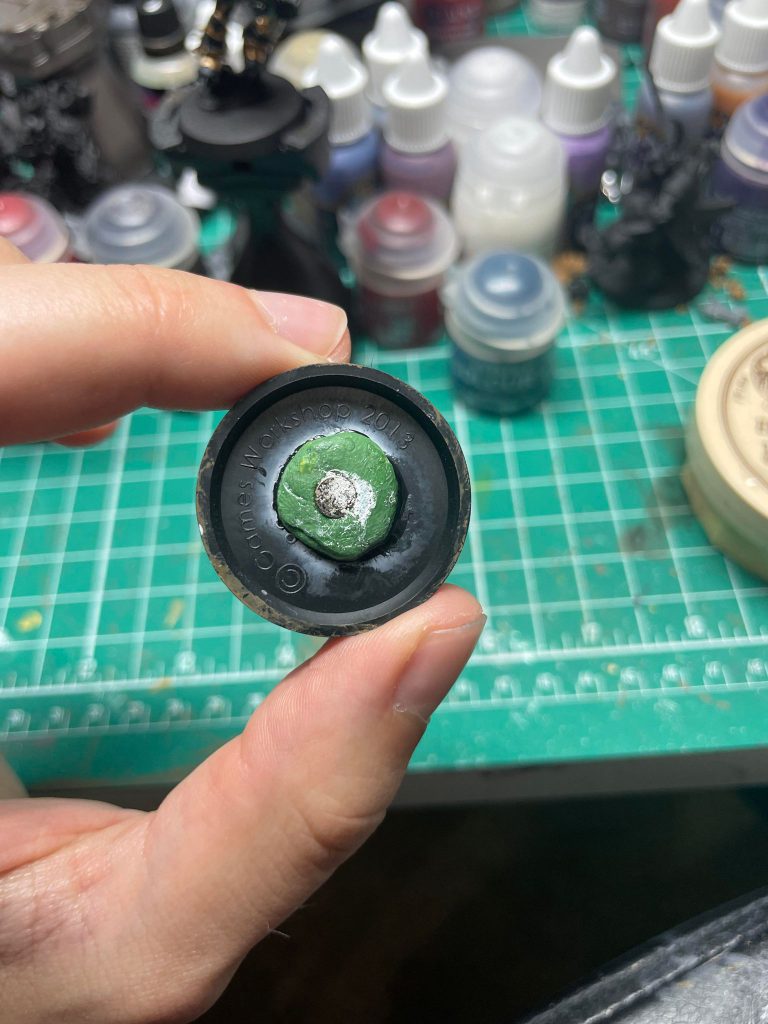
Now, when the Green Stuff hardens, the amount of surface area the magnet is glued to is larger than the magnetized surface the magnet will be making contact with, so you’ll have fewer occurrences of magnets breaking off of bases when you take models away. If you’re planning on magnetizing a bigger model, you can always apply more magnets to the base using this same method.
Making a DIY Army Case
There are plenty of magnet-ready army carrying cases or foam cases out on the market, but many of them can be pretty cost prohibitive and for many folks just starting out in the hobby, there’s already enough up front expenses to worry about.
Fortunately, DIY transport solutions are pretty straightforward. I’ve seen a wide array of stuff used to transport models safely, from metal Toolboxes and Baking Sheets with a magnet, or some foam trays in a plastic container. These DIY cases can be as involved or simple as you would like at the end of the day!
Take my favorite DIY army transport: The Murder Bucket, also known as just The Bucket. My friend David, a Necron diehard and well known nice dude, created The Bucket and it remains a very effective DIY army transport on a budget, as it can get large and small models too and from place to place with no damage on the way.
David was kind enough ton provide some thoughts on how he created The Bucket, for other aspiring DIY hobbyists.
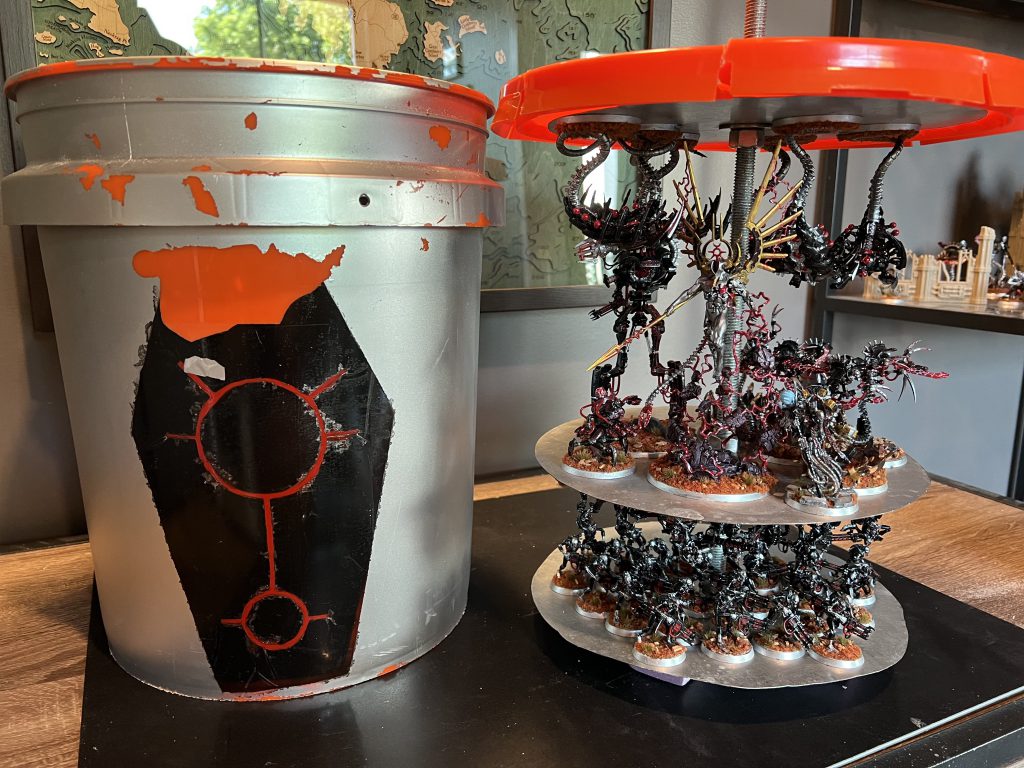
David: When I first got into Warhammer, I knew I’d need to transport my army, and I was looking for ways to blunt the initial start up expense of the hobby. A good friend of mine, James, was in the same boat. He suggested we construct carrying cases from cheap and accessible parts from Home Depot.
So off to Home Depot we went to grab a 3 gallon bucket, some sheet metal, a long bolt, and some nuts. Now, I had the all bare bones. From there all I had to do was use some hand shears to cut the sheet metal into an approximate circle, and sand paper the edges to make it less likely to cut me with a glancing touch. It took a few hours in James’s garage, and then “The Bucket” was born.
Following it’s construction, I wanted to show everyone my favorite Army, The Necrons, from even the outside. My current paint job is lacking for a few reasons, but it does bare the ankh of the Novokh.
Since then it’s travelled with me to a few GTs, several RTTs, and a road trip for the GW Kansas City Teams event.
I look forward to finalizing the exterior and getting a proper lid on the bucket. For now, I carry my Necrons inside and affectionately call it “The Murder Bucket”.
For additional recommendations on making your own carrying case (including some non-magnet solutions), we’ve got an article here from a few Goonhammer folks about their own DIY transport methods.
One last piece of advice before we go: even the best transport solutions can have a mishap, and sometimes models still break. It’s never a bad idea to travel with some superglue handy.
Oh, and never, ever check your army carrying case on a flight if you can help it. Always carry on. It’ll save you many grey hairs.
Thank you again for joining us for another edition of Hobby 101! I hope that this helps you find the solution for army transport that’s best for you, so you can get your models to wherever you like for games and merry times. Huzzah, huzzah!
