Over the years the Goonhammer crew have put together a vast and expansive library of painting guides. Appropriately titled “How to Paint Everything” we’ve got schemes and recipes for 100s of models. They all, however, assume you know the difference between wet blending and glazing or what the hell “zenithal” means. Welcome to Hobby 101. This series will lay the groundwork to teach you the fundamentals and best practices to make your models shine.
The Hobby 101 series is sponsored by The Army Painter.
In today’s article we’ll focus on the basics of assembling miniatures, starting with what they’re made of: Most miniatures are made from plastic, metal or resin. The material used in the model will dictate the type of glue to use.
What Kind of Glue Do I Need?
When it comes to hobby work, there are three kinds of glue you’ll often find yourself working with:
- Superglue – Cyanoacrylate. Superglue creates very strong adhesive bonds and can be used on a variety of materials (though as a solvent, there are some materials it will destroy, such as foam). Superglue is great for working with metal or resin models.
- Plastic Glue – Tetrahydrofuran, also known as poly cement. Plastic glue is also a solvent (so don’t use on foam) and creates strong bonds by essentially “solvent welding” pieces of plastic together. It’s great for polystyrene, the material used for Games Workshop plastics and gunpla kits. Plastic glue tends to create great long-term bonds and gives you some leniency to move things around while it’s setting.
- PVA Glue – Polyvinyl Acetate. If you remember using Elmer’s glue in school, that’s PVA glue. This is also called wood glue, white glue, or carpenter’s glue. You can dilute it with water. PVA glue is great for terrain work and will typically be what you use to add flock or sand to a base, but is not appropriate for assembling models.
Superglue can work for any model in a pinch, but if you’re working with plastic there’s a better option: Polystyrene Cement or “Plastic Glue”!
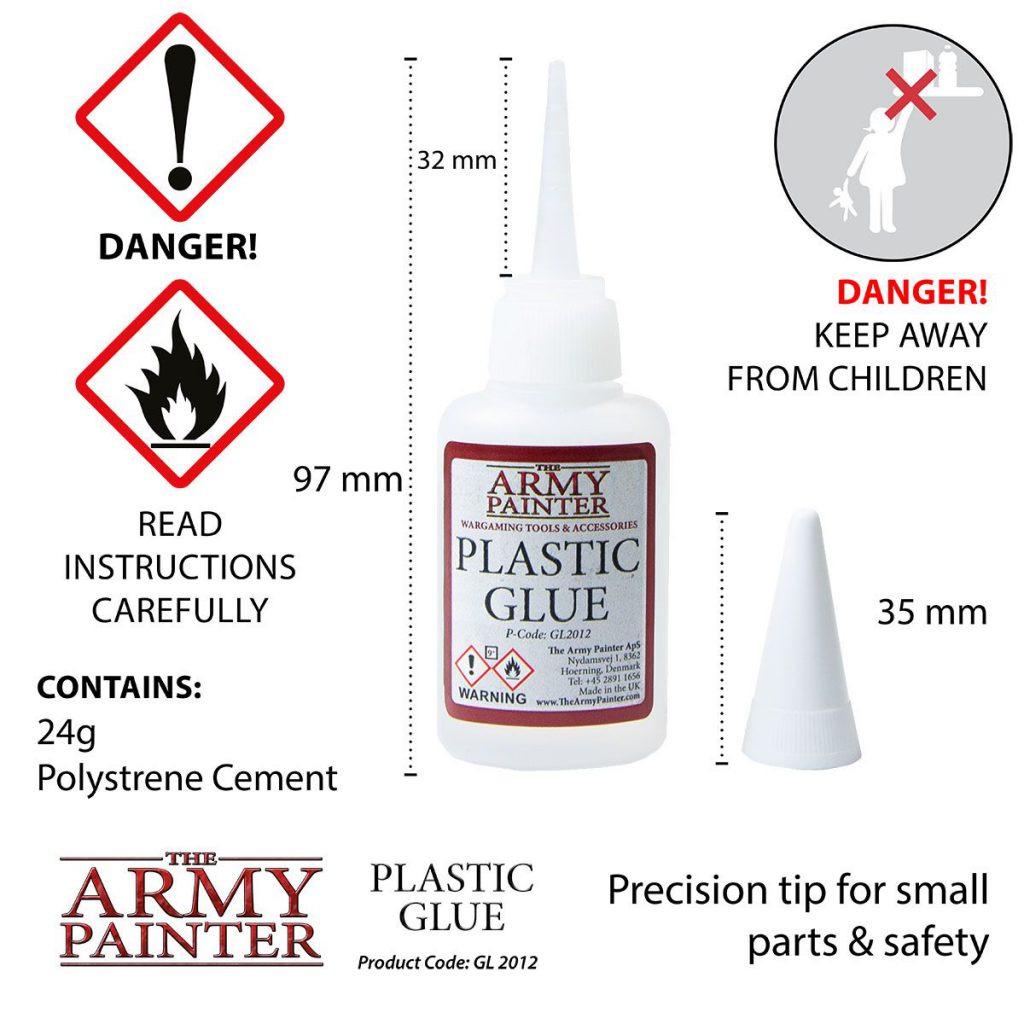
You can get plastic glue from a number of manufacturers, but I’ve listed some of my favorites below:
- TAMIYA America, Inc Extra-Thin Cement, TAM87038
- My current favorite: The glue is thinner than the others and comes with a synthetic brush to help with application.
- Revell Contacta Liquid Glue with Professional Needle Applicator (For UK/Europe)
- Any Plastic Glue bottle with a brush or metal precision applicator (e.g. a thin hollow needle that inserts into the bottle).
- Army Painter Plastic Glue (most affordable)
- Games Workshop Plastic Glue
I’ve listed the last two options because they’re popular in the hobby and widely available, though note that the Army Painter Plastic glue does not include a precision applicator so I would limit its use to larger joins or pieces of terrain. When you’re working with very small pieces or joins, you’ll want to have a precision applicator.
What’s so great about plastic glue?
Plastic glue will “melt” the plastic and effectively solder parts together, creating a stronger bond than super glue. On the negative side, too much plastic glue can melt the details off your mini! So, like super glue, less application can yield better results! Avoid applying too much glue to your mini or getting it in places where you don’t want it, and be careful working with parts of the model that have glue on them – they will become incredibly soft while they have glue on them.
That said, you can also use this to your advantage, applying plastic glue to a crease or join to smooth it out – though doing this is a bit more advanced technique for another day.
Thanks to the rising cost of raw materials and improvements in manufacturing and technology, plastic and resin have become the most common material for modern day miniatures.
What about metal or resin miniatures?
Any models that use a combination of metal or resin parts can best be assembled with super glue. Plastic glue will not work for these.
Removing Plastic from the Sprue
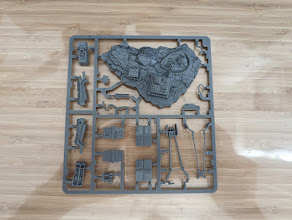
Most plastic miniatures are made using injection molding, where plastic pellets are heated and then injected into a mold, which forms a plastic frame or “sprue”. The model parts then need to be removed manually for assembly.
What tools do I need?
In addition to glue, you’ll need some model clippers and a tool to remove mold lines, such as the back of a hobby knife or (ideally) a soft bladed tool such as those from Army Builder or Games Workshop:
Having a hobby knife is always useful: It serves a dual use purpose for removing mold lines with the back of the blade and severing tiny pieces of plastic from the sprue with the sharp end of the blade.
What model clippers should I use?
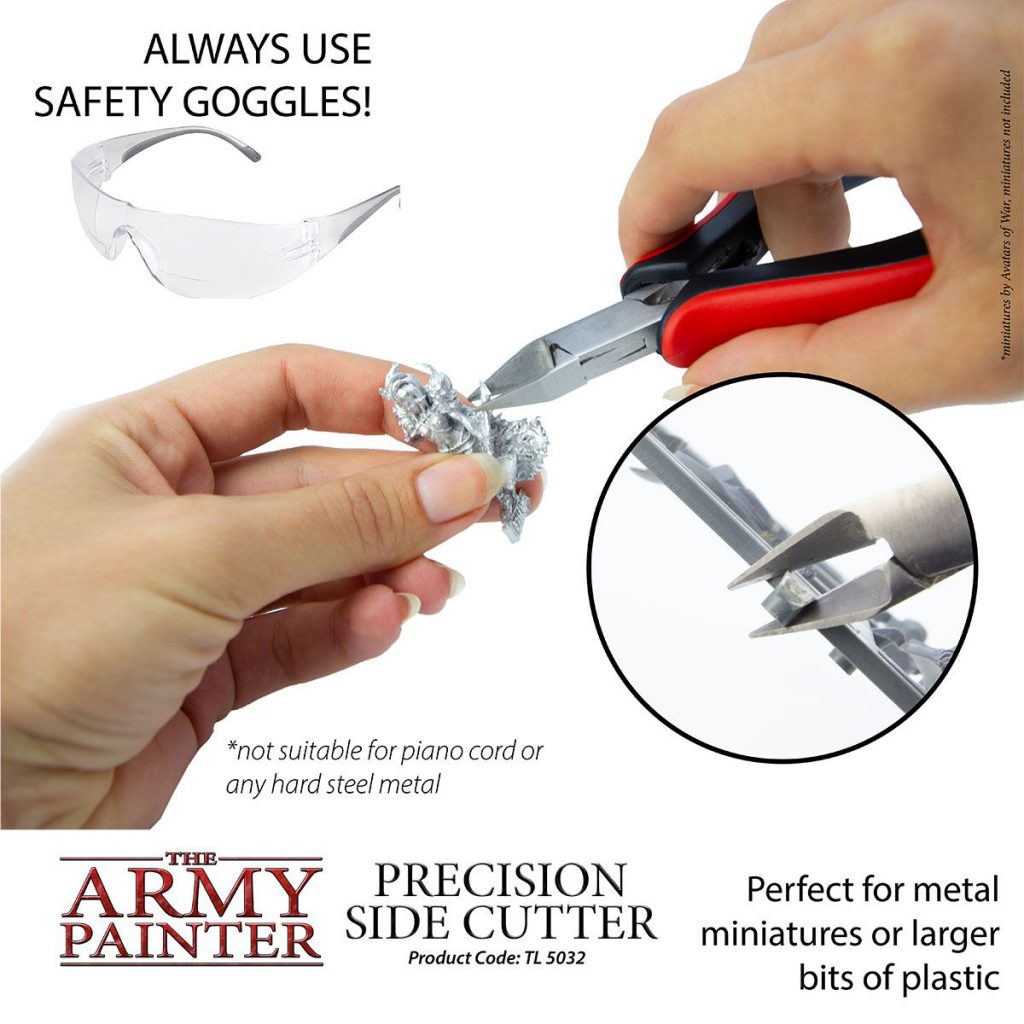
When you clip a piece of plastic off the sprue, you are effectively “crushing” the connection between the plastic parts so that they’re small enough to separate. Ideally, you’ll want a sharp blade that can make the cleanest cut possible.
I prefer older versions of the GW clippers (I’m not a fan of the latest version) or the Army Painter line. Be warned that using them to clip metal can warp the blade over time. I use dedicated clippers for metal and plastic, respectively, so I don’t risk damaging a pair:
When removing pieces from the sprue, try clipping the weakest areas first (particularly for delicate pieces) to avoid damaging the plastic. Alternatively, you can prioritize the stronger areas and “twist” the piece off the weaker attachment points.
If you’re working with a particularly delicate piece of plastic, it’s worth stabilizing the piece and holding it between your fingers while you clip, to avoid bending the piece under the pressure of your clippers (example below):
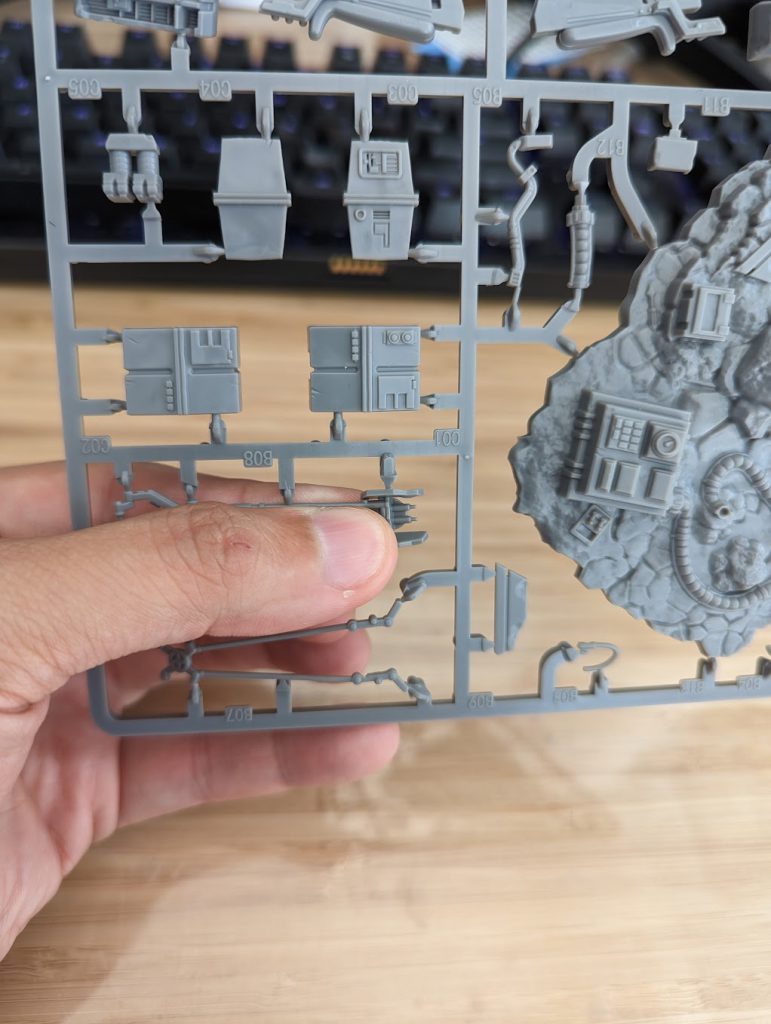
We’ve also covered this part in more detail in our article on Clipping and Model Preparation – it’s worth referring back to for more tips and pointers.
Tip: Keep a Flashlight
Sooner or later, it’s going to happen – you’re going to drop a bit on the floor or you’ll clip something that you hadn’t secured well and it goes flying. Ideally you’ve set things up to avoid this but when it happens, you’ll have to drop to all fours and look around for it under your desk. Here’s where I’d strongly recommend having a flashlight handy – getting some extra light can make finding lost bits much easier, even in rooms that are already decently lit.
Miniature Assembly
It’s time to assemble your minis! Here are some things to be mindful of:
- Wear Goggles (or some kind of eye protection).
- Sometimes, when you clip a piece off the sprue it can go flying (hopefully not into your eye)!
- Read the Instructions! It’s very tempting to just jump in and start clipping things off the sprue. This is a mistake – read the instructions through before you start clipping things so you understand what you’ll be doing and how the project comes together.
- Read the Instructions for your glue as well. Depending on which glue you’re using, there may be manufacturer instructions for getting the best results (such as dampening or scratching up the surface before gluing). Read the instructions for your glue and make sure you’re following them to get the best results.
- Check the item numbers on the sprue before you clip anything. Chances are good you won’t need every part all at once. Sometimes it helps to take a picture for reference.Note that plastic parts on modern sprues are often distributed with a computer program to optimize space on the sprue – This means how pieces are assembled and where they’re located on the sprue isn’t always intuitive.
- Always dry-fit your miniatures before you glue them. You want to make sure things will actually fit before you start gluing. There’s nothing worse than putting glue all over a part and realizing it won’t fit because you have the wrong part, missed clipping off a bit of sprue, have the wrong position, etc.
- Do not remove everything from the sprue at once. Unless you’re really confident about how they’ll go together, this is a good way to lose pieces or overcomplicate the process.
- Group plastic pieces that will be assembled together in the same area (e.g. in a tiny cup or on a plate) so they’re easy to find.
- Try not to clip grey plastic parts over a grey floor or carpeted area where it may be easy to lose them. If you do lose something, get down and put your ear to the ground so you have a level view of the floor – hopefully anything odd will stand out. Speaking of which: Consider giving your hobby area a good clean before starting, it’ll make the location of lost parts a little easier. And if you do lose a bit, refer to our flashlight tip above to make it easier to locate.
Take your time during assembly. Dry-fit your minis, then apply glue to the parts you need to assemble (take care not to add too much glue – it’s easier to add more than it is to take glue off). Hold them in place until you have a good join – note that this may sometimes mean preparing your surfaces, depending on the glue (see above). Once you’ve got a good connection, let the parts sit and cure before coming back to it. Note that with plastic glue you’ll want to make sure your parts aren’t going to slip or sag – the glue takes a while to set and heavier parts can shift due to gravity as the glue cures, so make sure your pieces are properly supported or positioned to avoid this. This is also where having clamps and rubber bands can come in handy.
Tip: Keeping a Bitz Box
You’ll often find you have leftover parts when you finish assembling a sprue – extra heads, guns, alternate options you just didn’t build. Don’t throw these away! Clip them off the sprue and keep them in a box with other spare parts – they’ll come in handy for future projects, when you’re looking for cool bits to spice up a project, or use as casualties on a base or terrain.
Next Time: Priming
Well, they’re you have it! We’ve focused mainly on plastic as it’s become the norm – but resin is also growing within the 3D printing space so things may be subject to change. Good luck and feel free to share your efforts!
Join us next time when we look at priming models and preparing them for the paint step. Until then, if you have any questions or feedback, drop us a note in the comments below or email us at contact@goonhammer.com.
