
Over the years the Goonhammer crew have put together a vast and expansive library of painting guides. Appropriately titled “How to Paint Everything” we’ve got schemes and recipes for 100s of models. They all, however, assume you know the difference between wet blending and glazing or what the hell “zenithal” means. Welcome to Hobby 101. This series will lay the groundwork to teach you the fundamentals and best practices to make your models shine.
The Hobby 101 series is sponsored by The Army Painter.
Kitbashing or converting models is a way to customize a model beyond what the kit provides. Kitbashing specifically refers to taking parts from one kit (usually called “bits”) and applying them to another model. Now, as you might imagine, this can go from a basic space marine helmet head swap to some incredibly complicated conversions. The only real limit is your imagination, and with a little practice and patience you can make an entire army that’s fully uniquely yours.
Kitbashes always start with an idea. This can come from seeing something that inspires a different vision of what a model can be, trying to push a lore angle for your army, or simply not liking a specific part of a model. For today’s example I’ll be working on some Blue Horrors to ally into my Chaos Knights army. I’ve been trying to push some dark Mechanicus/Vashtorr themes and aesthetics for the daemon allies I throw into the army to make them look more cohesive on the tabletop. I also made a (some might say stupid) rule for this army to make every model unique so this is part of that push.
So we have our concept, but now what? Well the daemons under Vashtorr’s command have generally signed a contract to gain more power in exchange for having to provide souls for the soul forge. With that in mind I decided to take the base Blue Horror kit and add some bionics to it.
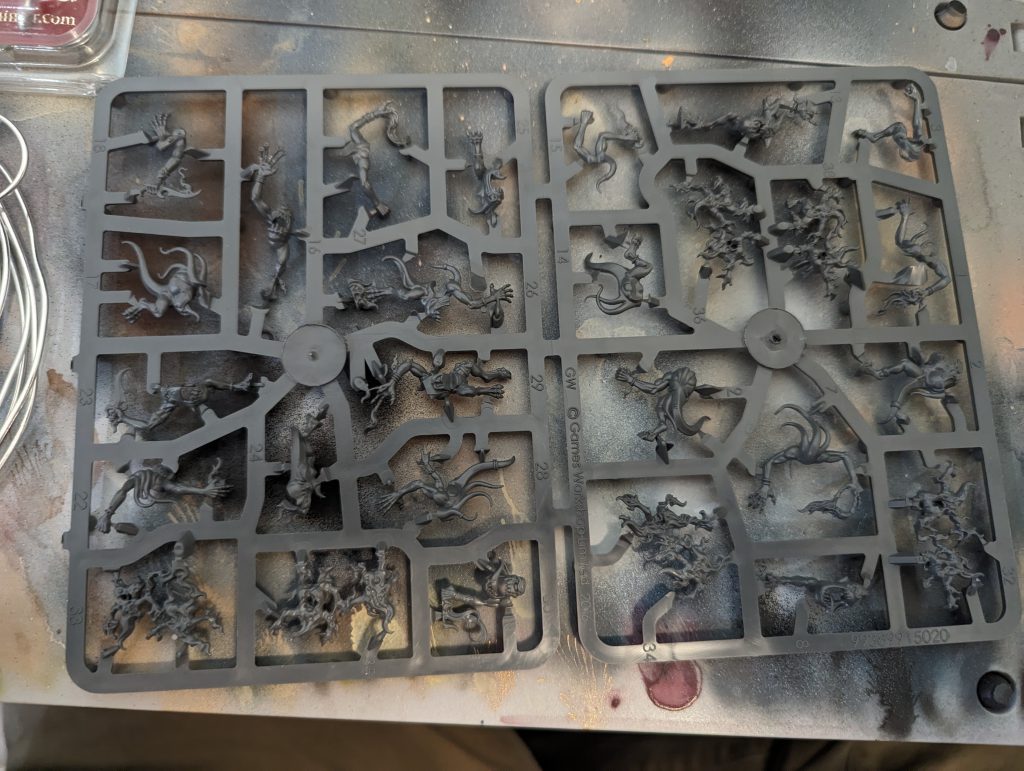
Let’s start with a look at the kit. Luckily for those kitbashing Warhammer minis, Games Workshop has pictures of their sprues on the page for the kit so you can take a look before you buy anything. I… did not do that this time and honestly these guys are a little more complex than I bargained for. Generally mono-pose (referring to kits that don’t have multiple options) are harder to kitbash because they generally don’t have a place to easily swap stuff. That all said though, we’re gonna push through because frankly I already bought these Blue Horrors and I need them for the army anyway.
Next thing is to start sourcing bits! If you’ve ever built a kit with options, you should have some stuff left over from those builds. In this case we’re gonna use some leftover bits from the Kataphron kit. I built these forever ago but haphazard mad science Frankenstein’s monsters are exactly the vibe I’m going for.
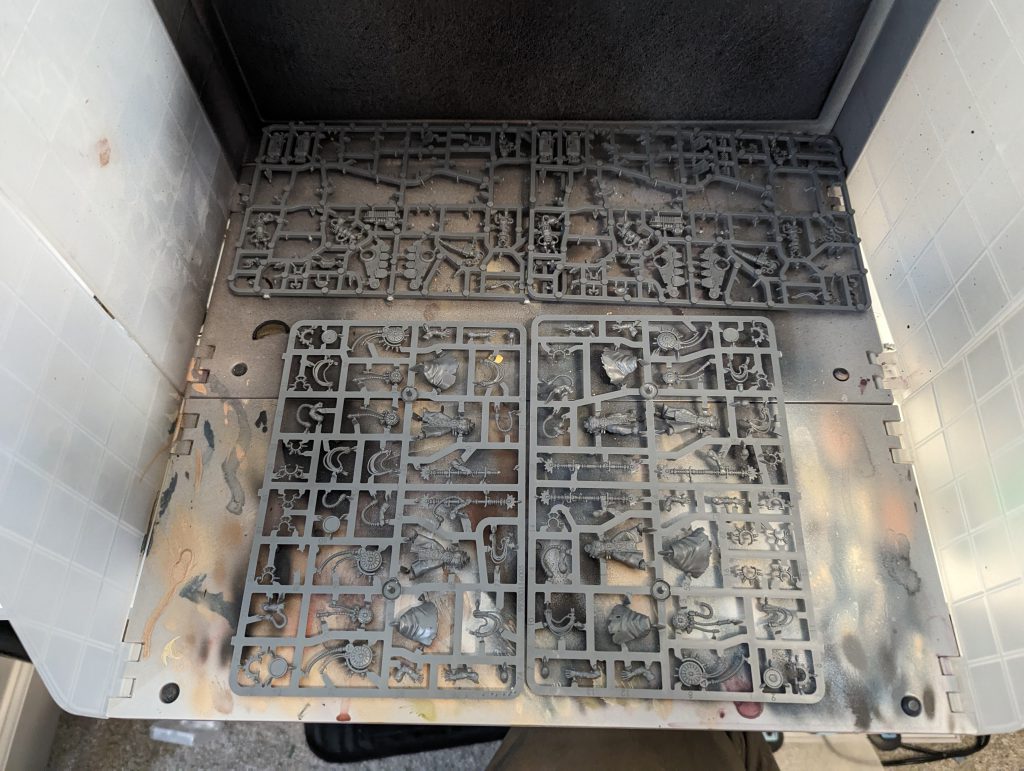
Looking at the sprue there are a lot of great options here. Big bionic claws, weird little arms and even the gun options are all things we’re gonna use. That said there’s not enough here for 10 models so we’re gonna have to find another kit. Luckily someone in my local community had some extra stuff from the Serberys kit which also has some neat stuff. Also blue horrors with guns is hilarious to me so we’re gonna make it happen.
Lenoon: If you’re thinking about kitbashing a whole army like this, it’s really useful to keep bits from the base kits you’re using frequently in boxes for easy access. Sometimes it’s fantastic to go through your bits box vaguely hunting for a single piece when you’re really looking for inspiration, at others you just want to grab a different gun, or shoulder pad, or variant head.
That’s where compartmentalised bits boxes come in. For cohesive whole-army kitbash projects, particularly where I want variety but a unified theme, I’ll keep bits organised in a cheap multi-compartment box labelled with what’s in each compartment. This makes kitbashing along a theme really easy, particularly with forces like my 30k Ultramarines or Napoleonic French where I want to make sure I’m using bits that have a certain unified look to them. Back to Norman!


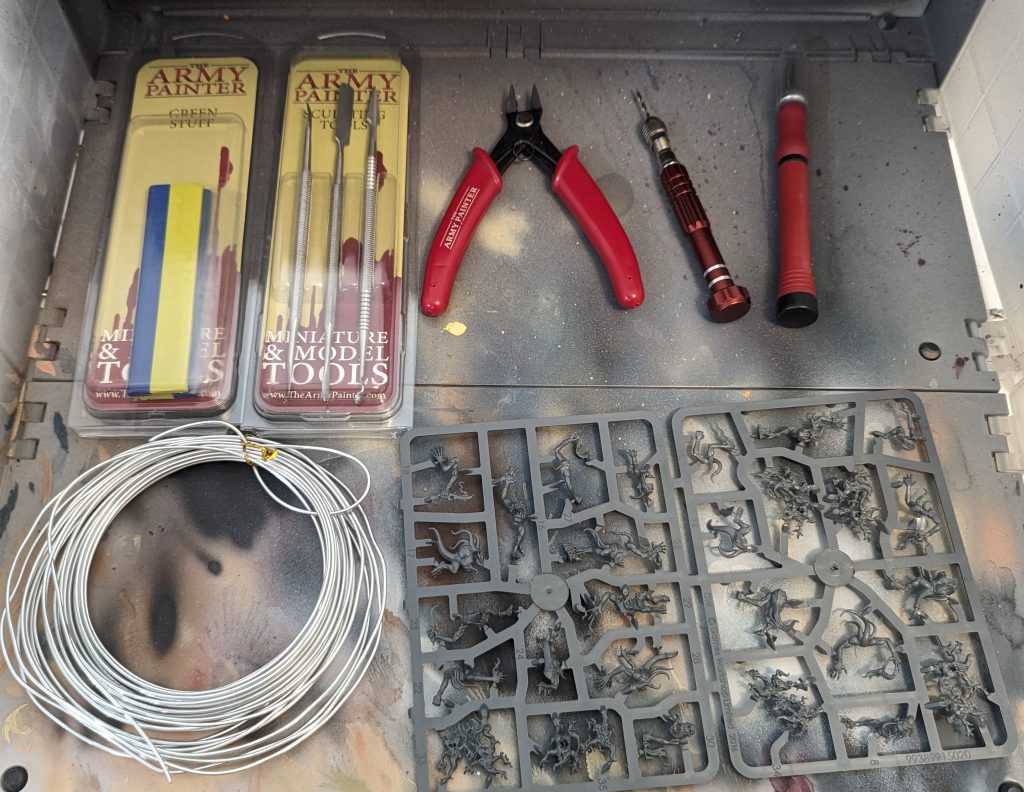
Before we start bashing, let’s take a look at the tools we’ll be using today. My essential kitbashing toolkit is:
- Sharp clippers
- Hobby knife
- Plastic glue
- Super glue
- Hobby drill
- Florist wire
- Greenstuff
- Sculpting tools
- Vaseline
- The sprues we’re using
You’ll notice a lot of this stuff is things you’ll be using for building anyway. Most kitbashes are as simple as plastic gluing a piece to a model, but let’s be honest you’re here for something a bit above that.
With all our tools laid out, it’s time to start building. When doing a unit like this I generally build a model all the way and take a look at how parts fit together for inspiration on where I can add stuff.
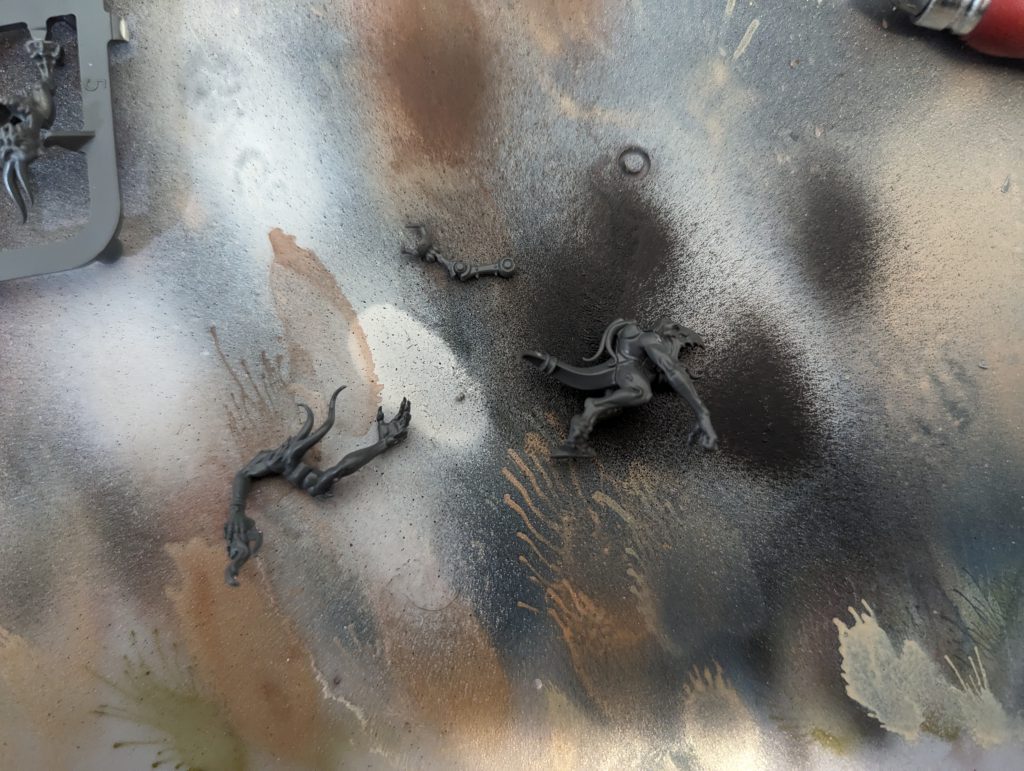
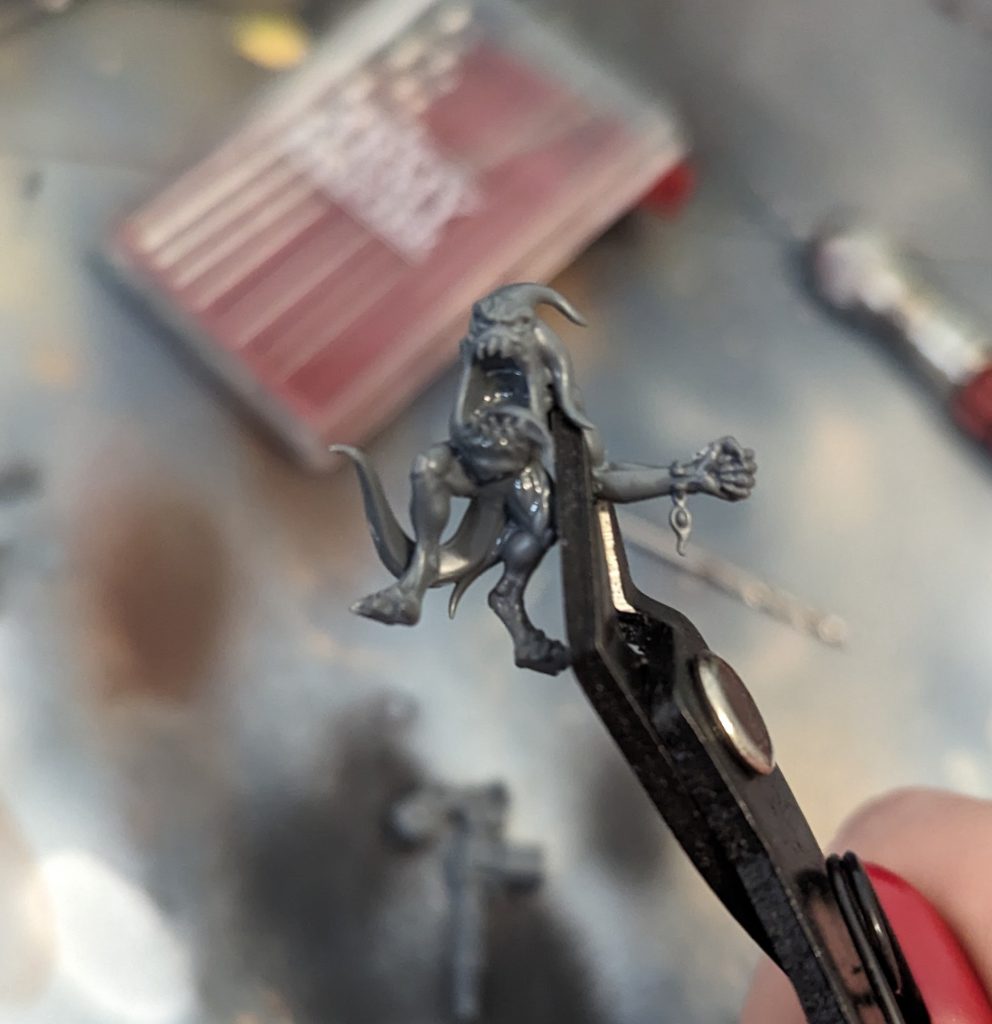
Looking at this guy I think I can add a fourth arm with that little servo claw since it’s about the right scale. This one actually is just as easy as gluing it to the negative space under one of the arms to mirror the other side.
Okay, let’s try something more advanced. I’ve got this heavy stubber and I definitely want it on one of these idiots.
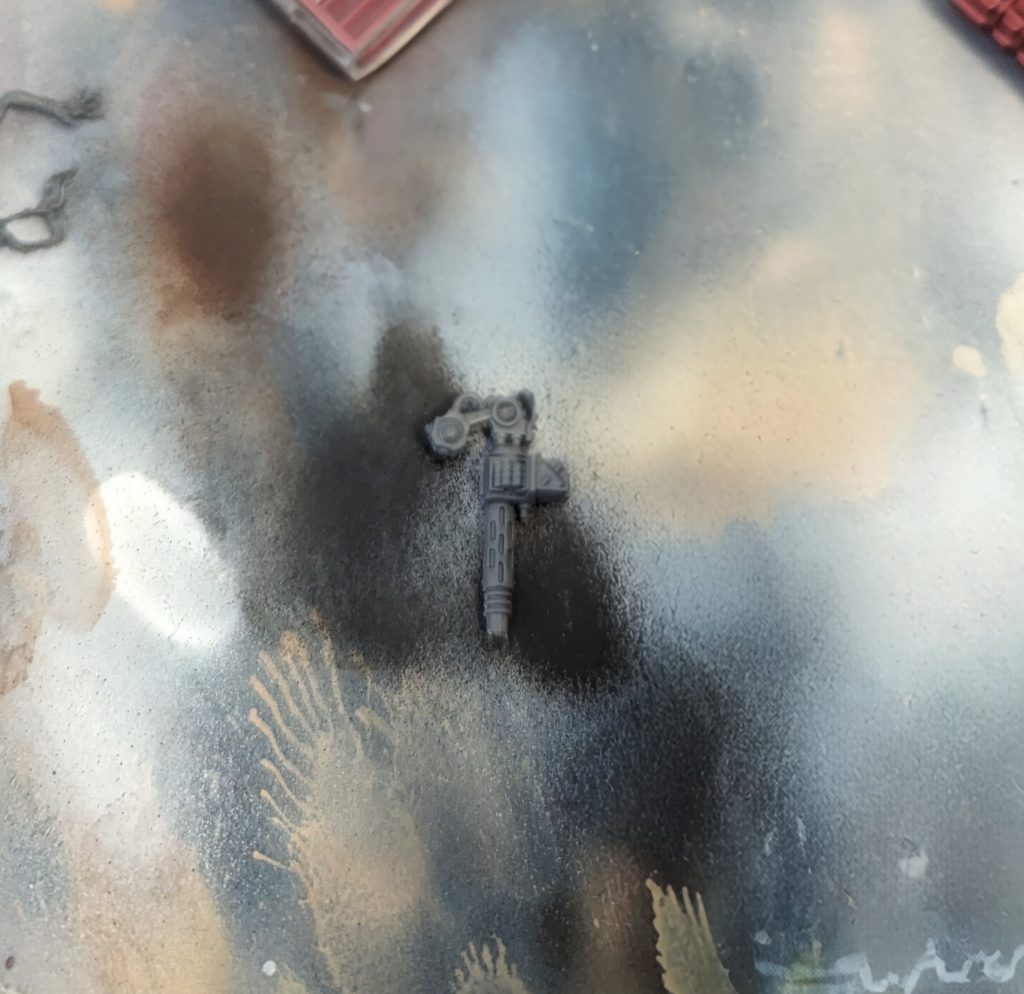
The issue is it’s a bit more bulky than something like a servo arm and its weight means just tacking it on would make the model look unbalanced so we’re gonna have to do some clipping. What this means is I’m gonna build the model all the way, clip off one of the arms, and clip off one of the arms so I can easily attach the gun arm in its place.
This is probably the scariest part of doing this kind of project. I usually refer to it as a point of no return, a part of the process that you cannot physically come back from. The best advice I can give you about this sort of thing is Do Not Be Afraid. Even if your plan doesn’t quite work, odds are you can find a different way to do what you’re attempting in a way to cover up anything you damage. In all my time kitbashing several armies I can count on one hand the number of times that I did something that resulted in me being unable to make a cool thing in the end. Meanwhile if I had a penny for each time a conversion didn’t go the way I’d hoped, well I’d have several more Warhammer armies.
Okay so you gritted your teeth, prayed to the Chaos god of your choice, and clipped off the piece. Now its a simple matter of taking out a hobby knife and smoothing out the surface to better provide a place for the gun to glue to.
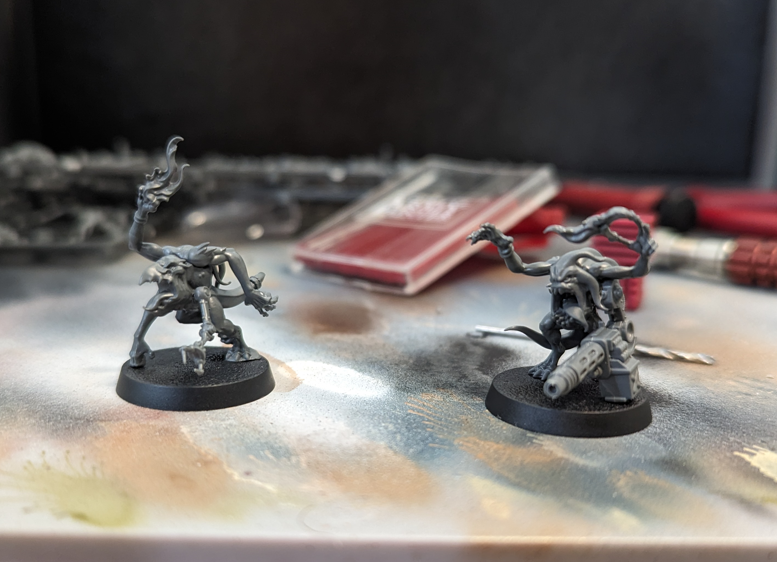
Luckily the gun fits perfectly and we’ve got our first two Horrors done, just eight more to go.
Gonna flash forward a bit here to the end of the project; everything else was simply clipping, smoothing and gluing. If you’re unsure how something’s gonna look, attach it with a bit of super glue that way you can rip it off if you don’t like how it looks/sits. If you’re having trouble getting something to sit glued, or you’re worried about a bit coming off very easily (this is a common problem when attaching something to a small contact point) you can always pin the piece. This is something that’ll be covered in another Hobby 101 article.
The last thing to do is to clean up gaps (only if you want to, to be honest). This is where the greenstuff comes in. You may have heard of this stuff, it’s a flexible two part epoxy (thats the yellow and blue stuff) that hardens to a plastic like consistency after a few hours. You can use this to fill gaps or even sculpting entirely new parts for your model, although that probably requires its own article.
To start prepping your greenstuff, have some water or vaseline on hand. Apply either to your fingers before working with this, otherwise it’ll stick to your fingers. First knead the blue and yellow pieces together until it’s a solid green consistency. Once its green, you’ve started the clock for the curing time. Don’t worry though; it won’t be fully cured for something like 12 hours. When you first mix it it’ll be a really gummy consistency, this is perfect for gap filling. If you’re looking to try your hand at some sculpting, my advice is to give it like an hour to firm up so it holds its shape a bit better.
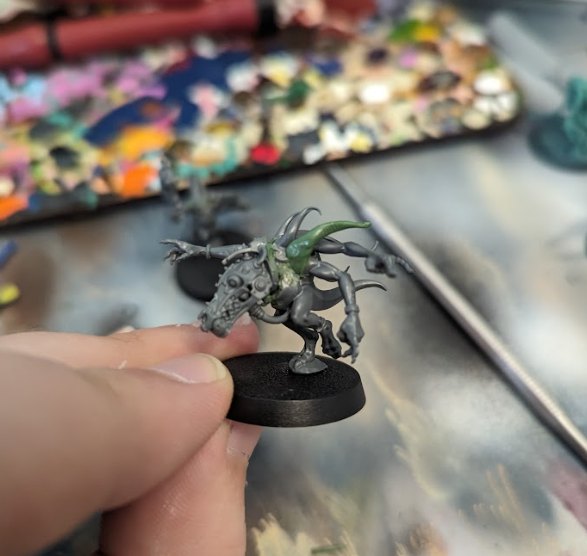
Let’s take a look at one of our horrors here; the place where the dog head meets the main body has a nasty gap that I wanna fill.
First I take a small piece of green stuff and roll it into a cylinder/sausage about the length of the gap. Then put it over the gap and press it in using my sculpting tools. From there, I dip my sculpting tools into my vaseline to stop the greenstuff from sticking to it, then repeatedly smooth the excess into the plastic to make the surface as flat as possible.
Once you do this, you can double check your work by taking a picture of the model and filtering it to be black and white. It’s sometimes hard to judge your work when most of it is gray so making it a unified color will help you judge if you can see where the plastic ends and the greenstuff begins.
Now you may have noticed I made Way Too Much Greenstuff. So I did some basic sculpting and added a tentacle to fill out the area near the gap to make it look more natural. Tentacles like this are easy, just roll it, attach it to the model, and then smooth out where it joins the model with your sculpting tools. The thing to be careful of is not pressing too hard on the greenstuff with your hands to avoid fingerprints, but honestly if it’s not too bad primer will stop it from appearing too much. If you get fingerprints on your greenstuff, you can smooth it out with your sculpting tools.
Ok I still have way too much greenstuff. Usually from here I like to make the leftover stuff into things I can use later. I do a lot of chaos coversions, and one thing they always need are eyeballs. so I went about the task of rolling random pieces of greenstuff into spheres that I can throw into a drawer when its done curing and promptly forget about.
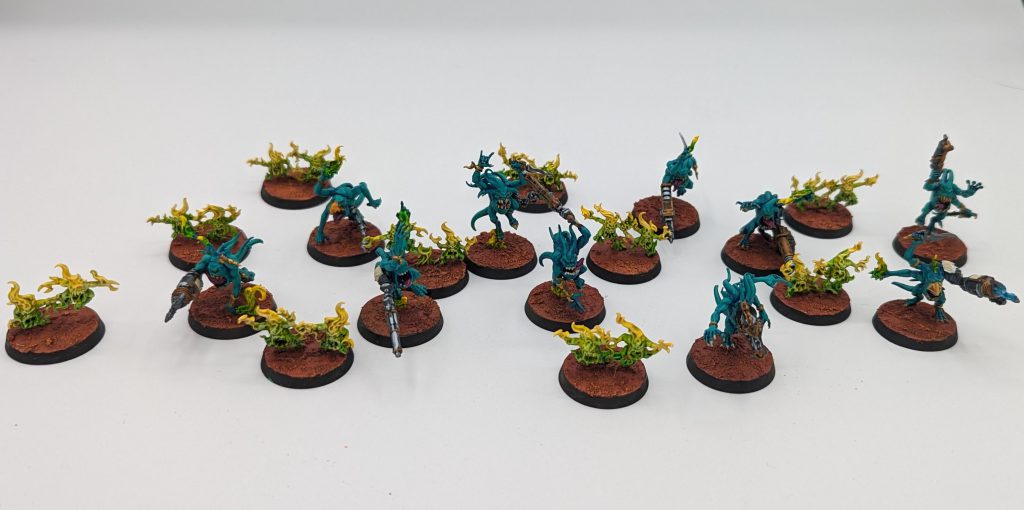
And with that we’ve got a full unit of bozos ready to deploy teleport homers or something. While what we worked on here is small scale and pretty simple, the sky’s the limit with conversions like these. You can see how I do something more complex here in my article on kitbashing knights. Now get out there and make some bespoke weirdos!
Have any questions or feedback? Drop us a note in the comments below or email us at contact@goonhammer.com. Want articles like this linked in your inbox every Monday morning? Sign up for our newsletter. And don’t forget that you can support us on Patreon for backer rewards like early video content, Administratum access, an ad-free experience on our website and more.
