
Over the years the Goonhammer crew have put together a vast and expansive library of painting guides. Appropriately titled “How to Paint Everything” we’ve got schemes and recipes for 100s of models. They all, however, assume you know the difference between wet blending and glazing or what the hell “zenithal” means. Welcome to Hobby 101. This series will lay the groundwork to teach you the fundamentals and best practices to make your models shine.
The Hobby 101 series is sponsored by The Army Painter.
A wiser man than me once said “to err is human,” but in the hundreds of years since these words were put to paper they’ve done exceedingly little to prevent folks from agonizing over mistakes. Especially when those mistakes happen to small models that we spend our precious hobby money and time on.
I’ve mentioned this in a few of the Hobby 101 articles I’ve contributed too, but the number one barrier I’ve anecdotally found for folks curious about the hobby is the fear of ruining a model. Whether it’s a mistake in assembly or in painting, there’s a real fear people have about permanently messing up a model beyond repair because of their own inexperience. This line of thinking implies that in order to engage in the miniature model hobby, your assembly and painting skills must be fully formed before a model ever hits your desk. Anything otherwise might as well be gambling with your cool new models at the most rigged roulette in the casino, and if you bust then it’s off to the trash with those kits.
If this sounds silly, that’s because it is silly. It’s very silly. Everyone I’ve ever met in this space has some sort of story about messing up a model somehow, from minor inconveniences to some admittedly devastating catastrophes. It’s a right of passage for any skill, really: improvement requires making mistakes. If we don’t make those mistakes, we aren’t pushing the boundaries of our ability, and we only get better at stuff when we push those boundaries, mess up, and learn how to amend what we did wrong. In this process, we build real mastery. If we don’t push ourselves, we end up in a narrow and safe little lazy river, where nothing ever gets better but it certainly will start to get less fun.
So in this article, I’m going to address a few common mistakes made while assembling or painting your minis and how to fix them, as well as going over the most important rule for fixing any mistake on your hobby journey.
That last bit sounds important. Let’s start there.
The Most Important Rule for Fixing Mistakes
There is one single most important rule when it comes to fixing your hobby mistakes. Remember this, and you will be able to fix almost any hobby mistake you ever make.
Know when to walk away.
Hobbying, at all steps, is a thing of patience. The number one, absolute worst thing you can do at any step of the process is to get way too angry and frustrated, which I will refer to as being “tilted.” We’ve all been this way before, where we get too worked up about something and lose our cool. We yell at folks we don’t mean to yell at, or throw video game controllers that aren’t meant to be thrown at drywall. Getting tilted while hobbying isn’t as explosive as these examples, sure, but what happens in my experience is that you get a sort of tunnel vision, where nothing else matters except fixing this one little mistake at any cost, right now. We don’t wait for things to dry, we don’t make sure we keep a steady hand, or we put a little too much force in trying to keep something in place.
The tilt is where the big mistakes happen. The kind of mistakes where we can’t come back from, and we actually end up ruining a model. We aren’t thinking straight, we’re just mad, and nothing good ever comes from that.
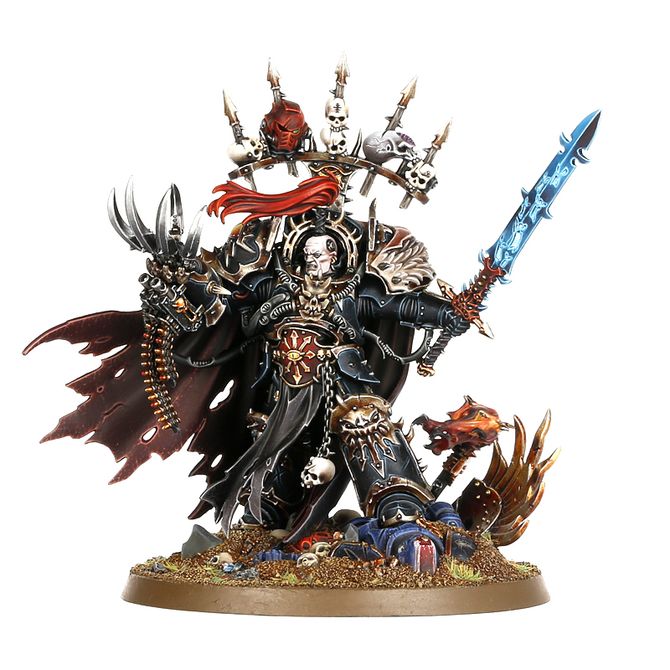
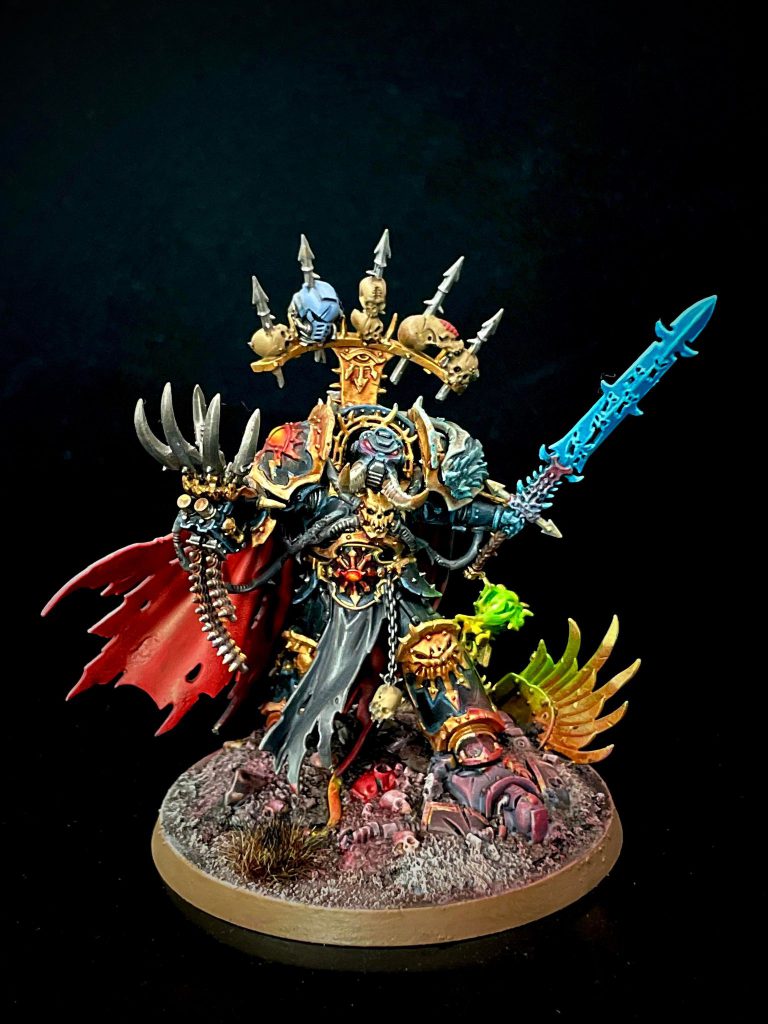
Take this example from when I was painting Abaddon the Despoiler. I wanted this model to be perfect, it’s the big bad of the nightmare millennium and coolest dude to ever wear black power armor. So I took my time painting him, which was going well until I got to his eyes. Oh, those eyes. I messed them up once, which was no big deal, I was just learning how to paint faces well. But then I didn’t quite like how I fixed it. So I tried again. I didn’t like that either. So I tried again, again. Didn’t like it. Started to feel the frustration rise. Now, I was stuck in a hours long loop of painting and repainting until eventually I ruined the detail on poor Abaddon’s face with way too many layers. Now, on full tilt, I chopped off his head, tossed it in the trash, and went to bed. When I woke up the next day and realized that my cool Abaddon model was now missing a head, well I did not feel great.
Had I just walked away at any point before I got too mad, I would’ve been fine. I could’ve come back with fresh eyes and fixed my problem right away. Instead, I made it much much worse. Don’t be like past me. Know when you just need to stand up and walk away from a project if it’s getting under your skin!
Fixing Modeling Mistakes
So, what should you do if you make a mistake during the modeling process? Let’s look at a few examples.
Broken Piece
The most common problem that happens during assembly (or even after a model is fully painted!) is when a model breaks. This can be anything from a mild inconvenience to a day-ruining ordeal. What should you do if a model breaks?
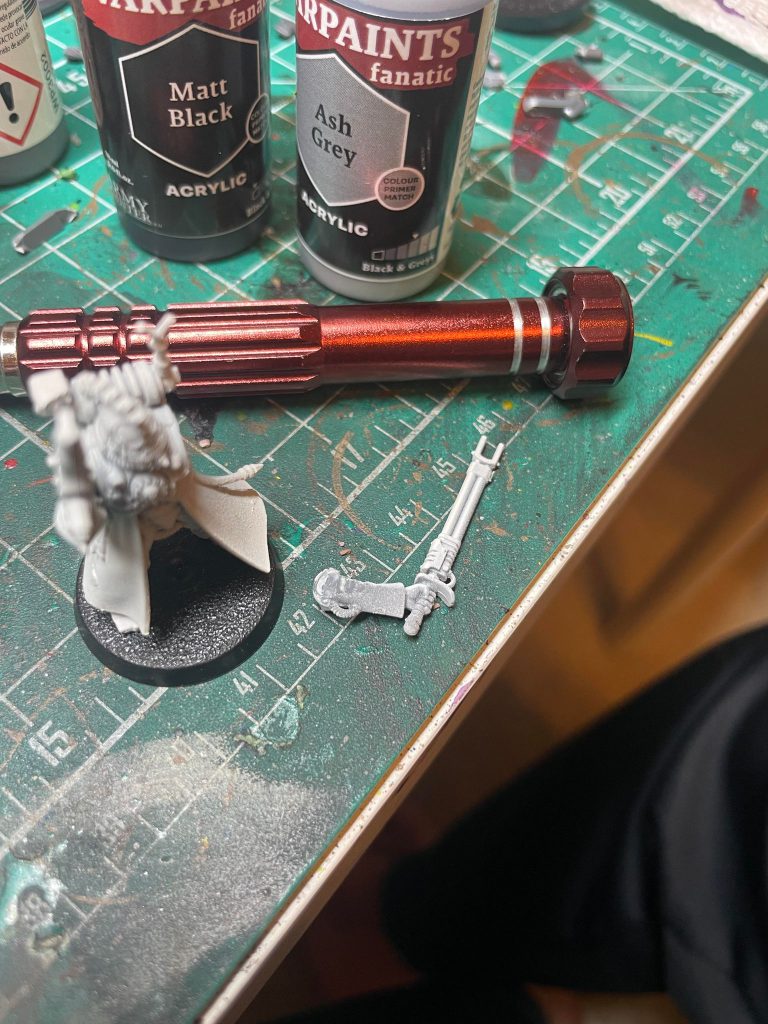
Well, if the break is minor enough, just glue it right back on! This is easiest when it’s a clean break or a break on flat joints. Like this Skitarii Alpha I’ve got here, which definitely just happened to lose an arm. I didn’t snap it off for the article.
Fixing this is very simple. I just need to apply some Army Painter Plastic Glue to rejoin the broken bits here. To make it easier, since this was already glued before, I’ll use a filing tool from Army Painter to shave off the glue residue.
Wrong Piece on a Model
This happens every once and a while. Sometimes its rules updates making a loadout irrelevant, or other times a sudden realization that we have missed some step in assembly. If the glue is still drying on a model, you can just carefully pry the model apart and fix the mistake as it happens. If the glue is dry, you’ll need to break the seals from the glue, or clip some parts off the model and replace them.
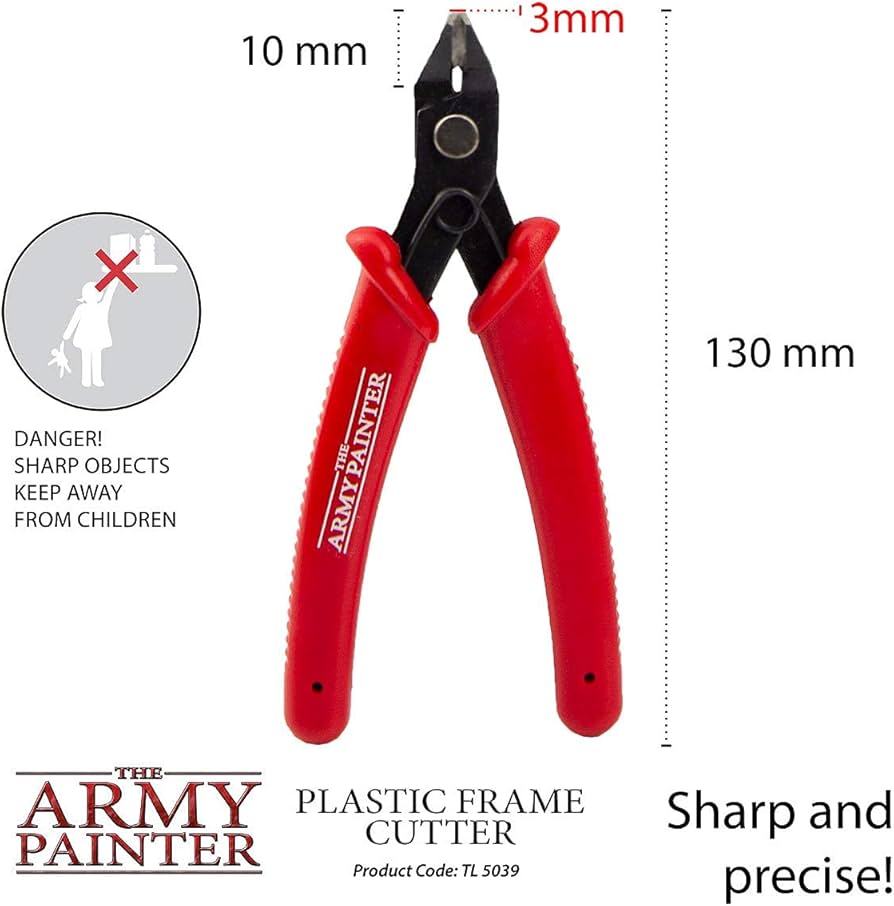
When it comes to breaking the seals from the glue, it’s easier to do with superglue rather than plastic glue. Plastic glue actually melts the plastic together, which causes a much stronger bond than super glue. Super glue, while very strong, is also very brittle. So, if you can get to the superglue join area in question with some clippers, snapping off the piece is easy. Army Painter Clippers are the perfect tool for this, since they have a nice and narrow nose to get in harder to reach areas.
If you cant get to the area with clippers, or don’t have clippers handy, With gentle and constant pressure near a super glue seal, you can break the glue apart and pull the piece free. If the super glue is being particularly ornery, you can toss the model in the freezer for a day and try again. The frozen temperatures will weaken the superglue dramatically, making this easy.
If you can’t just break the model at the seam to fix a wrong piece and need to clip it apart, or you have a broken piece that cant just be glued back together, then you’ll need to break out some green stuff.
Fixing Mistakes with Green Stuff
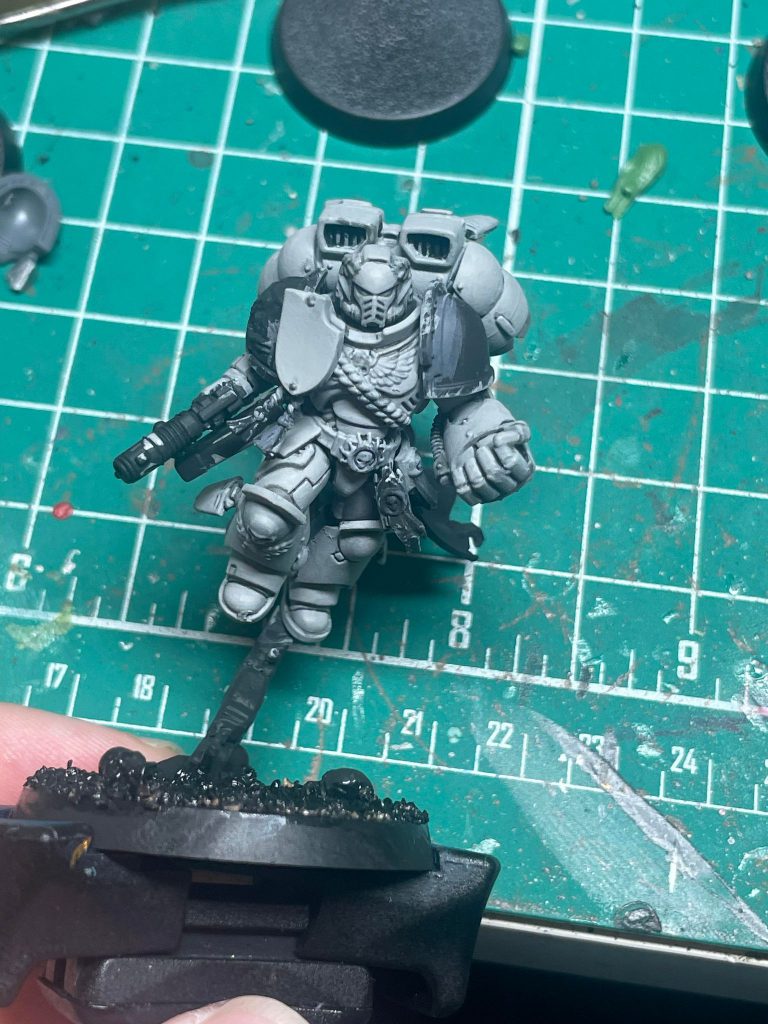
Lets look at this Space Marine Captain with Jump Pack project I’ve got in progress that’s been sitting here on my hobby desk. I’m painting it as a gift for my friend Andrew, Hero of Team Imperium, whose Blood Angels are in need of some reinforcement after a bloody conflict during the Goonhammer Open Narrative.
In a fit of rage, I’ve broken the all important hero rock that this model is leaping off from. Again, I totally did not do this on purpose for this tutorial. It was the rage, I swear.
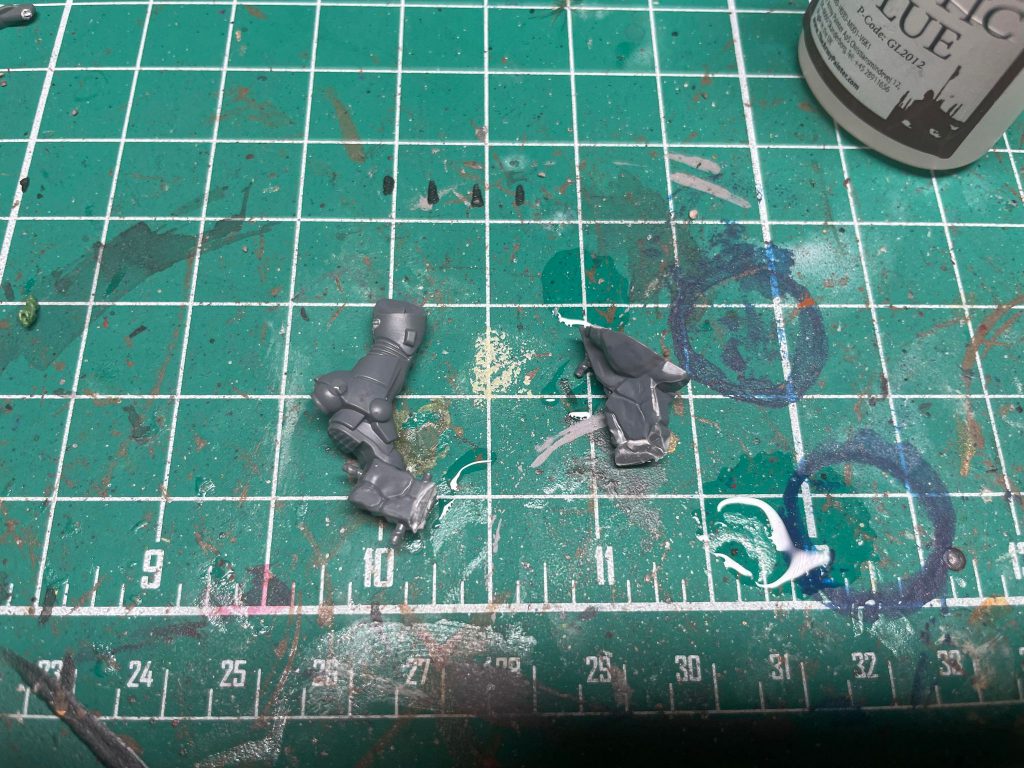
Well, If I just try to glue this on I don’t think it will quite work. I need some help from green stuff, a handy modeling putty that is great for fixing mistakes. We’ve mentioned it a few times here in hobby 101, especially in our article about kitbashing for this series. For more in depth applications of green stuff, I suggest checking it out!
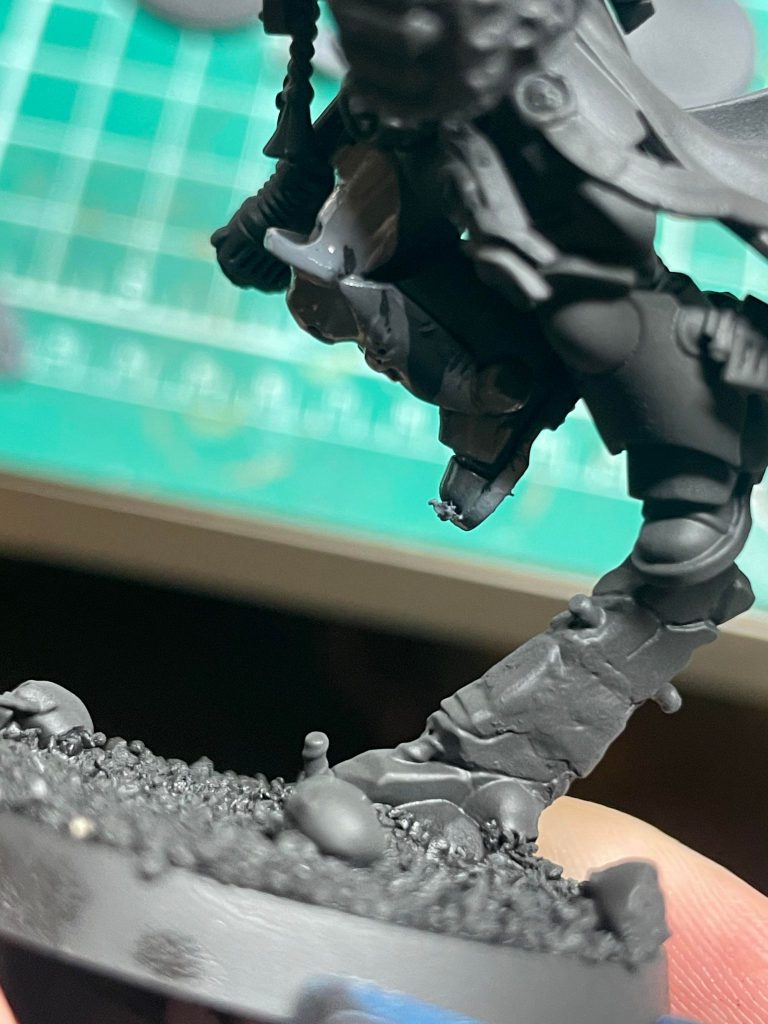
Our needs for it are much more simple. After kneading up some Army Painter Green Stuff I have on hand, I carefully apply it to the broken area between the two parts. A bit of Army Painter Superglue helps a little it here if you’re feeling impatient, but once I get the green stuff around the two pieces of the model that need joining and use some Army Painter Sculpting Tools and my fingertips to get it in a desired shape, we’re all set. Now, I just need to wait for the green stuff to harden, which takes a few hours. If you can, I suggest leaving the model be until the next day.
Once it’s all dry, we’re set to keep assembling, and voila!
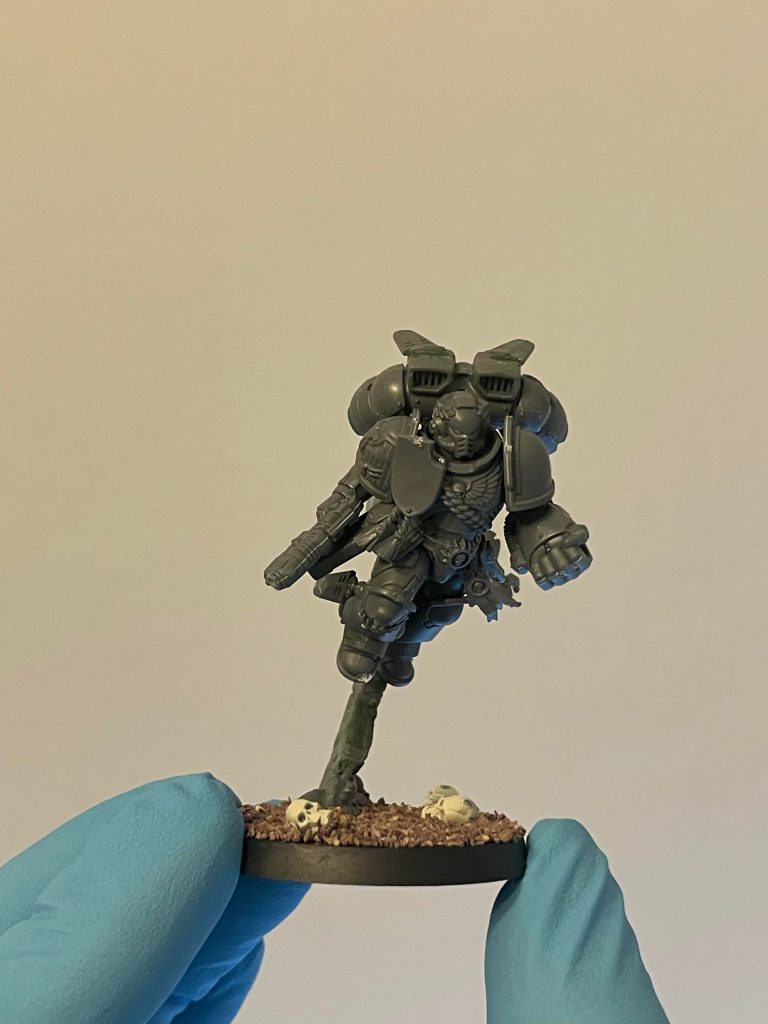
I’m not the best with green stuff, like some of the other amazing authors here at Goonhammer who can sculpt with the best of them. I’m personally happy that I got the green stuff here to match the outline of my model. Sure, if someone really squinted and inspected this Space Marine, they might notice that his hero rock is missing some detail. I guess it’s not winning Golden Demon. But we need to remember that most of the time, our models are being looked at from at least six feet away, and a halfway decent paint job on a model does wonders from distracting the eye from any mistakes. In fact, by the time I prime this guy and look again, the green stuff area is hardly noticeable.
Whether it’s due to an unfortunate break or needing to clip a model apart, green stuff is the premiere tool for modeling mistakes. Plus, Army Painter sells a brush-on primer for their fanatics line that’s a godsend when you need to use green stuff on an already painted model. Apply primer to the green stuffed area, and once it’s dry you just need to paint the greenstuff to match the scheme. Like nothing ever happened!
Fixing Painting Mistakes
While painting mistakes are more intimidating than assembly mistakes for the general hobbyist audience, they’re almost always much easier to fix. The solution really is just as simple as painting over the mistake.
Brush control is a skill, and while we are learning that skill you’re going to get paint where you don’t want it. Even the most experienced painters on earth do this. But just because paint got somewhere it shouldn’t be doesn’t mean our painting career is finished. The key is to be patient, and use several thin coats.
Take a look at the helmet of the Space Marine Captain I’m working on. In my attempt to shade the model with some Army Painter Dark Tone to make the details pop, I’ve gotten some dark splotches all over the smooth surfaces of his helmet, as well as other parts of the armor. Even though I tried to be as careful as possible, mistakes still happen!
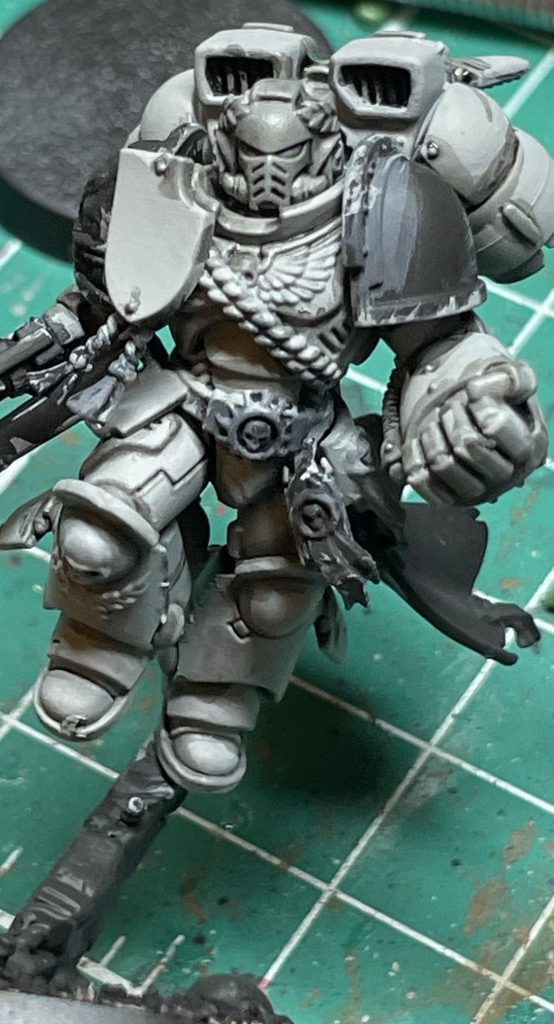
I don’t need to panic here. All I need to do is carefully apply some thin coats of paint over the affected areas, and we are good as new!
While some colors are notoriously less forgiving than others (fixing mistakes on lighter colors, like white or yellow, comes to mind) any mistake can be painted over with enough patience and thin coats. Just be sure to avoid globbing thick paint on a model, which will ruin detail, or not letting a layer dry before applying a second one, which can cause for still drying paint to get swept away and leave behind a sort of splotchy effect. Those splotches can once again be fixed with thin coats and patience, while losing detail to thick paint may require stripping the paint from the model entirely. Especially with the Army Painter Fanatic paints, which are highly pigmented, a patiently applied coat of paint can go a long way to fix almost all mistakes.
Stripping Paint from a Model
I’m going to only briefly touch on this, because stripping paint from a model is less like fixing a mistake and more like a full-on reset. The nuclear option. There isn’t really any good way to strip paint from only a certain part of a model, so stripping a model of paint will put you back on painting square one, and most common ways to strip models also weaken glue bonds so you may need to reassemble parts of it too. Painting over a mistake is almost always a better solution than stripping it of paint. The only time where stripping paint is the solution is when a serious amount of detail has been lost on the model due to paint.
If this happens, you need to strip the model. Get a tub, and fill it with some simple green auto degreaser. This will break apart the paint, but avoid damaging the model itself. Let it soak overnight. Then using a toothbrush that is never going into your mouth ever, scrub off the paint. If the paint isn’t coming off, let it soak another night and try again. Repeat until the paint is removed, rinse the model and let it dry. Once its dry, apply a new coat of primer and it’s ready for painting again.
Conclusion
Earlier in this text, I mentioned the only model I ever truly ruined, my Abaddon the Despoiler. Well, turns out I didn’t ruin that model. Surprise, I fixed that mistake too.
I didn’t touch the headless Warmaster of Chaos for a week, and then when I could look at the model without overwhelming shame I started thinking about solutions. I decided to hollow out the head cavity a bit, and then take a leftover Chaos Terminator head I had laying around to see if it fit. It fit well enough, so after clipping and shaving it a bit to make the head work better I primed the bit and glued it on. I then didn’t touch the model for a few more years, until I decided to finally pick up where I left off and see if I could finally finish this Abaddon, a model that had gone from filling me with excitement to becoming my Warhammer White Whale.
To fix my mistakes on this model, I didn’t have to just walk away, I had to take a whole journey. But I gave it the time I needed to give, and the end result is a model that looks great. Everything that I hoped it would be when I first started painting it. Plus, its uniquely mine, because it’s got the cool head.
There are many mistakes that can be made while learning how to assemble or paint miniatures. Even the best hobbyists are still prone to those mistakes. But don’t let that scare you, it is truthfully very hard to ruin a model beyond saving. Just be patient with yourself and patient with the process, and those mistakes will become stepping stones to some really cool minis!
Have any questions or feedback? Drop us a note in the comments below or email us at contact@goonhammer.com. Want articles like this linked in your inbox every Monday morning? Sign up for our newsletter. And don’t forget that you can support us on Patreon for backer rewards like early video content, Administratum access, an ad-free experience on our website and more.
