Over the years the Goonhammer crew have put together a vast and expansive library of painting guides. Appropriately titled “How to Paint Everything” we’ve got schemes and recipes for 100s of models. They all, however, assume you know the difference between wet blending and glazing or what the hell “zenithal” means. Welcome to Hobby 101. This series will lay the groundwork to teach you the fundamentals and best practices to make your models shine.
The Hobby 101 series is sponsored by The Army Painter.
This article will cover the very first steps in assembling, cleaning and preparing your miniatures from the beginning – clipping them off the sprue, removing mould lines and using the right glue (in the right amount) to leave you with a fully finished miniature. We’re going to approach this from the angle of sprue-based plastic miniatures. Sprues are how we receive plastic models in the majority of cases from most suppliers. For this article, piece or component means the part of the model we actually want. Sprue refers to the plastic that surrounds them and holds them in place.
Clipping and Preparing
Paying attention to how you’re taking pieces off a sprue is really vital to minimising your preparation and building time, particularly saving you a lot of time on cleaning up your miniatures before assembly. It’s a real stitch in time saves nine situation – taking your time to make the right cuts, with the right tools at the right angle will stop you having to file down sprue tags and stop you damaging miniatures. Miniature can have flash – additional, unwanted plastic material that has escaped a mold – or sprue gates – where pieces are attached to the surrounding sprue – that can occasionally look like they should be parts of the miniature. Other kits could have small details that could be mistaken for flash and sprue gates, so this is a more important step than you may realise.
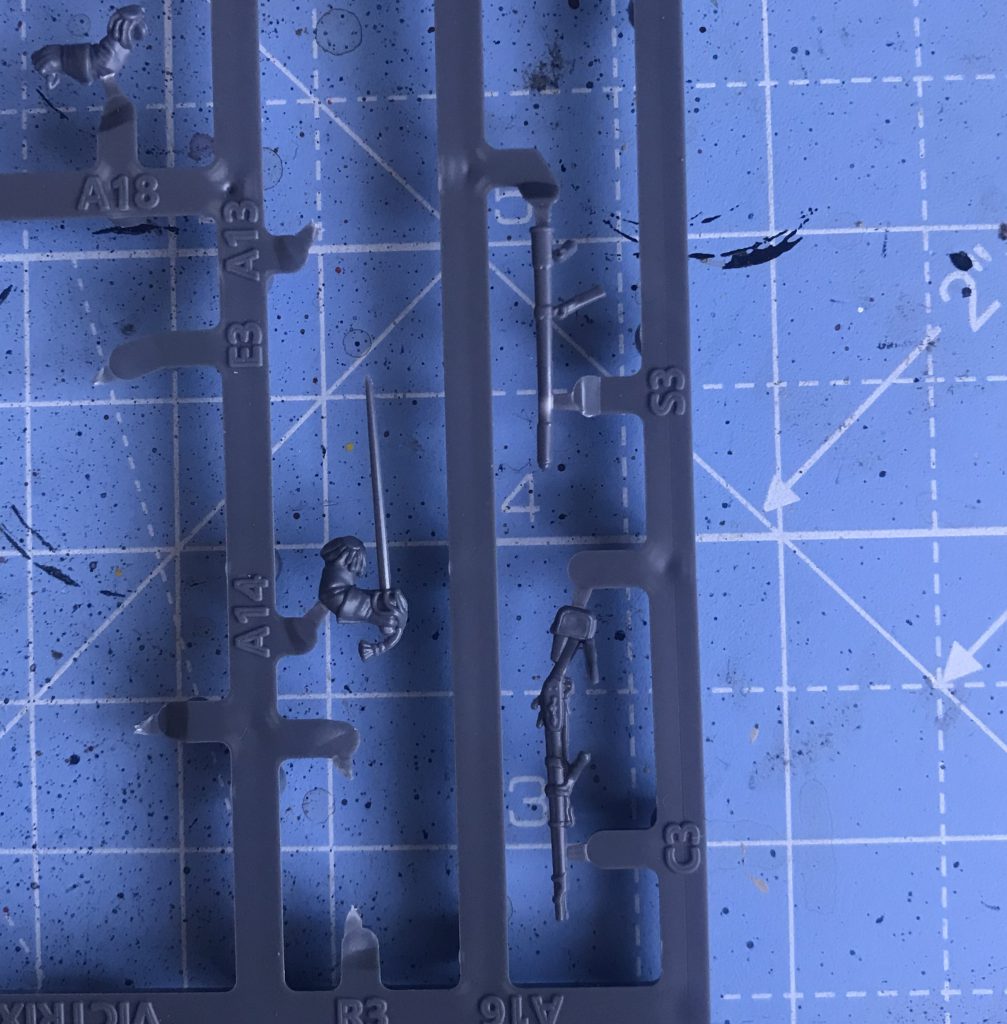
First off, work out which bits you want to snip off the sprue. This sounds pretty easy, but there are a fair few miniatures out there where you can’t always work it out from first glance. Is that spindly bit of plastic a part of the miniature or is it a bit of sprue?
Use the right tools to remove models from a sprue. I’ve seen people just use their fingers – twisting pieces off, leaving massive chunks of sprue on the component – or chop through with wire clippers, mangling rather than cutting, or slashing at a sprue with a knife, potentially dangerous to both hobbyist and miniature. Use a pair of clippers – ideally ones designed with sprues in mind. There are lots of brands out there, but for Hobby 101 I’ll make a potentially heretical statement: they’re all fine. As long as the blades are straight rather than crinkled, they come together when pinched, you have a flat and a concave side and they’re comfortable for you to use, they’re fine. Keep clippers you use for metal pieces away from your clippers for plastic – metal can quickly and easily damage your clippers, making them more difficult to use precisely.
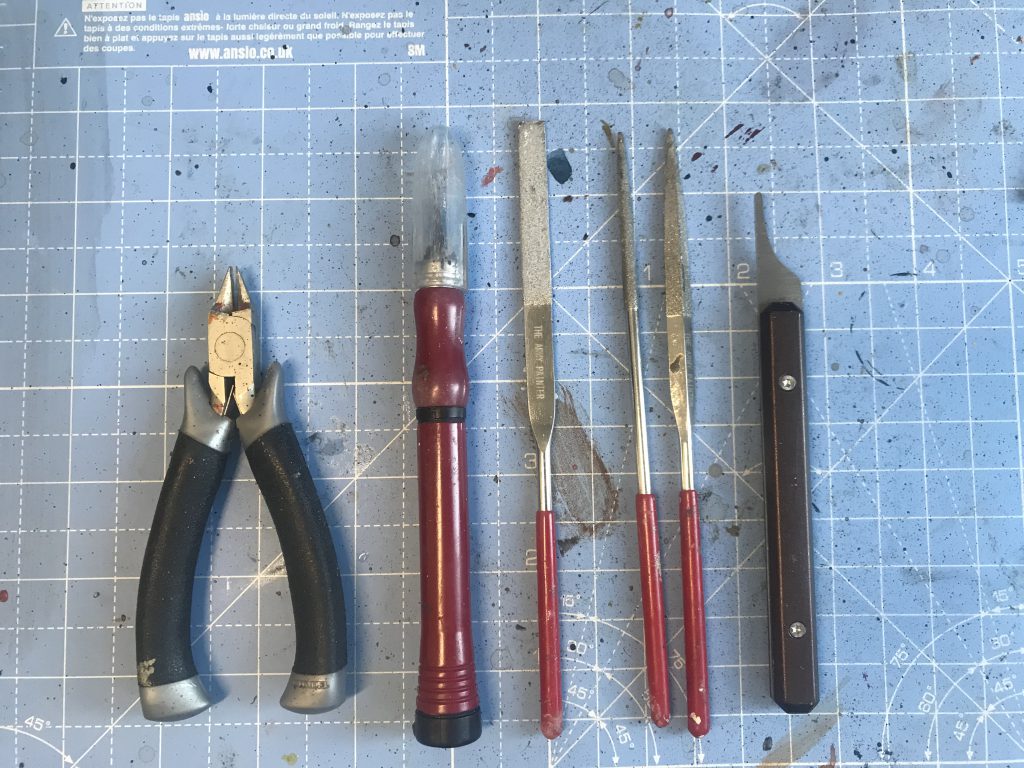
My files, hobby knife and pin vice are all from The Army Painter. I’ve had them and used them for about eight years, so the exact models are no longer available, but I think this speaks to the reliability of the tools. A flat, angled and round file set is a must, and a hobby knife to go along with your clippers is a very useful addition.
When clipping, you’re looking to only move the clippers together. Squeeze the handles together without pulling away or towards the sprue, and without rotating the clippers while pinching the miniature. That is a great way to damage minis and mangle pieces, so position the clippers and make the cut.
I think of clipping off a sprue in terms of two cuts – straight and angled. I’ll use this Mark 4 Space Marine (my favourite mark of armour) to demonstrate.
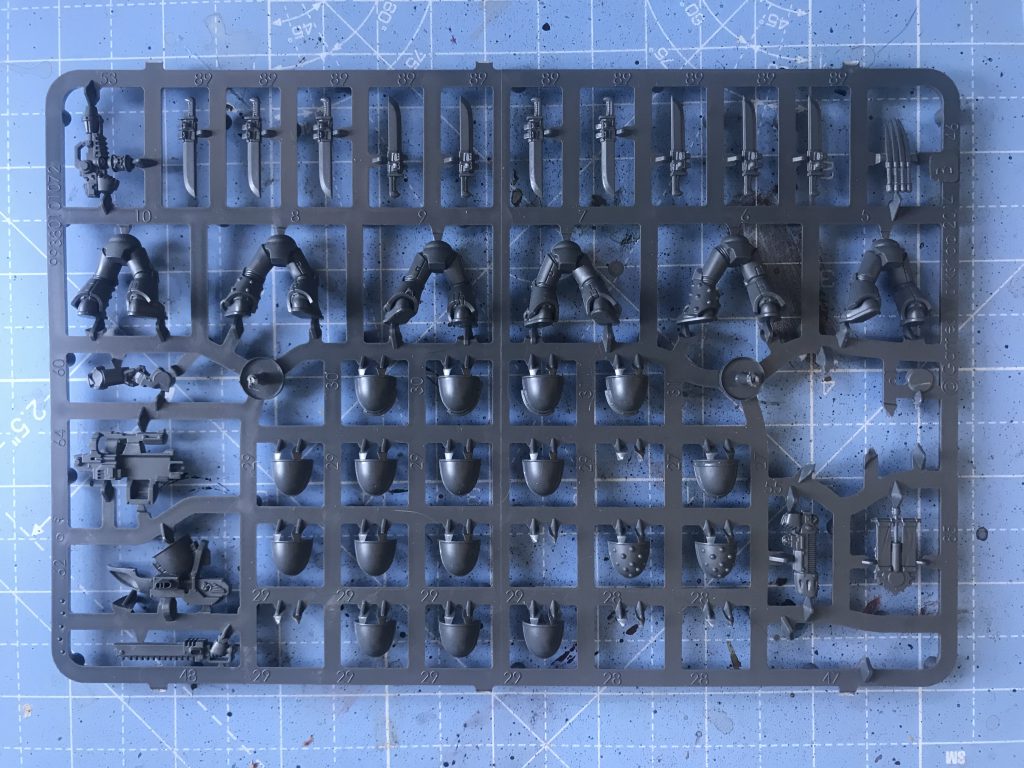
A flat cut is where you can rest the clippers on a surface of the piece and clip it out, doing no damage to the component and using a flat plane to get as close to the model piece as possible. Use the flat side of your clippers and place very near to, but not resting directly on, the model making sure you’re aligning the cutting edge at the same angle as the flat piece. Clip!
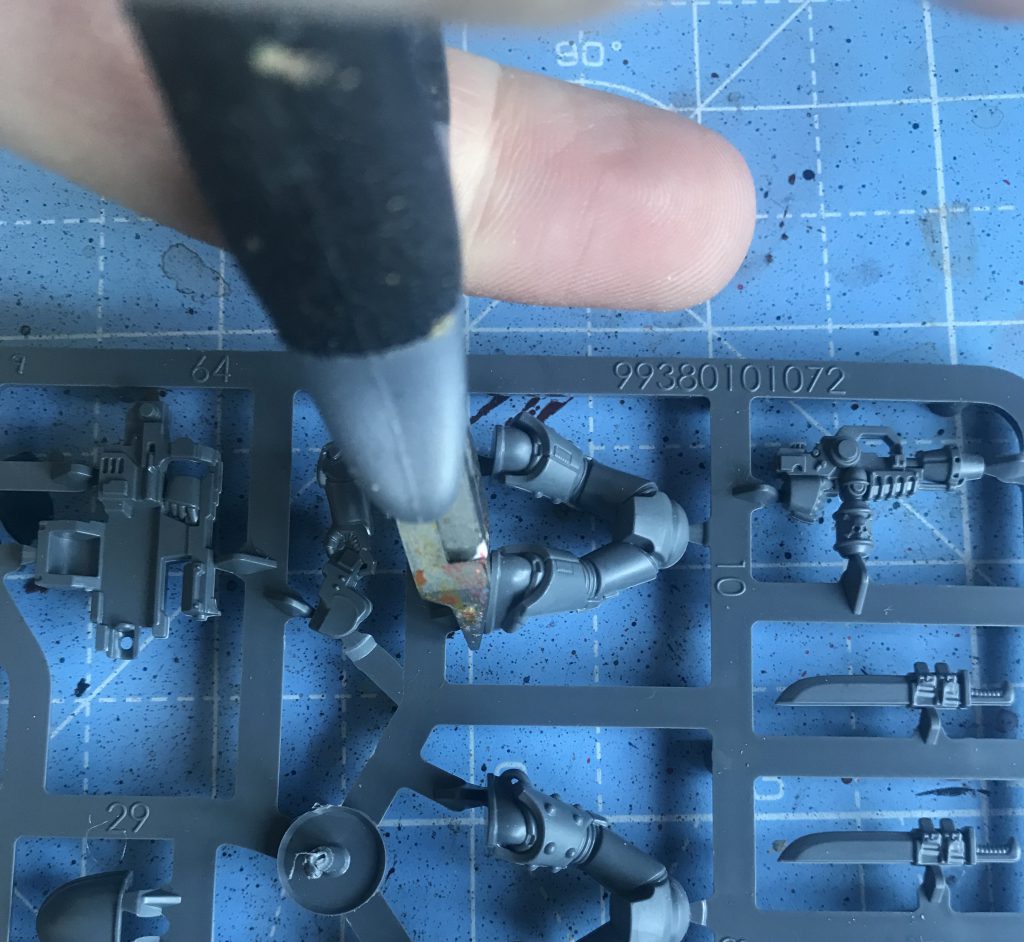
You should have a barely noticable mark where the sprue gate connected that we will return to in cleaning.
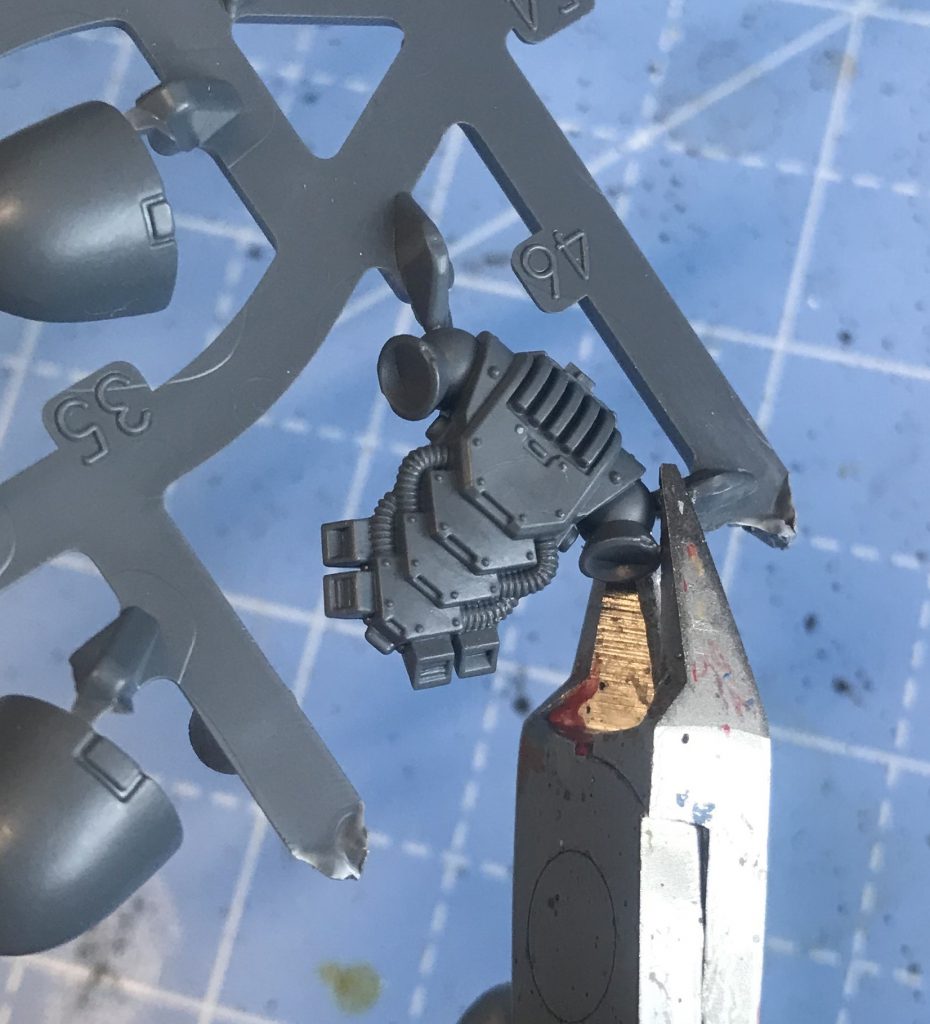
A sprue gate on a curved or shaped piece needs more of a careful approach. Space Marine backpacks are notorious for these, with sprue gates right on the globular backpack thrusters. There are two approaches here. If you are careful, you can use the concave side of your clippers to cut around the curve. Don’t press them into the piece, but gently find where there’s resistance when you pinch the cutters – this will let the cutting edge ride up around the curve and cut at the right point.
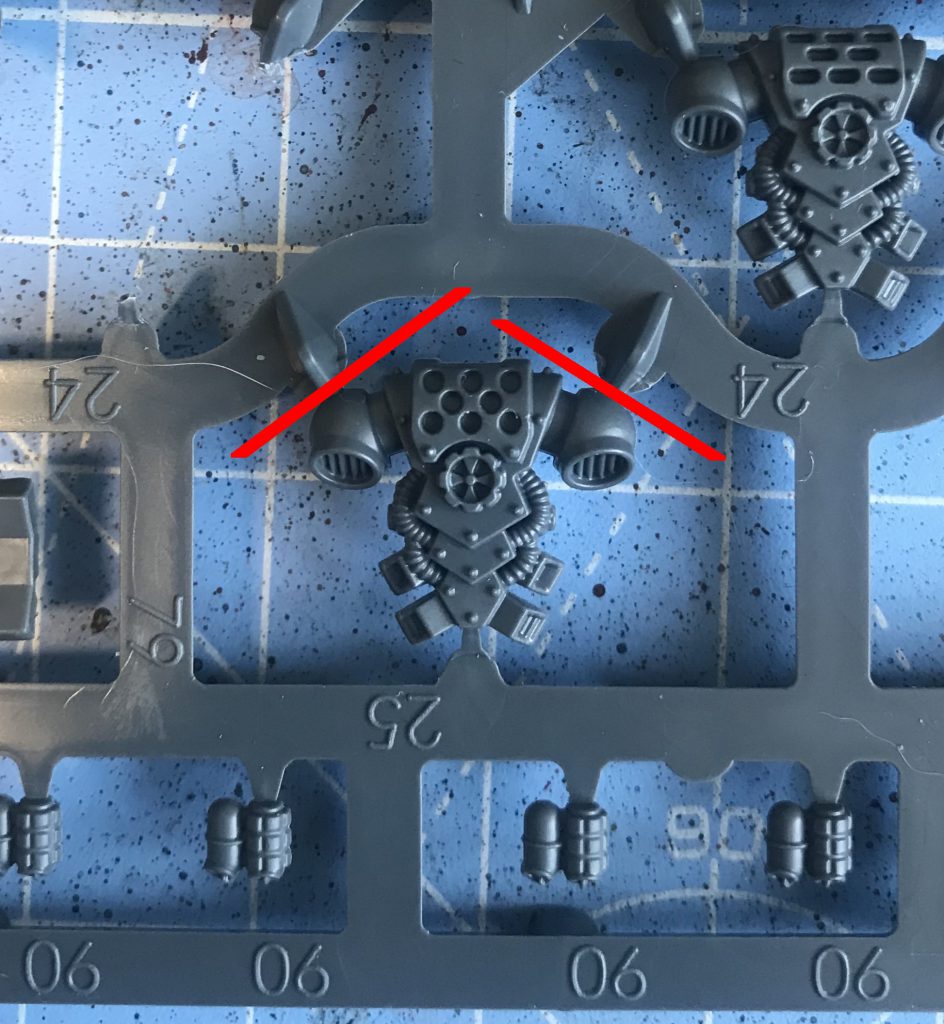
If you’re more like me and have unsteady hands, I find using the flat sides and cutting at an angle to the curve is more helpful. Here, you want to angle the flat side of the clippers to intersect the point the sprue meets the component in the same way you would a flat cut. You’ll likely leave a slightly larger mark than using the concave sides, but there’s less risk of cutting a flat chunk out of your piece. It’s better to err on the side of caution here – easier to file down the small piece of sprue that remains than have to resculpt a component!
Removing very delicate pieces from a sprue in this way can result in them breaking. That’s pretty rare with space marines, but banners, hair, fur, antennae (both mechanical and biological) are all common culprits. Use a blob of blu-tac or equivalent to stabilise the piece (you can really blob it on there) without obscuring it, and use this to support the piece as you cut. You can see on this French dragoon scabbard that it’s already started to break around the sprue gate even before cutting (the pale strip), but a blutac assisted clip has got it off the sprue in one piece. I have broken dozens of these scabbards hastily clipping away.
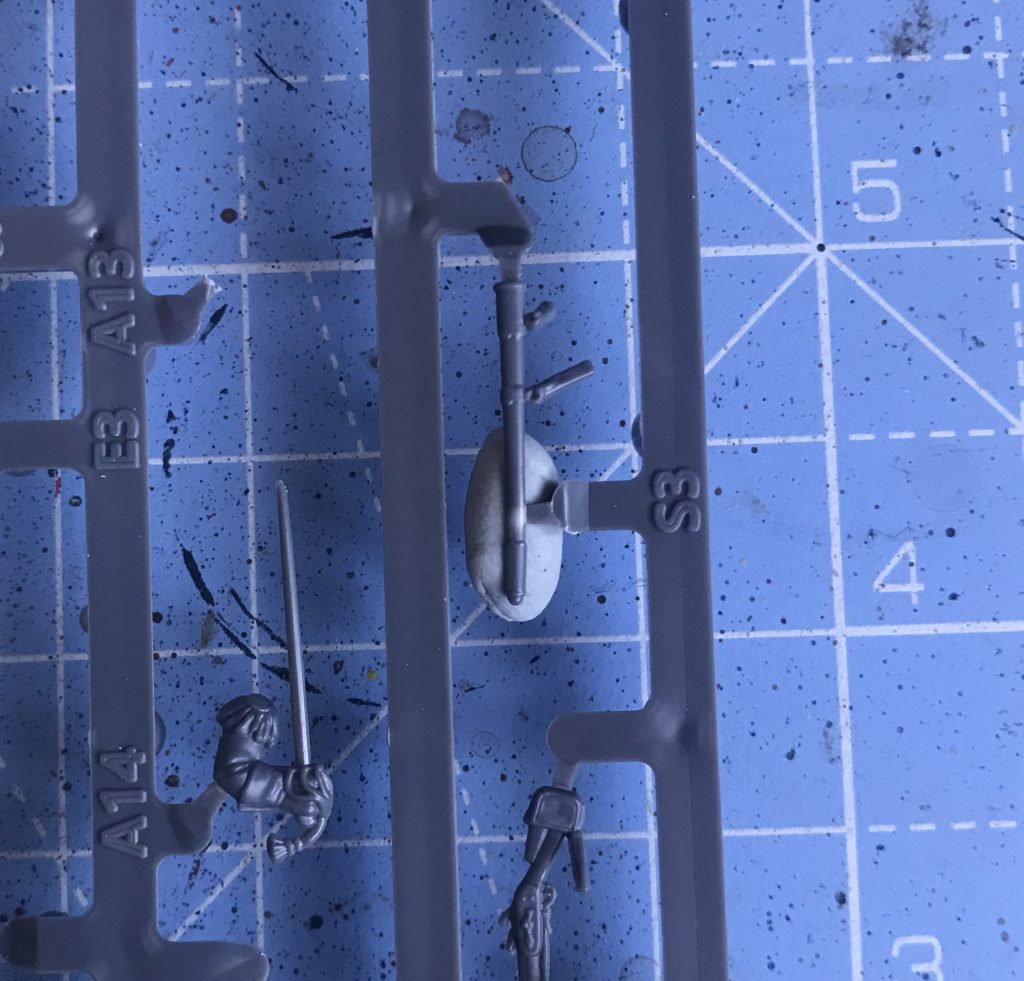
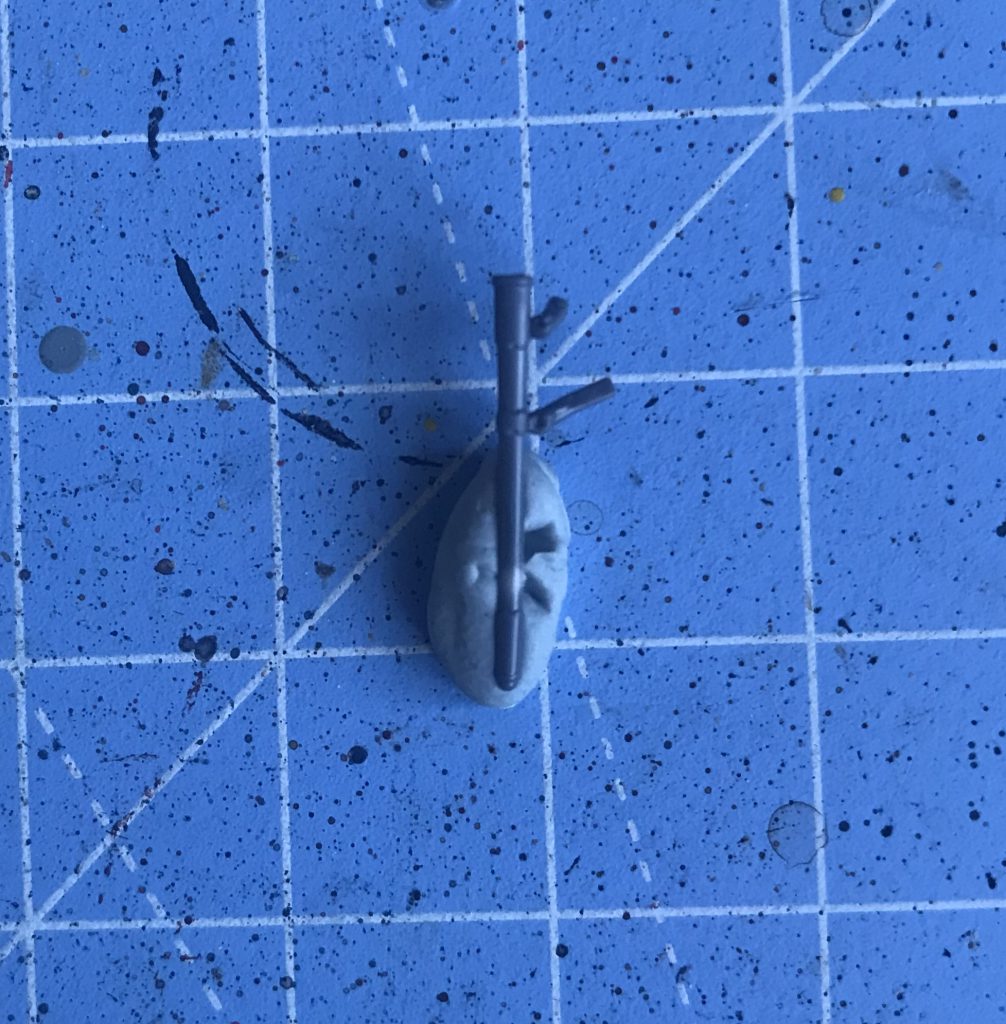
You can also cut sprue away from the surrounds of a small component like this in order to access it at a more convenient angle for a good cut. If you try this, be aware that cutting through the thick plastic of a sprue is better for old, damaged clippers – some clippers and nippers have a definite limit on the thickness of plastic they should be cutting through.
Cleaning
With all the components of our Space Marine clipped off the sprue, we’re left with a lot of unsightly mould lines all over our model. Mould lines show where the two halves of the mould have come together. Some models suffer from this worse than others, and flash – the material that has escaped between the moulds – can be more or less thought of as a giant mould line. Most modern Games Workshop sprues have minimised mould lines, but Space Marines with their large, flat panels can suffer badly from them.
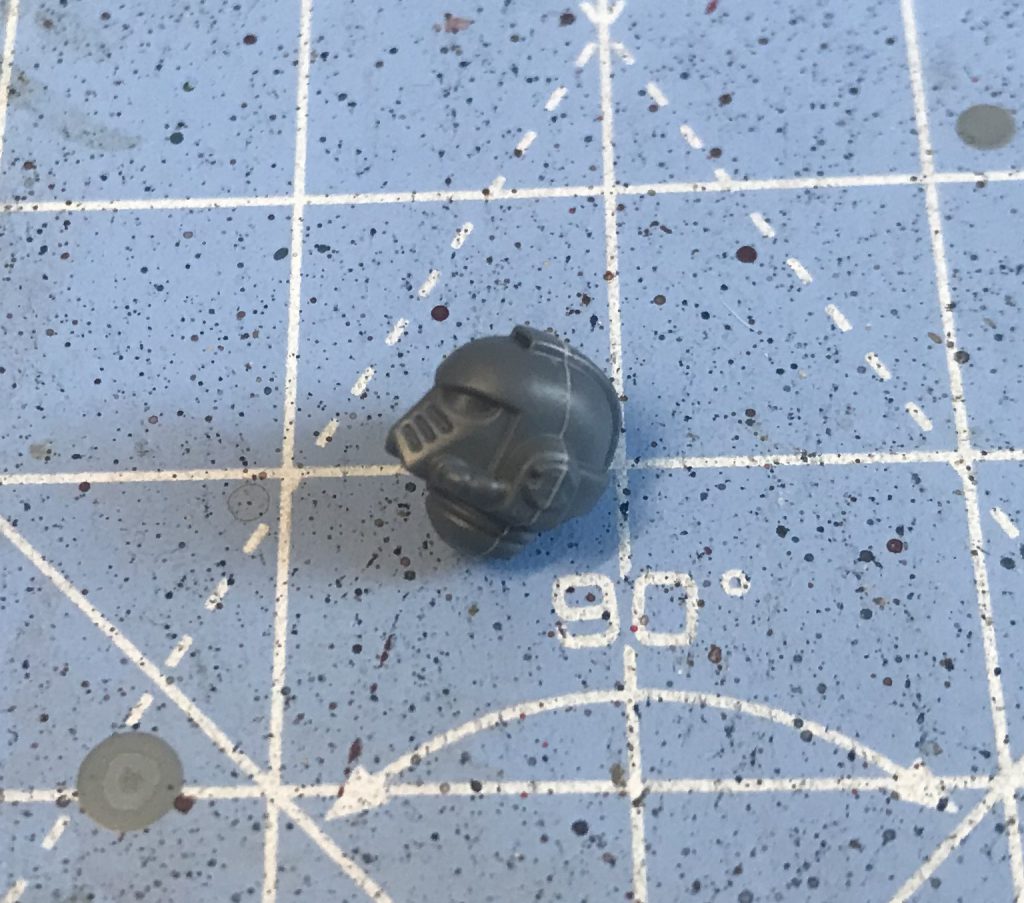
Depending on the pieces and how you’ve cut them, you might also have some sprue tags – tiny remnants of sprue clipped off with the model, or small marks where sprue gates attached to the piece.
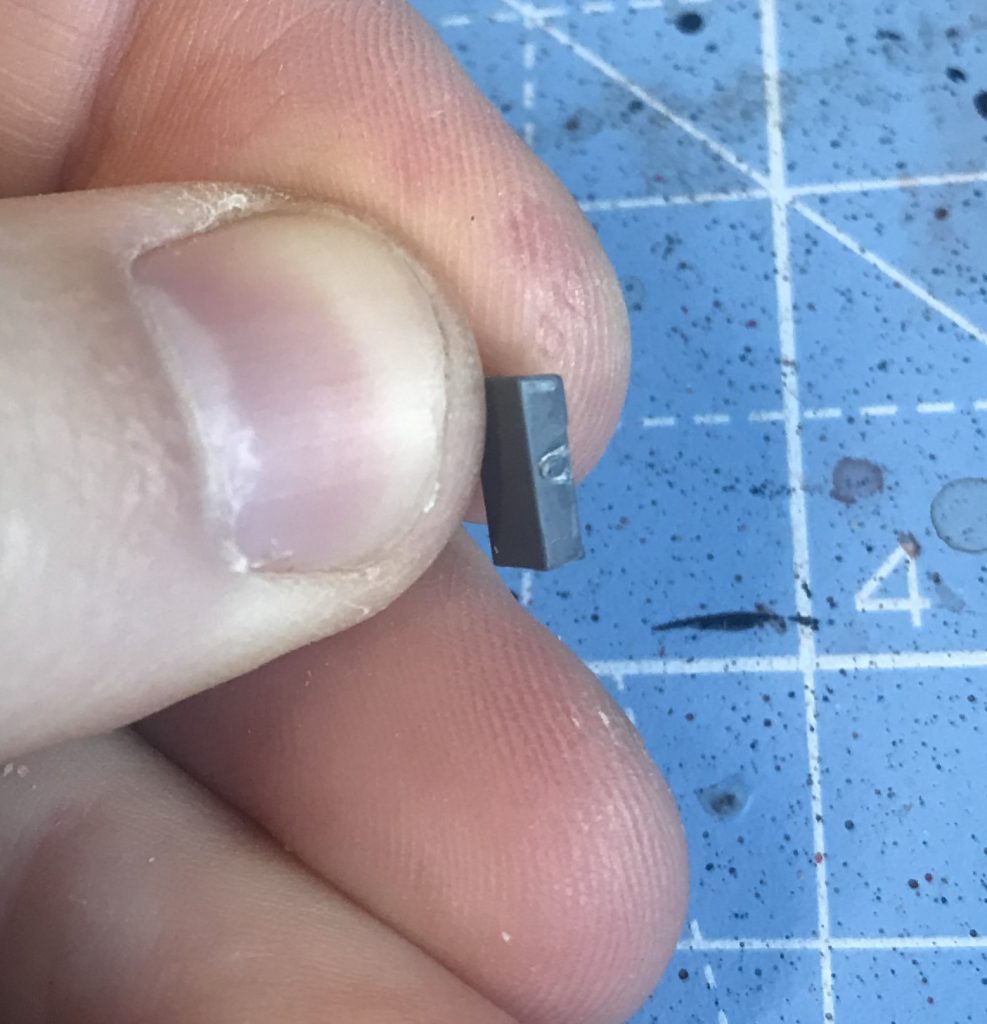
You can approach both of these problems in the same way by removing them with a mould line remover (or back of a knife), or filing them down. Flat pieces can – very simply – be filed flat, putting the textured surface of the file along the plane you want to sand down and dragging it over the piece. The sprue tags on a marine shoulder pad are a good example of where this is appropriate.
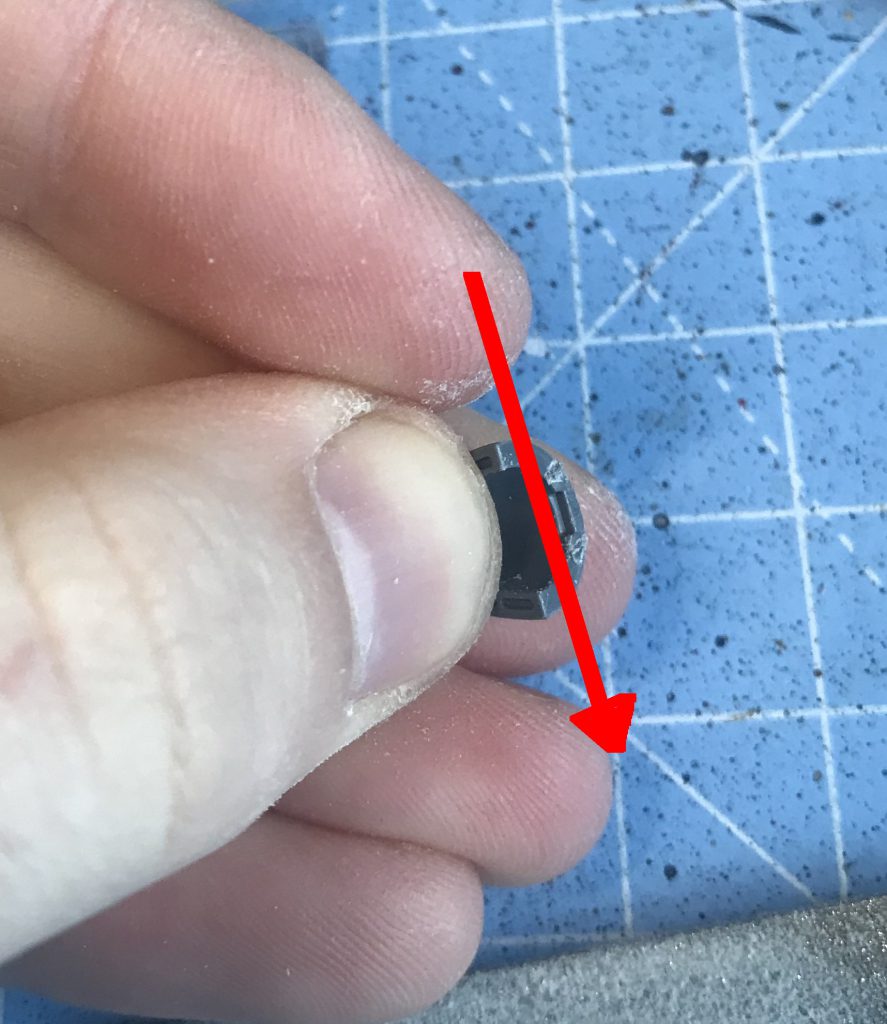
For curved pieces like the Marine backpack thrusters, you want to use the file in the same way, but rocking the file back and forth following the curve of the miniature. You don’t want to put too much force into this as you’ll soon find yourself eroding the detail and as much as possible want to focus the movement of the file solely on the sprue tag area to reduce the chance of you filing the curved areas flat.
For mould lines, you can use a file – gently! – in the same way, but many people prefer to use a mould line remover. You could also use the back of a hobby knife – do not use the sharp blade edge! Using the blade to remove mould lines is an excellent way to put cut marks into a model, and strip off small detail like rivets. A mould line remover is basically a tool with a variety of edges on it that can be used to scrape mould lines off a plastic model, especially where those lines are on relatively detail-free areas. The advantages of using a mould line remover over a file are:
1. Usually leaves a much smaller mark, removing only the mould line rather than filing areas flat
2. You’re not filling the air around you with microplastics more than small enough to breathe in
3. Multiple angles make for a multipurpose tool while you may find yourself needing a couple of different shapes of file.
If we use our Marine example, you can see that the legs are a fairly prominent area with low detail, perfect for using a mould line remover:
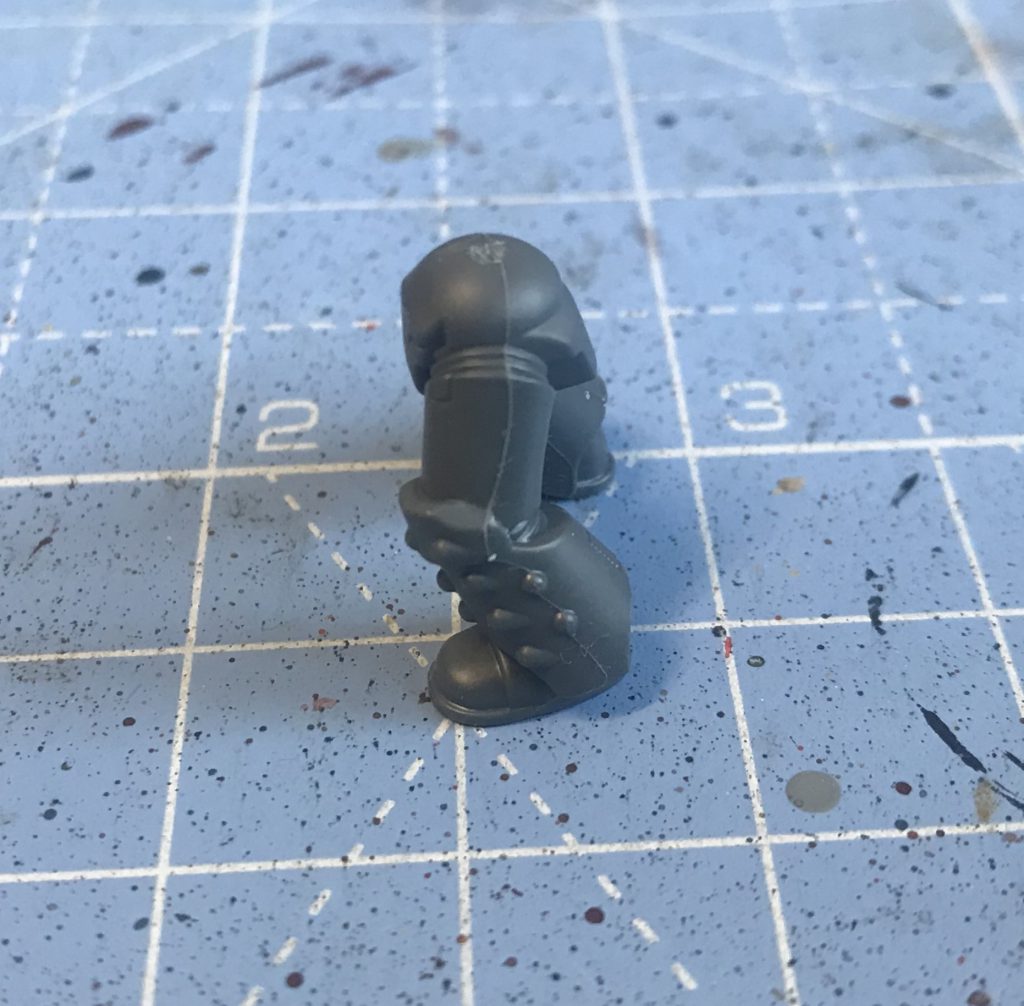
Using the mighty Space Marine Thigh as an example, on one side of the marine I used a file to remove these, and on the other, a mould line remover.
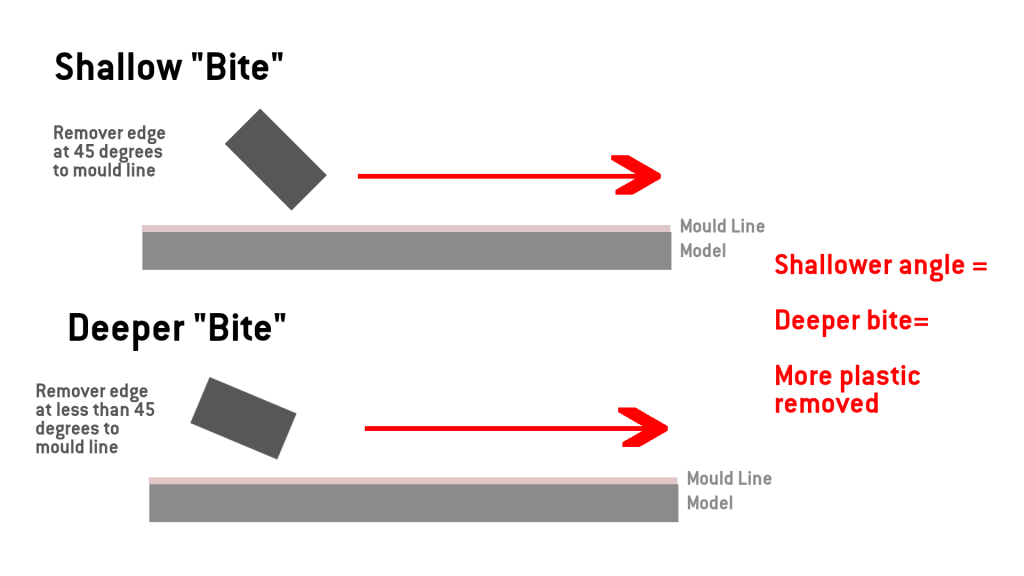
Using a mould line remover is much like a file. Use the edge of the remover at an angle to the model and scrape down along the mould line. You can vary the “bite” of the remover by changing the angle you’re applying to the model. Holding the remover so that the edge you’re using is at around 45 degrees to the model will result in a lighter “bite” into the model than a smaller, tighter angle, removing less from the miniature.
Having said all that, I – and I’m sure many others – use whatever tool happens to be in their hand at that moment, and the difference is fairly minimal. Whenever you’re removing mould lines, carefully inspect each component from every angle – it’s all too easy to miss one (or more!) and only find them much, much later, usually when the model is fully painted and you’re trying to impress people with it!
Preparing 101: Extra Credit
Going above and beyond this first intro to clipping and cleaning, there are three things that I like to do at this stage of model preparation.
The first one is pretty simple – if you’re sanding and filing, try and do it away from your face, with a mask on, in a well ventilated area or even outside. You are going to be generating a lot of very tiny plastic particles, and given that we really don’t know what this does to you as yet, look after yourself and try to minimise the amount of plastic you’re breathing in. We want you to be hobbying long after those of us who didn’t get this advice starting out have been recycled into new models given our 90% microplastic content by weight.
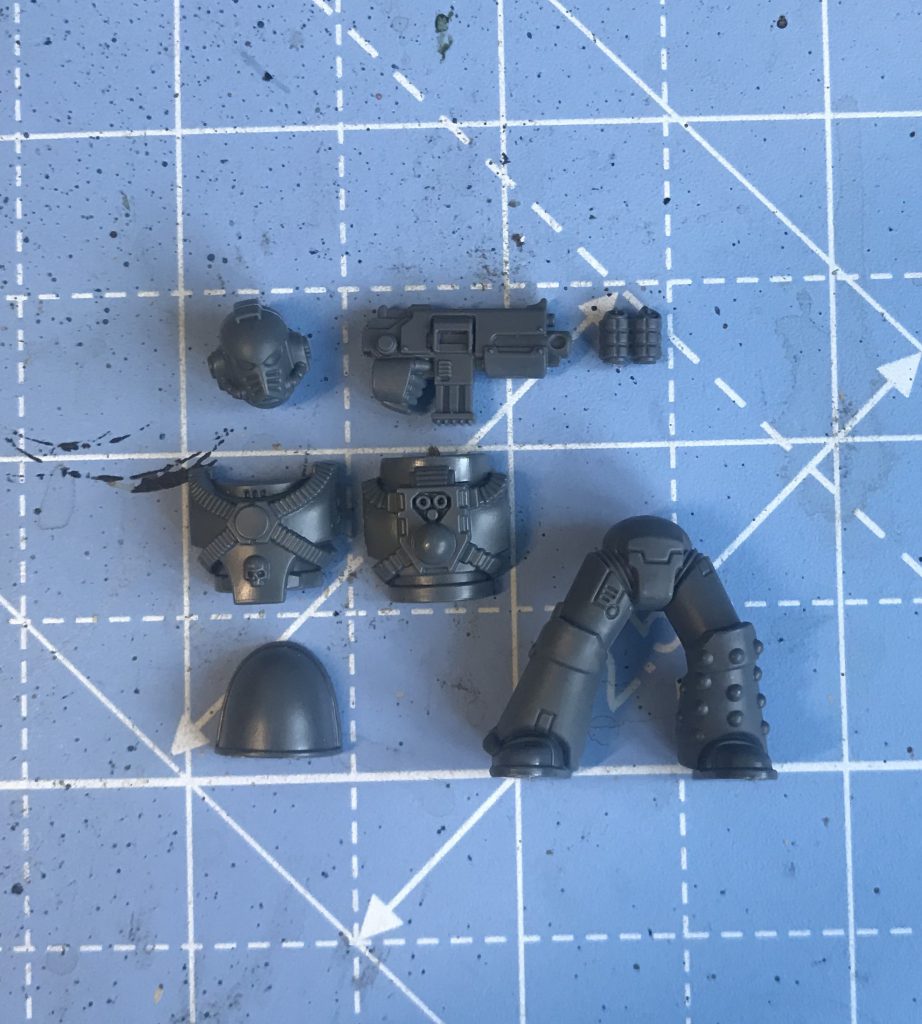
The second is lightly washing components after filing. This gets rid of the plastic dust, which is healthy for you and makes the overall process cleaner, especially once we start gluing. A quick rinse with water is more than sufficient. Let the pieces dry out before assembly. Ironically I forgot to do this for the demo marine, and you can tell!
The third and final one is drilling out the barrels of large-bore guns. Marines are perfect for this, and it’s a quick extra step you can do in the prep stage to make your models stand out. For this you’ll need a small hobby drill, often called a pin vise.
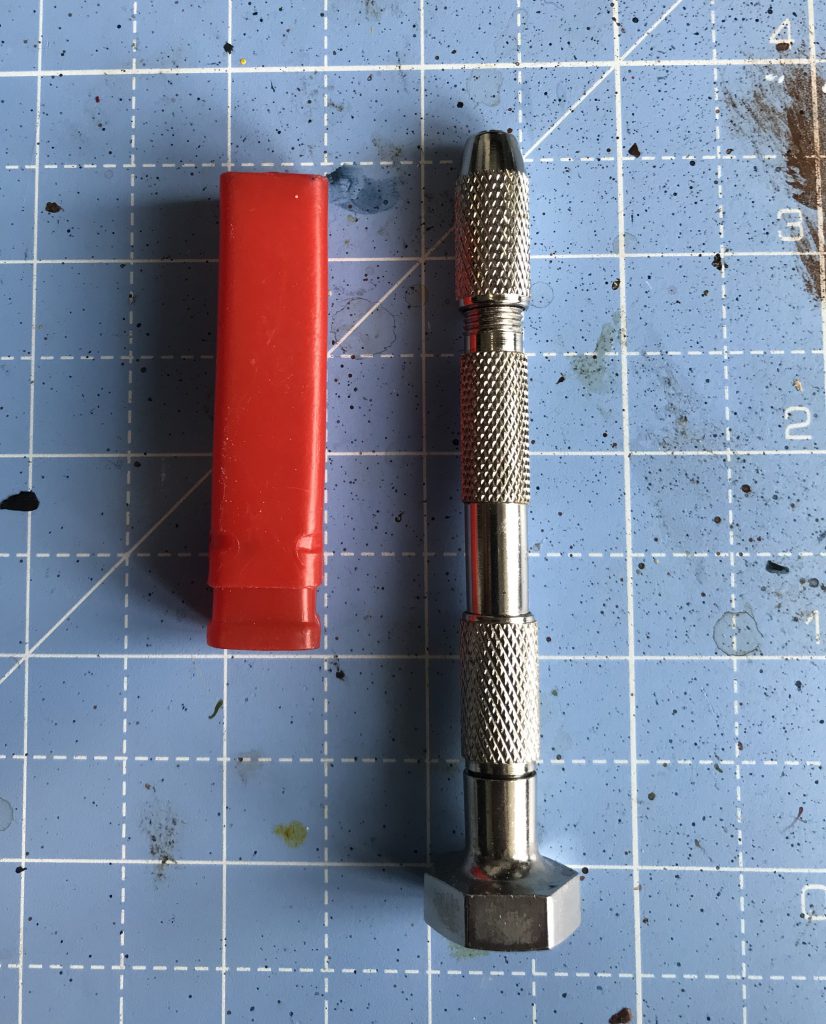
To start, make a very tiny “guide hole” indent where you’d like to drill. Don’t just whack the drill out and apply to the model, as you’re very possibly going to end up drilling in at a weird angle or in the wrong place. Don’t worry about getting the mark dead centre – central-ish is more than good enough. Use either the smallest drill bit or a hobby knife to make a tiny notch or indent where your hole will eventually go. This will guide the drill bit in when it comes to drilling out the barrel.
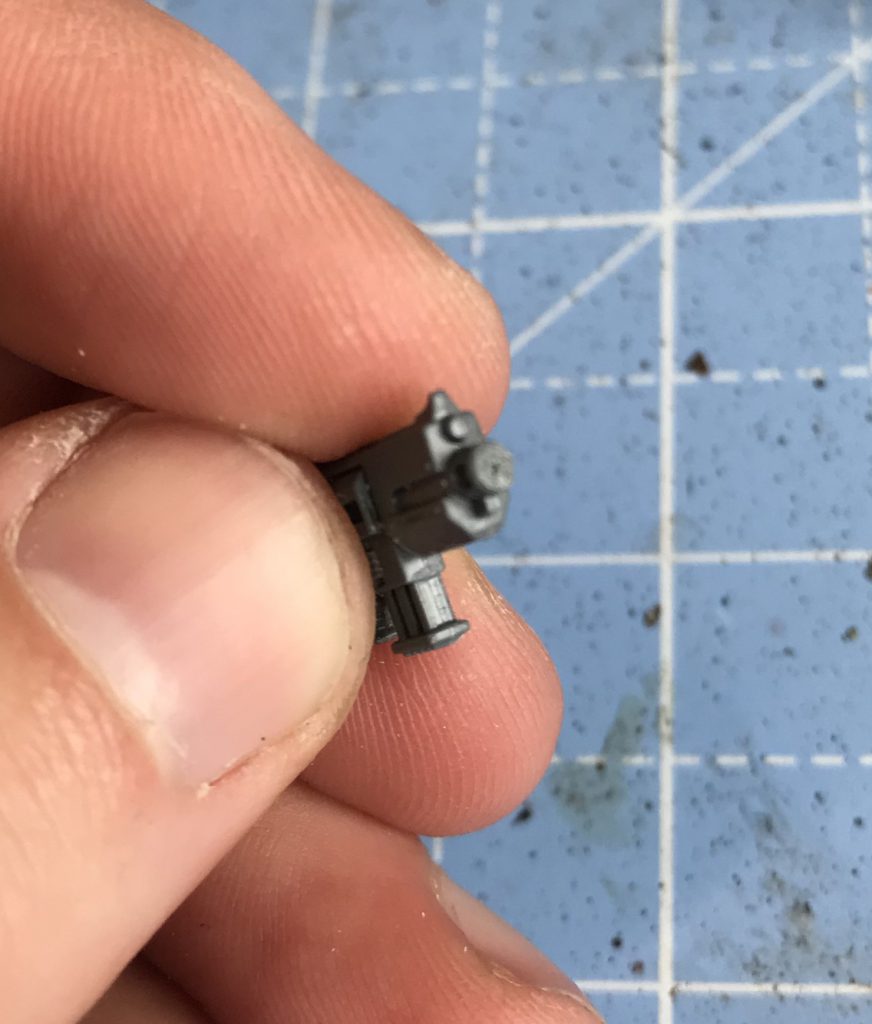
Once you have the guide hole, gently get the drill bit into it and slowly turn the pin vise until it bites into the model and begins removing material. There’s no need to continue past a few millimeters – painting the barrel hole black will give the illusion of much greater depth.
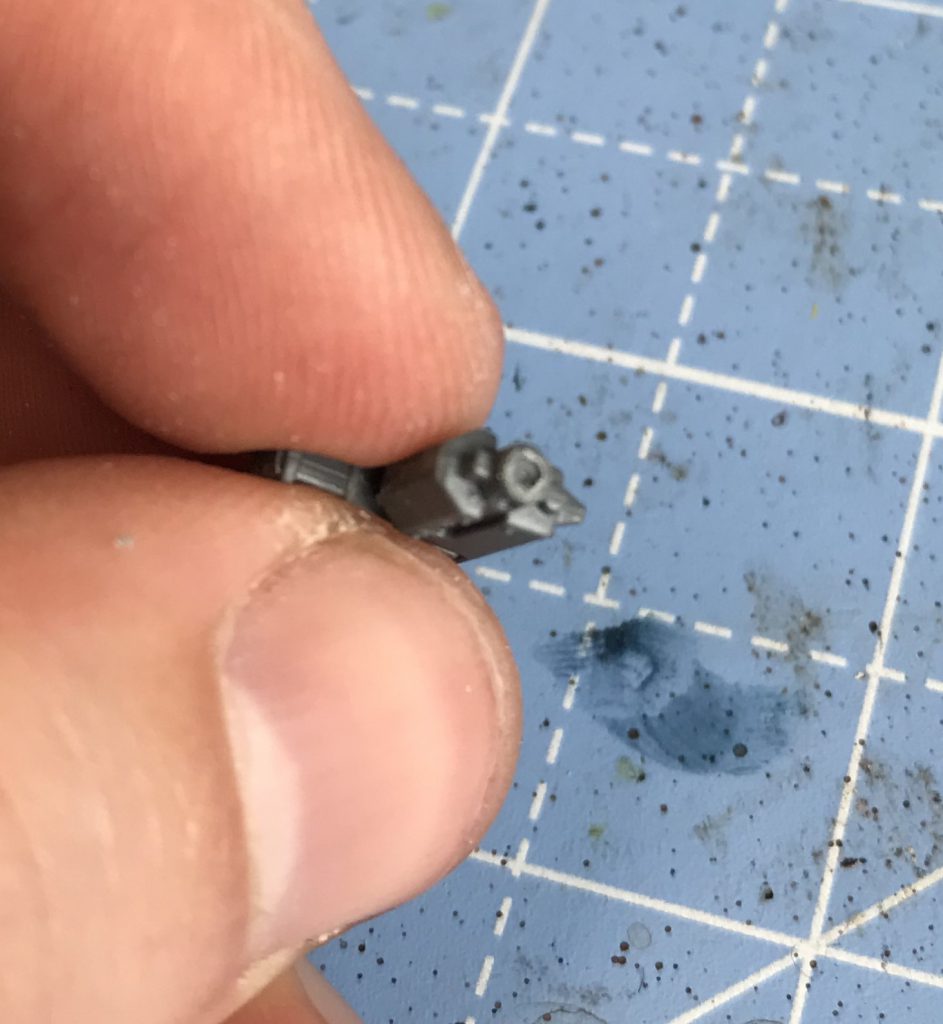
With all of our components clipped, cleaned and barrels drilled for extra credit, we’re ready to begin assembly.
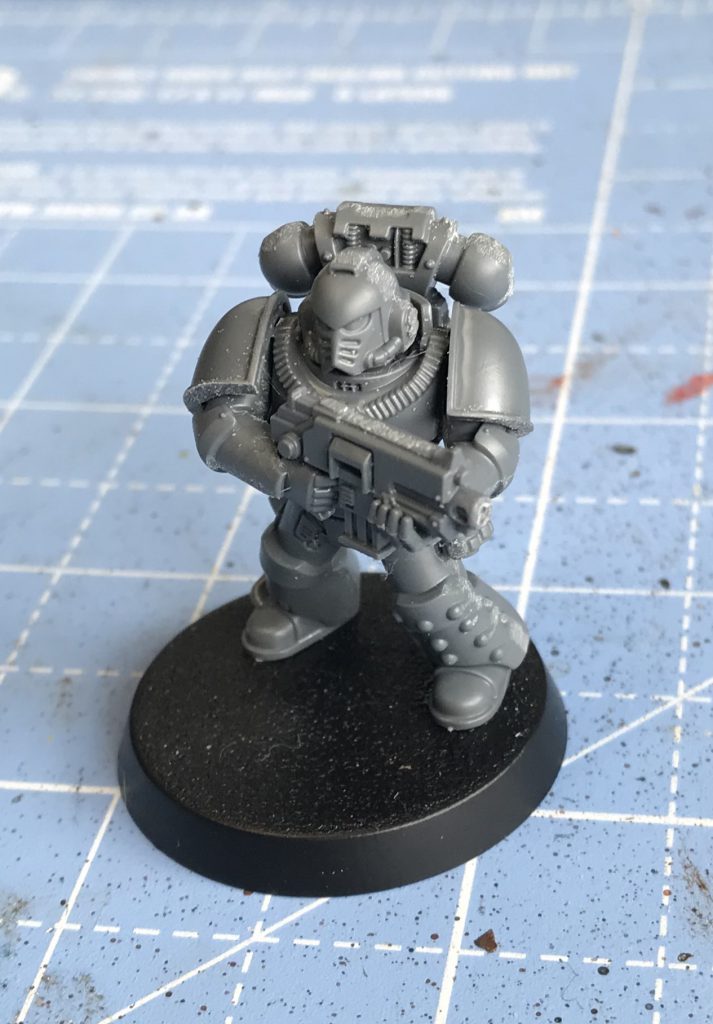
Next Steps
Get your glue(s) out, we’re on to assembly! You can read more about assembly in next week’s article, Hobby 101: Miniature Assembly. In the meantime, if you have any questions or feedback, drop us a note in the comments below or email us at contact@goonhammer.com.
