
While 40k is often referred to as a “dice game,” it’s also a game of positioning and geometry. The game’s core movement and positioning mechanics rely on measuring distances, being “within” a distance of an objective marker, table edge, or another unit, sometimes being “wholly within,” or sometimes outside of a certain range. When it comes to these concepts, there are a few things which are more or less common knowledge to competitive players but which are worth covering in detail.
Base Measurement Conversions
Let’s start with the basics (ha ha), and talk about base sizes. Generally speaking, most INFANTRY models in Warhammer 40k come on one of the following base sizes: 25mm, 28mm, 32mm, and 40mm, denoting the diameter of each base at its lowest point (the bases flare out toward their well, base). It’s a bit odd that these bases use metric sizes for a game with Imperial measurement, but 32mm sounds better than “1.25984in” for a base size. But it does mean it’s worth looking at those conversions and what that means in the game.

For people unfamiliar with the standard conversion, it’s 1 inch = 25.4 millimeters. Which means that a 25mm base clocks in at just under 1″ in diameter – a measurement you can verify with a standard ruler.
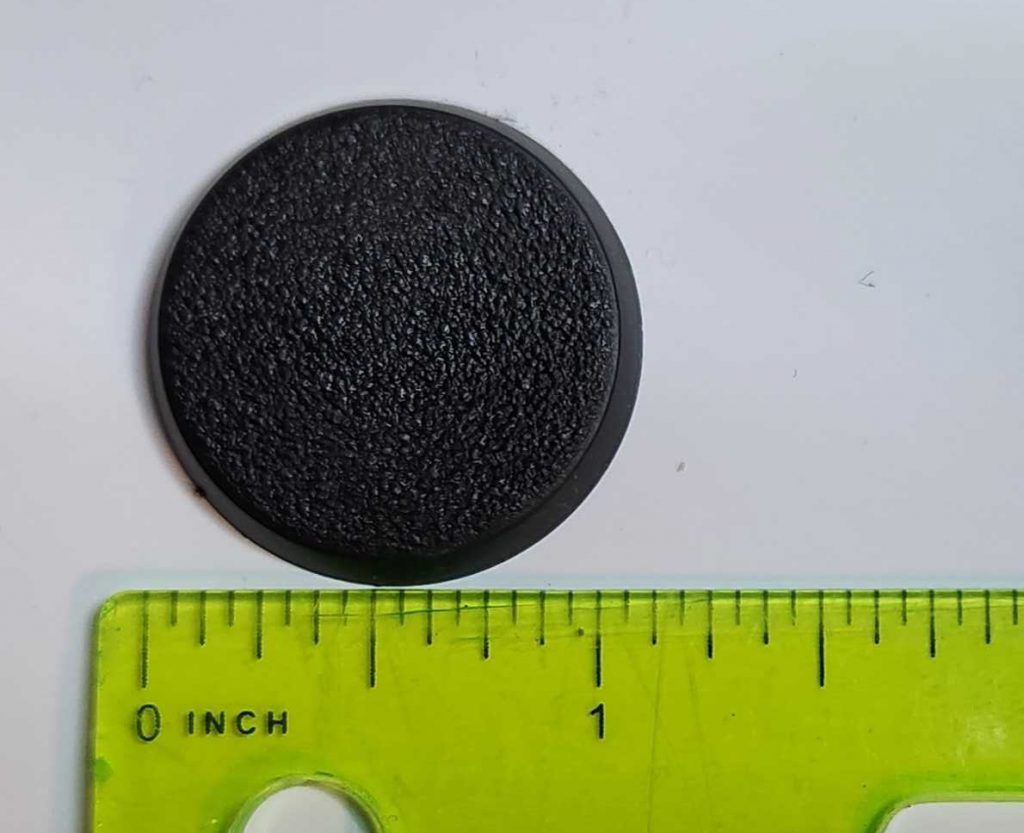
For the slightly larger 28mm bases used by Votann and Adepta Sororitas infantry, those measure 1.1″ in diameter.
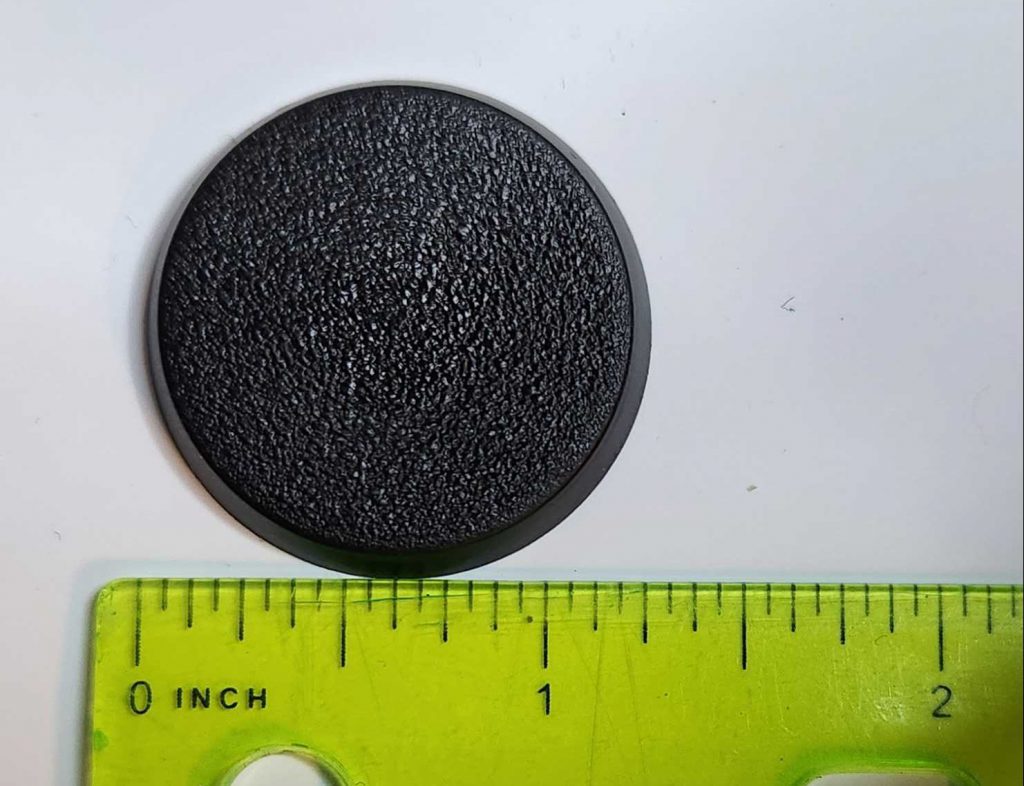
The larger 32mm bases used by Space Marines, Chaos Space Marines, Necron Warriors, and a host of other medium infantry measure 1.26″ in diameter.
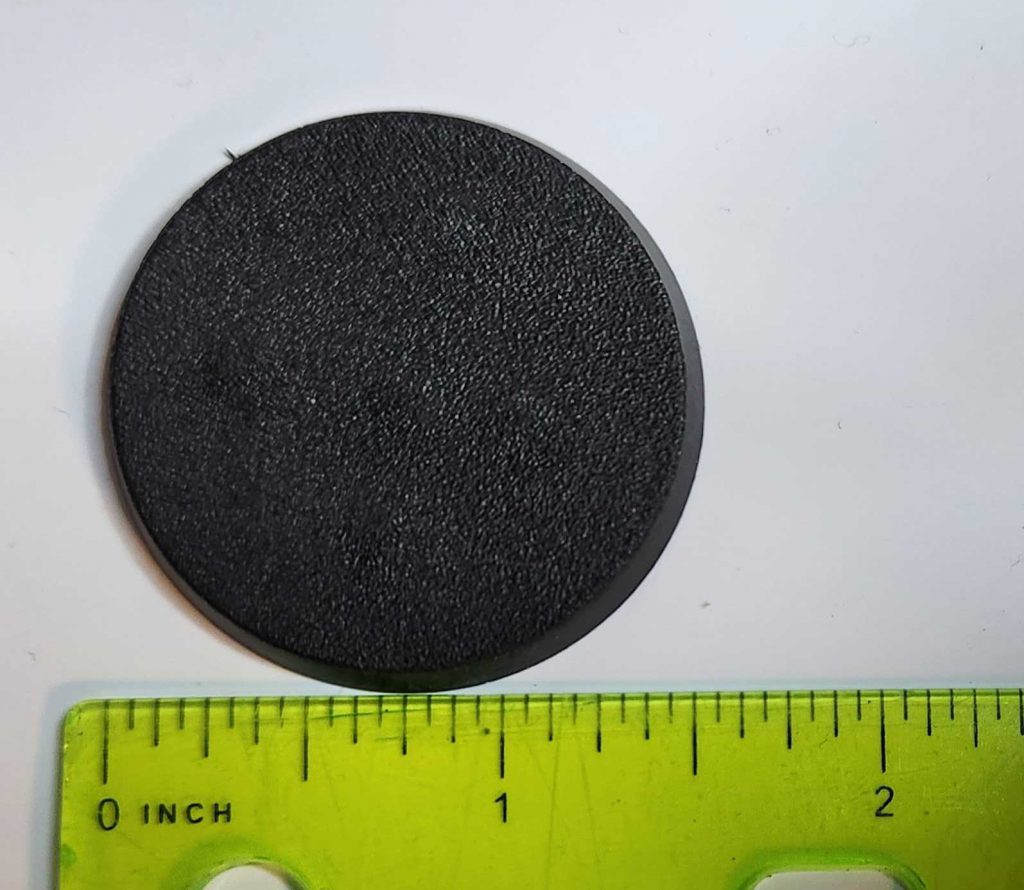
And the 40mm bases used by Terminators, Aggressors, Chaos Lords, Masters of Execution, and a host of other characters measure 1.58″ in diameter.
So why bring this up? What does this actually mean in the game? Well there are a few key areas this comes up fairly often. Let’s start with the least contentious: Transports.
Disembarking with Different Base Sizes
When disembarking from a Transport, models can be set up wholly within 3″ of their Transport and not within Engagement Range of any enemy models. Often when players disembark a unit they’ll be setting up five or more models, and usually trying to do so in a way that puts all of them as close as possible to the enemy. This will usually mean disembarking them in multiple ranks or rows next to the vehicle.
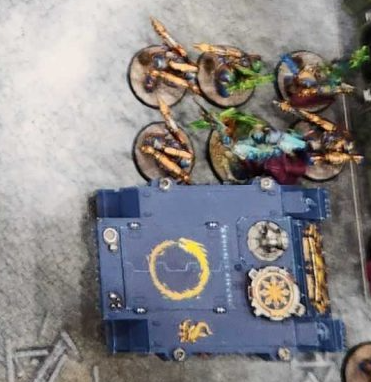
A few things to note about this:
- Models on 25mm bases can be deployed in three ranks, end to end, touching the vehicle, with nearly a full millimeter of space left over.
- Models on 28mm and 32mm bases can only be set up in two rows – but you can space them out a bit or push them out a bit from the transport.
- Models on 40mm bases cannot be set up in two rows – at least not end-to-end, anyways – but can be set up next to a 32mm base.
If you’re looking to fit more 40mm bases next to a transport, you’ll need to stagger them – they can’t be set up end-to-end but if you slot your second row in between the first, you can gain the extra space you need for a second row – after all, the distance you need here is literally 0.16″. Note that for larger bases like the 50mm bases some Death Guard characters use you’ll need to space the bases out further when staggering them. Also note that a 50mm base cannot be placed next to a 32mm when disembarking – the total length of both bases end-to-end is 3.22″.

Blocking Charges Through Walls
One of the more contentious rules that frequently sees play in competitive Warhammer 40k is the ability to block units from charging through walls. The way this works is that, in order to successfully complete a charge, a unit must end up within Engagement Range of its target, which means at least one of its models must be within 1″ of the target. In doing this, units can fight through ruin walls.
So how do you block a charge or fighting? The answer is in that 1″ distance – it’s very possible to place your models back from the wall such that a unit on the other side won’t be within Engagement Range. If your models are 1″ back from the wall, then an opponent can’t be within Engagement Range if they’re on the other side – they’d have to come through the wall. But as we’ve seen above, not every base can fit in a 1″ gap – only 25mm bases – which means an opponent’s models can’t actually physically fit in that space, forcing them to stop their movement on the other side of the wall… and out of Engagement Range.
Now that said, there are limits to this – you need the models to actually block off a full wall or ruin, and an opponent can just go around your models (or over, if there’s a second floor). And if you space your models out too much, they may be able to fit the gaps in a similar fashion to the deployment model we’ve shown above, particularly if they’re on 28mm bases.
The other part of this equation is the width of the walls themselves – it seems like a technicality – and it might be – but if you’re playing on terrain with thick walls like the plastic terrain from Games Workshop – it may be possible to block out opponents with less than 1″ of distance between your models and the wall. That said, this is more an opportunity to set some expectations with the opponent before the game. It’s perfectly reasonable to just decide that the width of walls is technically 0″ to reduce the amount of bickering you have to do over base sizes.
And it’s worth noting that in most games, this is primarily handled via intent – telling your opponent what you’re planning to do with your unit, and making a reasonable best attempt to place the models accordingly. That said, be prepared for tiny base models like Harlequins to dance their way through your well-planned defenses and just murder you.
Objective Sizes and Ranges
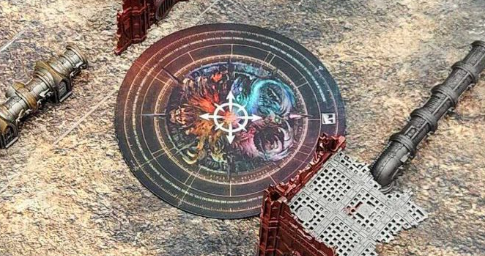
One more thing worth covering is objective markers: Standard Objective Markers in Warhammer 40k use the 40mm base size, meaning they are 1.58″ in diameter. Being within range of a marker means being within 3″ of the edge of said marker. If you have objective mats like the one shown above, the distance across those (their diameter) is 7.58″. This has a few fun implications:
- if you have a unit on an objective marker – touching any part of it – an opponent cannot set up a unit from reserves on that marker unless they have a way to set up within 9″ of enemy units. Of course, these do exist, and Inceptors will usually be the culprits here, dropping just outside of 9″ but on your objective and ready to murder you with plasma.
- If you’re playing on Search and Destroy – the deployment map with the 9″ circle in the middle of the table – then the distance from the edge of the deployment zone to the edge of your objective mat is just over 5″, or 5.21″ to be more precise. This means that units which move 5″ like Rubrics and Plague Marines cannot reach those objectives on turn 1 without either Advancing or getting some other modifier to their movement.
- If you place two objectives exactly 12″ apart on The Ritual, there will only be a 4.4″ gap between their control ranges. Objectives placed less than roughly 7.6″ apart will have overlapping control areas.
Final Thoughts
These are the most common ways that bases are used in Warhammer 40k but there are plenty of ways these principles can be used, such as when it comes to staggering units to put more models within a certain range, or when it comes to setting up a unit from Reserves or via Deep Strike. Staggering models can also be useful when piling in, though it won’t help you get around the base-to-base requirement for the second rank of combatants.
Have any questions or feedback? Drop us a note in the comments below or email us at contact@goonhammer.com. Want articles like this linked in your inbox every Monday morning? Sign up for our newsletter. And don’t forget that you can support us on Patreon for backer rewards like early video content, Administratum access, an ad-free experience on our website and more.
