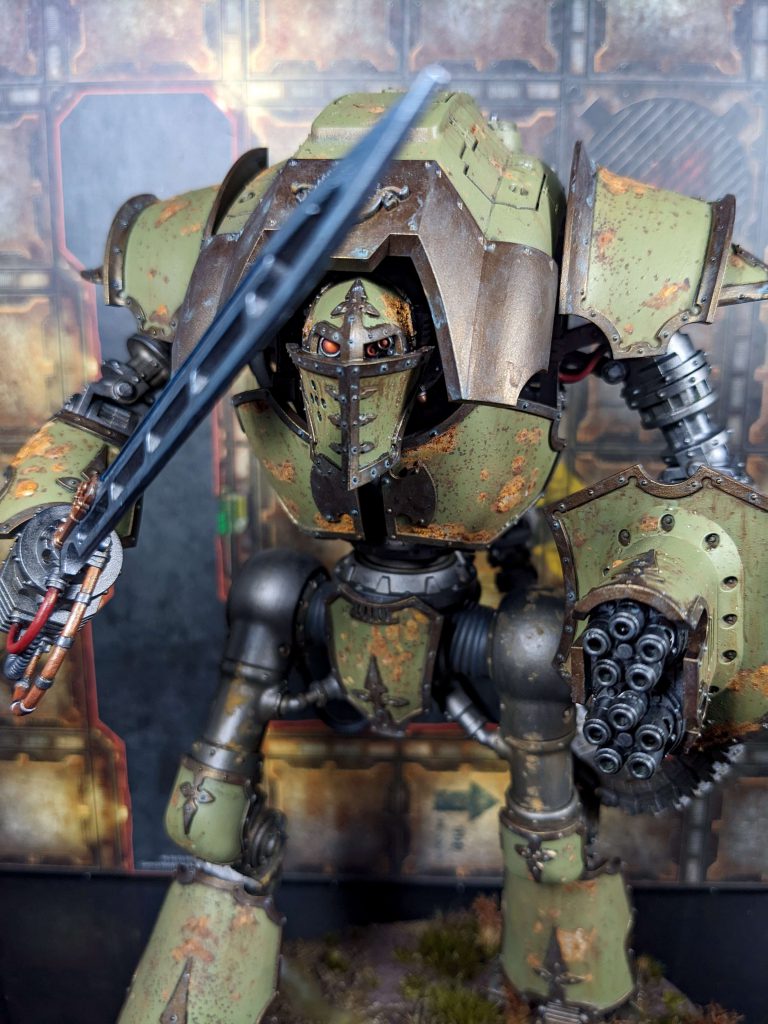
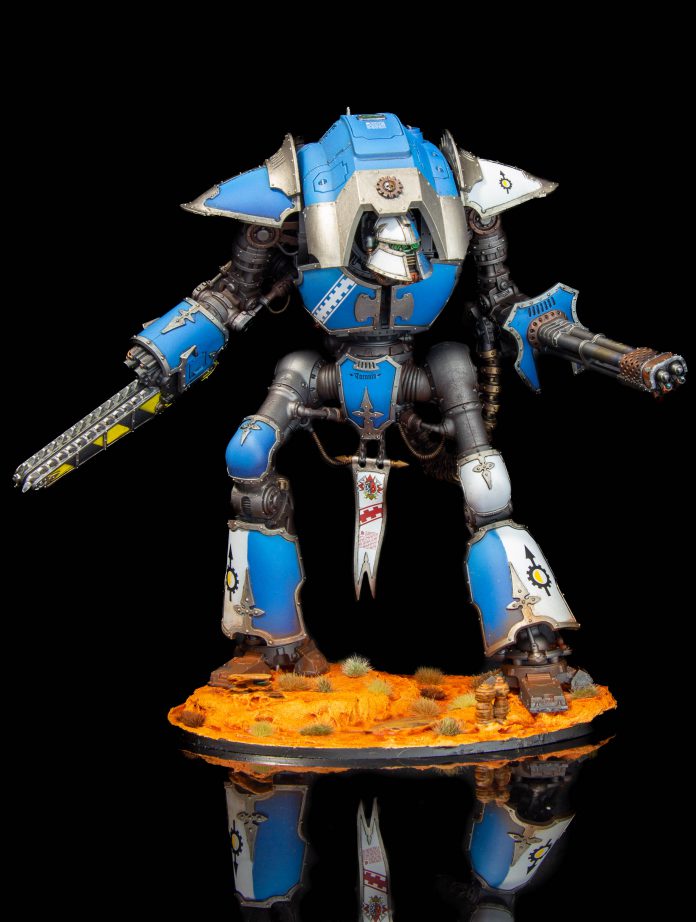
The Cerastus Knights stride across the battlefields of Warhammer 40,000 and the Horus Heresy like the tall, leggy behemoths that they are. These kits have been a long fan favourite as Forgeworld models and now are joining their Lancer sibling in hard plastic for the first time. So how do they measure up and are they worth adding to your force?
The Cerastus Chassis
As we noted when the Lancer was released, the new Cerastus chassis is substantially more customisable and posable and the previous plastic knights – you have a remarkably amount of control particularly in the legs, letting you adjust down to individual toes to put these metal beasts into a truly staggering range of positions. However, if you’re not feeling creative or adventurous, the kit comes with fixed plastic tabs that you can keep rather than clip off, and if you do the knight will stand in a relatively simple set of standard poses. This is a great combination of options – the basic poses if you don’t want to get too involved, or the full range of movement for the adventurous among you.
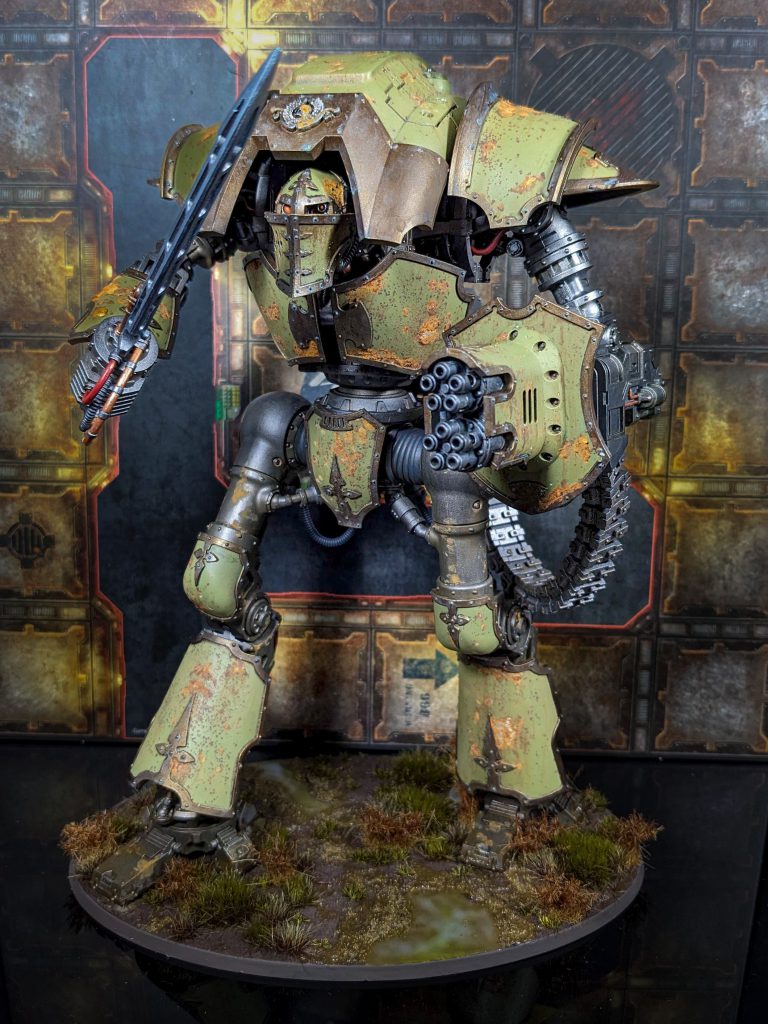
The posing is also very well through through in terms of armour plates. As anyone who has built a Warlord Titan for Adeptus Titanicus can tell you there are huge limits imposed on creative poses by the armour plating you need to apply afterwards in many GW kits, but that’s much less of an issue here. Every armour plate other than the knees (which sit snugly over that part of the model without issue in every pose) is set on little brackets that stand away from the main body of the knight. That means that first of all every armour plate other than the toes can be painted separately which is a fantastic quality of life thing, but also that you have a lot more clearance to get fancy with your posing. There are almost certainly limits, but it feels like you’re going to run into problems with gravity before you do with the armour plates getting in the way.
The other cool addition here that you can really get into the weeds on here is the pilot and the cockpit. This is fully modelled in glorious detail and is a super fun little add, but even better the top armour plate can be let unglued so that if you didn’t have time to paint up the cockpit originally (like we didn’t) then you can add it in later without any issue. You can alternatively just not add it at all, and if you put the top hatch down literally no one will know. This is a great compromise between practicality and full hobby hog and it’s nice to see.
The Castigator
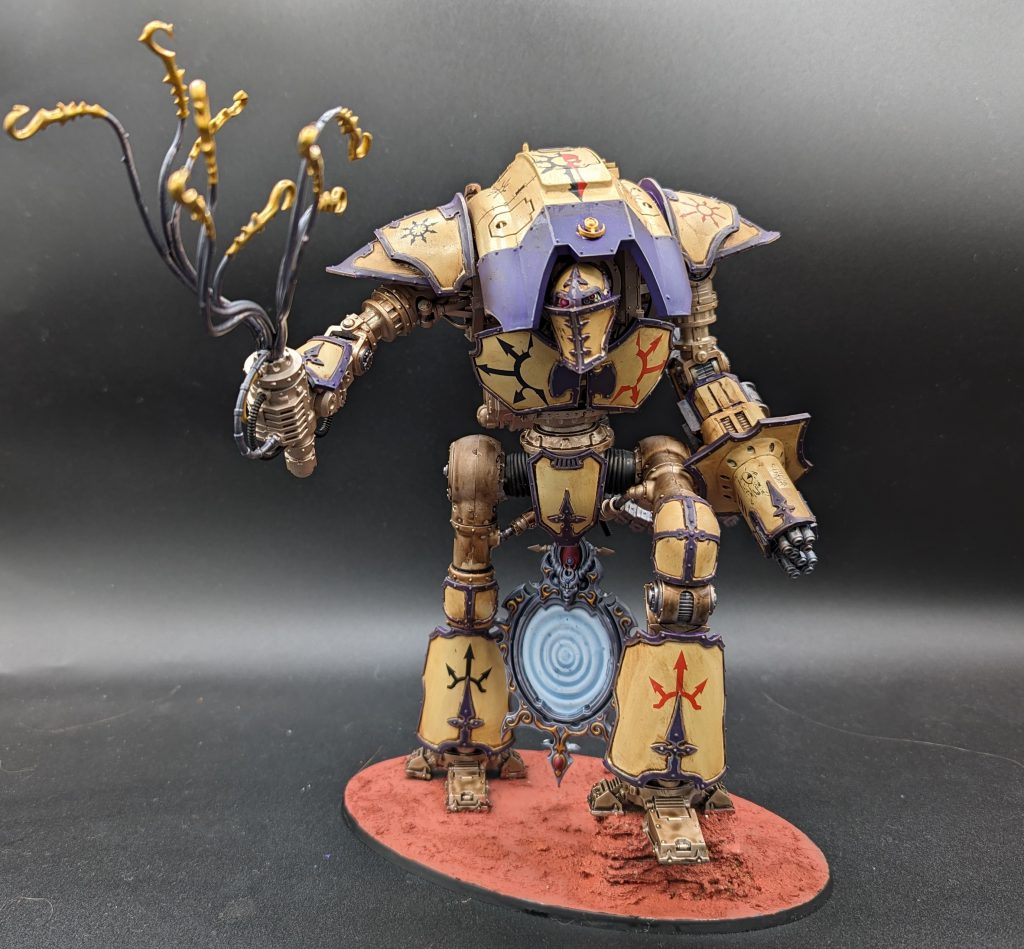
Lupe: Armed with an impressive sword arm and a giant bolt cannon, the Castigator has a few particular element that are worth calling out. First the sword itself – it’s a great looking thing, with some nice elements, and the arm construction is absurdly posable. However, the one thing that isn’t is the sword itself, which is mounted into the apparatus at the end of the “wrist” of the knight in a single fixed pose. This is a slight shame because it means you can’t pose this model in a full “en garde” position, as the blade has to be held at an angle from the end of the arm. It’s not the end of the world, but it’s a little odd. Another issue is that the shoulder armour (and you get extra shoulder armour here to bulk it out further, which is a nice touch to differentiate the types of knight) limits movement somewhat, so you can’t, for example, have it waving the sword over its head. It’s a limitation of the chassis that’s understandable, but something of a shame.
On the other side of the metal giant is the castigator bolt cannon, which is… well, it’s a big gun with a shield. It’s perfectly fine, but the real star of the show is actually the ammo feed running from it back to an ammo container that fits on the rear of the knight. This feed is cunningly designed and is enormously flexible, even after priming. It definitely feels like a huge jump forward in quality and technology in these kits.
Norman: Its worth noting here though that the belt, while insanely flexible, is a nightmare to put together. Each section requires 2 pieces to be glued together which can easily be glued in such a way and can be assembled in such a way that a section might not be as flexible as if you had built it correctly. If you’re prone to having pieces fly across the room as you snip them, beware because these little dudes are finicky.
Lupe: I really didn’t find it that much of a fuss. It’s tedious, but once I got into the rhythm it was fine.
The pack itself fits over some of the gubbins at the back of the model, and while tight my tests suggest won’t hold in place when the model is moved about. I glued mine, but if you were fixed on the idea of swapping out the arms for transport or such you’d have to magnetise it or come up with some other solutions. You can tension fit the feed to the gun, but not the pack where it needs to be glued. Also, you can’t actually buy the arms separately so this is maybe a bit moot.
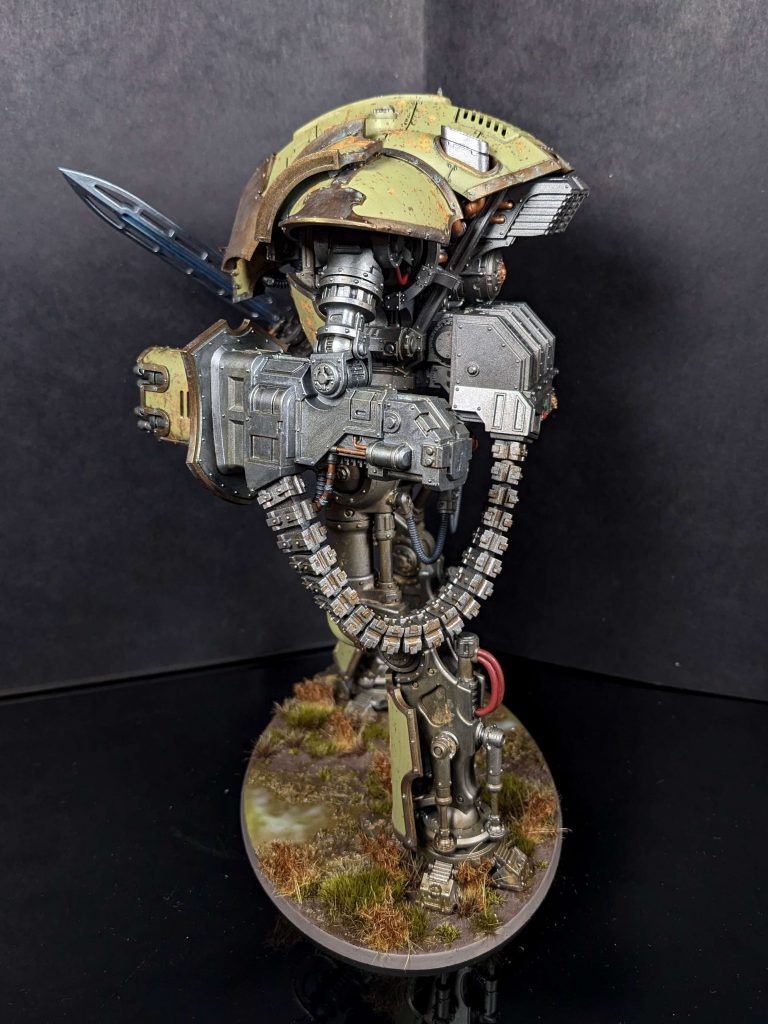
All in the all the Castigator is a great version of this kit, with some neat little armour tweaks and changes, and a very clever implementation of an ammo feed that steals the show from the rest of the armaments.
The Acheron
The Acheron embodies peak Warhammer with it’s absurdly large chainsaw paired with an equally large flamethrower. Both arms are easy builds and mostly sub-assembly friendly, if that’s your thing. The arms and backpack hold well with tension alone, which is such a tease that the arm sprue isn’t separately available.
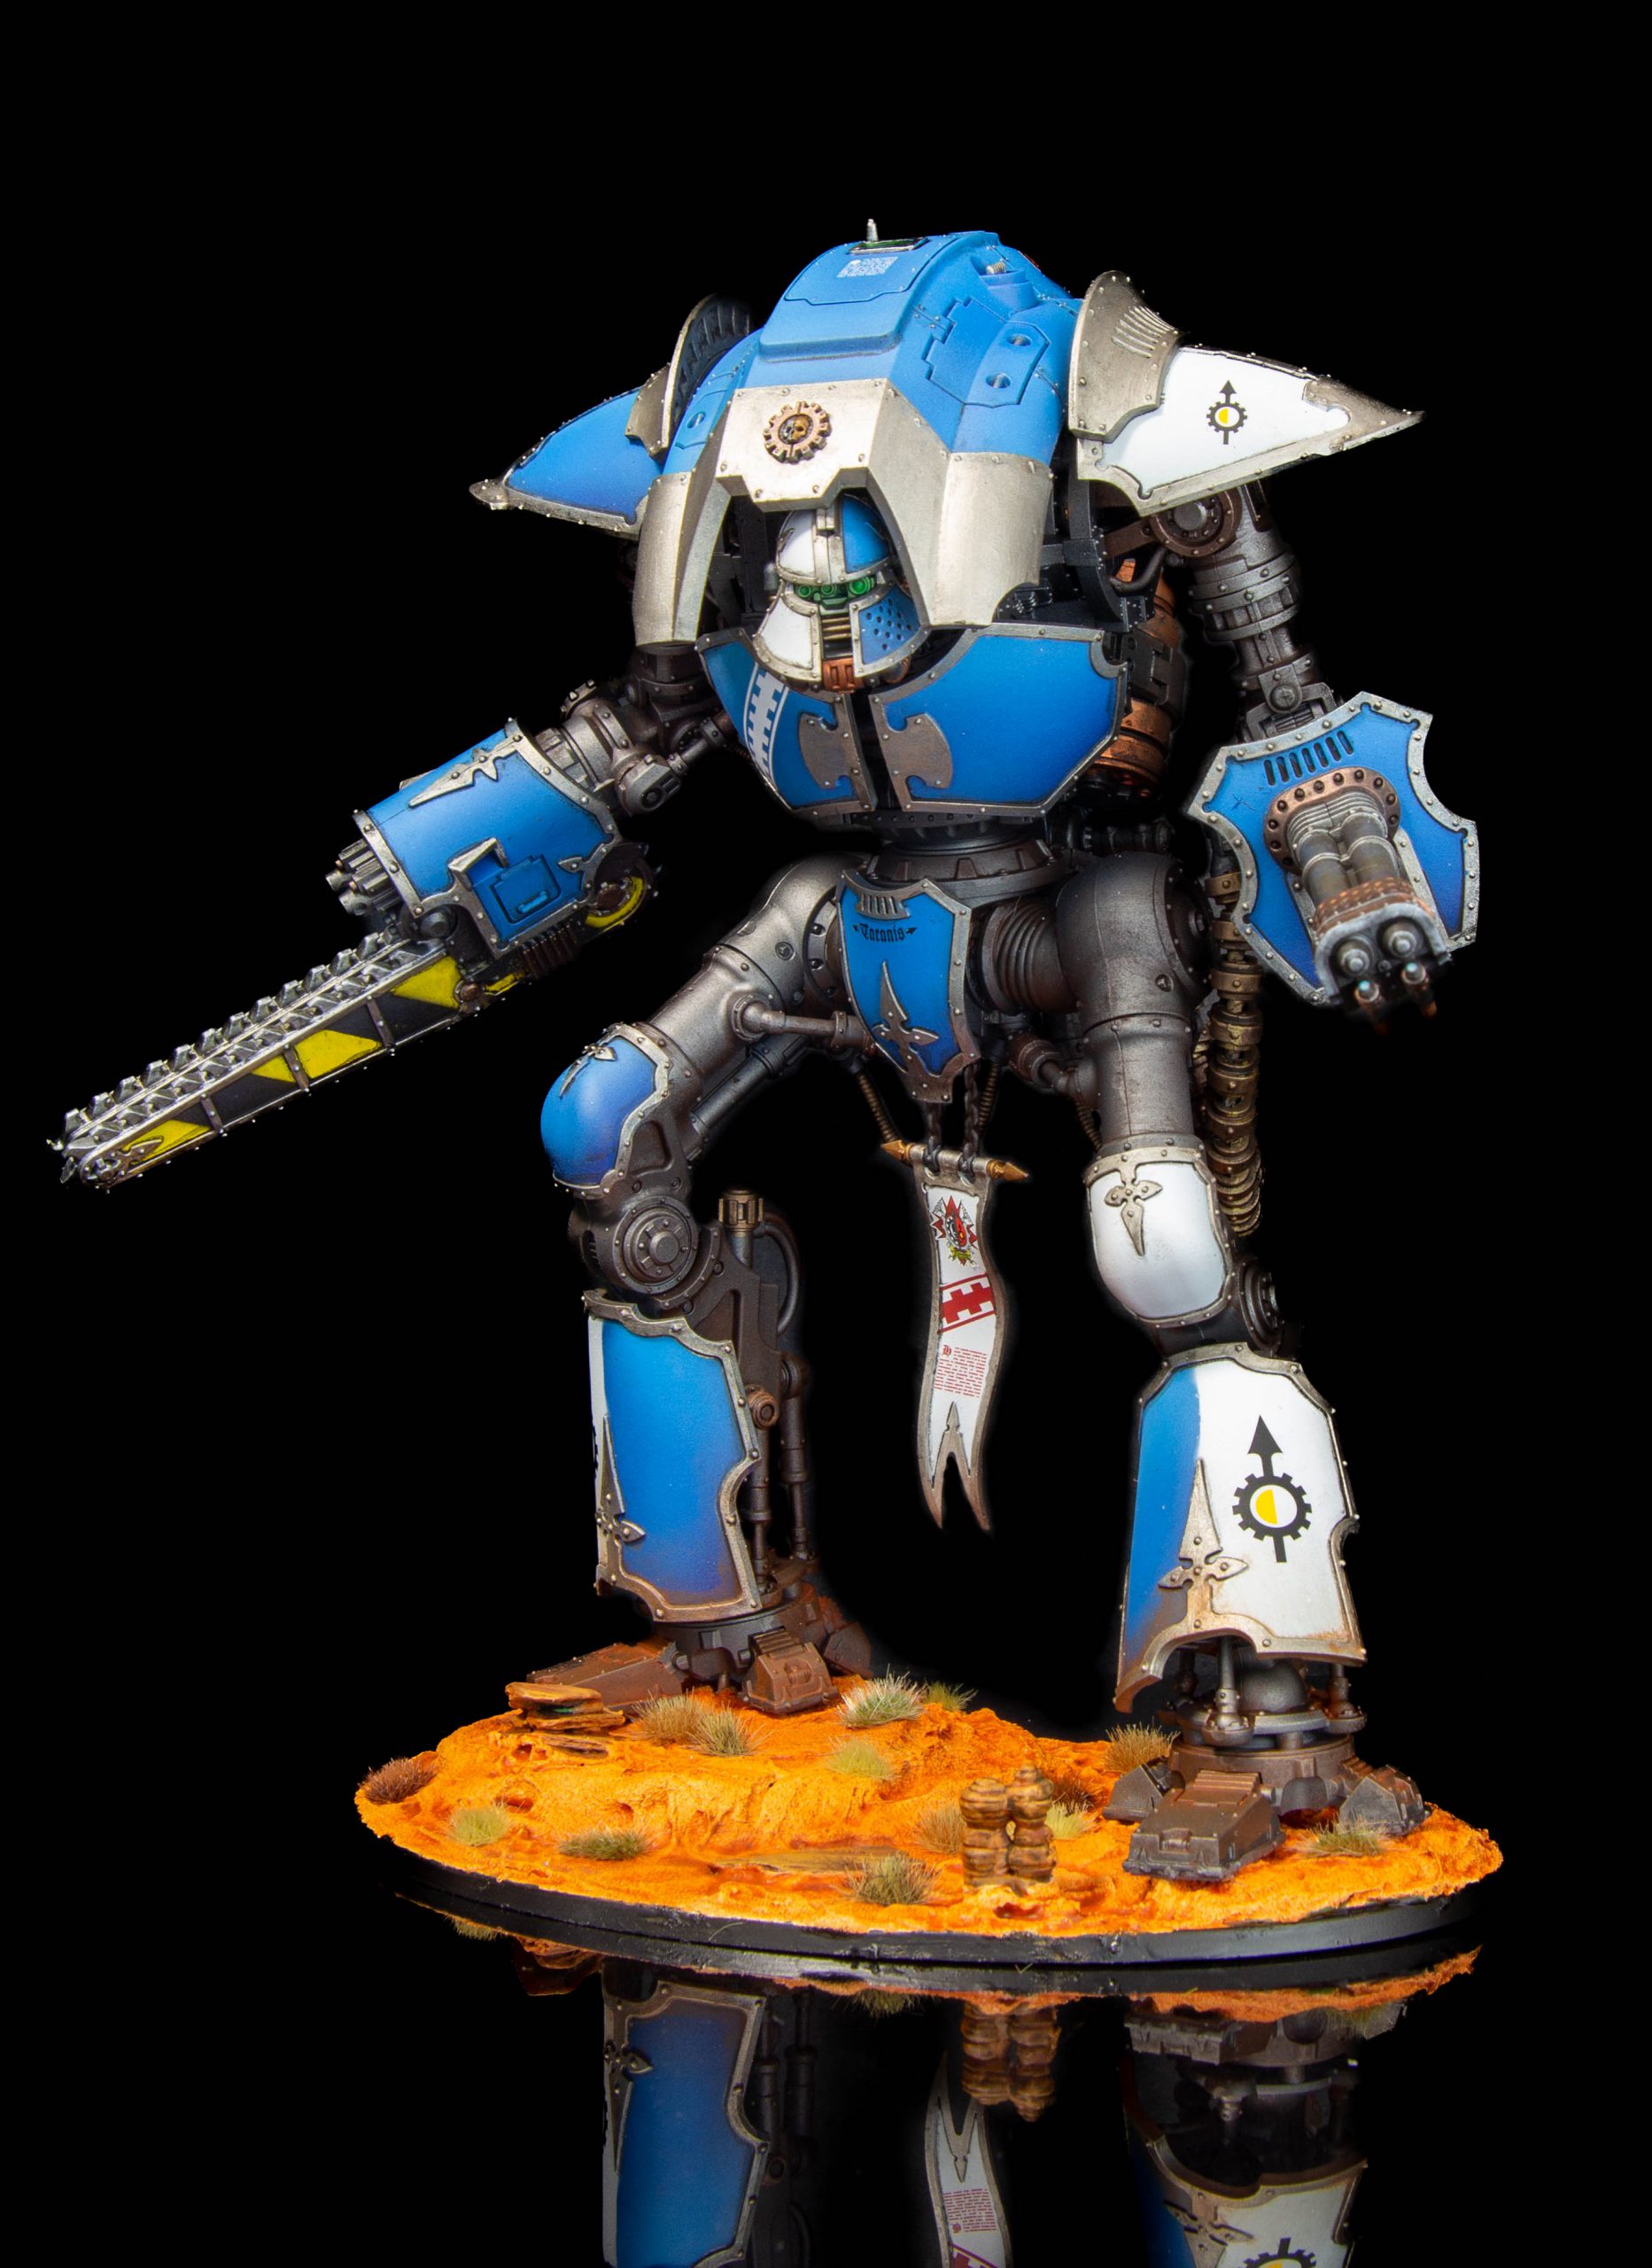
Speaking of tension fits, I did manage to break one of the tabs that hold the left arm on during assembly as I hadn’t trimmed the strut that goes into the socket yet as I was still figuring out the angle – you’ll know what I mean when you get to this step, as long as you aren’t a clumsy oaf you’ll be fine. Thankfully this was the bottom tab, and the top one is good enough to hold things in place for now. If/When it eventually goes I’ll simply glue the arms in place.
Like the Castigator kit, the ammo feed is amazingly flexible to enable different poses. One thing I will say is to pay attention to what way around you put the caps on the cain as you make it – it is possible to put these on the wrong way if you aren’t paying attention and this will limit your flexibility. No prizes for guess who made that mistake on a few links – despite this it’s still very posable.
Closing Thoughts
Soggy: This was my first knight* kit and I found it very easy to put together and quick to paint up during a week. I know a model is a good one if I can’t help but looking back at it in the case behind me. The only downside is I think I want to start a Knight Household in 28mm now…
*AT scale doesn’t count.
Norman: I on the other hand am no stranger to knights. This is my 9th large knight and 24th knight overall. I will say the tech in this kit is the kind I hope to see in all future kits, the levels of articulation on the gun arm is really fantastic (although you probably want to glue a pose in since the gun is too heavy to really pose) and the leg flexibility is really fun to play with. That damn belt feed, while irritating to work with, is really unique and I hope to see that technique used elsewhere.
If you know me though, You know I’m a guy who doesn’t do standard builds for knights. I’m pleased to say, the kit is just as conversion friendly as the questioris frames and the pieces are broken down such that weapon and head swaps are relatively easy. While the castigator I made for this review isn’t the most custom knight I’ve ever built, I’m looking forward to getting my hands on another kit and starting another kitbash.
Lupe: I’m somewhere between the two here in terms of knightly experience – I’ve built and painted a couple of armiger and a questoris before this, and this is by far the best of the knight kits I’ve worked with. I really had a blast assembling and painting this (which is lucky because due to some logistical hiccups I got my box on Tuesday, cramming this all into a rather panicked four days) and I am now seriously tempted to buy another couple of leggy lads and build out a full army.
