Howdy Turnip folk, and welcome back to our coverage of the excellent Turnip 28. This article will be centered around some advice and recommendations for converting up your very own losers, weirdos, and cultists for Turnip 28. We have two methods today, Lenoon’s high effort (but by no means difficult) sculpting and Perigrin’s lower effort (but by no means low quality) kitbashing.
These are meant more as general guidelines and tips for how to create your own turnip men from whatever historical kits grab your fancy the most, rather than as a rooty gospel or instructions manual. Turnip 28 is primarily a game about conversions and creativity, so you really have room to let your imagination run wild. Let’s start out with Lenoon’s method, as it is the more “Traditional” of the two for Turnip.
Lenoon’s Method: Sculpting and Bending
Part the first: Limb Collection
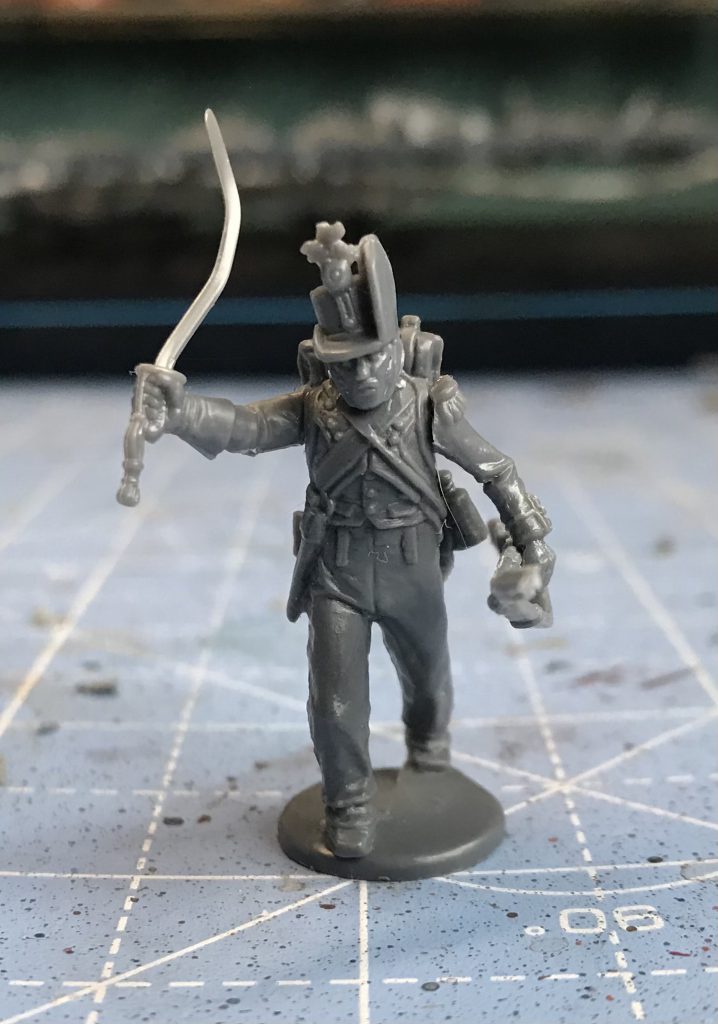
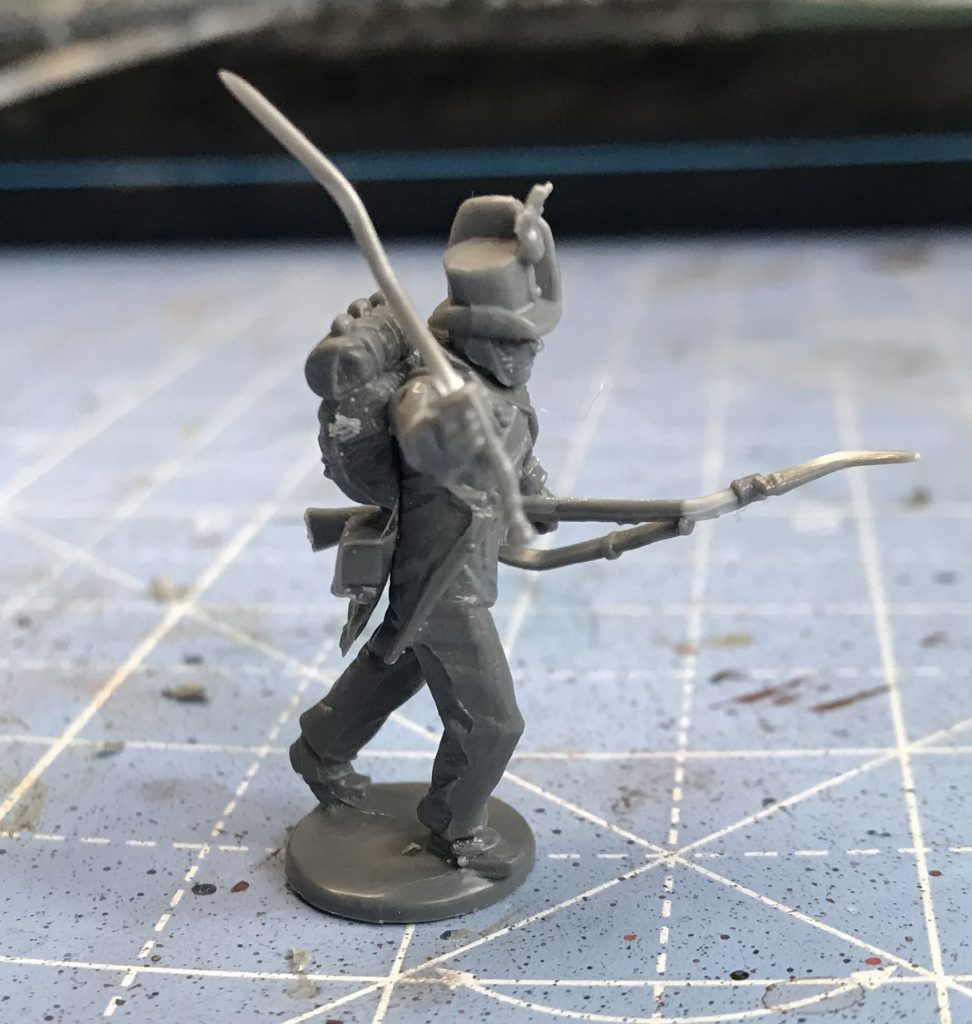
All my turnip infantry are fished out of my Napoleonics bits box. It’s a simple process – one body, one backpack, a left and right arm of any variety and a head. Aiming for consistency here is, in my opinion, madness. Shake up the bits box and roll with it.
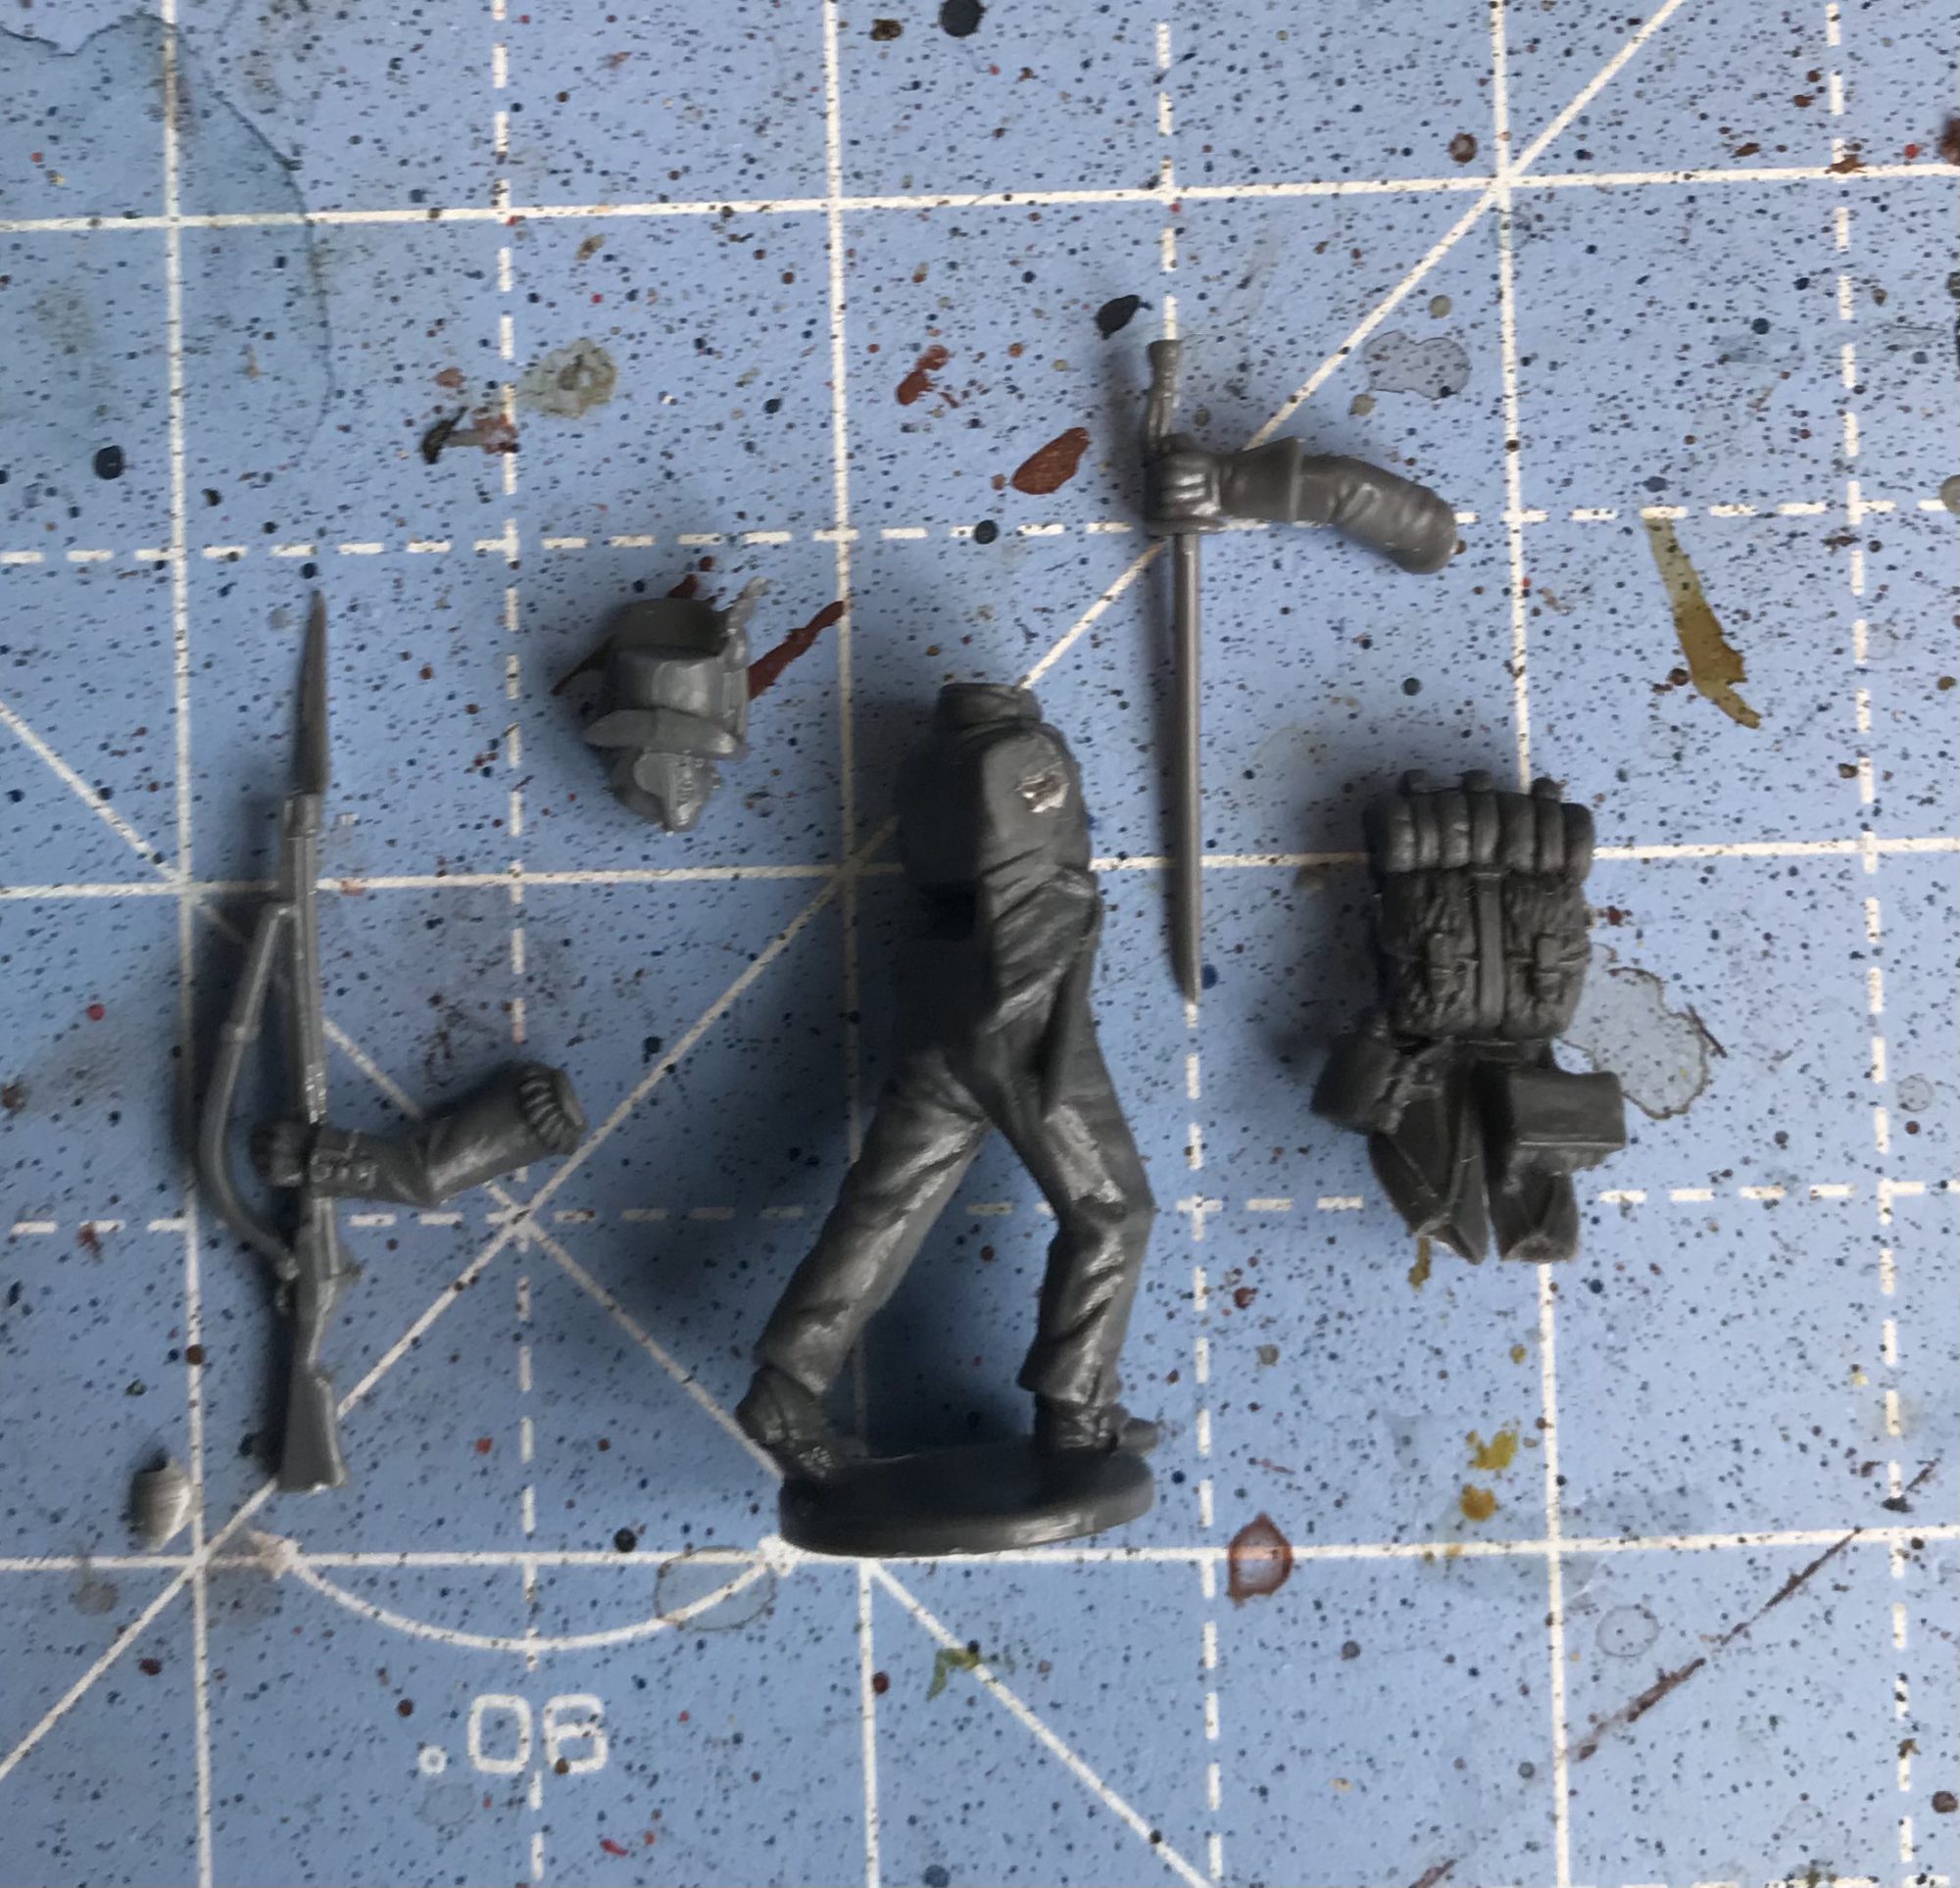
Part the second: Anatomy of a Turnipite
Assemble these as normal. I don’t bother cleaning sprue tags or mould lines, as I’ll use these as a guide for places to add texture and sculpting. There’s two non-standard things I’ll do at this stage. First one is to cut away at the neck joint so I can situate the head lower on the body. I aim for back of the head to rest against the shoulder line, giving everyone a slightly more hunched vibe. Second is to manually bend or break all weapons until they are very obviously non functional. This is turnip after all!
Part the third: Greebles
I think every turnip army has its own “thing”, it’s own weird aesthetic quirk that makes it obviously yours. Mine is a pretty standard one: long masks and fungus. Once your base model is assembled, add your greebly bits!
This could be bits from the box, sculpted detail, textures, tufts and grass or – as in this case – all four. I add a big mask sculpted entirely through pinching a sausage of milliput, and long tendrils of fungus, simply rolled out thin and poked into place. No sculpting experience or skill required!
Part the fourth: Gunk
I could happily leave this here, but once the milliput is dry I slather on some texture paint to break up a lot of the still Napoleonic bits, and add a small grass tuft for more texture. This guy ended up a bit over detailed – because I mixed up too much milliput and wanted to use it – but could work as one of my toadies, or as a useless sergeant model in my fodder unit.
Perigrin’s Method: Kitbashing
I honestly am not a huge fan of sculpting with Milliput or Greenstuff on a model the size of a standard Turnip man. I like sculpting quite a lot on bigger monsters or animals, but I find it to be far too fiddly on a standard 28mm mini. So, I decided not to, my turnip men have a rather less mutated appearance. The ones that are heavily mutated make a large use of GW dryad parts for tree branches and cool mutations. I am aiming more for a spooky woodlands Knight in the trenches type vibe than I am a Napoleonic vegetable man energy.
Part the first: Collecting bits
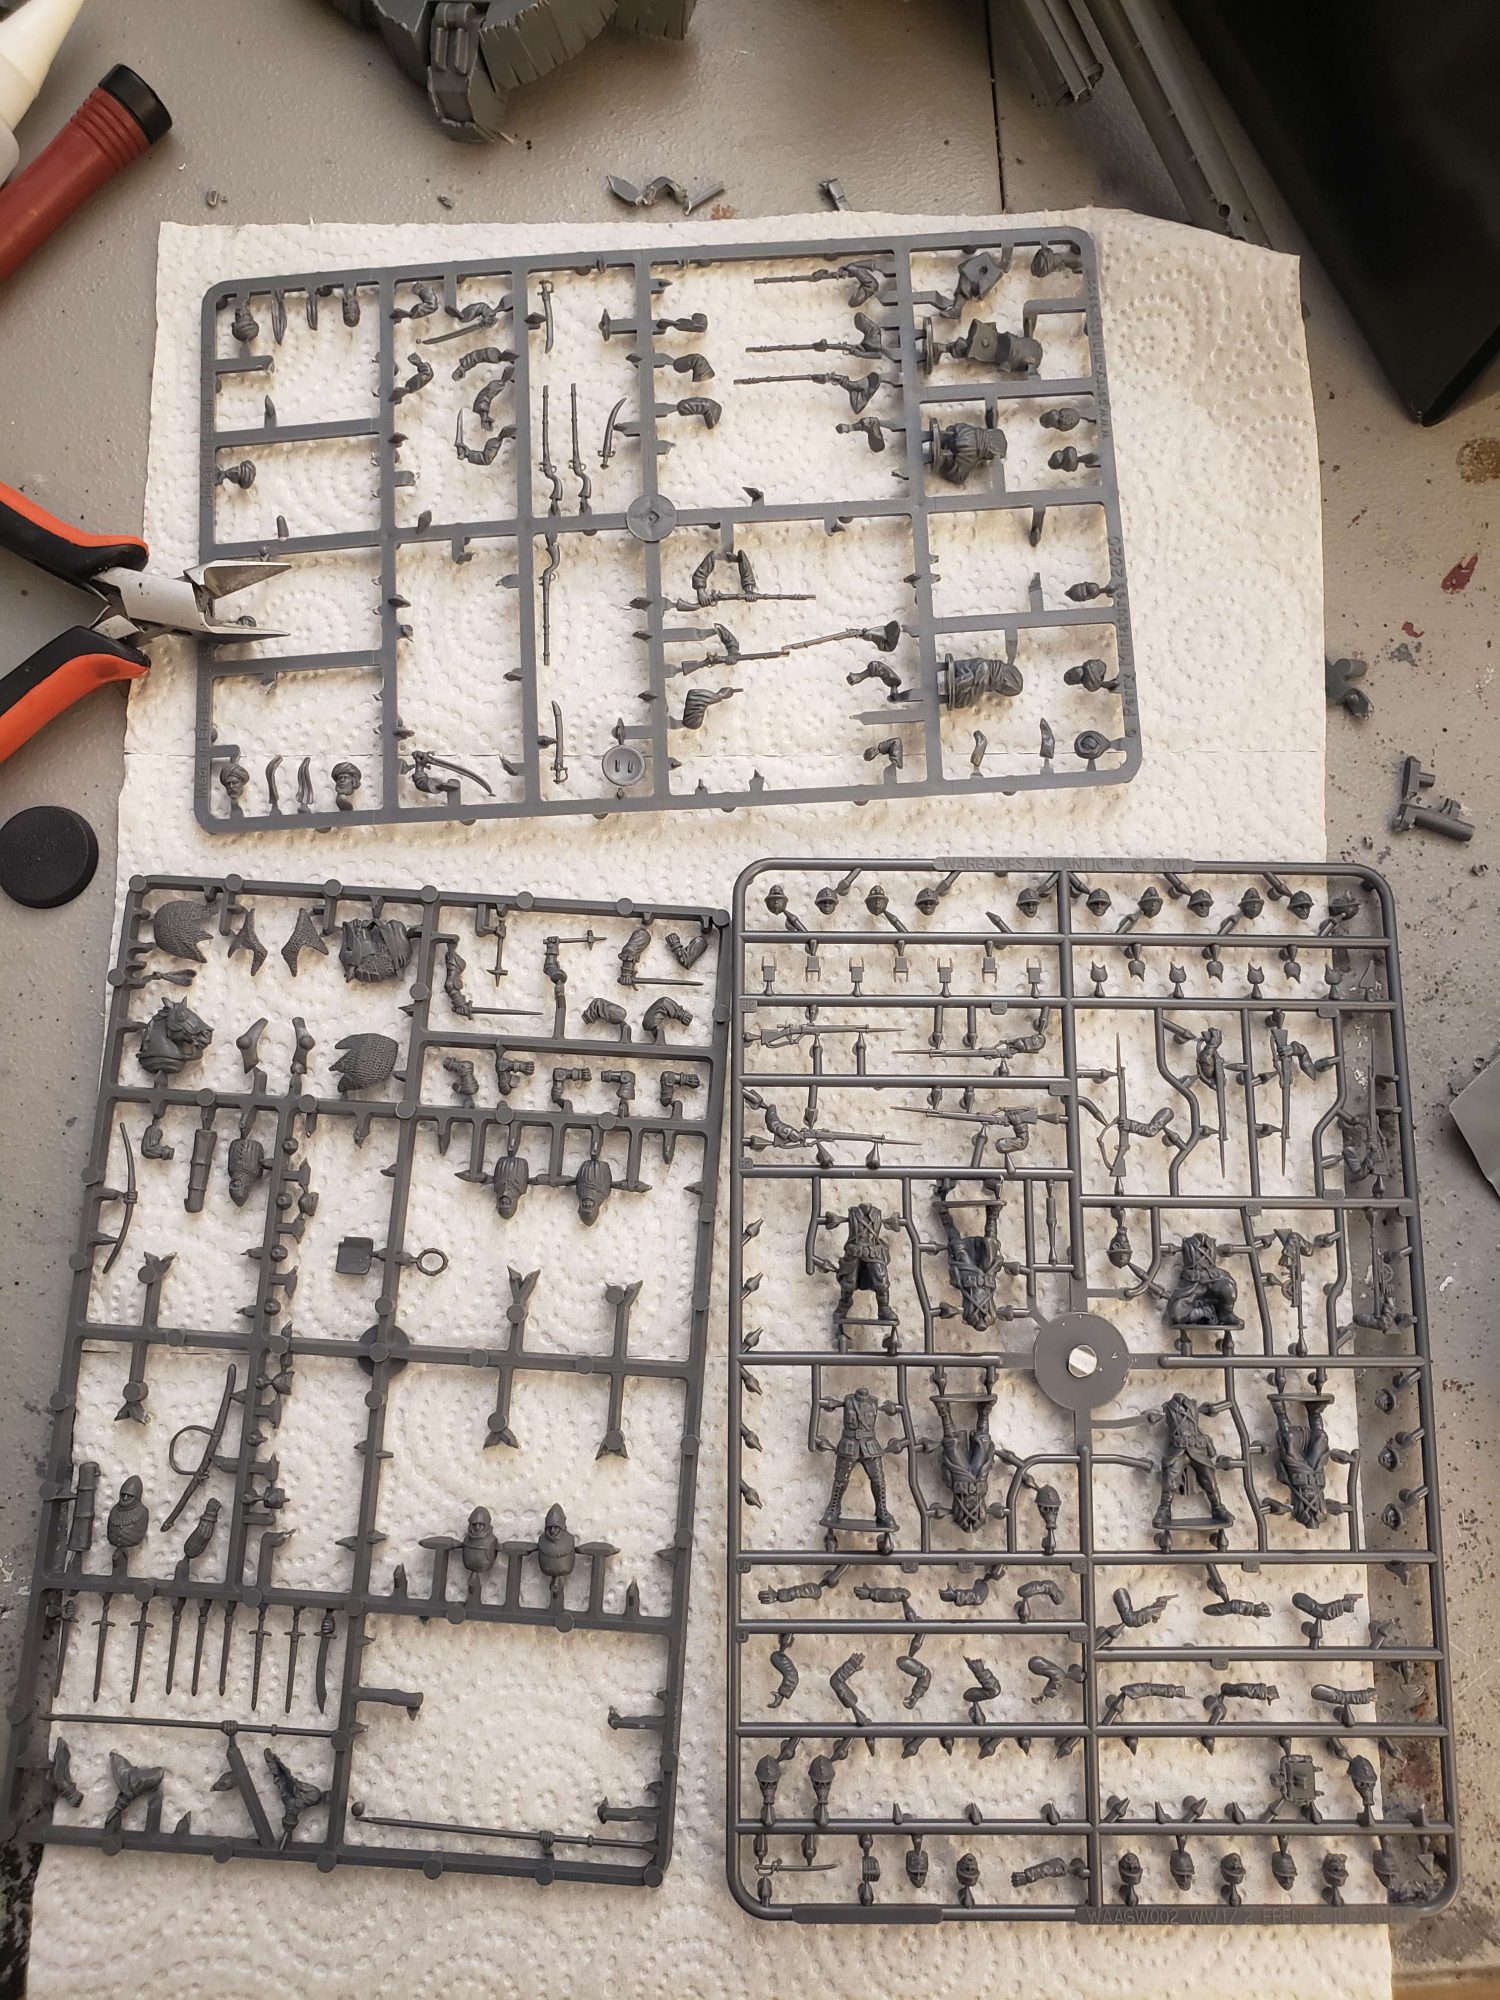
I started out this turnip man, who I will be calling Joe Turnip from now on, the same way I start most of my hobby projects: by pulling a few sprues out of a disastrously disorganized plastic tote box. The three I settled on were the Perry Miniatures Agincourt Mounted Knights, Wargames Atlantic WW1 French Infantry, and Perry Miniatures Afghan Warriors. I also ended up grabbing a bit off of the Victrix Late Roman kit, specifically a round shield.
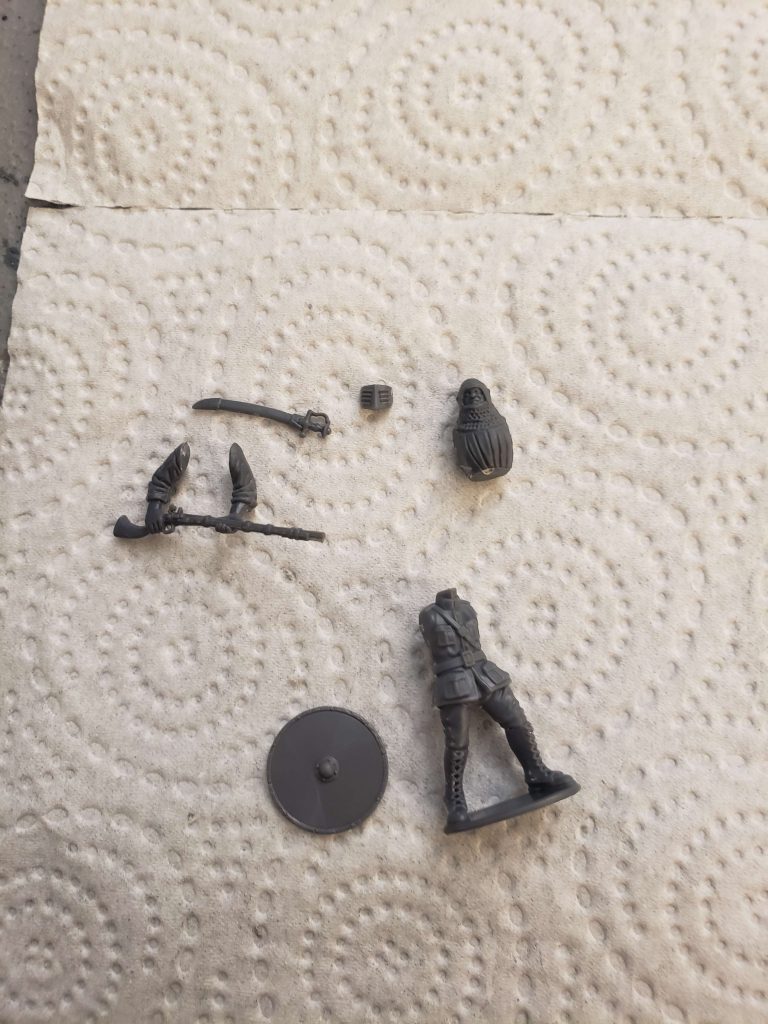
I was drawn to this specific WGA Frenchman for his high boots. I have no idea what that piece in the top center is though, it was on the WGA French sprue and I have no earthly idea what it is for. I thought I could use it as a face plate, instead of sculpting one myself. I ended up badly mangling that torso there and having to grab a second one off of the sprue, which wasn’t a huge deal due to the amount of extra bits you get from the Perry knight kit.
Also, unlike Lenoon, I do generally clean up any aggressive mold lines on my parts for Turnip. I use a lot of washes and heavily thinned paints, and I don’t texture as aggressively, so they would really stand out after painting.
Part the second: Surgery
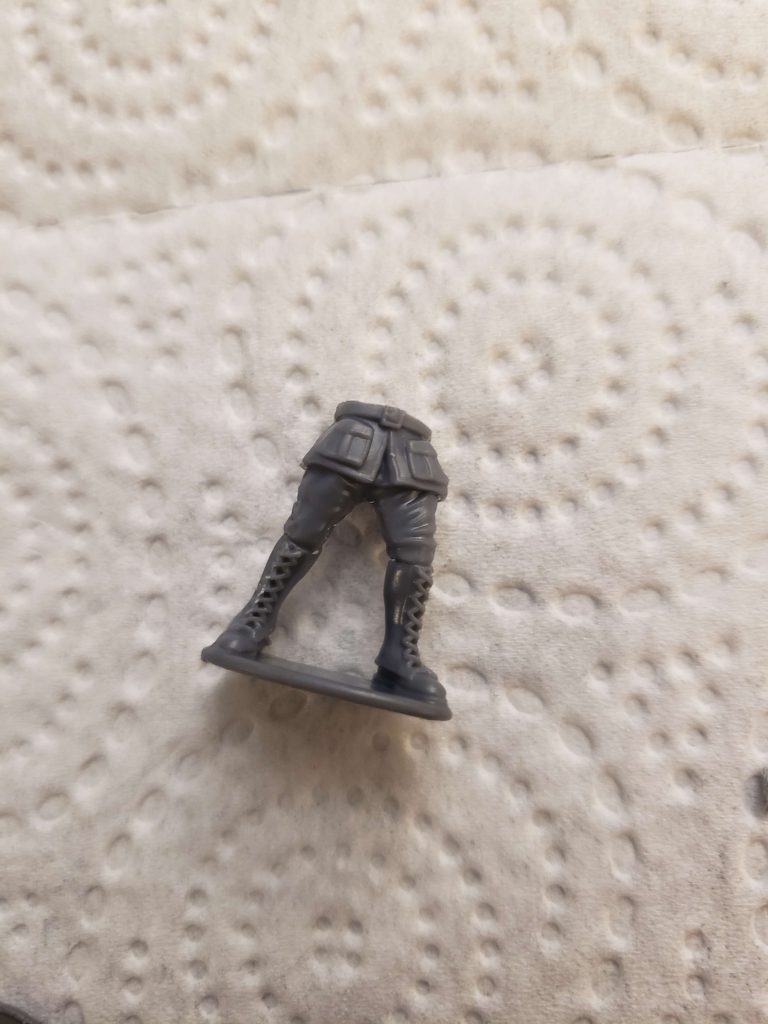
The first step I took was to separate the WGA torso from the legs. I simply snipped this with my hobby snips and then cleaned it up with my hobby knife.
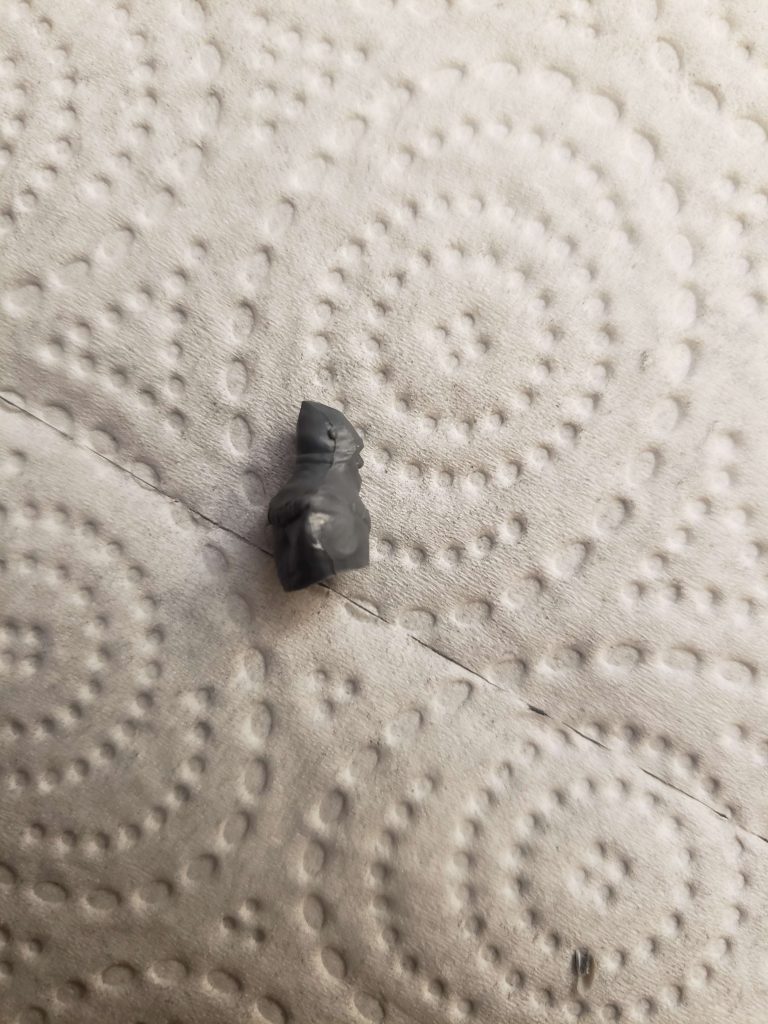
After dry fitting the first torso, it looked a little odd and was standing far too straight up. I used my hobby knife to hack away a wedge from the bottom of the torso, but ended up taking off far too much and ruining the part. Always cut less than you think you need to with these things. I cut away much less on the second torso, giving Joe a significant forwards slouch when glued together.
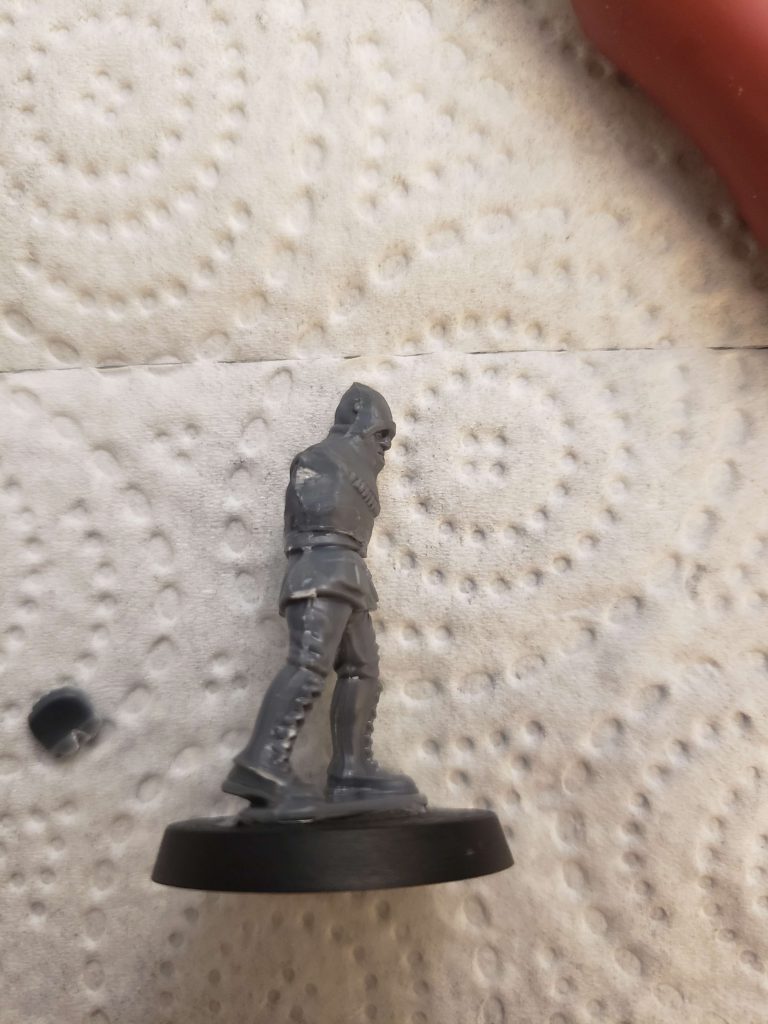
It was at this stage that I glued on that faceplate-thing, his long rifle, the shield, a saber, and some spare cloth from the Afghan kit.
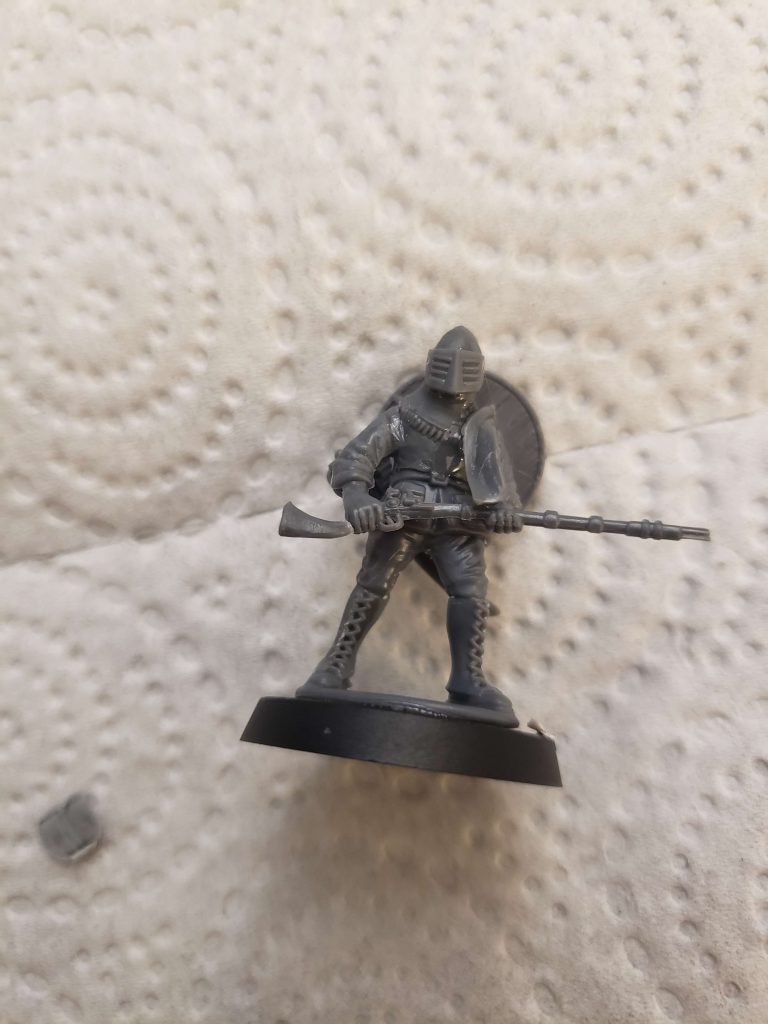
I ran into a fairly common kitbashing problem here, that being a part that didn’t quite look how I wanted. I wanted it to look like Joe had a loose sash hanging from his shoulder with the shield and saber hanging from it, but the two pieces of cloth didn’t actually reach the shoulder and meet the way I expected, leaving a significant gap. In addition, the attachment point of the shield felt weak and fragile. To fix both of these problems, I got another piece off of the knight sprue (I believe it is a tilt shield?) and glued it on as a shoulder pad, because as everyone who has ever built a space marine knows, the pauldrons disguise all sin.
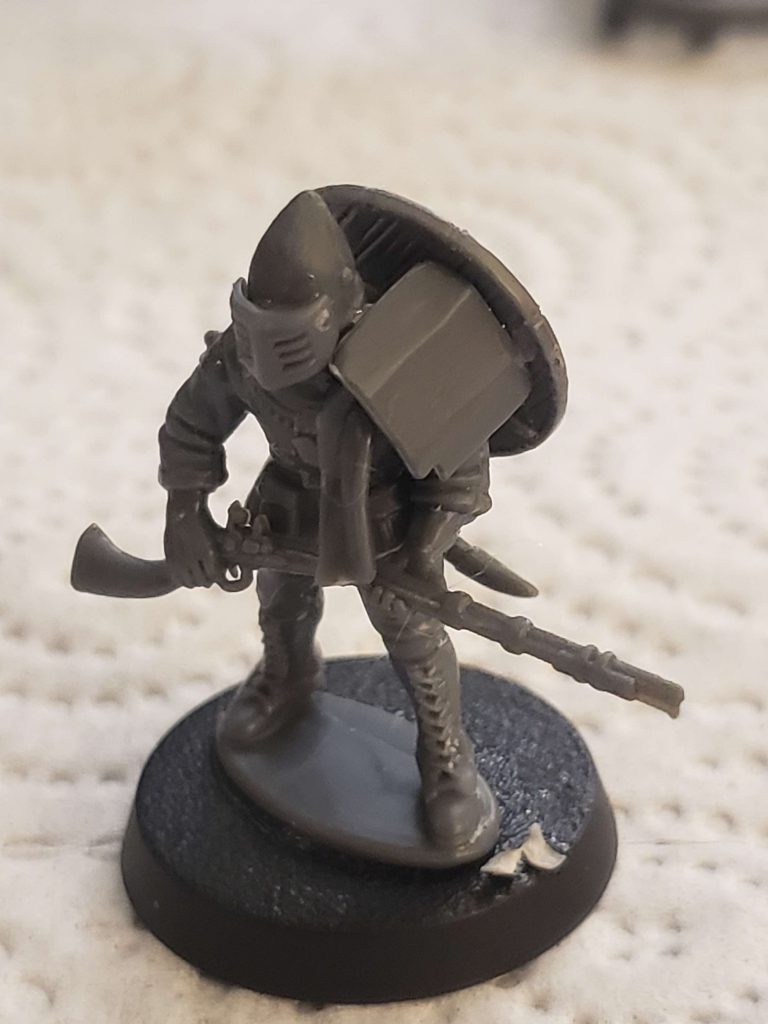
Joe Turnip was looking pretty good at this stage, but I felt like the model was missing a couple of greeblies. I added a weird cloth crown thing that I am sure has a proper name to his head from the Agincourt kit, and snipped one of the machetes from the WGA French kit to pin the shoulder pad to his shoulder in a suitably unpleasant fashion. From there I just primed the model to knock down the shine and glue residue, and was left with this result.
I think Joe Turnip cuts a rather dashing figure with his laced up boots, big sleeves, and slightly doofy crown-thing. I am also incredibly fond of the look of whatever the hell that WGA French bit I used as a faceplate is, and I bought like 5 boxes of those so I have plenty of them. I will probably use Joe Turnip here as the leader of a unit of skirmishing Chaff with Black Powder Weapons. I like a marginally more functional vibe for my turnip 28 figures, as a lot of them do double duty in my Warhammer Fantasy Empire/Chaos Cult army. Joe will probably end up in a unit of Huntsmen there. I like the idea that my dudes are the Turnip professional soldiers, but for all of their gun-polishing and boot cleaning they end up covered in the same mud and dying from the same miserable wounds as the more pathetic and loathsome Turnips.
I also generally put my mud on after painting, and go a lot lighter on it than most do. I have a horrible concoction that I have been calling “Turnip Juice” that consists of texture paints cut with washes and Speedpaints to stain and texture the models after painting, so this is where assembly stops for me. Anything that looks weird or bad after painting can just be covered in mud and ignored.
Conclusion
These are vague guidelines, and you should never forget that Turnip 28 is probably one of the single most creative wargames you can get into when it comes to modelling. It does show the breadth of kits that you can use to get the right Turnip vibes, from a mix of random Napoleonics to Joe Turnip, who contains exactly 0 parts from a Napoleonic kit. Honestly after building Joe Turnip I immediately wanted to go build the rest of his unit, and I probably will have done that before we get around to covering painting for Turnip 28. If you are a huge fan of kitbashing and converting, I cannot stress enough how much fun building these sorts of models is. Give it a try, historical minis are very affordable and almost all 28mm ones scale together well enough to be used for Turnip. Cheers.
Questions, comments, suggestions? Contact@goonhammer.com or leave a comment below
