As you may have noticed from our interview with Andy Callan, author of this ruleset, we’re more than a bit excited about the revamped Billhooks Deluxe edition. What started out as a free ruleset packed with the Wargames Illustrated magazine from September 2020 has turned out to be quite the success, so let’s dive into the book, and see what’s changed and what makes it so alluring.
The book and the periods
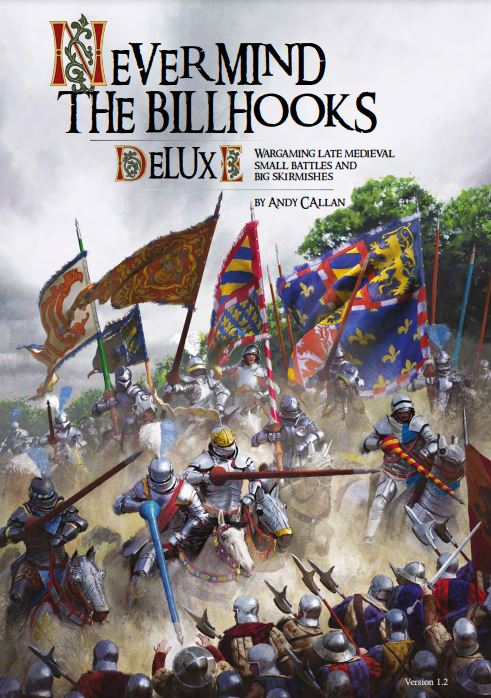
We won’t even try to compare this hardback glossy finery with the free set from September 2020. The production value is excellent, 179 pages in total, this ruleset gives you all the bang for your buck, including everything you need to play. The core ruleset is still firmly entrenched in the War Of the Roses period, and there haven’t been a lot of changes compared to the first edition. The basics are the same, wording has changed, and there are some more examples on how different actions play out.
What this edition does add is more different periods to play. They’re pretty much little books or expansions (or codex if you’ve stumbled in from 40k), with an overview of the period and important battles for the time frame. Every period has tweaks to the basic ruleset. This adds some flavor in new units that can be taken, as well as restrictions, representing technological advances that make some units less effective. Some units are even impacted by leadership of the time, or certain tactical uses that changed over the course of history. Next to the “starting period” of the Wars of the Roses (Albion), there are seven different theaters to explore:
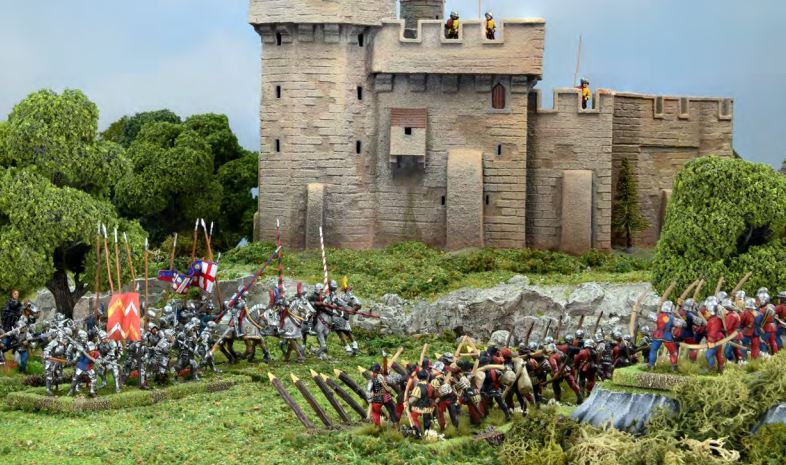
Gallia: the Hundred Years’ War. This the logical next step to explore, putting you some time before a certain hunchbacked individual tries for the throne. Since it covers a rather long period, there are enough examples to get you started out as a dirty Plantagenet. Expect a quarter of your warband to be made up of archers, and you can include Welsh or Cornish knifemen, next to Irish kern.
Bohemia: the Hussite wars will satisfy any war wagon craving you have! Catholics were so bent on having a crusade every five minutes to crush heretics and unbelievers. Since they’re not roaming the Levant here a drafty castle was the excuse. Hussite forces will be mostly infantry (and war wagons), while Catholics get more cavalry. An interesting period that offers a lot of modeling potential.
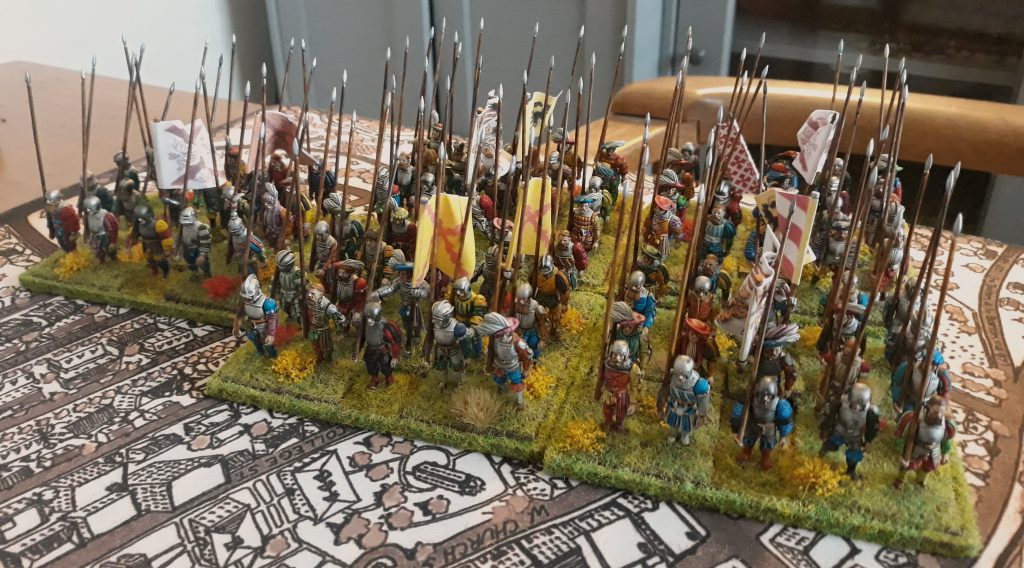
Helvetia: rise of the Swiss pike and their fearsome reputation. Pike blocks will be the draw of this period, next to the nice livery the Burgundians had. There isn’t that much of a difference with the Albion core lists, but if you want Swiss troops to trample everything they see, possibly in proto-lederhosen, you can’t go wrong here.
Italia: unsurprisingly, the Italian wars! Easily the most attractive period as you can field all the Landsknechts you want in colorful blocks facing really fancy knights. Lots of factions and double crossing gives you an excuse to really get your Machiavelli on. Archers will be replaced with arquebusiers and crossbowmen.
Northumbria: the Anglo-Scottish border reivers. I’m not that familiar with this period, so let’s just call it Hatfields and McCoys: basket-hilt sword edition. Doubtless I will be put straight in the comments. Since it’s focused on raids and small scale actions, perfect for the ruleset, or a small hobby project with a nice Peel tower. You won’t get fancy knights though, only light horse.
Lusitania: If you happen to be called Alfonso and are Portuguese, it’s practically mandatory you get in on this. Portugal is often overlooked in Medieval wargaming, but has an interesting history often overshadowed by Spanish shenanigans. There’s a big focus on light cavalry (ginetes). Since town militias were regularly employed you can go hog wild with painting as well.
Hibernia: Gallowglass and Kern, need I say more. You get a nice flavor to your base billmen units, as it took a while before two-handed axes went out of style. You can use Kern in the Albion period as well, so expanding to Hibernia isn’t that difficult.
Since I am not a madman who has models for all of these periods, I haven’t tried them all out. I have to say that after playing a couple of games, it’s easy to see how the differences will click into place. Every theater gets a nice overview on what the common tactics and technology was at the time, and which units were most used. The introductions are a nice way to get lost on wikipedia for a few hours and wake up to the mailman delivering some books where most pictures are paintings. Nice primers and they certainly deliver on the feel of a period.
Rules and regulations, trials and tribulations
To put it bluntly, the basic rules are simple. You’ll get the hang of it after a game or two, and the basic move-shoot-melee will not throw you for a loop. But it works rather elegantly, thanks to some mechanics that will open up avenues for the tactician in you.
You start off with the maneuver phase. It’s basically a pre-game movement round where you get the chance to get some extra positioning. Every player gets to move one unit in turns. This can be the same unit, but it doesn’t have to be. This phase stops when you move into contact or someone starts shooting. This is a really good way to emulate those tense moments before a battle. It’s nice to be able to expand on your deployment and say, threaten a flank and force your opponent to react.
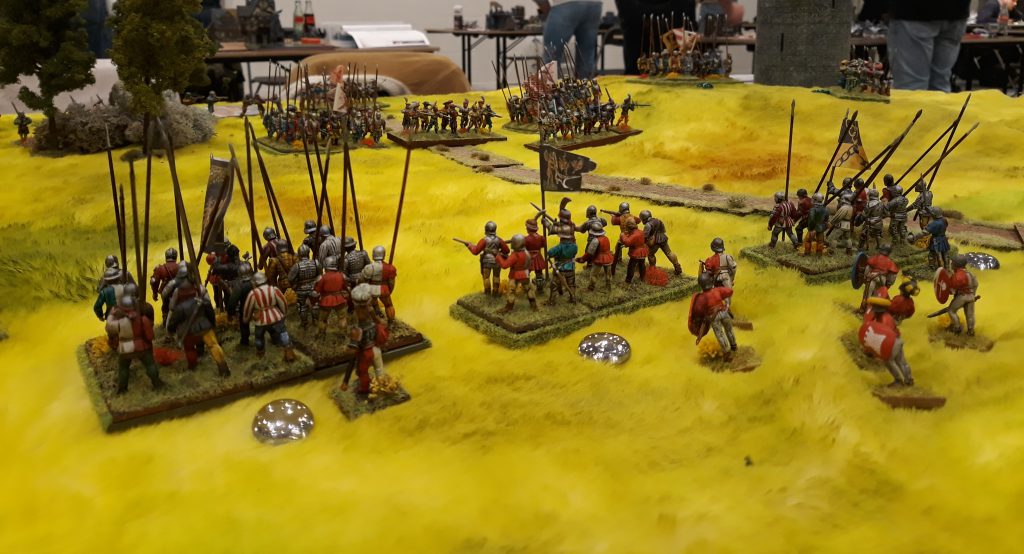
As soon as that happens, the Main Battle Phase starts. Activations will be carried out by drawing cards from a special deck. This is one caveat I will give: people who don’t enjoy a random element of activation best steer clear. When you build your army or warband, you must take leaders to give out orders so you can get stuff done. Every leader has their own card in the deck, and can give out orders according to rank. Since you’ve got leaders ranked from 1 (useless nobility) to 3 (more competent, but still nobility, so useless) you can give out a maximum of 3 orders in your 6” command radius. Card driven activations can mean that you do have a risk of watching your opponent go a few activations in sequence. When a leader gets killed in combat, you lose that activation too. But this does add a certain fog of war aspect where command and control is far from streamlined. Your skirmishers and artillery get a special card to activate them, and your leader won’t be able to direct them with orders.
When you get your leader card, the orders given out count for two activations. Once a unit has received and carried out those orders, they’re done for the turn, until the second-to-last card is drawn and the deck is reshuffled. In-game this means that certain units won’t be able to do what you want or your plan won’t be carried out exactly as you want. Every leader also has their own ward, and they can’t order a unit from another ward, unless it’s the commander-in-chief.
Orders are your basic move/charge, shoot, wheel, or about face. Cavalry can mount or dismount their horses, artillery can be limbered and moved about. There’s special actions for some units, and each period has some appropriate restrictions or extras added to spice it up. Cavalry can only charge or pursue twice per game, which is a nice touch and makes a charge (which can be devastating) all the more important.
So apart from these two things driving the game, the third is morale. At the start of the game, you get a morale token for every full unit (so not skirmishers). Units get Disarray tokens during melee or by doing difficult maneuvers. They may even get Daunted! This reflects morale crumbling and the chain of command collapsing. Disarrayed and Daunted units perform worse, get negative modifiers and, especially after they’ve lost some men, will have a harder time to keep their cool. The army morale tokens reflect the overall picture here, because every time one of your units is Daunted, flees or is routed, you have to hand one over from your stash. When you’re out of tokens you lose.
But keeping morale and your units Undaunted or in, err, array is pretty important. You need one action from an order to rally away a disarray token. Or two actions, so a whole order to get rid of the Daunted marker. Which also includes having a leader attached to that unit. These tokens pile up, and running away and having a cry about it is bad for your overall army morale because units must do their own test as well within a certain radius from Bad Things Happening. This adds another level of tension as you want to keep the amount of disarray under control. It can lead to a whole flank crumbling and legging it if you have some particularly unlucky rolls on battered units.
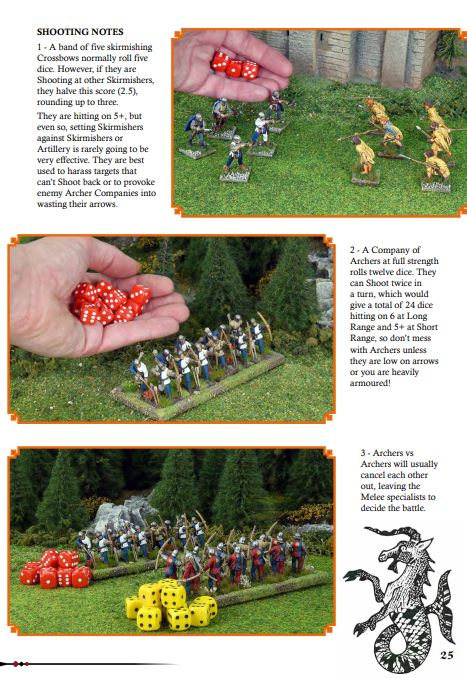
The shooting and melee orders are pretty standard fare really. Roll to hit, get a save if you’re lucky, melee feels swift and deadly. Do not charge your cavalry into a wall of pikes. There is the option to react for units being charged if they’re not caught off guard. If you have to use two actions to move into base contact, arquebusiers can shoot and evade behind a handy unit of halberdiers, pike units can form a hedgehog formation so they won’t get flanked, there are little options for all units that all feel appropriate. And speaking of flanking, charging into a flank is bad news for most units, and can easily make a unit run for it, which is Bad (see above). Positioning and making sure you don’t get out-maneuvered is critical.
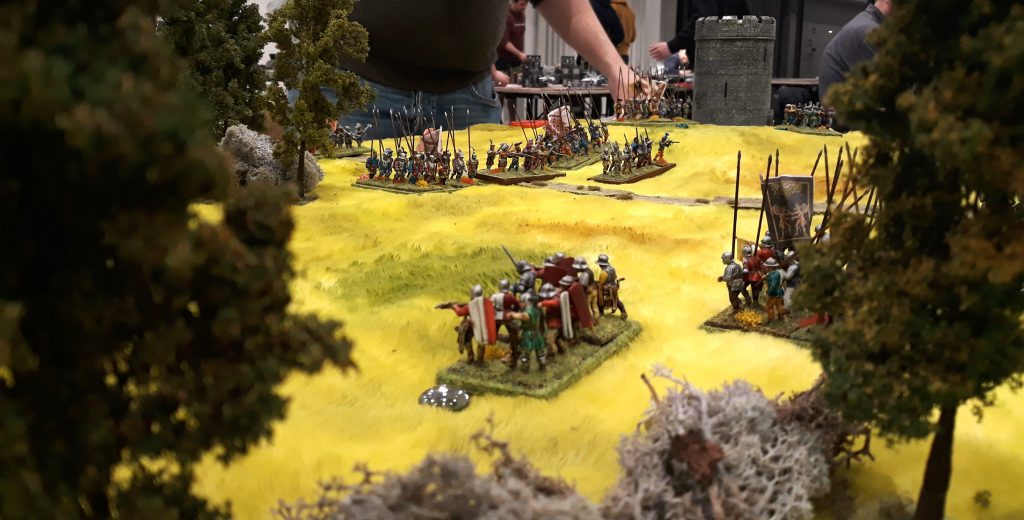
Leaders have some special rules, and have more than one wound (equivalent to their rating). If your army leader is killed/taken prisoner, you get to give up two army morale tokens. Other leaders are worth one. You won’t be able to single out leaders attached to a unit in melee, but there is a chance he’ll be captured if you have some good rolls. It won’t win you the battle, but it certainly will put a dent in your tokens and severely impact the effectiveness of giving out orders. There is an exception to that: if two units with the Commander-in-Chief attached get involved in a melee, they must duel. Refusing the duel means taking an immediate Morale Crisis Test. Dueling means playing three rounds of Rock, Paper Scissors, and losing means an immediate win for your opponent. This stands out a bit among the rest of the rules, but you can also roll off to see who wins. This does mean that there’s a chance the whole battle hinges on one roll!
Build me an army worthy of Manchester
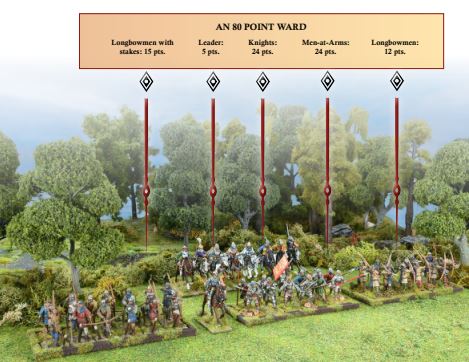
Painting and collecting an army for Billhooks deluxe is a nice little project. Every period has its own quirks when assembling your force, but apart from that, you can pretty much do what you like and collect to your heart’s content. A typical force consists of a couple of units of infantry, some cavalry and skirmishers. 100 points seems to be the “standard” size for armies, and with your basic infantryman costed at 1 point and cavalry costed at 3, you’re looking at about 70-100 models. Aside from some dice (lots of dice!) some sort of measuring implement, a table to play on and the book, you’re set. The card decks are available separately, but you can copy and print them yourself if you’re into that sort of thing. Suggested table size is 6×4, but if you’re playing at 100 points with 3 leaders, you can squeeze by with a 4×4. Command range dictates that most units will want to stick pretty close to their leader. You’ll be a bit hampered if you’ve got a lot of cavalry on a smaller table. I personally plan the armies at 120 points. This gives some extra room for the odd unit or some extra skirmishers. Playing with more than two is actually pretty easy by adding cards to the deck, but there will be more downtime. The models can be procured from the usual suspects, with Perry Miniatures in particular standing out for their affordable plastic boxed sets. With three boxes you’ve pretty much got all you need with some nice unit options.
How does it play out
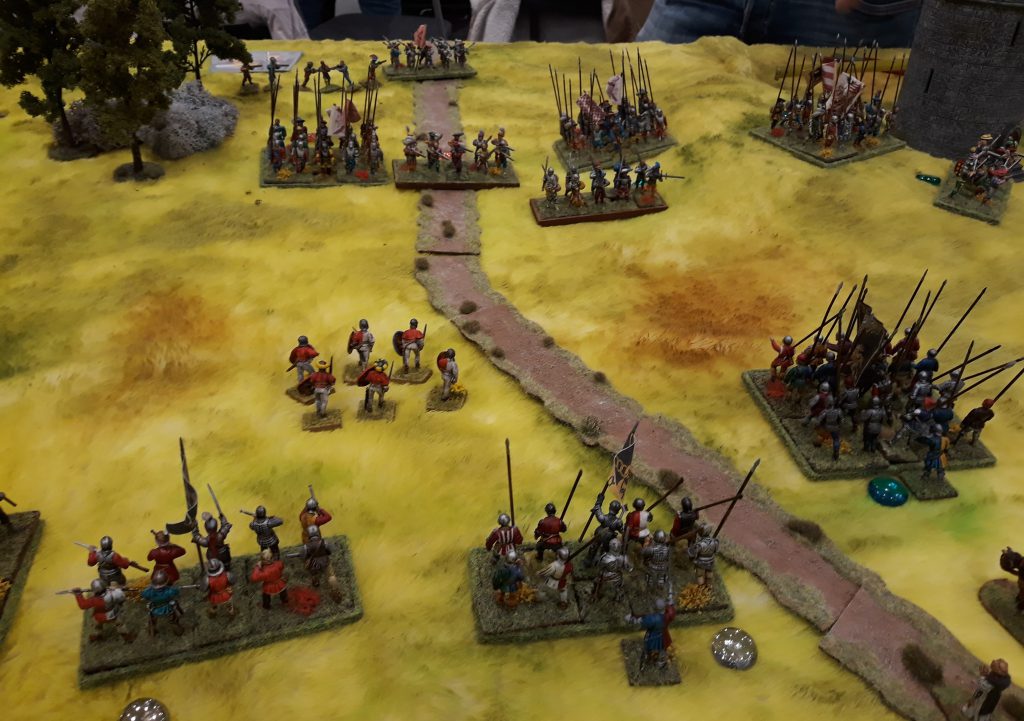
The straightforward nature of the rules combined with the card-based activation make for a fast game. It may sound like it’s a rather straightforward affair, but as Andy mentioned (and had not foreseen), there is a flow to your battles. The nature of movement and reactions make for a surprisingly tactical experience, and charging forward and hoping for the best will most likely end in defeat. Next to the activation cards, there is a deck of Bonus cards, which give out some sort of advantage, and can make you draw from a third deck with special events. You roll off for who gets a bonus card, so you can take back a bit of initiative if you’re lucky. There are also a couple of mentions in the book that there shouldn’t be squabbles over half an inch, and intent trumps true line of sight if you will. This does not mean measuring out stuff isn’t important, but being sensible in edge cases is encouraged.
What else is there
Next to tokens and cards to photocopy, there are three modeling guides included. They cover mini painting, modeling different markers and tokens, and kitbashing! The guides are nice and clear and give some direct inspiration. There’s a lot of love that went into the book and this is some nice and practical icing on the halberd-filled cake. You’ll also find some handy quick reference sheets for each period, rounding it all out nicely.
Conclusion
In case it’s not clear, this is a really good set of rules. The bar of entry is pretty low as the book provides everything you need and you won’t need a ton of models or hours of painting time to get games in. The selected periods have plenty of cheap affordable kits as well, so this is an excellent way to start out in historicals or, if you’re a gamer that already has a ton of appropriate models, try out a new ruleset that will see the table plenty of times.
More information on the Billhooks site
You can buy the book, card decks and tokens here at the Wargames Illustrated shop
If you want to get chatting with other Billhooks gamers or look at pretty pictures, you can join the Facebook group




![[40k] Competitive Innovations in 10th: Death Beckons pt.1](https://d1w82usnq70pt2.cloudfront.net/wp-content/uploads/2020/01/Analysis_Banner.png)
