Dip your toes into the Historicals pond for long enough and at some point your battle-weary troops will beg you to offload their blankets, frypans, kettles, and tents into the divisional baggage. Ignore them for too long and they’ll gather shock like it’s their job. As Sam Watkins details in the leadup to the Battle of Resaca in Company Aytch, supply wagons were contingent to their happiness.
Old Joe knows what he is up to. Every night we change our position. The morrow’s sun finds us face to face with the Yankee lines. The troops are in excellent spirits. Yonder are our “big guns,” our cavalry— Forrest and Wheeler—our sharpshooters, and here is our wagon and supply train, right in our midst. The private’s tread is light—his soul is happy.
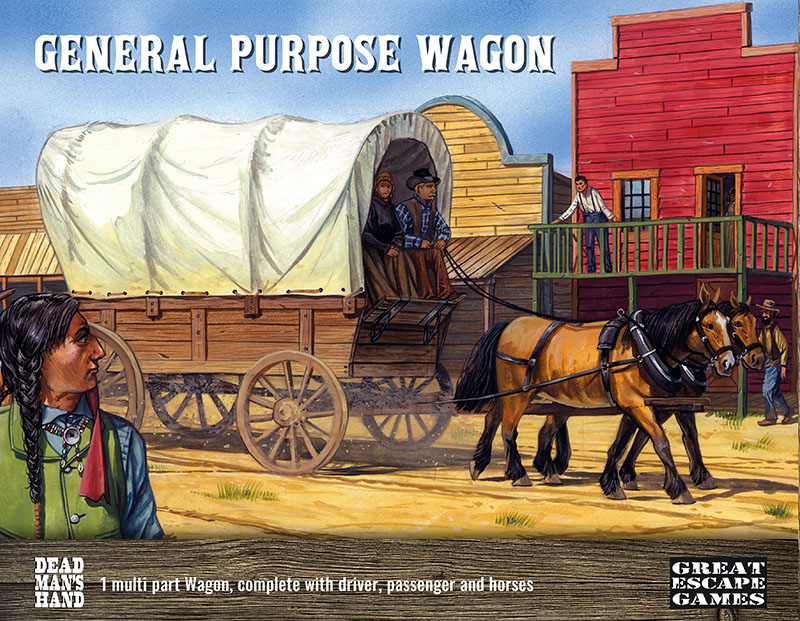
Why This Kit?
I’ve wanted a plastic wagon kit for years. I’ve ached for it. There are a few older pewter kits out there and some MDF ones, but they’re harder to get ahold of, not easy to transport, and chip like pewter does. Wagons are essential for the 1800s period as supply units, objective pieces, and terrain.
In Sharp Practice especially they’re important because you use them to resupply units when they run out of ammunition or water. They tend to stay back behind the forces (naturally) and move up when troops need them.
Having it in plastic means you can do a lot with it in terms of kitbashing. You can make the driver(s) from all kinds of different periods / settings with some torso / head swaps. You can leave the top off or make some broken axles for an objective or terrain piece.
The Components
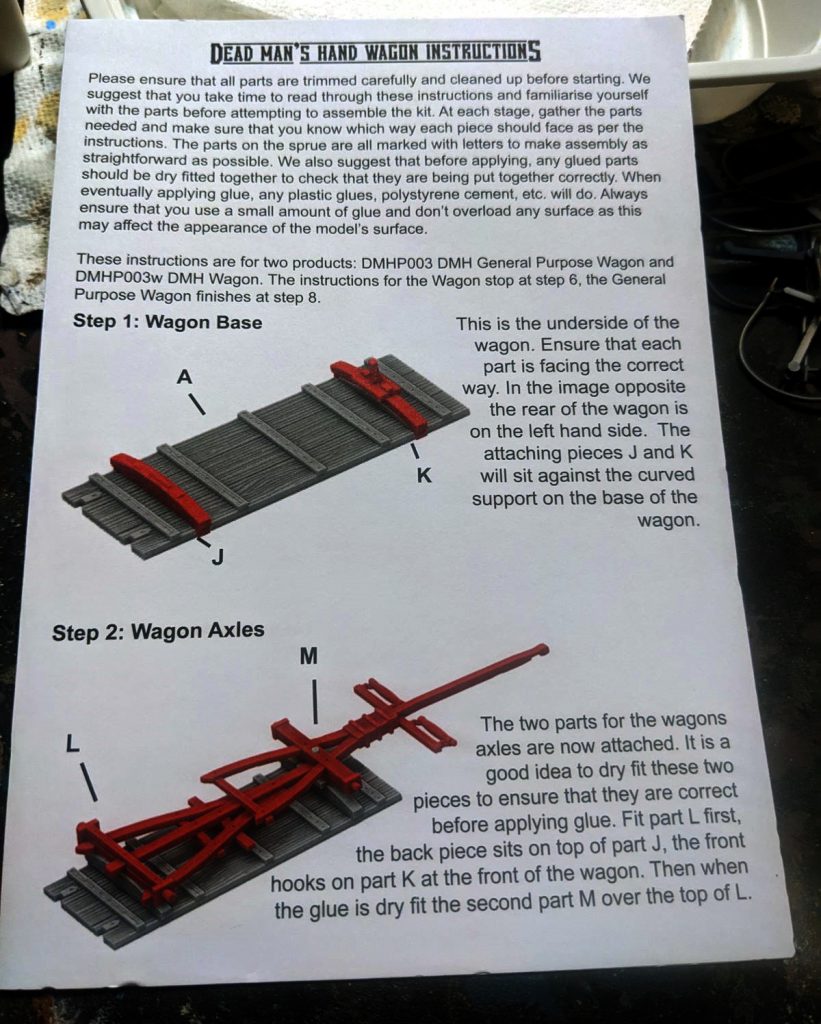
Included in the kit is a simple set of instructions on paper that show you how to put it together with parts labelled with different letters. While the kit is fairly easy to assemble it’s really nice to see how to put the undercarriage together, as it’s a little more difficult than the rest of it.
Giving points for instructions might sound odd if you’re coming from the GW environment, but a lot of the kits we buy for historicals or other indie games don’t come with instructions because it’s a way to save money and time for smaller companies.
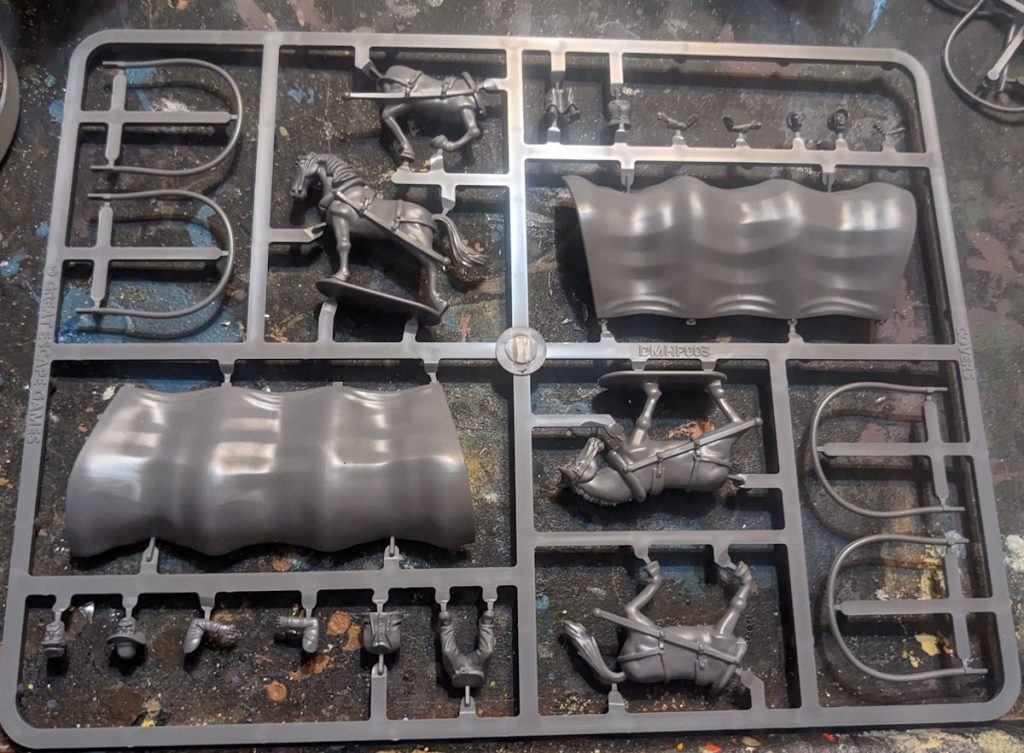
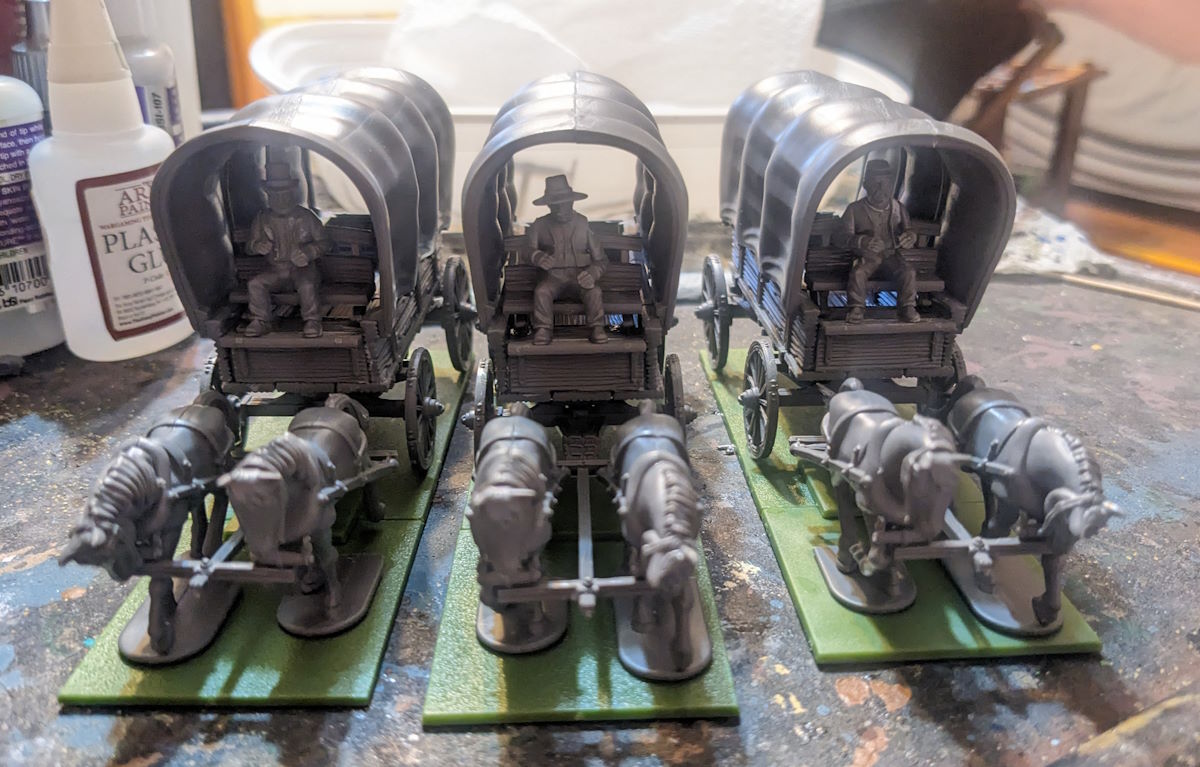
The sprues are hard plastic, crisp, clean, and well-detailed. The pieces are easy to identify to go along with the instructions. You can choose to have one male driver and one female, or just one of either. The models are pretty standard size so you could do a torso swap with any other GEG minis or pieces from other manufacturers. The heads included are mostly Wild West type.
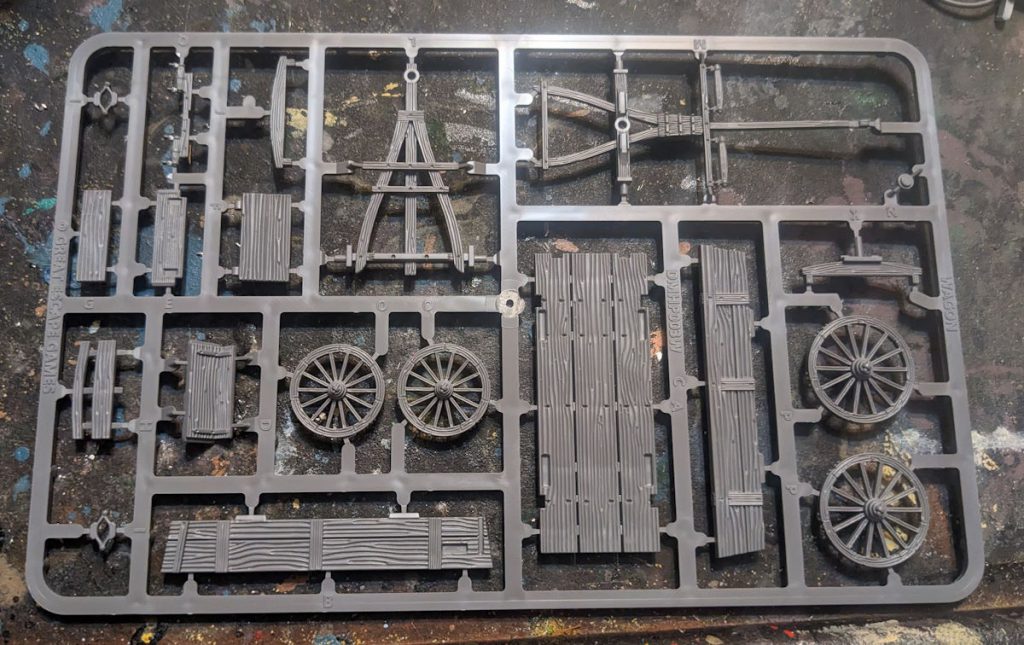
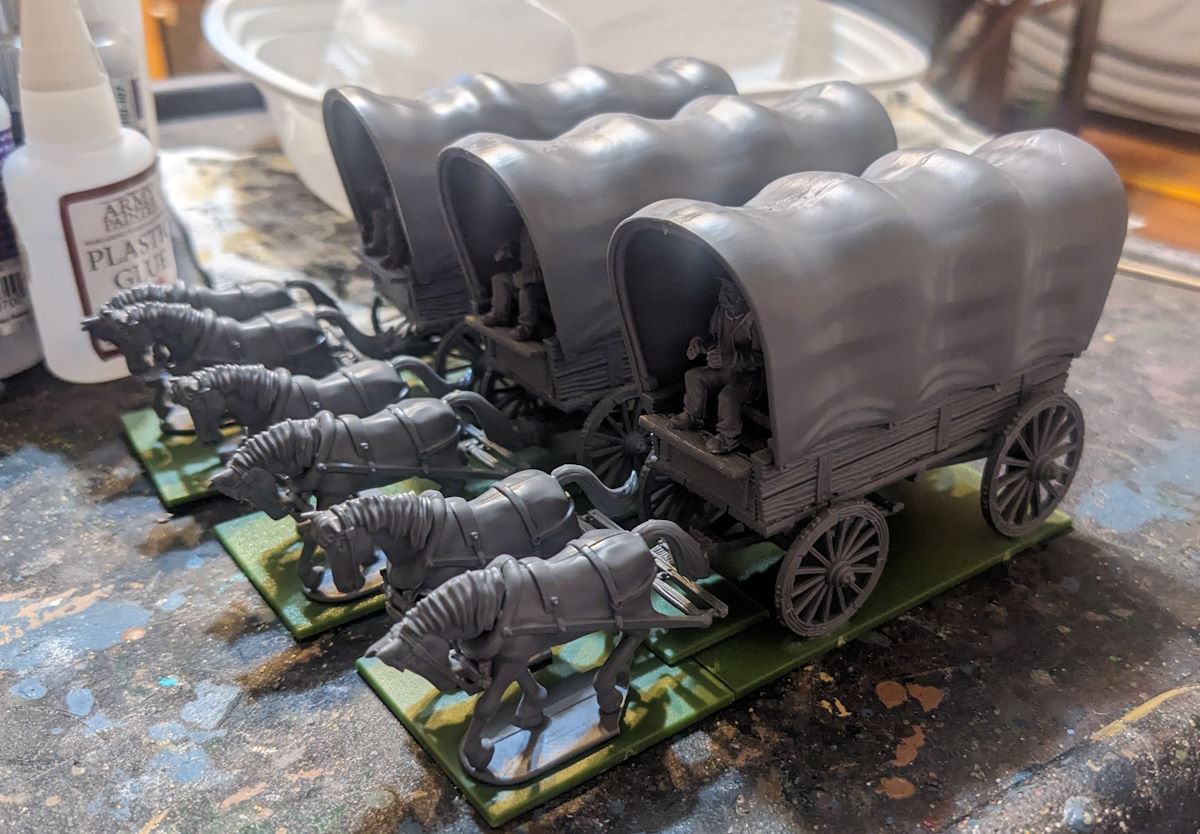
Take note that the kit doesn’t include any bases for the wagons, just little mini bases for the horses. I used some green Renedra plastic bases I had laying around, gluing them together to form one big base for each wagon.
One thing that I think is missing and would have been really nice to include would be supply bags, boxes, blankets, etc. Of course there are a ton of manufacturers for that kind of thing but I’d rather just get it all in one place. A nice insert piece that is shaped just for the ‘hull’ of this wagon would be great. You could paint it separately then glue it in.
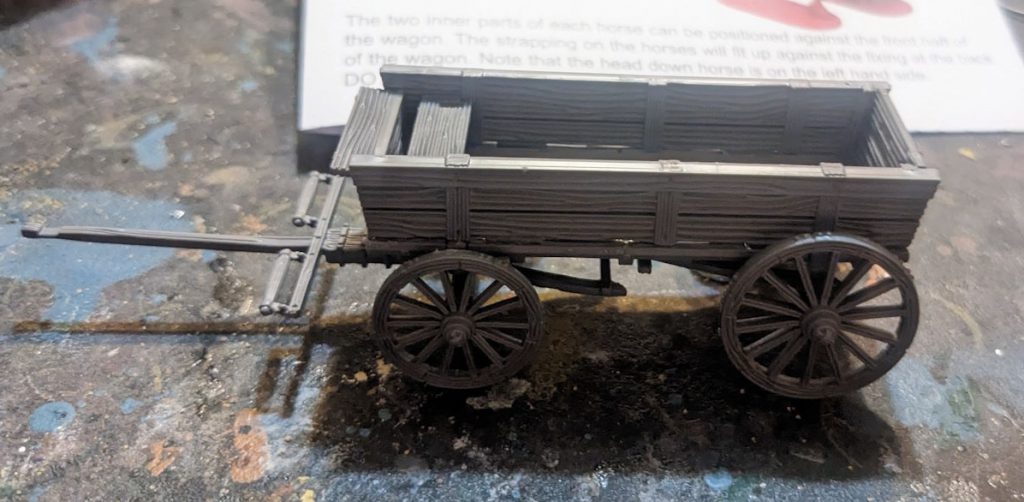
The wagons are scaled well, in my opinion. They’re not heavy resin, so will transport a little easier than some of the stuff I already have. Leaving the cover off will make it easier to transport if you’re inclined.
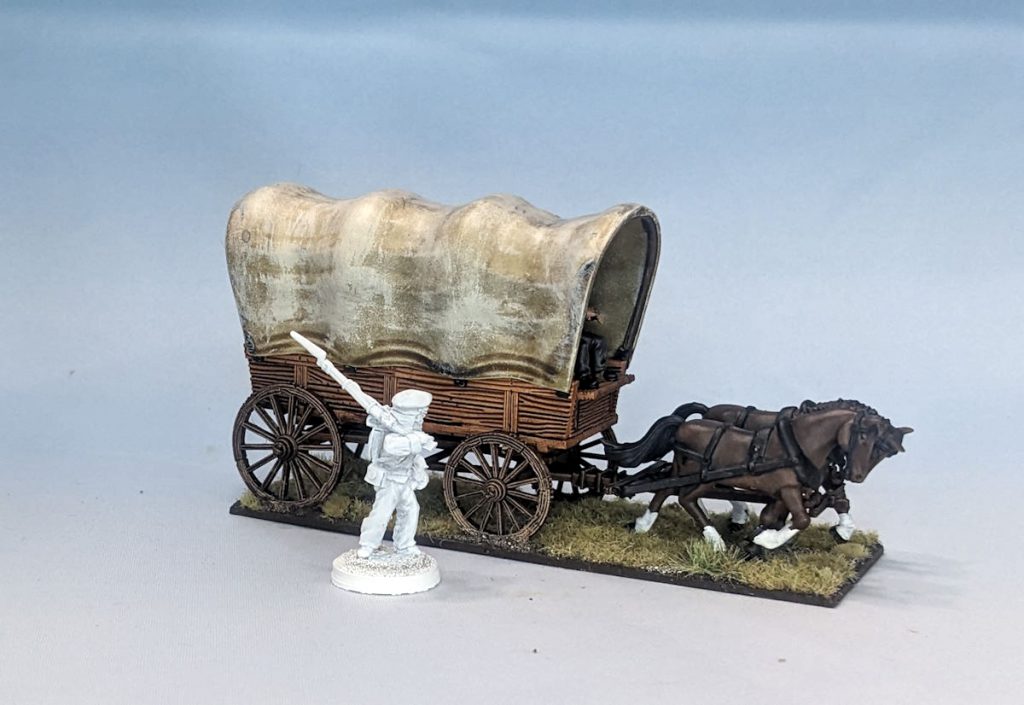
Assembly
Like I said above, the assembly for the wagon is fairly easy due to the included instructions. It’s also just not a terribly complicated kit. I recommend assembling the bottom, then gluing on the sideboards and wheels, then painting the wagon part. I glued on the drivers just because I hate painting stuff in sub-assemblies, but I think most painters aren’t as inpatient or neurotic as I am.
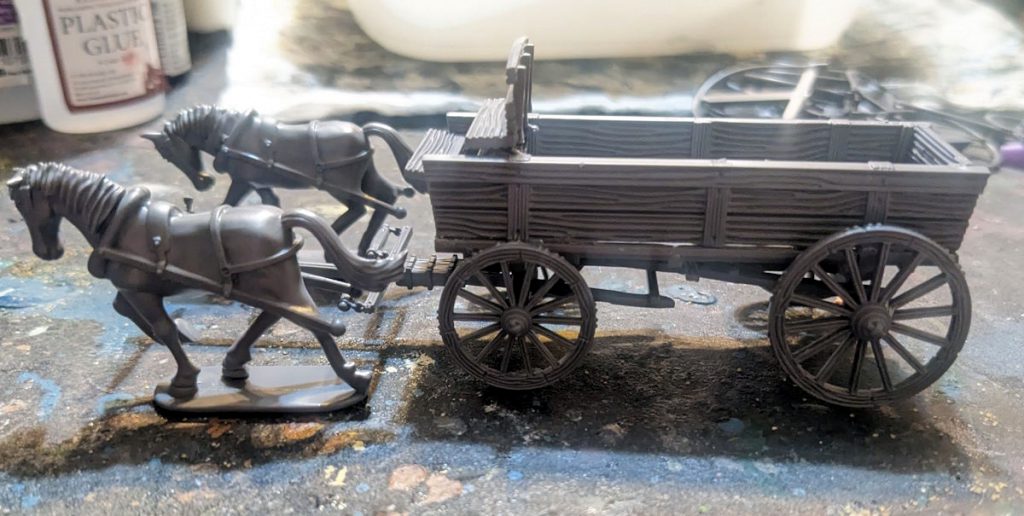
Definitely dry-fit the horses to make sure you’ve assembled right – there are little nubs to attach the main wagon and the front yoke to. You may have to move the yoke around a bit but it’s easy to glue into place later.
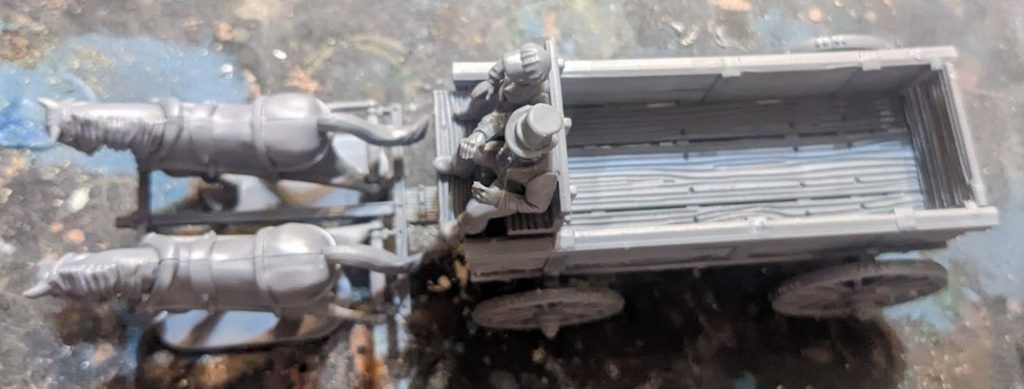
You can definitely dry-fit the driver too, but they’re fairly straight-forward to put in there and shouldn’t really require any extra finagling. If you’re using two drivers you definitely want to paint those separately.
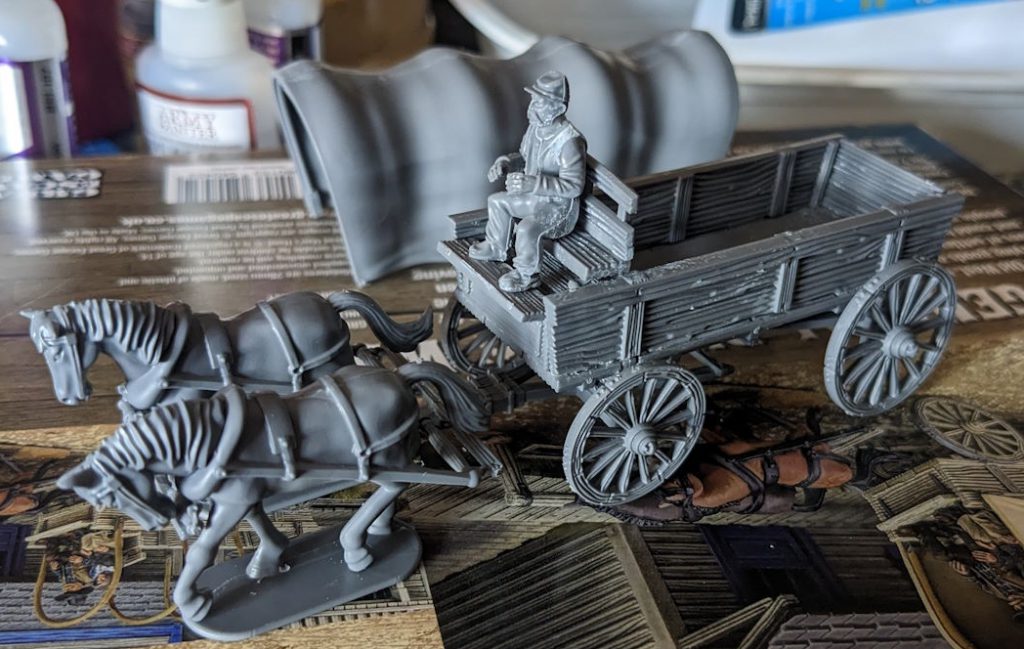
The mold lines are mostly prominent on the driver body as you can see in the image above. The horses have some too but the wagon body is mostly free of mold lines. There are some clip marks you’ll want to file up or smooth out on the wagon body.
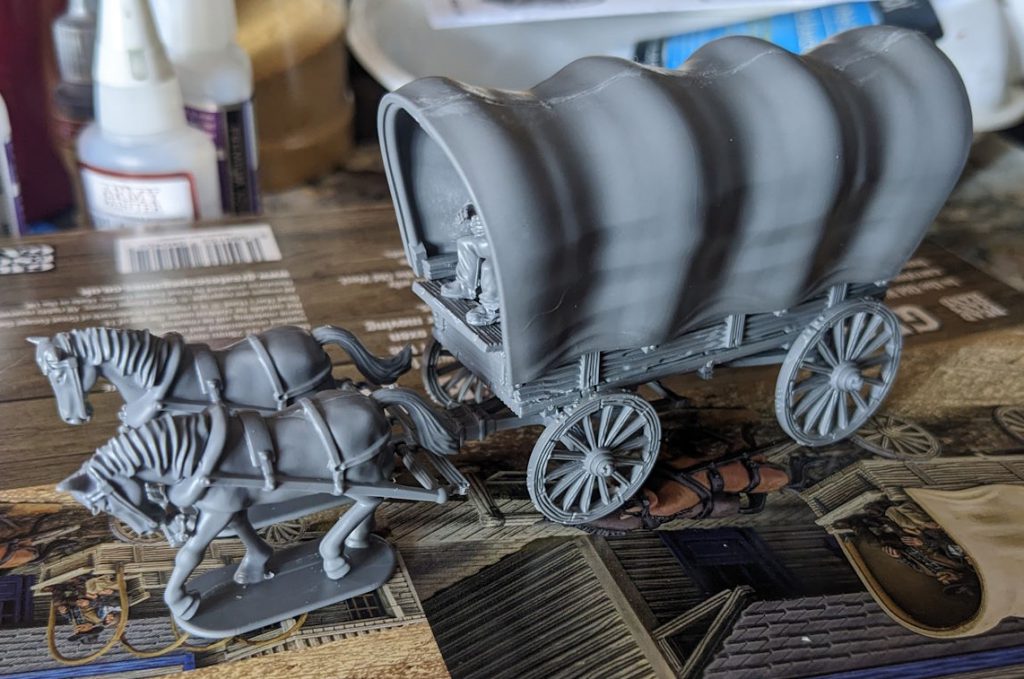
I’d recommend painting the wagon body before you glue on the covered top, if you’re planning on using it. This will allow you to get in there easily and paint the wood grain with whatever method you choose. You could actually just sit the cover on the model and it’ll mostly stay if you’re careful, but I chose to glue mine on when I was done painting.
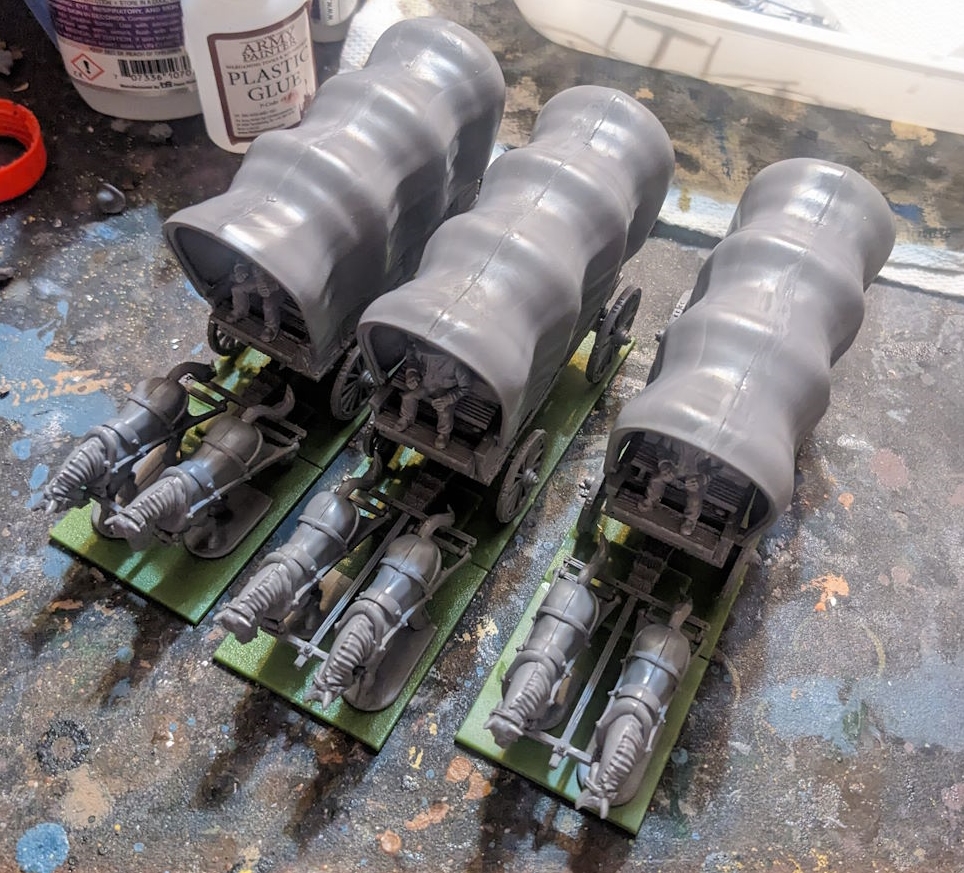
The one thing I didn’t do before priming and painting was smoothing out the seam on top of the wagon cover. It didn’t look bad before priming white but once I had primed it, it stuck out like a sore thumb. I filed it down and re-primed the area and then it looked fine.
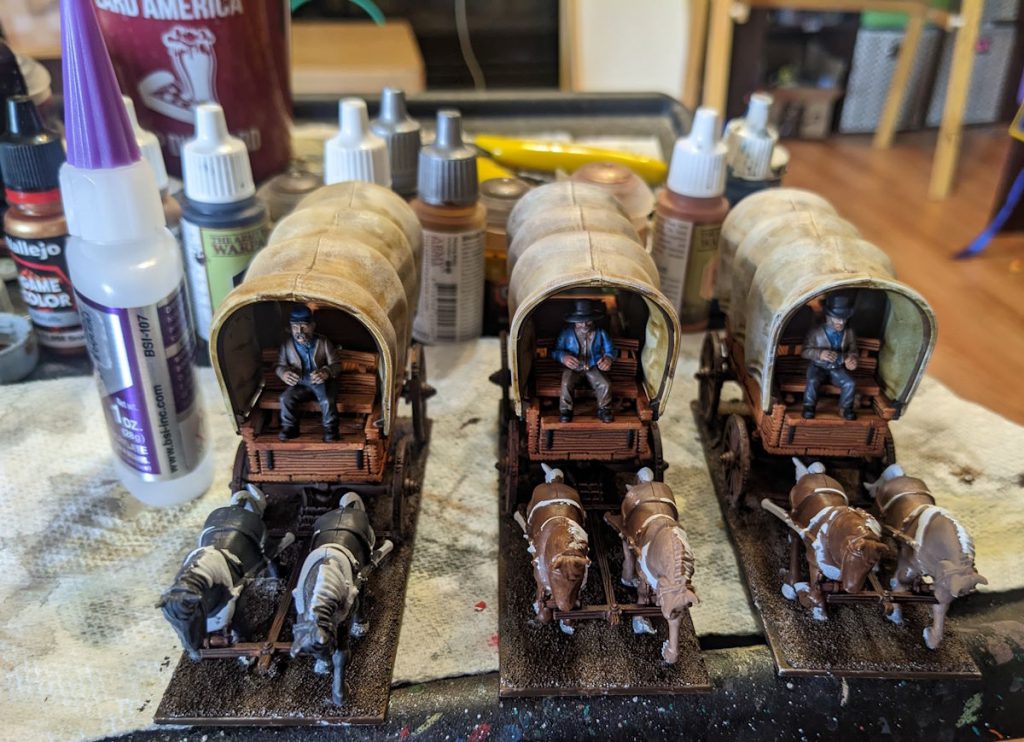
You can see in the above photo how the seams caught the contrast paint I was using on the wagon covers. I had to file, re-prime the areas with paint on primer, then re-paint.
Painting
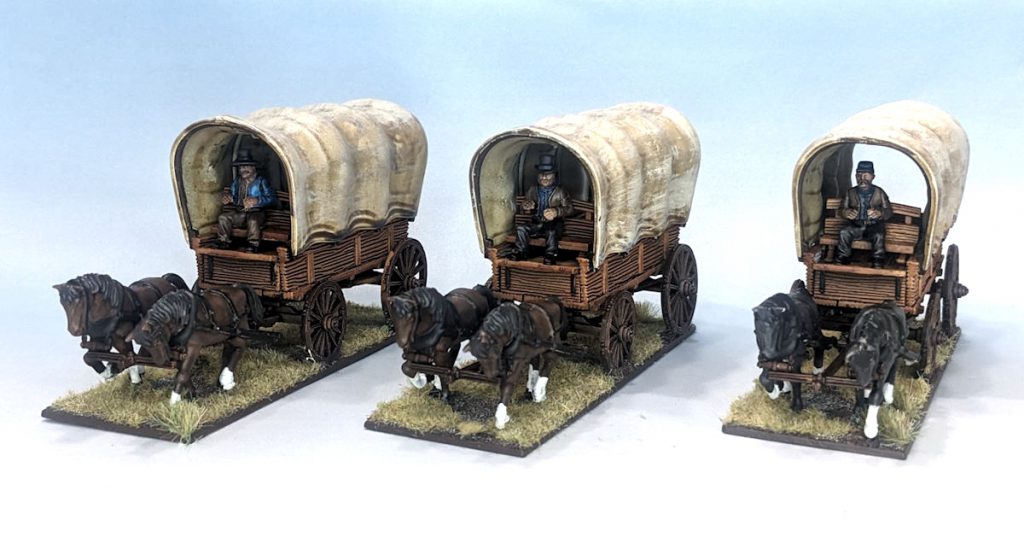
For the wagons I mostly used GW Contrast and Army Painter Speedpaints. For the wood I used AP Speedpaint Dark Wood. It turned out really nicely, sinking into the grain and making the wood really pop. I really like how deep the grain is on the boards – it makes it really easy to paint with contrast or just paint and drybrush. For the wagon cover I used GW Contrast Skeleton Horde. It turned out really nice, but I wanted to give them a bit of a worn, weathered look so I drybrushed them with a sand color from Vallejo.
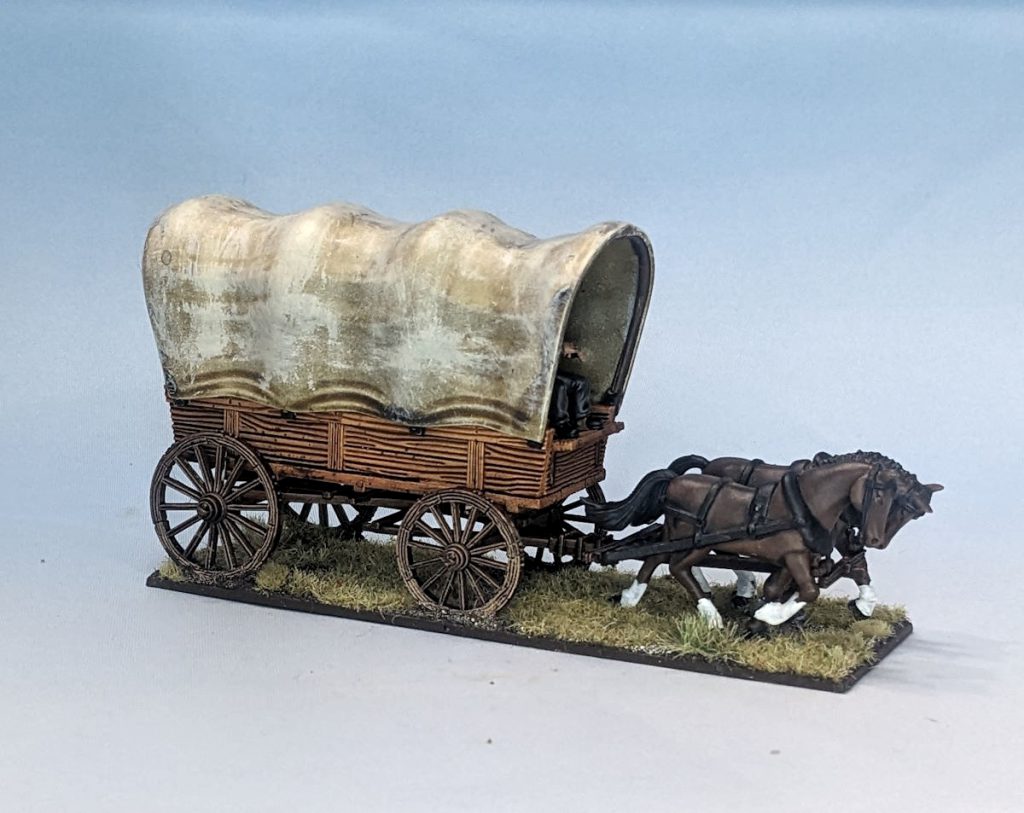
The drivers were painted using Coat D’arms paint and a variety of Vallejo colors in my usual 19th century method. Horses were painted with Coat D’arms, washed, then highlighted. I ended up cutting the bases off the horses because I had already put basing material down on the plastic bases and it would make the horses look taller, so I took them off.
Thoughts
Overall I really like these kits. I bought three of them so I could have one for each side of a game I’m playing and an extra for Wild West. At $28 I feel like they’re fairly priced for what you get. I would like to have seen a base included, and maybe some supplies, but they’re not entirely necessary.
If I had to give the kit a rating, I’d give it an 8 wagons west out of 10. They’re solid and a welcome addition to any 19th century game board.
If you have any feedback, comments, or suggestions for our Historical content you can leave a message below, or drop us a line directly at contact@goonhammer.com.
