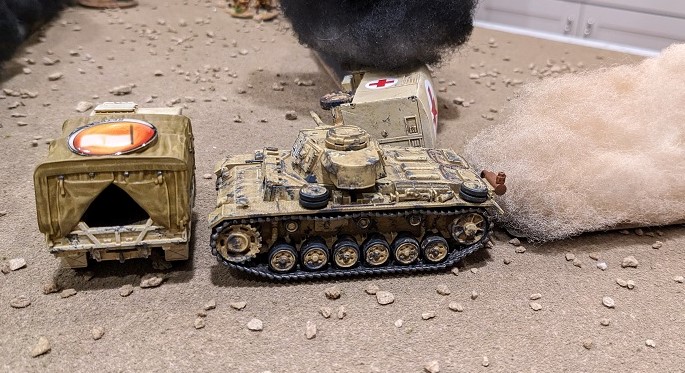
This week we continue our play-through of the “Totensonntag” Pint-Sized Campaign for Chain of Command. Previous episodes can be found here:
Part 1: Introduction to “Totensonntag”
Part 2: Let the Battle Begin!
Part 3: A Delaying Action
The previous scenario saw the German panzers drive deeper into the South African formation, with the B Echelon units and a few hastily re-oriented anti-tank guns doing little to slow down the armored onslaught. The Germans have expanded their Victory Point lead to 13-7, though that is to be expected early in the campaign. Let’s see if that trend continues.
The Mission
This time the scenario is “Flank Attack,” which is the 5th scenario from the core Chain of Command rulebook. In it, the attacker has two sets of patrol markers that operate independently and enter from two different board edges. Further, the attacker gets a variable number of “free moves” at the beginning of the phase. The attacker’s mission objective is simple: reduce the defender’s Force Morale to zero while keeping their own to at least 3 or more.
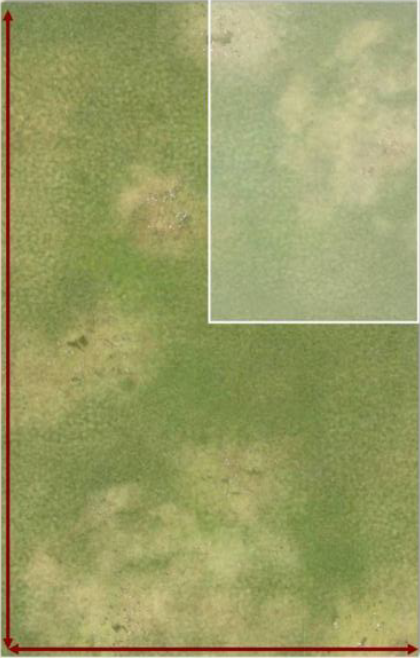
There is a little bit of ambiguity with the map for this mission in that the defender’s initial zone for the placement of their patrol markers is one quarter of the table, but it doesn’t necessarily indicate which quarter. Due to the directionality of the battle (with the Germans generally proceeding south to north) and the nature of the fleeing objective vehicles (which are always trying to flee eastward towards the relative safety of Egypt), table orientation matters. For instance, is the north-south axis of the board along the table or across it?
Turning to the impartial arbiter of random chance, I flip a coin to determine which way the game will be played, and whether the defender will begin in the northeast or northwest quadrant. Both come up in the South Africans’ favor, with the game being played along the long board axis and with the South Africans starting in the northeast quadrant. This will (likely) once again prevent the Germans from getting a JOP on the eastern board edge, where it would be easier to intercept fleeing vehicles.
And as it turns out, the axis of the 8th Panzer Regiment’s advance was just a little west of south, so this result is by happy accident more historically accurate.
Setup
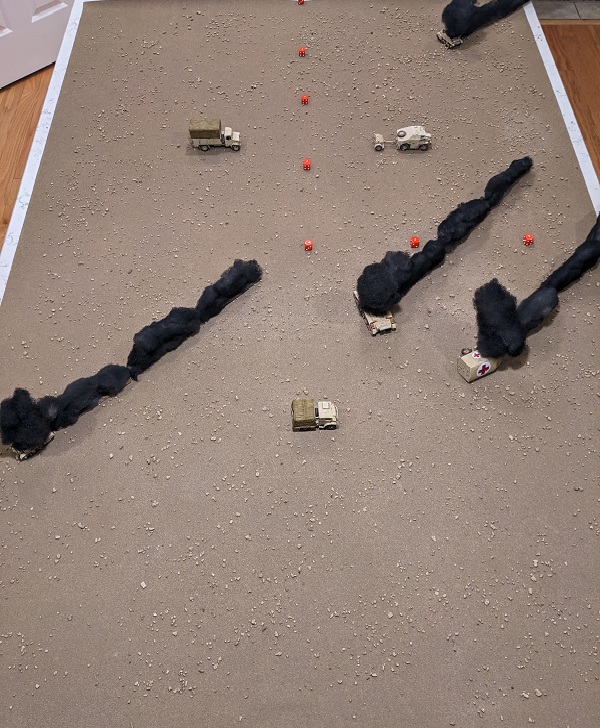
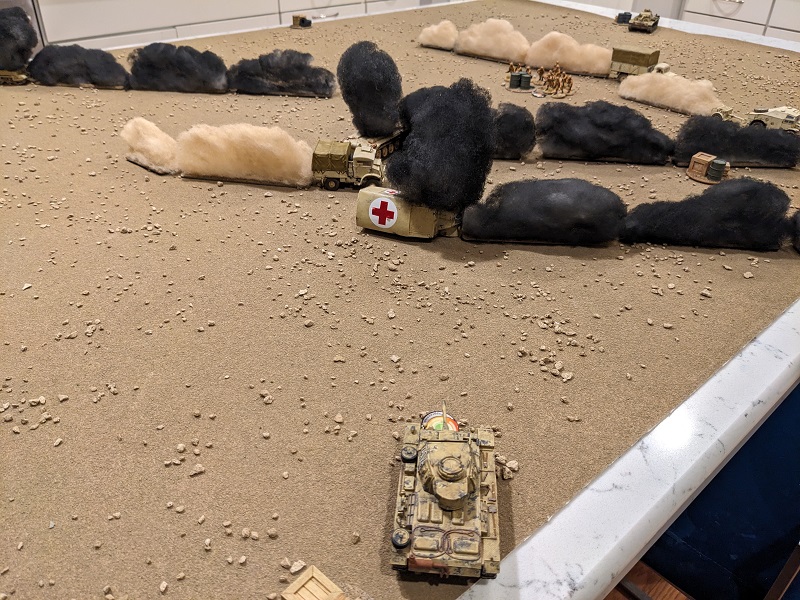
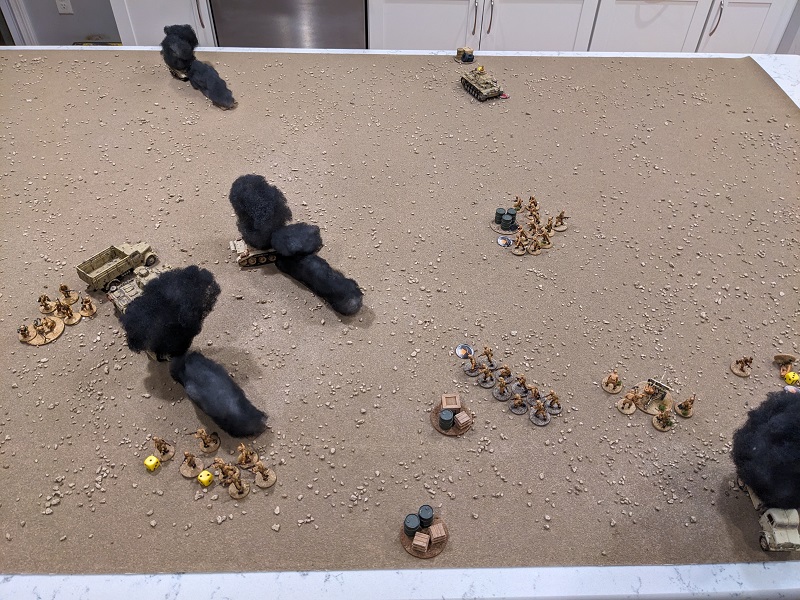
Per the campaign rules, on every odd Campaign Turn an additional burning vehicle is added to the table during setup. This means that for this game we’ll start with 4 flaming wrecks on the table, which in turn means more smoke plumes obscuring the table. This represents the German forces pushing through the wake of their own destructive advance, and can be both a curse and a blessing. Rolling for wind direction I again get a 2, which gives us winds blowing from southwest to northeast. Remarkably consistent.
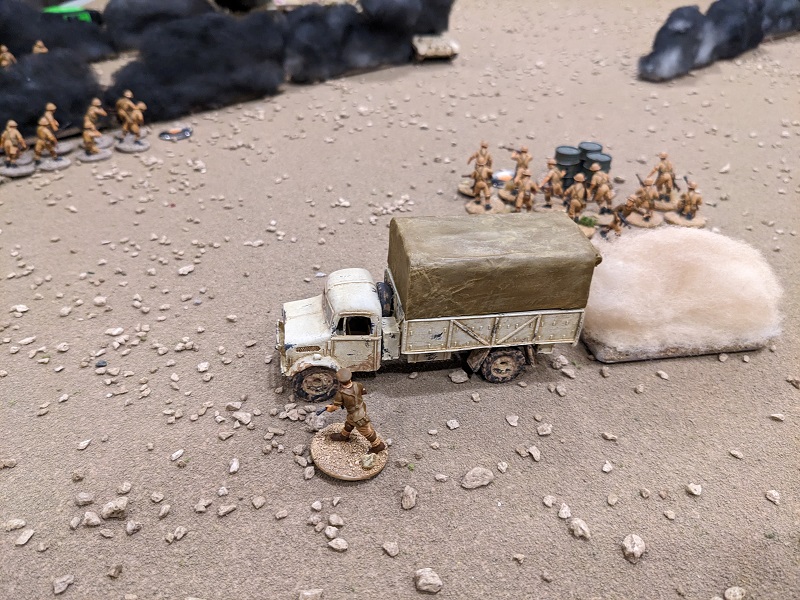
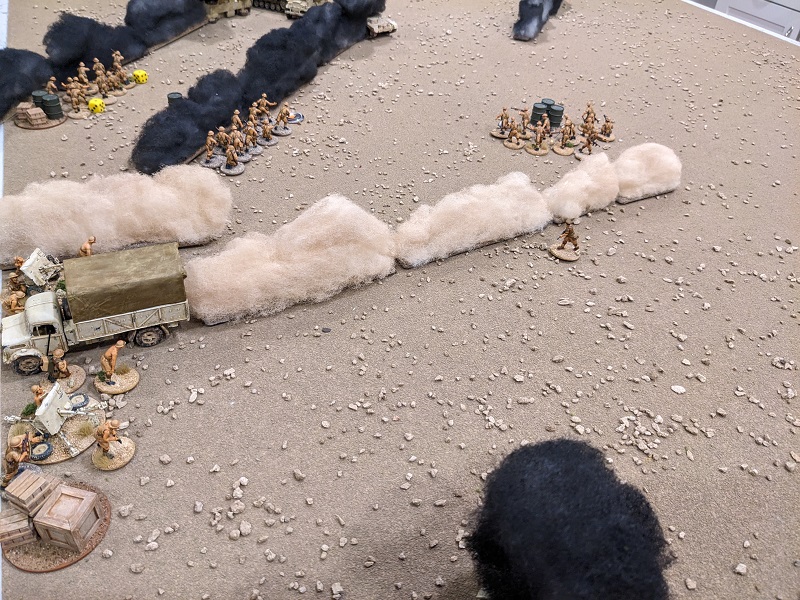
Rolling for the character of the objective support vehicles, I get two troop transports and a supply truck/water bowser (pretend the trailer behind the Morris is not an artillery limber but rather a towed water-tank). This is something of a dud for the Germans, as these are relatively low-value if captured. At least there are no ambulances. After the positions of all the setup elements are randomized, the table is ready:
Choosing Supports
In the last few reports I talked about choosing supports prior to setup, but really it’s best to consider the table before choosing supports. As things start to get more cluttered, this can make a big difference.
The German CO’s positive opinion of young Hans Krauss will give the Germans an additional point of support, for a total of 13. But as the panzers outpace their infantry, any infantry based supports are going to be two points more expensive than their original cost. That means they’re paying a whopping 7 points for a regular Schützen squad, plus two more for their required Opel transport. Given the relatively small number of Victory Points available in objective vehicles this scenario, I feel like the Germans need to secure as many as possible to preserve their lead in VP, which in turn means going with the full squad. But that only leaves 4 points remaining. I’d love to take an Adjutant again, but that doesn’t leave the Germans enough points for anything decent for additional useful armor (the Pz IB is only 3 points but only has 2 Armor and doesn’t have any high-explosive capabilities). I think I’ll have to risk leaving Krauss off the table for as long as possible – especially if the South Africans take a pre-game barrage – and bring the trusty Pz II C. That gives the Germans:
- A Regular Schützen infantry squad with Junior Leader (5+2 = 7 points)
- An Opel Blitz transport truck (2 points)
- A Panzer IIC (4 points)
For the South Africans, this campaign turn sees the amount of support increase to 6 points. There is no denying that the pre-game barrage has been a huge impediment to the Germans in the first two scenarios, and this is actually the last table on which the South Africans’ last can take it. But I think another approach might be better, and that’s to let the Germans bring on as many tanks as they want such that they can be damaged or destroyed. Taking two 2-lb AT guns would give the South Africans significant firepower – especially if they are deployed close enough together to be activated by a Senior Leader upgraded from green to regular (which will keep the Germans from being able to focus fire on him – presumably because an officer of the combat arms is smart enough to duck incoming fire). With a single point remaining, I think it’s also worth upgrading the 2″ mortar team, as they are super useful and that’s another Command Die of 1 that’s not lost to the “Enforced Deployment” campaign rule. Thus, the South Africans take:
- A 2-lb anti-tank gun with 5 crew and Junior Leader (2 points)
- A 2-lb anti-tank gun with 5 crew and Junior Leader (2 points)
- Permanently upgrade one Team, Section, or Senior Leader from Green to Regular (the 2″ mortar team, 1 point)
- Permanently upgrade one Team, Section, or Senior Leader from Green to Regular (the Platoon Lieutenant, 1 point)
This is a pretty big risk, but if the South Africans can get their AT guns firing early and often, their chances of sticking it to the panzers increases substantially. The (relatively) open center section of the board will also give some nice lines of fire, making double-AT-guns a more attractive strategy.
Force Morale
The combination of the German tankers’ feeling flush at suffering negligible casualties and their young platoon leader’s infectious confidence (time will tell if this is simply naive optimism) gives that side a +2 to its Force Morale roll. This brings my 3 to a 5, which gives the Germans a starting Force Morale value of 10. The -1 resulting from the growing sense of doom and gloom on the South African side drops their roll by -1 (5 down to a 4) which gives them a starting Force Morale of 9.
The Patrol Phase
In this scenario, the defender places 3 markers in their quadrant. As the South Africans I want to place these a little farther back, as the attackers will get some free moves and I didn’t want to get my markers locked down too early.
The attackers get two sets of 3 markers, and when it is their turn to move they may move a marker from either group (but not both at the same time). For this mission I am using the German markers going from the South and the Italian Markers coming from the west (I needed more markers and had Italian ones handy, but on the day of the battle the Italian Ariete Division anchored the western flank of the combined Axis formation). As the Germans, my roll gives me three free moves, which I spent advancing the German markers up along the eastern table edge from the south. With the higher Force Morale, the Germans then went first, which I used to advance one of the Italian markers from the west.
Aside: I messed up a little bit here – the attacker’s groups should have 3 markers each, not 4. But as we shall see in a moment, it didn’t end up being an issue.
Obviously needing to respond to the Germans, I started moving the South African markers to the southeast, and in two moves locked the most advanced German marker in such a way as to push any resulting JOP pretty far down along the eastern edge. But it is here that I realized I’d made a terrible decision in my initial placement of the South African markers – I had placed them just a little too close to the western edge of the quadrant, and was able to lock the northernmost one with an Italian marker. With markers locked on both ends, there was no where for the middle marker to go (your markers generally need to stay in an unbroken chain with all markers within 12″ of at least one other friendly marker). I was pinned! Ultimately, that meant that the Germans could make a leisurely stroll around so long as they stayed out of lock range of that pinned middle marker. With no ability to get any further up the eastern board edge with the German markers, I decided to make an end-around to the north with the Italian markers, which would allow the Germans to get a JOP on the northern (!) board edge! This isn’t a flank attack, it’s an encirclement!
When I realized that I should only have had three markers in each German group, I ignored the Italian marker that had moved furthest east, placing the German JOP on the northern board edge much farther to the west as a result. This seemed like a fair compromise. I didn’t need to do anything in the south because one of the German markers down there never actually moved away from the board edge. The attacker can place up to four JOPs, but I felt like I had sufficient diversity with three.
The one thing going for the South Africans in this scenario is that after all of their normal JOPs are placed, the defenders have the option to place a 4th JOP anywhere in their original quadrant. This obviates the need to place the JOP in cover, which allowed me to place one very near the center of the table. This has the benefit of giving great lines of sight and the ability to deploy a Senior Leader where he can immediately get the water bowser and the northernmost transport truck moving.
The Battle
This game was again played solo. I’ll still report the Command Dice rolled in each phase, but I’m going to add some more narrative to what is happening. And of course I’ll talk through my decision-making process for the key moments (i.e. when all of the choices available to me are bad ones!). With the higher Force Morale, play starts with the German side.
Turn 1, Phase 1 (German): 55422 – Ugh. It seems the Germans are destined to have shitty opening phases in every game! This roll only allows me to deploy Krauss’ command tank (which, without an adjutant, is a terrible idea) or my soft-skinned Opel transport full of dudes (which is an even worse idea). At least I get a couple of pips towards a Chain of Command die. I opt to do nothing and play passes to the South Africans.
Turn 1, Phase 2 (South African): 54431 – Almost immediately the South Africans’ decisions regarding support choices pays off. With this roll I am forced to deploy just a single squad and a single Senior Leader (in this case the B Echelon Platoon Sergeant). Placing both from that 4th JOP near the middle of the table, the quartermaster sergeant gets the water bowser and one of the transports moving immediately (moving 7″ and 15″ respectively). Since both the Boys AT Rifle team and 2″ mortar team have been upgraded to regular and the 1 can’t be combined with anything else in this hand of dice to do Enforced Deployment, I am able to spend the 1 on the other transport, which speeds 9″ forward, ducking between smoke plumes for safety. Finally, I can pass on the other 4, opting not to place the upgraded Lieutenant and holding him reserve for a better opportunity.
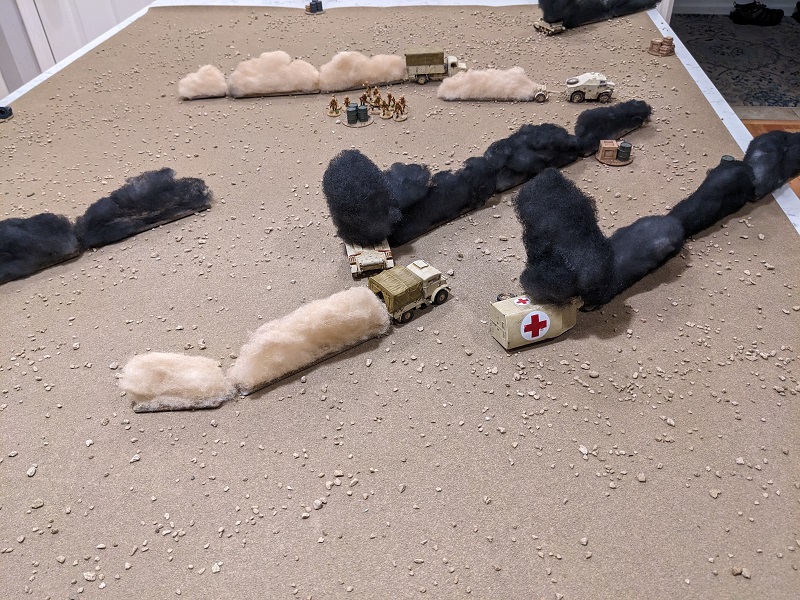
Turn 1, Phase 3 (German): 43111 – Without an Adjutant I can’t really risk deploying Krauss so early, so the 4 is useless to me here. But the 3 and three ones (which get added together to another 3) let me deploy two tanks. And I don’t even have to roll to get them through a barrage this time! Berndt Ehrenreich’s #4 panzer comes on from the JOP to the southeast, with both the main gun and the hull-mounted MG placed on overwatch. Meanwhile, Jürgen Lendt’s panzer rumbles onto the table from the north. Never one for subtlety, both MGs chatter at 1st Section near the middle of the table. Fortunately for them, the obscuring dust means no hits are generated.

Turn 1, Phase 4 (South African): 66421 – And this was the opportunity the South Africans were waiting for, a double phase! Enforced deployment means I need to use the 2 to deploy 2nd Section, which I place tucked behind the smoke at the southernmost JOP along the eastern table edge. Knowing the South Africans will have the next phase, the 1 is spent deploying the #1 2-lb AT gun and taking a shot at Lendt’s exposed Panzer – and it’s a critical hit! That’s 3 extra dice for armor penetration. Even with a lackluster roll, the South African gunners manage 2 net hits and knock out the main gun! Better still, a main gun KO triggers a roll on the “Bad Things Happen” table and the German Force Morale drops two points to an 8. Finally, the upgraded Lieutenant deploys and exhorts the water bowser to keep moving. It travels a whopping 15″ and escapes to safety!
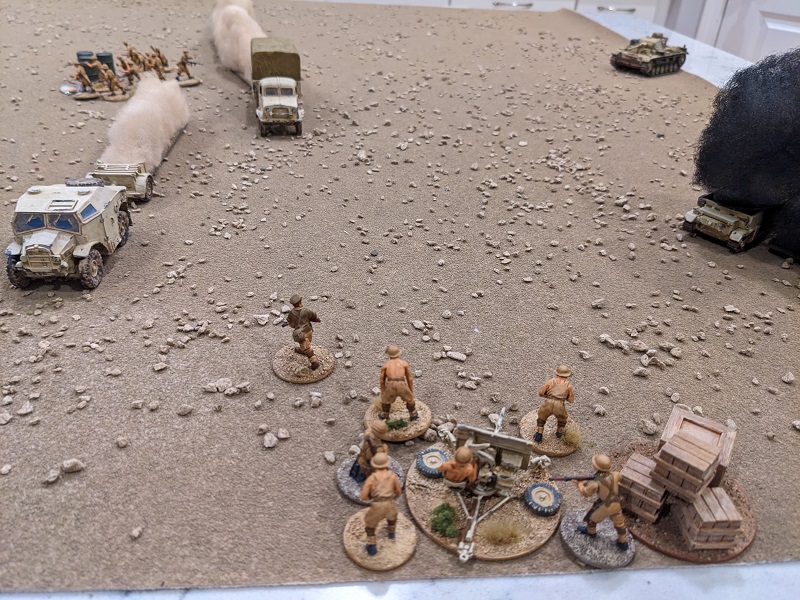
With his #1 gun set up and firing, Lieutenant Robert “Bruce” Campbell of the 3rd Transvaal Scottish Regiment’s anti-tank company turned his attention to the B Echelon vehicles still milling around what was rapidly becoming a heated battlefield. From his current position near a Morris Quad towing a water bowser, Campbell was close enough to see the look of confusion on the driver’s face. With a calm born of endless months spent convoying men and equipment thousands of miles across Africa, Campbell gave the requisite arm motions to the shell-shocked driver – probably the poor man’s first time under fire. Thankfully, the driver’s training took over, and the vehicle accelerated swiftly, heading east and away from the oncoming German tanks. Now, to get the crew of that #2 gun sorted…
Turn 1, Phase 5 (South African): 6631 – Even better, a triple phase! 3rd Section deploys tactically, which brings an end to Enforced Deployment.
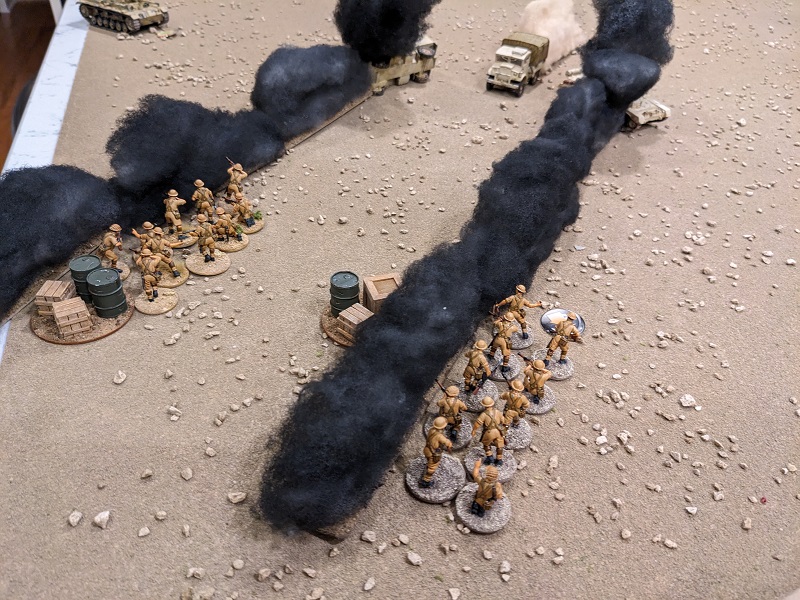
Here I face a difficult decision – I could use the 1 to move the southernmost transport, but I can also use it to deploy the South Africans’ second 2-lb AT gun. Knowing I’ll get another phase after this one, I risk deploying the gun (increasing my chances of being able to get in two shots next phase as well). I need to make a roll here because the South Africans no longer have a Senior Leader off the table directing traffic, but the roll is a success. The #2 gun is also on target, generating a point of Shock on the tank and panicking the driver (who can’t be activated in the next German phase).
Turn 1, Phase 6 (South African): 611 – Eyeballing the distance between Ehrenreich’s panzer and the southern transport truck (and knowing that if I try to move it it will trigger Ehrenreich’s overwatch), I decide to spend both 1s on the pair of AT guns in an effort to curb-stomp Lendt’s panzer. The #1 gun misses (snake eyes!) but the #2 gun is right on target. Hitting the weak spot on the turret glacis plate made by the previous shot that took out the main gun, this round enters the turret and kills the gunner. The fountain of gore inside the turret adds a further 2 Shock to the crew – one more and they will bail out!

Turn 1, Phase 7 (German): 65531 – Oof. 3 points towards a Chain of Command Die, but I can only activate one tank. Do I activate Lendt and have him rally his extremely rattled crew, or do I play the objectives? Nothing is certain, but I decide to leave Lendt to fend for himself and activate Ehrenreich’s tank. The portly unteroffizier yelled into the intercom at his driver: “Schnell! Mach Schnell! Gerade-aus!” Punching it and going flat out, Ehrenreich’s tank surges forward a whopping 19″, which easily brings it close enough to force the surrender of the southern transport truck. I made a cheeky mistake here and also fired Ehrenreich’s co-axial MG at 2nd Section (as the tank was now past the smoke plume), something that I shouldn’t have done after moving flat out. But the shot generated just a point of Shock on each of the section’s Bren and rifle teams and as it turned out, this Shock would be rallied off in the next South African phase, so no harm no foul.

Turn 1, Phase 8 (South African): 44321 – The #1 AT gun fired again, this time putting another two Shock on the crew. This was more than they could bear, and they un-assed their tank in a hurry. German Force Morale dropped another two points to 6!
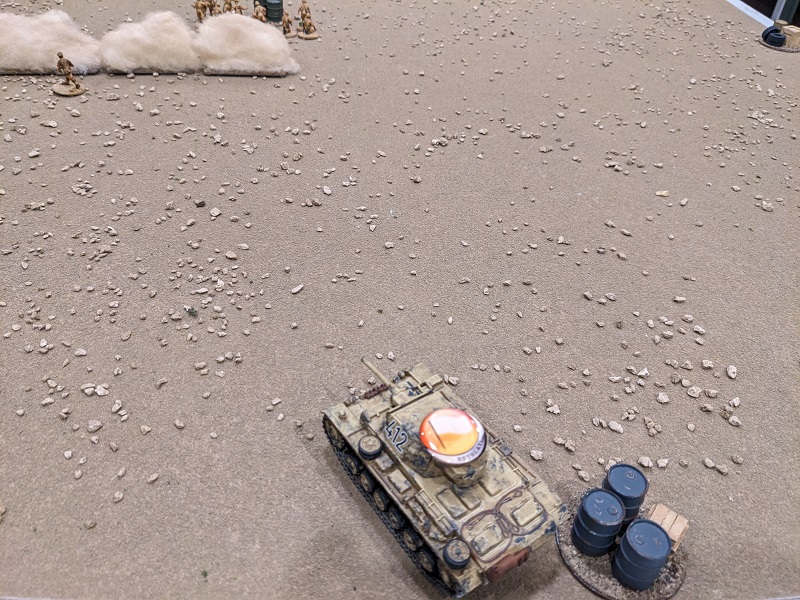
Lieutenant Campbell ordered the #2 gun to keep firing – the campaign rules allow the Germans to re-crew tanks between scenarios if they are not destroyed – but the shot has no effect. He then raced towards the northern transport truck and got it moving again. Speeding 15″ it was just barely short of the table edge!
Lieutenant Campbell looked on with pride as the men of his unit began putting shot after shot into the nearby German Pz III G. At least two holes were plainly visible in the turret, and while the vehicle was not yet on fire he could already see the Jerry crew tumbling out of the tank in an almost comic fashion. Still, he exhorted his men to keep firing at the now-empty panzer – the Germans of the Afrika Korps were fiendishly good at repairing tanks in the field, and if they did manage to survive the day today he didn’t want to find himself facing the same tank again tomorrow.
Turn 1, Phase 9 (German): 65432 – Things were rapidly spiraling out of control for the Germans, so swift action needed to be taken. The 2 was used to bring on the Schützen infantry squad in their Opel transport, moving on in the wake of Ehrenreich’s tank.
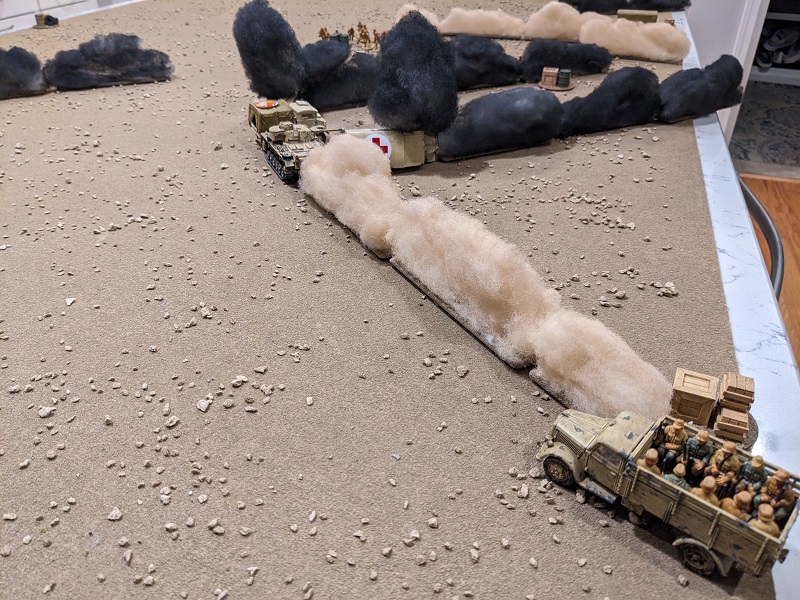
The 3 was used to bring on the Panzer II C, which immediately brassed up the fleeing transport truck with its 20mm autocannon. The shot was brutally effective, but while the vehicle was destroyed and caught fire, it did not explode. This was good news for the South Africans, because it was literally sitting right between the two AT gun crews. The bad news was that the wreckage and resulting smoke now blocked line-of-sight for both guns. Finally, the 4 was used to bring on Leutnant Krauss and his command tank. The hull gunner engaged 1st Section to no effect, but Krauss himself recognized a lone officer when he saw one – training the co-axial MG on Lieutenant Campbell, the Leutnant let rip. The canny Campbell ducked just in time, and emerged from the hail of fire unscathed.
Aside: With no Adjutant and no off-board Senior Leader, the Germans now need to make a roll (4+ on a D6) every time they want to bring on a new unit. Putting Krauss on the table now is risky, but his radio is invaluable.
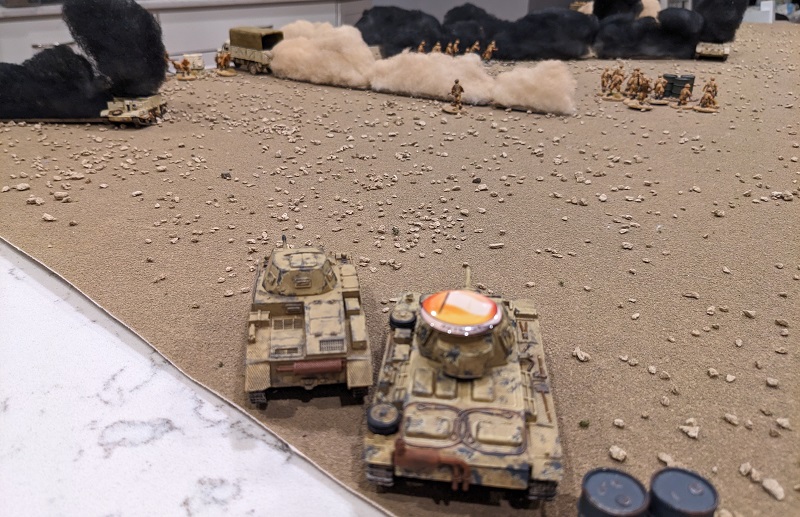
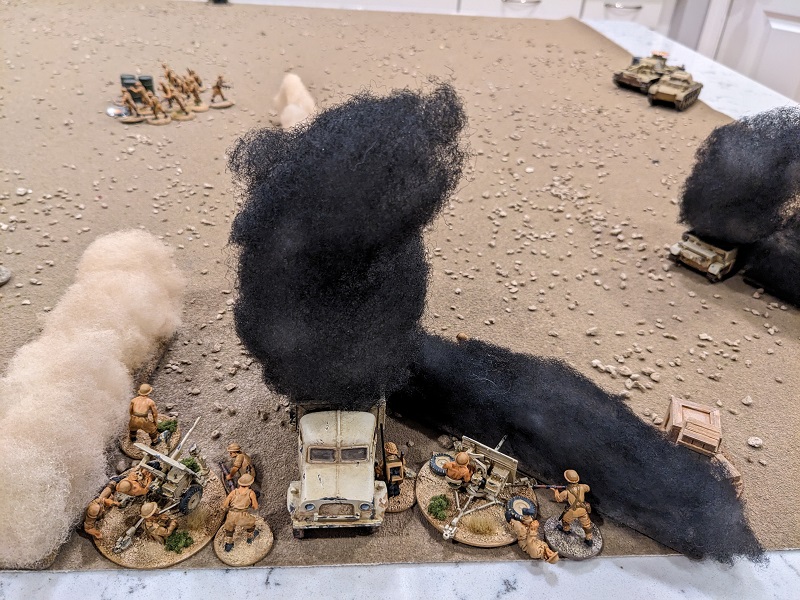
Turn 1, Phase 10 (South African): 65544 – Not a great roll, but Campbell makes the most of it. Immediately assessing the situation, he races back towards the #1 AT gun, and while his movement isn’t enough to join that unit, it does both guns within his Command Radius, i.e. close enough to spend a CI on each gun under his command and have their crews advance the guns out of the smoke (7″ and 8″ respectively). This brings the #1 gun within 4″ of Campbell, which allows him to attach himself to the unit (thus protecting him from getting singled out by the trigger-happy Krauss again).
Aside: There’s a great WW2 training video for the 2-lb AT gun on YouTube. The whole video is like 30 minutes long, but this section illustrates how the crew can pack up the gun, attach the wheels, and go from firing to moving in a little over 40 seconds. It’s wild, and is a great illustration of why these guns can be moved during the course of a game. With that kind of mobility, I treat them as “light” guns, which can move 2D6″ (but cannot fire in a phase in which they move).
With not much else to do with the quartermaster sergeant, I pass on the other 4 and play goes over to the Germans.
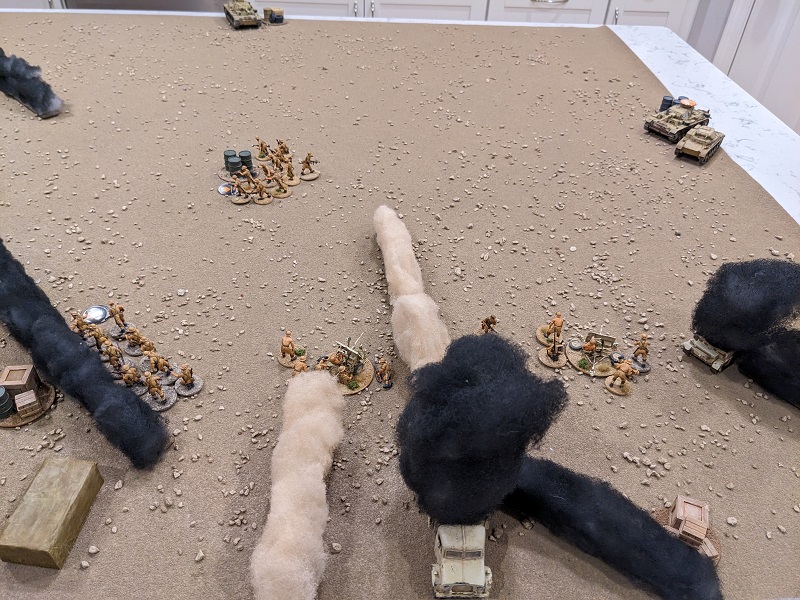
Turn 1, Phase 11 (German): 65433 – This is a great roll for the Germans right now. One 3 is used to get the Opel moving. It races 9″ forward, using the dust trail of Ehrenreich’s panzer to screen itself from the nearby hostile infantry. Meahwhile, Krauss gets his driver advancing slowly while his gunner unloads on the #1 AT gun with an HE shell. The round is somewhat off-target, and only inflicts a single point of Shock. By radio he tells Ehrenreich to blast 2nd Section with his co-ax, killing both loaders in the Bren team and putting 2 Shock on the rifle team. Finally, the Pz II C unloads on the #1 AT gun as well. This fire is viciously accurate, killing 3 men. Miraculously, no leaders are hit.
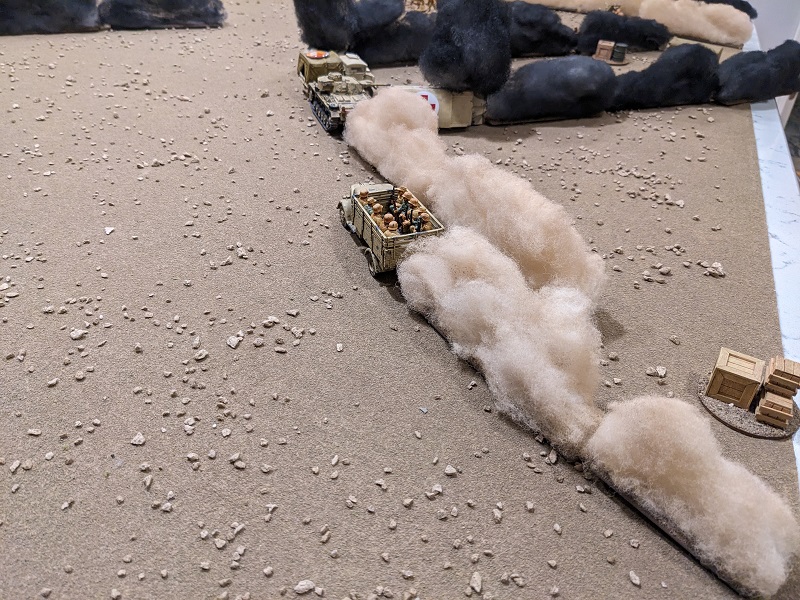
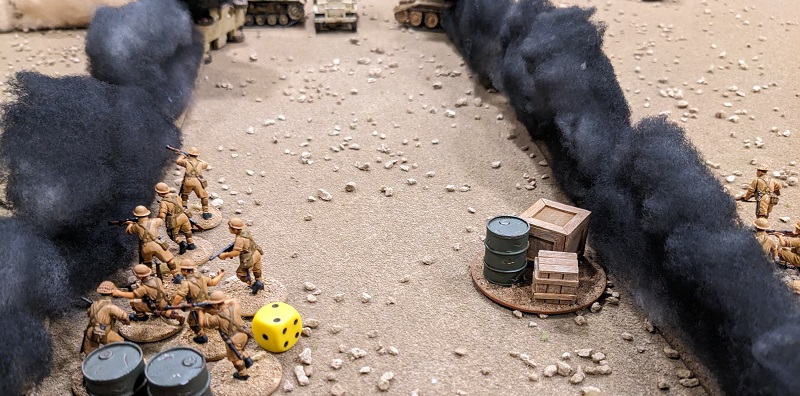
Turn 1, Phase 12 (South African): 66641 – Another double phase, this time accompanied by an end-of-Turn! Lt. Campbell wasted no time getting both of his 2-lb AT guns to fire at the new threats that had just appeared. The #1 gun scored a hit against the Pz II C. The shot didn’t penetrate, but it certainly got the crew’s attention (halt and engage firer in next phase). Sighting through the dust trail left by the ill-fated water bowser’s passage, the #2 gun barely missed the same target. Finally, the South African Boys AT Rifle was successfully able to deploy, though in the crew’s haste to bring the heavy-caliber rifle into action against the Pz II C they missed the shot.

At the end-of-Turn, an eerie momentary calm settled over the battlefield. Dust clouds settled back to the ground and a short-lived breeze thinned the plumes of smoke.

Turn 2, Phase 1 (South African): 5522 – Adding the 2s together to activate Lt. Campbell, he spent a CI on each of the three AT assets in his immediate vicinity, all firing at the Pz II C (with its cover-reducing 20mm autocannon making it the highest priority target at present). The #1 gun completely missed its mark (snake-eyes again!), but the #2 gun scored a hit. Now the Pz II C crew had two targets that it needed to engage before being able to move again! Finally, the Boys AT Rifle scored a hit, but elicited no effect. Compared to the deadly solid shot blasting out of those 2-lb guns, the AT Rifle was apparently just noise at this point.
Turn 2, Phase 2 (German): 64321 – With all of the dust trails being cleared at the end of the turn, the Opel was no longer as well screened as it had been previously. As such, the Opel sped forward, tucking in right next to Ehrenreich’s Pz III. This put it in a good position to be able to effect a capture next phase. Meanwhile, Leutnant Krauss was on the radio telling the Pz II C gunner to shoot (satisfying one of its two mandatory engagement requirements). The 20mm autocannon barked out a long burst, this time knocking the leader of the gun crew unconscious and putting 3 Shock on the remaining crew. This pinned them, which was bad news. Finally, he ordered his own driver to advance and his gunner to send more HE at the now vulnerable enemy gun crew. Unfortunately the advancing tank struck an inopportune rock, which jostled the gun just as the round was fired and caused the explosive shell to sail harmlessly over the enemy’s heads.
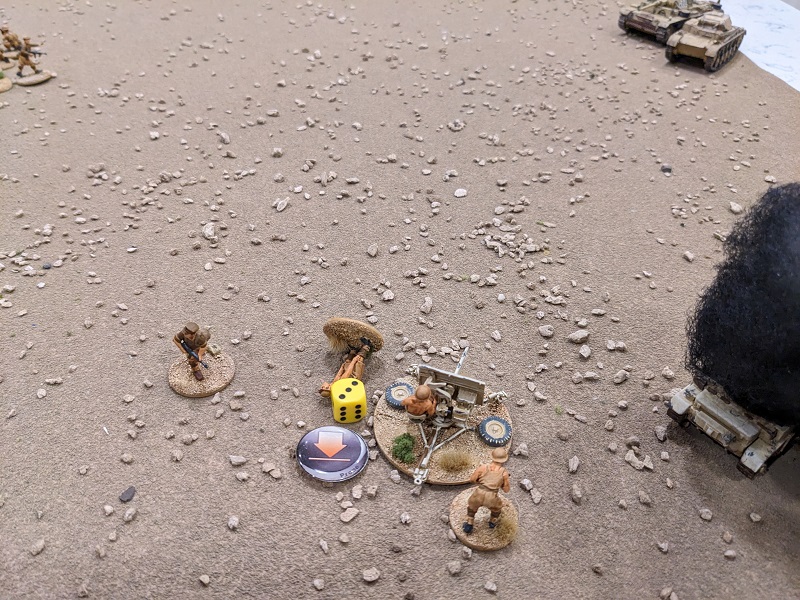
Turn 2, Phase 3 (South African): 65431 – Lt. Campbell once again flashed into action, rallying 2 Shock off the #1 gun crew (though they were still pinned). He also directed the crew of the #2 gun to continue firing at the Pz II C. This time the hit saw the driver panic and reverse off the table in a cloud of dust! This would hopefully give the #1 crew a moment to collect their wits. Remembering how effective close-range gunfire against a soft-skin transport had been in the first mission, the lance corporal of 2nd Section had his men advance, transferring one of the riflemen to act as an assistant gunner on the Bren in the process. They didn’t have line-of-sight around Ehrenreich’s tank just yet, but hopefully they’d soon be in a position to disrupt the enemy infantry.
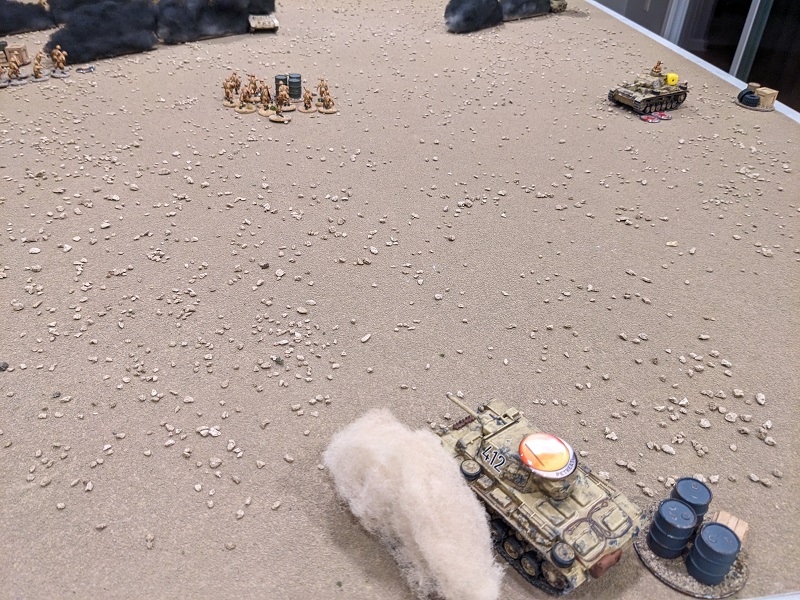
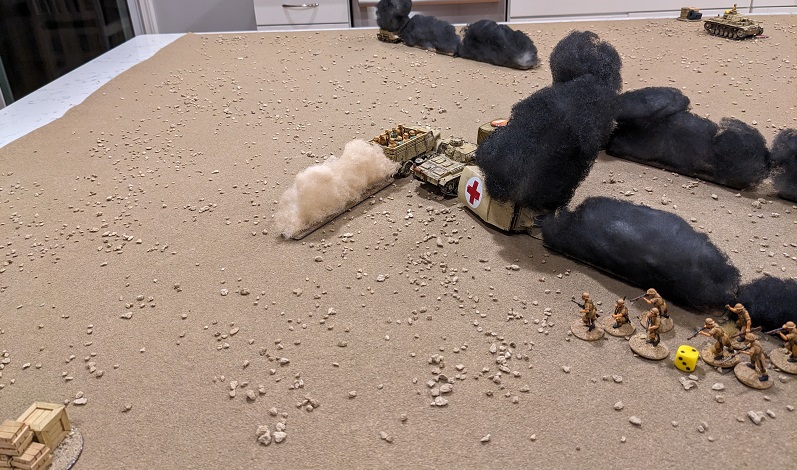
Meanwhile…
The son of a Boer War veteran who’d chosen to remain in South Africa, James Macrae had spent his youth hunting springbok in the savannahs of South Africa, his best kill coming at just over 900 yards. Joining up with the 3rd Transvaal Scottish at the commencement of hostilities, he was a natural on the Boys AT Rifle and had honed his skills over the last year shooting at Italian tanks in East Africa. The German Panzer III approaching from the west was a hell of a lot closer than 900 yards and a damned sight bigger than a springbok. Though the heat-shimmer close to the ground made sighting difficult, he laid his point-of-aim just under the driver’s vision block and squeezed the trigger. By the time the dust kicked up by his rifle’s muzzle blast had cleared, the enemy tank had stopped moving. Chuckling, Macrae methodically worked the big rifle’s action to reload.
Woof. Just like that the humble Boys scores a hit and gets 2 net successes on the armor penetration roll-off against Krauss’ command tank. The result is “2 Shock, driver killed, two phases to replace.” Looks like Krauss isn’t going anywhere any time soon, and being stationary on the battlefield in the presence of any AT guns is a bad place to be!
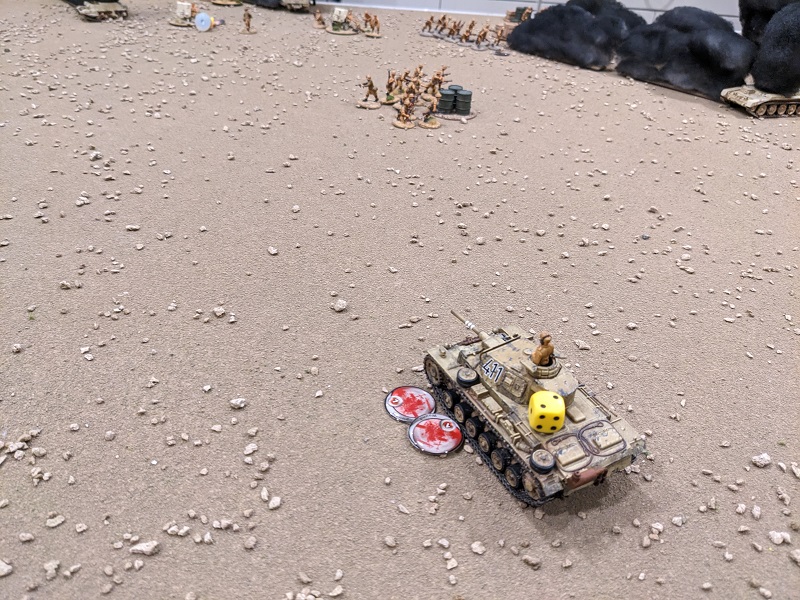
Turn 2, Phase 4 (German): 55111 – Argh! With this roll I cannot activate Krauss! He’s a sitting duck! I could try to bring in another tank to relieve some of the pressure, but with Krauss deployed there’s only a 50% chance of that being successful. Instead I decide to play to the campaign objectives and activate the Junior Leader commanding the embarked infantry squad. Using one CI he forms an ad hoc 2-man “capture team” and sends them to take control of the surrendered transport truck. With a 9″ move, they handily make it. His other CI is then spent ordering the rest of the squad to move and fire at half effect. Vaulting the sides of the truck, the German infantrymen rapidly bring their MG-34s into action against the approaching South African 2nd Section. Even this abbreviated fire puts 1 Shock and 1 kill on the Bren team (the Bren gunner once again being all on his own as a result).


At this point the Germans have two full Chain of Command dice and spend one of them to end the Turn. This has the usual effect of clearing all of the dust and shortening the smoke plumes, but it also constitutes the official capture of the transport truck. Both the truck and the capture team are removed from the table, and regardless of the scenario outcome the Germans will score 2 campaign Victory Points. The only downside is that the commander of the South African #1 gun regains consciousness, though that crew is still pinned.
Turn 3, Phase 1 (South Africans): 63321 – Lt. Campbell tries to get the #1 gun crew sorted, rallying off 2 Shock in the process. He then orders the #2 gun to fire at Krauss’ momentarily immobilized command tank. The shot misses, but given that 1st Section is in the way, perhaps the gunners were aiming too high so as not to risk friendly fire.
Over in the southeast sector, the lance corporal of 2nd Section orders his Bren gun to fire, shaking out his rifle team into a hasty firing line (move and fire at half effect). He even lets loose a cheeky burst from his own SMG. Even with the Bren rolling fewer dice for not having an assistant gunner and the riflemen having moved, this fire proves very effective. Both MG teams suffer a point of Shock, but worse the German squad’s Junior Leader is hit and killed. This is very bad, because now there’s no one to rally off Shock. Worse, the loss of the JL is a further -2 to the German Force Morale, dropping it to a 4 and costing the Germans a Command Die. Given that they need to keep a FM value of 3 or more, suddenly things are looking tenuous. To capitalize on this, the South African 3rd Section begins moving to support 2nd Section.
Turn 3, Phase 2 (German): 6531 – Once again the Germans are in a tough spot here; they can either activate Krauss (who no doubt needs to rally off some Shock and start swapping the driver position) or they can activate other stuff. Given that the German infantry is all of a sudden looking like a huge liability, I choose to use the 1 to activate the larger of the MG-34 teams and unload on the South African 2nd Section. This wounds the section’s lance-corporal, who loses a CI and drags the South African Force Morale down to a 6. In a way this was fortuitous, because the wound to the JL took up the kill that would have eliminated the lone Bren gunner – and right now the South Africans need all the firepower they can get!
With the 3, the Germans try to bring the Pz II C back onto the table, but fail the required roll. Curses!
Turn 3, Phase 3, (South African): 52111 – the first thing that happens here is the German side burning its second complete Chain of Command Die to perform an Interrupt! This sees the entire Schützen squad unload on 2nd Section. That’s two MG-34s against a target in the open at close range. This buzz-saw has the predicted effect, with the Bren gunner being killed, the rifle team losing 4 men, and the lance-corporal getting knocked unconscious. With the reduced number of men and the added Shock, this sees them pinned. Inexplicably, neither the wounding of the JL nor the Bren team being wiped out affects the South African Force Morale, which holds steady at a 6.

Lt. Campbell once again does yeoman’s work: rallying Shock off the #1 gun crew and getting the #2 gun firing at Krauss. This time the gun hits and adds another point of Shock. The result also would have the tank reverse 1D6″, but with the driver still dead this part is ignored. Still, the crew of the command tank is on the razor’s edge of bailing out. trying to tip them over the edge, the Boys AT rifle fires again, but this time the round bounces harmlessly off the tank’s armor.
It is at this point that the South Africans use their Chain of Command Die to end the Turn. This is important because Campbell’s exhortations have dropped the Shock on the #1 gun crew below the pinning threshold, which means they will be able to fire as normal on their next activation. Similarly, the lance corporal in charge of 2nd Section will get back up (though he’ll still be at reduced CI). With all the book-keeping taken care of, play passes back to the Germans.
Turn 4, Phase 1 (German): 5111 – Again a terrible roll given the circumstances, as I can’t activate Krauss. I can just imagine the Leutnant’s rising sense of panic as more enemy shells are striking his panzer, screaming at his driver to go-go-go-go-go only to have his hull gunner yell back “Er kann dich nicht hören, er ist tot!”
Nothing good is happening in that tank right now.
Instead I take a risk, putting all of the German eggs in one basket by combining the 1s to try to bring the Pz II C on again. Miraculously, I make the required roll. Rattling back onto the table, the Pz II C unloads everything it has on the #1 2-lb gun crew. The co-axial MG fire is rather desultory but once again the 20mm autocannon is devastating, putting on a point of Shock, killing one man, and wounding Lieutenant Campbell (who loses a CI but stays on his feet). Given how important the Lieutenant has been to the South African efforts, seeing him hit has a detrimental effect on the men nearby and their Force Morale drops to a 4. Things are coming down to the wire here.
Turn 4, Phase 2 (South African): 5221 – The South Africans are in a target-priority quandary here – Krauss’ command tank is on the ragged edge of having its crew bail out, but the Pz II C has thinner armor and is more likely to be knocked out. In the end I decide to have the Boys Rifle and the #1 gun fire at the Pz II C. Both hit, but the Boys shell bounces and the 2-lb shell merely forces the enemy light tank to engage it again – which is what it was going to do anyway. Hoping to change fates, the #2 2-lb gun fires at Krauss’ command tank, looking on in horror as I roll a 3 to hit. Well, crap.
Turn 4, Phase 3 (German): 3332 – To a tank platoon with an infantry squad in support, this roll is pure magic. The Schützen squad once again dumps two MG-34 belts into 2nd Section, inflicting 4 kills and 4 Shock. That’s enough to wipe out the remaining rifle team and guarantee a hit on the lance-corporal, who suffers a second reduction in CI. Since he is now at 0 CI, that means he’s killed. This time the South Africans are not so lucky, and lose a total of 3 points from their Force Morale, reducing them to a 1. So…close!
Aside: In the original Chain of Command rules when a force dropped to a Force Morale of 2, it would lose one of its JOPs. But this didn’t come with a corresponding Force Morale reduction (as getting a JOP captured would be), and in many cases the teetering force was both a) fully deployed, and b) only too eager to remove one of their own JOPs before it could be captured by approaching enemies. As such, this wasn’t really much of a penalty. To address this incongruity, as of the “Blitzkrieg 1940” handbook, there’s a new rule for when forces drop to this low a Force Morale, and that’s essentially the forced withdrawal of a unit back to the nearest friendly JOP. In this case, that meant 3rd Section beating feet backwards after seeing 2nd Section gunned down to a man before their eyes.

I still had three 3s left to get there, and the juiciest target was the much-reduced #1 gun crew. I spent one of the Command Dice towards the mandatory activation of the Pz II C to engage that unit. Expecting great things, this time the tank only generated a single point of Shock. Next I activated Ehrenreich’s panzer, which maneuvered a little bit to get a clean shot at the exposed crew. This fire resulted in no hits. Are you kidding me? Are these jerks going to live to blast the Germans again?

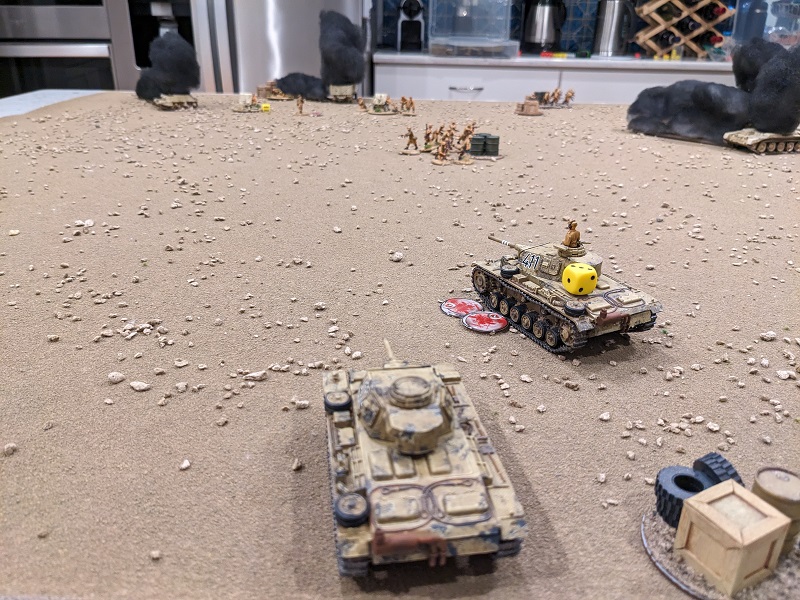
The Germans had one more shot at this; with the final Command Die they brought on Wilhelm Mauser’s Panzer. With breath held, the roll to deploy was a success! Though the 50mm main gun of the Pz III G only has an HE value of 4, the shot resulted in 2 kills, which was enough to finish off the last man on the crew and kill the leader of the gun crew. Either one of these results (loss of Support Unit or Junior Leader killed) has a minimum of -1 to Force Morale, so no further roll was necessary. The Germans had squeaked out a win.
Postgame Campaign Stuff
The Germans gain 2 Victory Points for capturing one transport truck (empty, of course) and 1 more for destroying the other, for a total of 3 Victory Points. The South Africans get 2 Victory Points for the water bowser making it to safety. This brings the current campaign totals to:
South Africans: 9
Germans: 16
The German CO’s opinion increases +1 to a total of 5, meaning that Krauss will still enjoy 1 extra point of Support for the next game. The Men’s Opinion rises by +1 for suffering fewer casualties than the enemy, but I flub the roll for “very light casualties” so get no benefit from that. That brings the Men’s Opinion to a 5, which keeps us in the +1 to the FM roll range. Finally, Krauss’ outlook goes from “Sociable” to “Popular” – he’s getting it done and has no problem getting a new man to volunteer to be his driver. This won’t change anything for the next game, but he needs to be a little bit careful – too much confidence can easily tip over into recklessness, and at that point the Leutnant becomes a detriment to platoon morale. But for the time being, he’s good.
For the South Africans, this one was bloody. They lost a total of 15 casualties, and even with only half of those being actual dead men it’s still enough to trigger both “more casualties than the enemy” and “heavy casualties.” They also lost an NCO killed (I give them a break here and only count the “core” platoon). When all is said and done, the Men’s Opinion drops four points to a whopping -7, which will incur a -2 modifier to the Force Morale die roll for the next game. The brigade’s cohesion as a fighting unit is starting to come unglued.
Debrief
That was an incredibly close game. Two more points of Force Morale loss for the Germans would have meant they had lost the scenario and been thrown back. Even a non-explosive KO of an armored vehicle has a 66% chance of seeing that happen, and if the vehicle brews up it is guaranteed. As such, for their last two phases, the South Africans were one statistically-better-than-average roll away from winning. And a win here would have had two effects: first, it would have cost the Germans time that they cannot afford, as the South Africans both gain additional Support every campaign turn and gain Victory Points if the campaign lasts more than 7 turns.
Second, it would have kept the Germans from re-crewing Lendt’s panzer (which they can now do because it was not destroyed and they hold the field). In the event that they lose tanks the German side can get reinforcements, but those reinforcements are limited. Honestly, I’m kind of amazed the German side hasn’t had to dip into them yet; by this point in all of our play-tests of this campaign, the Germans had either run out of reinforcements or in one case were past that and to the point of going into every mission a tank or two short.
But even without a win, this game was very low scoring – only 3-2 in terms of Victory Points gained – which hurts the Germans. That’s not exactly the Afrika Korps putting their foot down to extend their lead.
This game also highlighted the dual-edged sword that is the accompanying German infantry. They were able to capture a transport and secure guaranteed Victory Points, but the loss of the infantry squad leader was what dropped the German FM to a 4 and cost them a Command Die. But the absolute firehose of bullets they directed at the South African 2nd Section greatly contributed to that force breaking down, so it’s hard to say whether they were more of an asset or a liability.
Finally it is also noteworthy that Krauss was unable to activate for the last 4 German phases, and sat there teetering on the edge of having his crew bail out and flee. That that didn’t happen was almost miraculous. This was a great illustration of how things just do not go according to plan in Chain of Command. From a narrative standpoint, it’s kind of cool that the Germans’ win didn’t come from anything the platoon commander did, and that captures some of the natural story that is often generated by this game. It took the last-minute intervention of a junior tank commander to pull out a win, all while the Leutnant was seeing the battle slip further and further out of his control.
Let’s see if the rest of the battles can deliver this same dramatic tension!
Awaiting further orders, there was a brief lull in the fighting as the infantrymen of the 115th mopped up, rounding up prisoners and marching them to the rear – sometimes trucked out in their own captured transport vehicles. As Leutnant Hans Krauss took a moment to clean the dust from his goggles, his gaze fell upon Jürgen Lendt and his crew sheepishly returning to the vehicle they had so hastily abandoned twenty minutes ago. Carefully inspecting the vehicle for damage that might lethally compromise its armor, they eventually satisfied themselves that it was mostly intact, clambered back aboard, and got it moving. The obviously mangled barrel of the 50mm cannon would take some time to fix though, and Krauss made a mental note to relegate Lendt and his crew to act as the platoon reserve going forward.
That brought Krauss’ thoughts back to his own panzer. While the hole that had killed his driver was damnably small and wouldn’t prevent him from taking the tank into battle immediately, the inside of the vehicle was a grisly sight. In Poland or France they’d have hosed out the interior of the driver’s compartment such that the new man didn’t need to sit in a seat still slick with his predecessor’s viscera, but here in North Africa they didn’t have the luxury of using water that way. The interior of a tank in the desert smelled rank at the best of times – sweat and shit and cordite and diesel fumes – but now as the day burned long and hot it also took on an increasing smell of death. Hans just hoped that there was nothing prophetic in that.
