


Loyal readers will recall our coverage of Bag the Hun, a scale and minis-agnostic WW2 airplane ruleset first published in 2003 and receiving a second Edition in 2010. It meets the standards of any TooFatLardies game: Card-based activation means your planes won’t always be where you want them to be when you want them there, Aces (the big men of the plane world) significantly impact the game, and flying like a real pilot during the period will always be more successful than trying to game the system.
I’ve been doing a bunch of solo games in my basement and recently ran two scenarios at our local wargaming gathering. I’ve enjoyed the game a ton – it might be my second favorite TFL game now – and wanted to share some of my thoughts on models, prep, and scenario balancing as I’ve been getting deep into the game. We’ve covered Bag the Hun before with our review and our planes.
Models
There are as many scales for model airplanes as there are BF-109 sub-variants. I think of all of them, 1/200, 1/300, and 1/600 might be the most popular. 1/200 scale is used for Blood Red Skies – a popular dogfighting game from Warlord Games. Their planes can be nice and sometimes they’re easier for players to find in a retail setting.


I have chosen to use the 1/200 scale using some BRS minis and many 3D printed planes from Plane Printer Patreon. It’s well-priced and there is basically every plane available that flew in WW2. I don’t personally have a 3D printer but I have a few buddies that do and they print planes for me.
Of course you’ll need some paint – luckily there is a hobby shop very close to me that stocks pretty much anything you’d want to paint model planes. The Tamiya XF line especially is setup for success as they have so many colors that are specific to each country’s livery.
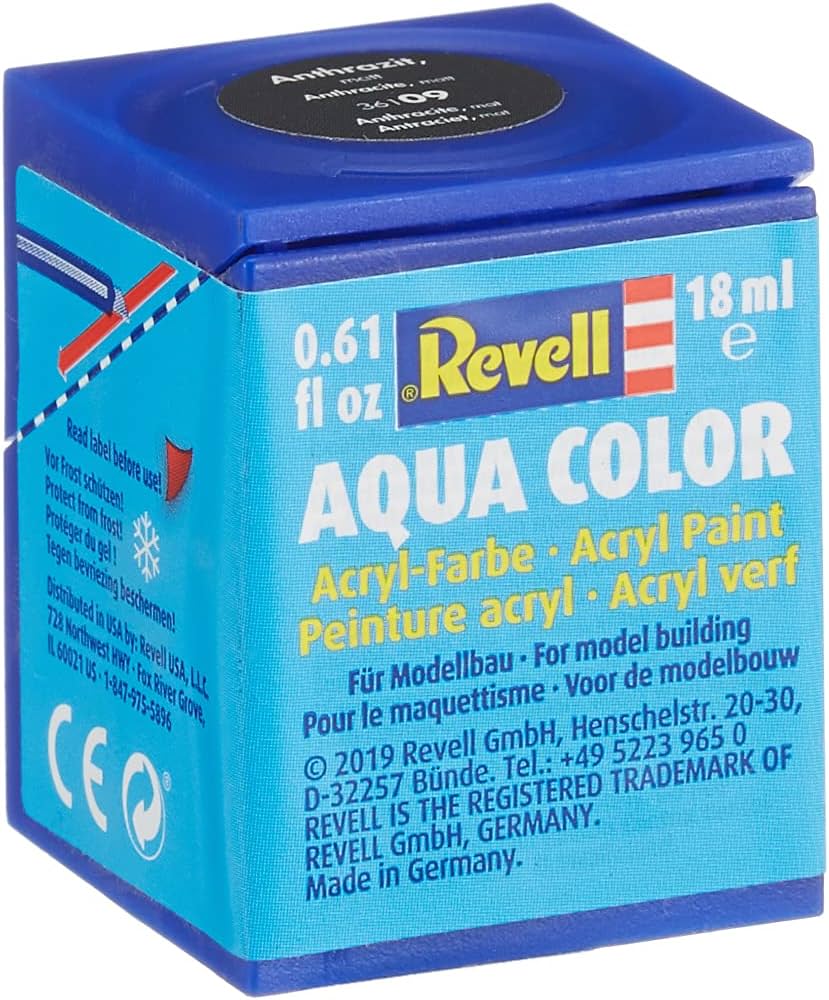
I actually tried out a new line as well, this Revell Aqua Color line where the paint actually comes in cube bottles. It’s very different to anything I’ve ever used – the paint is a bit thin for my taste but you can paint multiple layers, of course.
Once you have your planes painted up (likely using an Osprey book as your source for liveries!) you’ll need decals to really make the plane pop. There are a ton of decal companies out there – I’ve tried MiscMini, Flight Deck Decals, and Blue Falcon Hobbies and they all work great for the 1/200 scale I’m using. Be sure to get some MicroSet and MicroSol to help flatten the decals down.
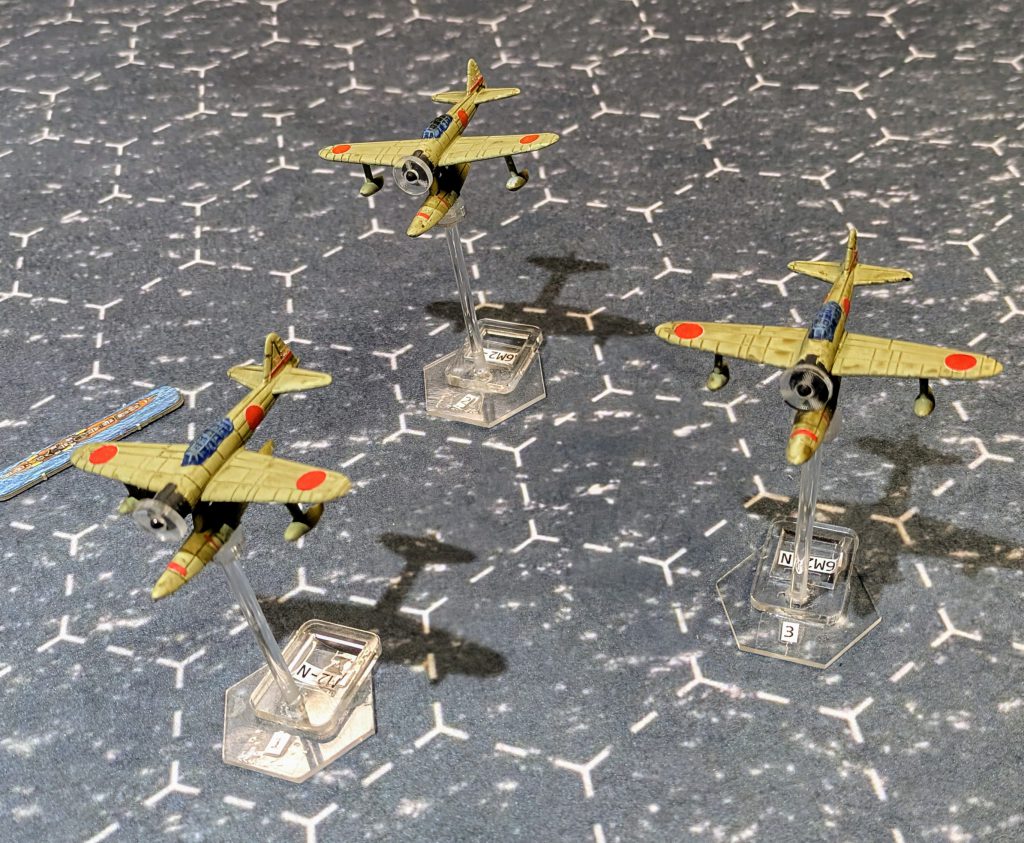
Basing will be entirely up to you, and many people have many different opinions on how to do it. I went with a minimalist approach – a small clear acrylic hex base, with an acrylic rod that fits into the plane, and a small acrylic dice holder on the base. The dice holder helps me show what altitude each plane is at. I’ve chosen the hex bases I did for a 2″ hex mat as 1/200 scale planes can be pretty big; if you’re using 1/300 you might choose 1.5″ hex mat or even smaller for smaller scales.
Prep / Supplies
You’ll need 16mm dice (if you’re using my method of marking altitude) of various colors for each section / flight, a few D4s for speed rolls, and a few D10s for damage, then probably 20-25 D6 dice for every other roll.
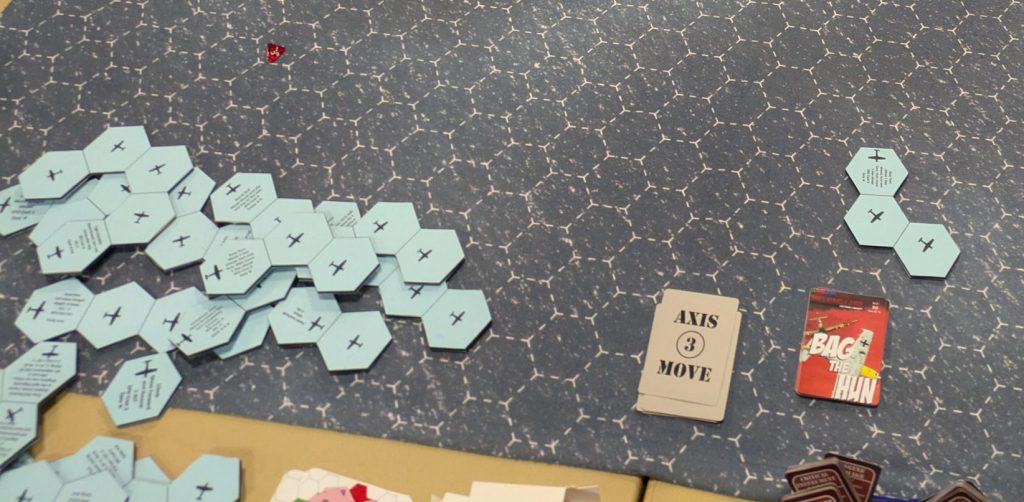
I’ve found tokens for jammed guns make the game easier, as well as damage cards that list all the different effects from damaged parts of the airplane. You can ask for the damage cards on the Bag The Hun Facebook group. There are activation cards on there as well – I sent both of these card files to MakePlayingCards.com and had them made up nicely. If you’re forgoing the damage cards you can just make some tokens or keep a note on the plane’s sheet.
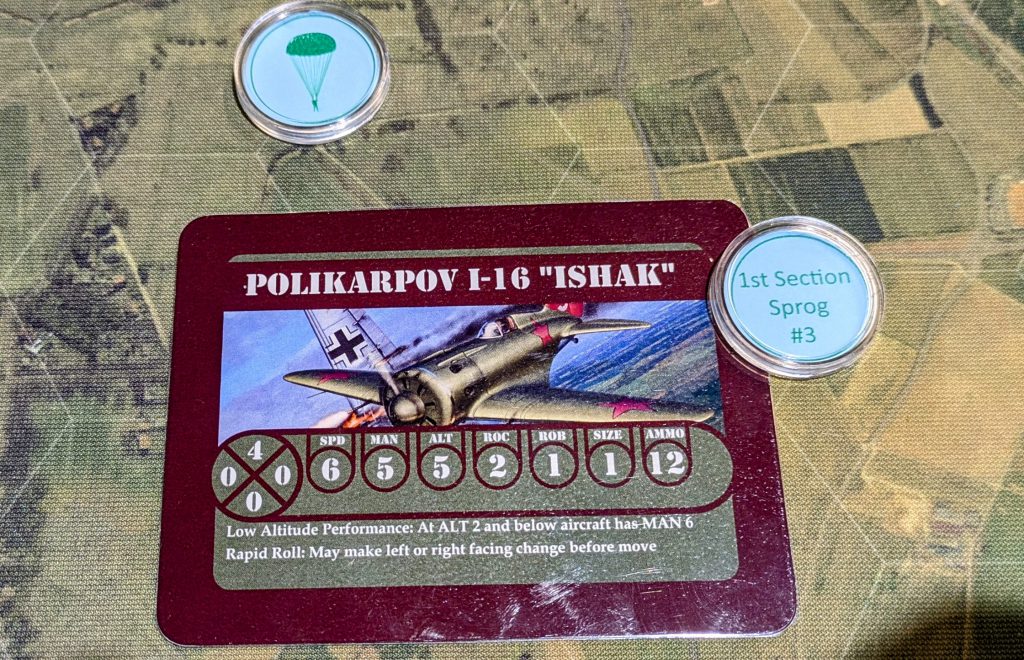
Plane record sheets can be made from looking at the stats in the book and writing them on printed out sheets you can find online or in the PDF. There are also plenty of pre-made plane cards out there you can find in the BTH Facebook group or by asking there. I printed mine on card and laminated them so they’ll be good to go for a long time.
The last things I use regularly are a maneuver chart quick reference sheet and an overall rules quick reference sheet. Again, you can find those in the BTH Facebook group. From the maneuver sheet and rulebook I actually made up some maneuver templates by gluing MDF hexes together with maneuver images printed out and glued to the top. They’re definitely not necessary but I feel they help. If you get playing and want more you can always make some yourself.
One thing you’ll definitely have to grab, unless you already have one, is a mat. I use 6×4 mats as I’m just used to that, but you could go bigger – I wouldn’t suggest smaller. I have mine printed with 2″ hexes on them. If you’re using 1/200 minis I think that works great. If you’re going smaller you probably want 1.5″ or 1″ hexes. I really like Cigar Box Battles and Deep Cut Studio, but there are plenty of alternatives out there.
There are guidelines to play the game without hexes, but my experience with that hasn’t been the best.


Scenario Balancing
I’ve run a few participation games now at various conventions and have played a lot in my basement. Balancing scenarios to be fun for both sides can be done – even with one side losing more planes, they might have a bombing target that they can take out. Admiral Chester Nimitz said in a comminque to his fleet before Midway:
In carrying out the task assigned in OPERATION PLAN 29-42 you will be governed by the principle of calculated risk which you shall interpret to mean the avoidance of exposure of your force to attack by superior enemy forces without good prospect of inflicting, as a result of such exposure, greater damage to the enemy. – Nimitz
It’s definitely possible to use this as a chief balancing idea for your BtH games. Perhaps you’re flying into enemy territory with slow, immobile bombers to bomb a ground target – you might lose half your bombers and a few fighter escorts, but if you can successfully bomb the target then the calculated risk might be in your favor.
I’ve found scenarios in a ton of different places – mostly from the Bag the Hun rulebook and the supplements printed for it. There are plenty of scenarios in Lard Annual magazines that will cover almost every theater including jets. I really enjoy the SkirmishCampaign Check Your 6 scenario books as they cover everything you’d want in a campaign – from logistics, to pilot progression, operational choices that will affect the outcome, etc. These books are invaluable as guides to creating your own scenarios.
I ran two participation games a few weeks ago at a local con and had one really good game and one not-so-great game where I had mis-balanced it and probably placed the planes wrong.


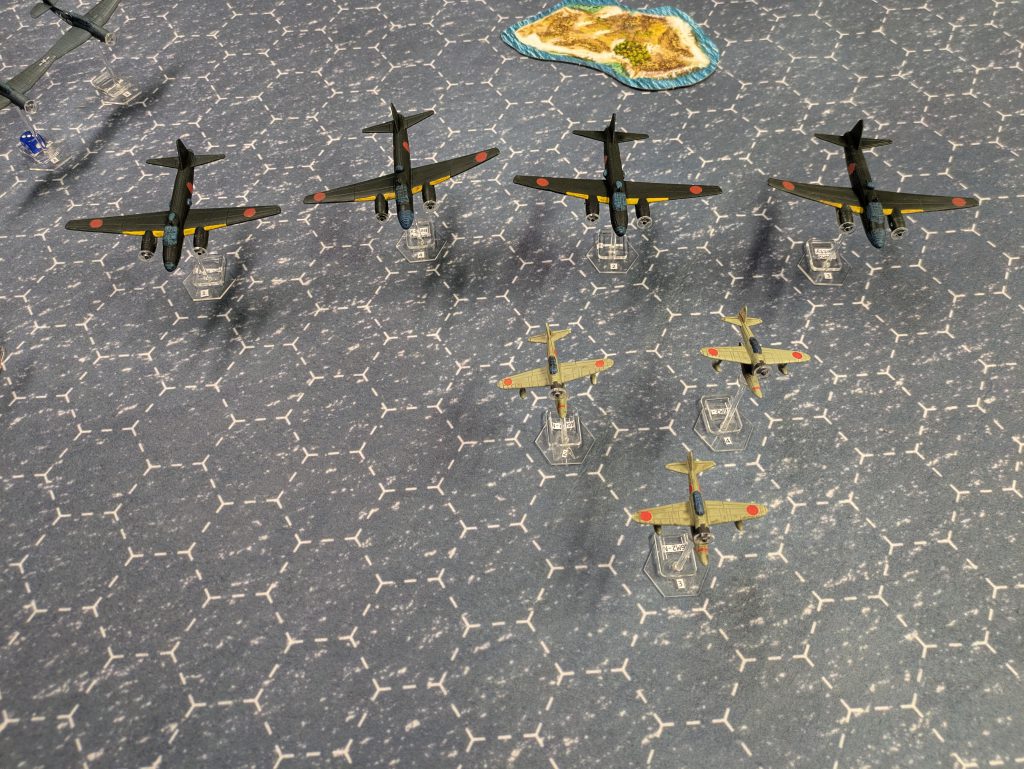
I set both games in the Solomon Islands ‘slot’, the channel that runs between the two rows of islands. The first game had American pilots with Wildcats, Dauntless dive bombers, and Avenger torpedo bombers, while the Japanese pilots were defending their transport ships with 3 Petes, 3 Rufes, and 3 Oscars.

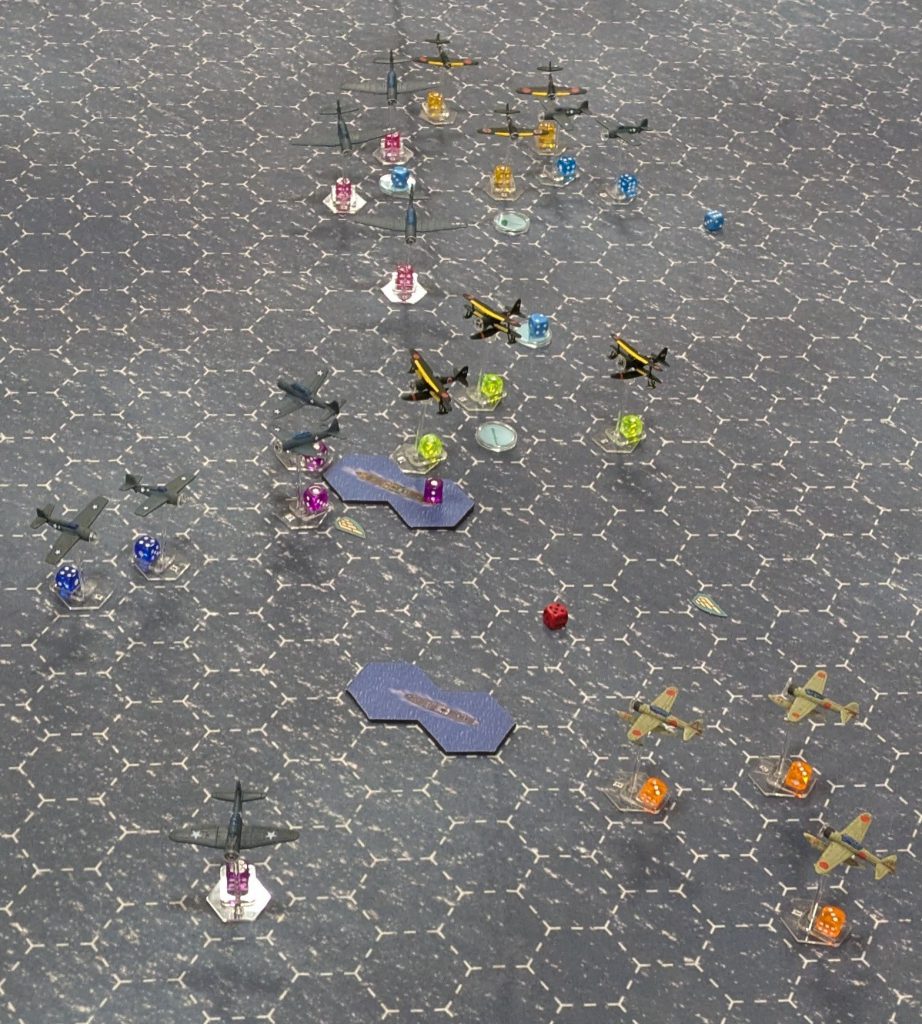
This is the starting position of all the planes and ships on the board. The Japanese forces have to get one of their transports off the board for a minor victory, both for a major. Four Avenger torpedo bombers are on the right with two Wildcats as an escort, while four Dauntless dive bombers are on the left with two Wildcats as escort. The Japanese have their three shotai three-plane formations in the middle flying high cover on their ships.

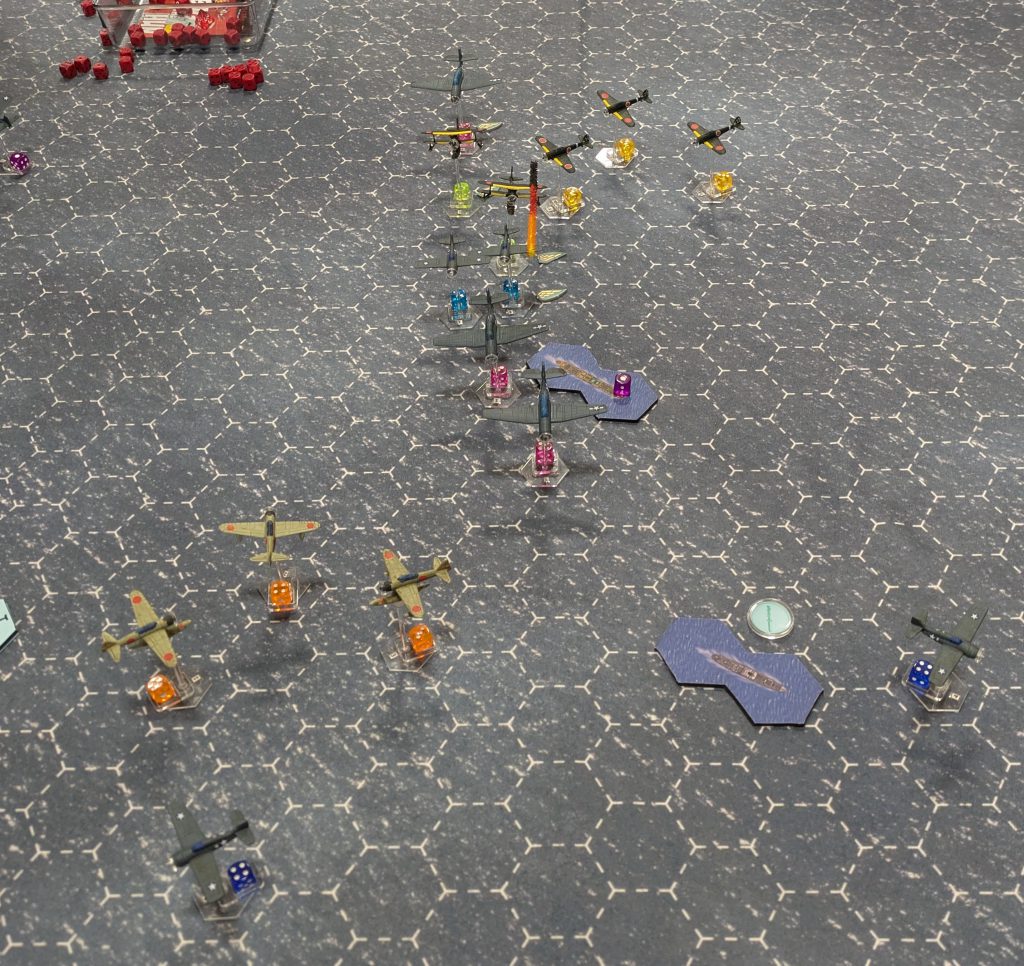
Bag the Hun. Credit: Michael O “mugginns”The Avengers formed up and flew horizontally to try to release torpedoes on a line to hit the boats. If one torpedo hits, and detonates (the American torpedoes were notoriously bad at that part) it usually is enough to take down a medium size ship or smaller. The player flying the Avengers released the torpedoes much earlier than I thought necessary – my tests were much closer.
The Dauntless dive bombers did make a run on the ships and managed to hit with one or two bombs, missing with others. Dropped bombs do much less damage than a torpedo.
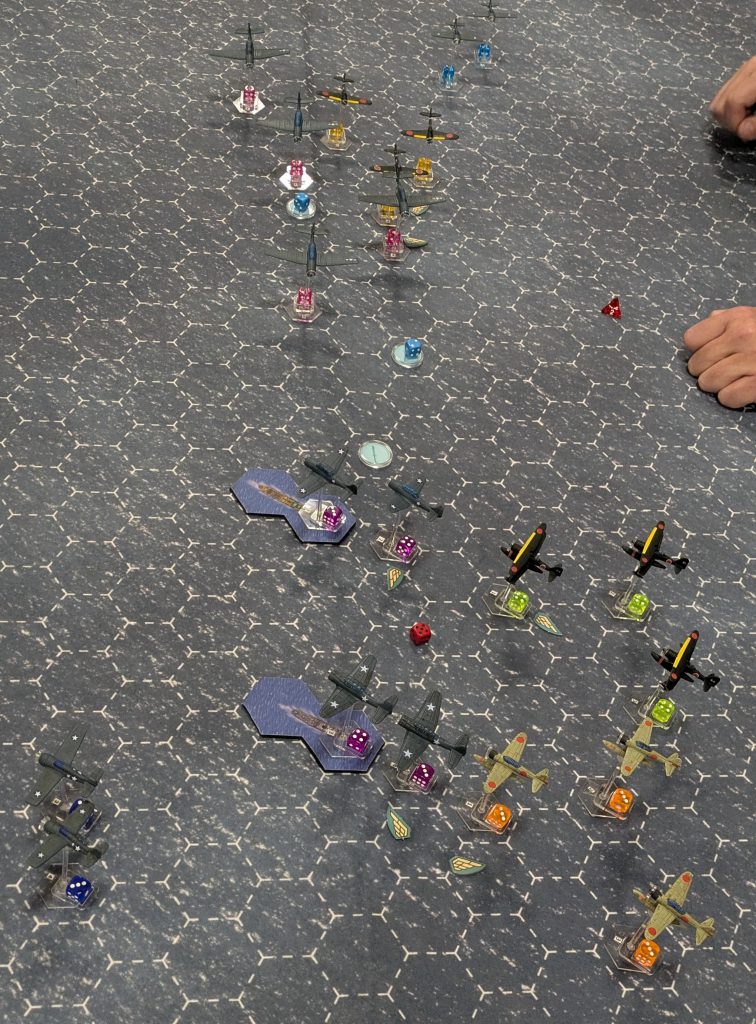
Two Dauntless bombers were lined up well but missed. The other ones hit!
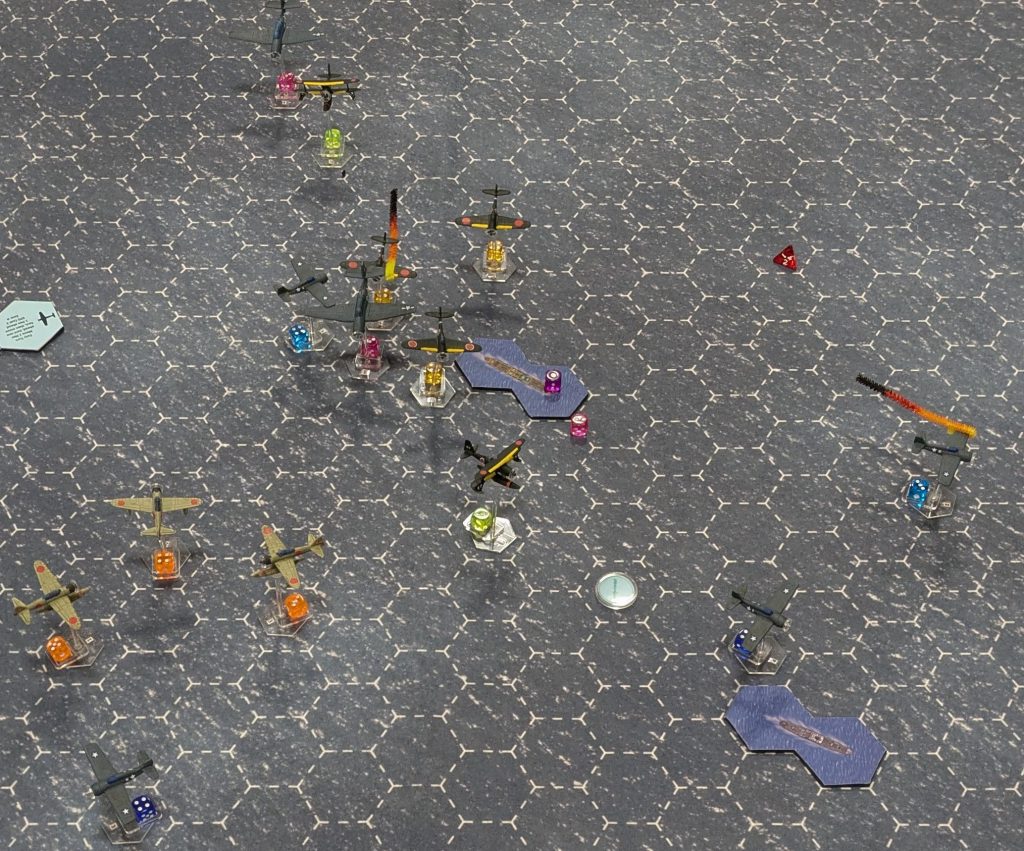
The torpedoes start swimming toward their targets. Each turn the ships would move forward and the torpedoes would move toward the targets. If they roll poorly, the torpedo can go way off course or dive too deep and miss entirely.
Later in the game, the Japanese pilots have downed most of the Dauntless planes or sent them home, while the Avengers have released their torpedoes and are attempting to head home before being shot down. The lone torpedo has made it to the untouched transport ship – but would require a good card draw or roll to hit!
The last torpedo did manage to hit the ship in the bottom right by turning and maintaining the proper depth. Overall it was a USA victory, but the Japanese pilots shot down more than half the USA planes.

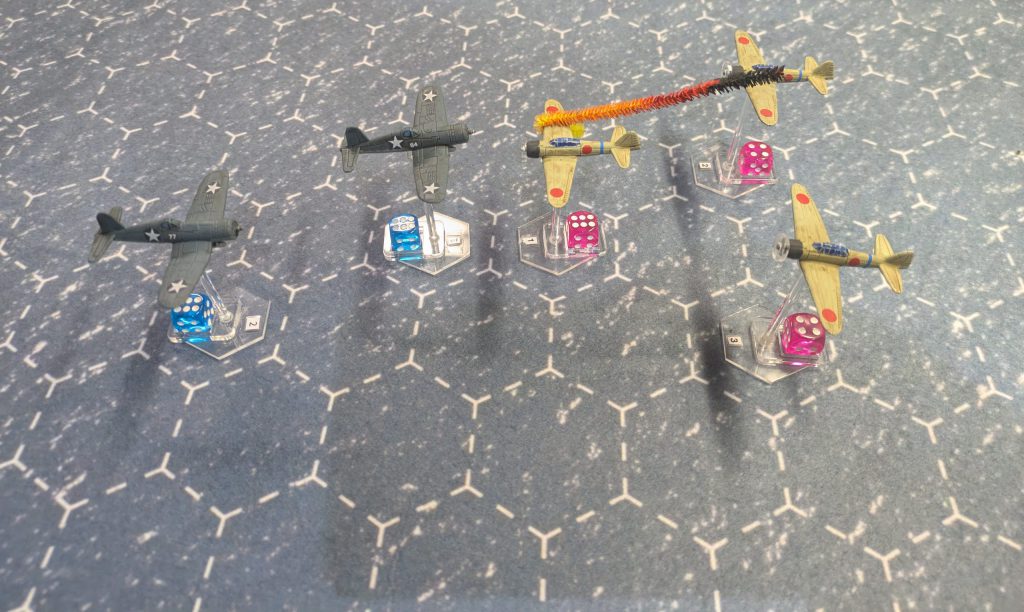
The second scenario I ran had four Betty bombers and four Kate bombers attempting to make it across the board to bomb Henderson Field. I grossly miscalculated this scenario – I had the three Oscars and three Rufes escorting the bombers set up behind them in high cover and they couldn’t make it to the three pairs of enemy Corsairs in time.
Corsairs are speed eight, while the Oscar and Rufes are only speed six and five respectively – it made it very difficult for them to catch up. To put it bluntly, the Corsairs fired deflection shots on the Betty and Kate bombers coming in, then tailed them and blew them away. It wasn’t close, and it was my fault. I should have limited the Corsairs to two pairs of two, or changed them to Wildcats. I should have made the Oscars and Rufes actual Zeroes. I think it would have been much closer that way. I also gave the Corsairs a top ace and a junior ace, which should have just been veterans.
The biggest takeaways I have from these games are the following:
- Speed kills. Any planes above six speed are going to have a major advantage.
- Aces are important and give the game flavor and strategy, but make sure they’re on the right side. The aces in the second game imbalanced it heavily, maneuvering a ton and just blasting bombers out of the sky.
- Even with only four firing dice, most planes can do incredible damage if lined up. You’ll usually end up throwing 8-12 dice versus six maneuver dice.
- Bombers go down really fast – they have terrible manuever and so they can barely save any hits.
- Putting bombers in more of a box formation as opposed to a line abreast makes them more difficult to take down, as they can use their air gunners more effectively.
All of this probably sounds like basic stuff to gamers who have learned a lot about WW2 air combat, but I’m a relative newbie to it – but I am really enjoying learning as much as I can.
Bag the Hun has been one of my favorite games to learn this past year and into 2025. If you have any hints, tips, tricks, or questions please leave them below. Thanks for reading!
Have any questions or feedback? Drop us a note in the comments below or email us at contact@goonhammer.com. Want articles like this linked in your inbox every Monday morning? Sign up for our newsletter. And don’t forget that you can support us on Patreon for backer rewards like early video content, Administratum access, an ad-free experience on our website and more.
