I have painted a ton of tanks but until now I’ve been mostly focusing on the techniques I already knew – washes, sponge weathering, pigments etc. I’ve been reading a ton of high level painting magazines and books lately. A lot of the techniques and products being used on 1/35 scale hyper-detailed models are coming to the wargaming scene and it is pretty awesome!
I must admit I was a little scared to start doing this. Mr. Justin from Secret Weapon taught us a lot of these techniques at a class he held at my FLGS but I just didn’t really grok it then. The good thing is you can always try again by stripping a model.
I’m going to introduce the books I used for this project before I go through some of the steps, then show more of the products I used. Two of these books are amazing and definitely must-haves:
Painting Wargame Tanks
This book was written to mainly focus on 15mm Flames of War tanks but the techniques definitely still work for 28mm. They cover modulation a little bit, but mostly I used this for the weathering techniques. They show each and every step for each tank (and they start basic and then have an advanced chapter) with each and every product used.
I highly recommend this book. The whole idea of using all these different products to weather and make a tank look hyper-realistic can be very overwhelming, and they break it down really well.
Modulation & Light Techniques
This book covers the different ways of showing perspective on tanks. I have done edge highlighting in the past on models, but not much on tanks. It usually ends up looking really cartoony and not something realistic. By highlighting using these light techniques you can make a tank look really 3D and interesting.
They cover four different techniques – zenithal, color modulation, illumination by panels, and spotlight highlighting. Some are more difficult than others in my opinion – I chose to do Spotlight and Color Modulation. Some are based on priming with a highlight and some show you how to work through camo using modulation.
The first thing I did was prime the entire model in a very dark Soviet Green color. I used the color modulation set from Ammo of Mig. These are perfect because they include your dark color, your base color, your light color, and your bright highlight color. You don’t have to mix anything – it just works.
After I put on the dark color, then I base colored the model over most of it. I put together two squadrons of tanks – BT7 fast tanks and T-34/76 tanks. The BT-7 tanks were spotlight highlighted and the rest of the tanks were painted using color modulation. I mostly wanted to try the two to see the difference and see what I could do. I am definitely a beginner and NOT an expert! Here are my support tanks – a T-28 and a KV-2.
So you can see here that I basecoated the models, applied the base, put the highlights onto the ‘higher’ areas of the model, then put on the really bright highlights on the area of interest. I put sponge weathering chips on the edges to show some real wear. I took these photos in sunlight so it is kinda hard to see the effect. I used the same color modulation effects on the T-34/76s:
So you can see here again I tried to show light where it would naturally hit – the high parts of the tank, the front track guards, etc. Edges of small details were highlighted as well. It looks a bit cartoonish right now but the weathering will knock it down.
You can see with the BT-7 tanks I did the spotlight highlights. The focus is drawn on the front hull of the tank and turret. The rest of the tank was left a bit darker. I don’t know which one I like better.
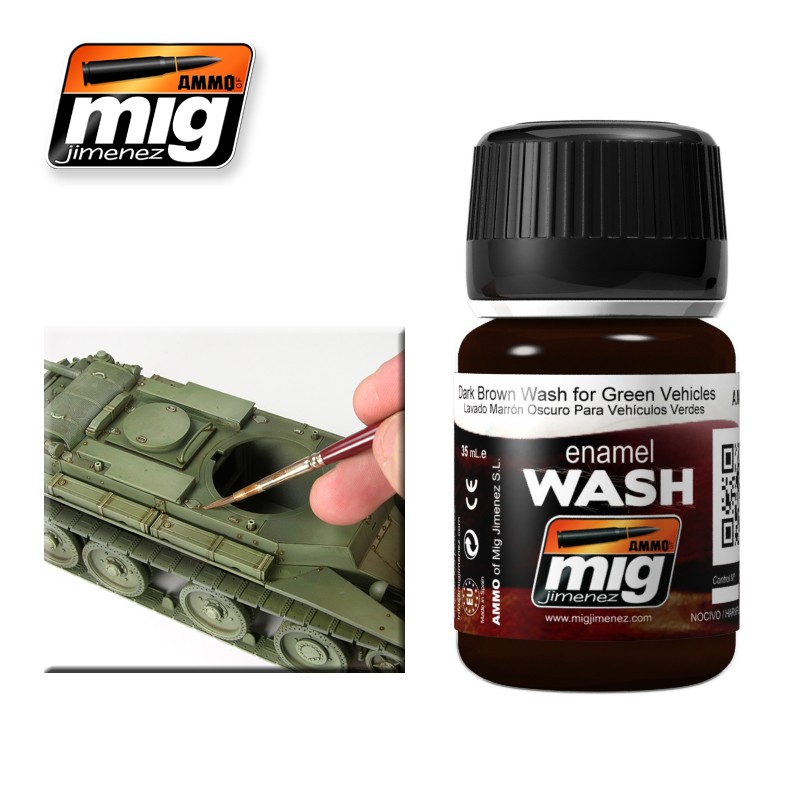
Once I was finished modulating, sponge weathering, and decaling, I went on to doing the real weathering. The products I used here were also mostly by Ammo of Mig:
The Mig washes are REALLY stinky, just FYI. They are oil washes (I believe) in that it takes a bit longer for them to dry, so you get time to move it around if you need to. I recommend doing a varnish before putting these on so you can then use mineral spirits to remove the excess.
To be quite honest, I’m really used to the GW washes and just slathering it on and making it look good. It doesn’t work so much with flat surfaces. These washes work well in that if you accidentally put some on a flat surface you can just remove it with the spirits.
Streaking and grime effects REALLY make a tank look real. You take it and put it on the model’s flat sides every few millimeters and then blend with spirits. It knocks down a lot of the cartoony-ness of the modulation and looks amazing.
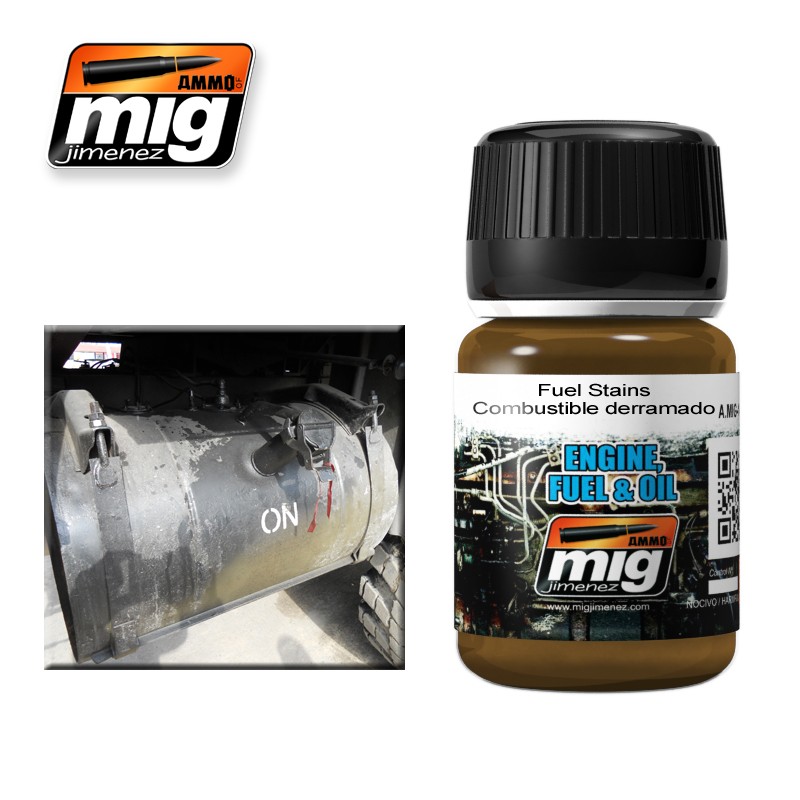
The last thing I did was put on some fuel stains around the engine areas. I was careful with this as the books I read mentioned not to just throw it everywhere. It really adds another layer to the weathering effects.
I varnish everything then put on pigments from Secret Weapon Miniatures last. To be honest I mostly just use a Q-Tip to put them on the tracks, hull, etc and try to blend it in to make it look like the tank has been everywhere. If I need to I’ll mix it with water and use a brush to put it in detail areas.
Pre-weathering:
Post-weathering:
Pre-weathering:
Post-weathering:
You can see where the washes really settled nicely into the grating etc. and brought out the details. The streaks look great on the sides of the T-34/76s, moreso than the other vehicles. I focused in on the back of the tank where some of the engine parts are and really put in some oil stains – around the grates and the little port there.
All in all I think the effort really paid off – I got a ton of complements at our Rostov game and the tanks really are a step above what I’ve done before. Thanks for taking a look and walking through Modulation with me.
Related


