 – The Goonhammer Review")


“I shall defeat them on the field of battle for I am better trained and will fight with all my might. Surrender is not a Ranger word. I will never leave a fallen comrade to fall into the hands of the enemy and under no circumstances will I ever embarass my country.” – U.S. Army Ranger Creed
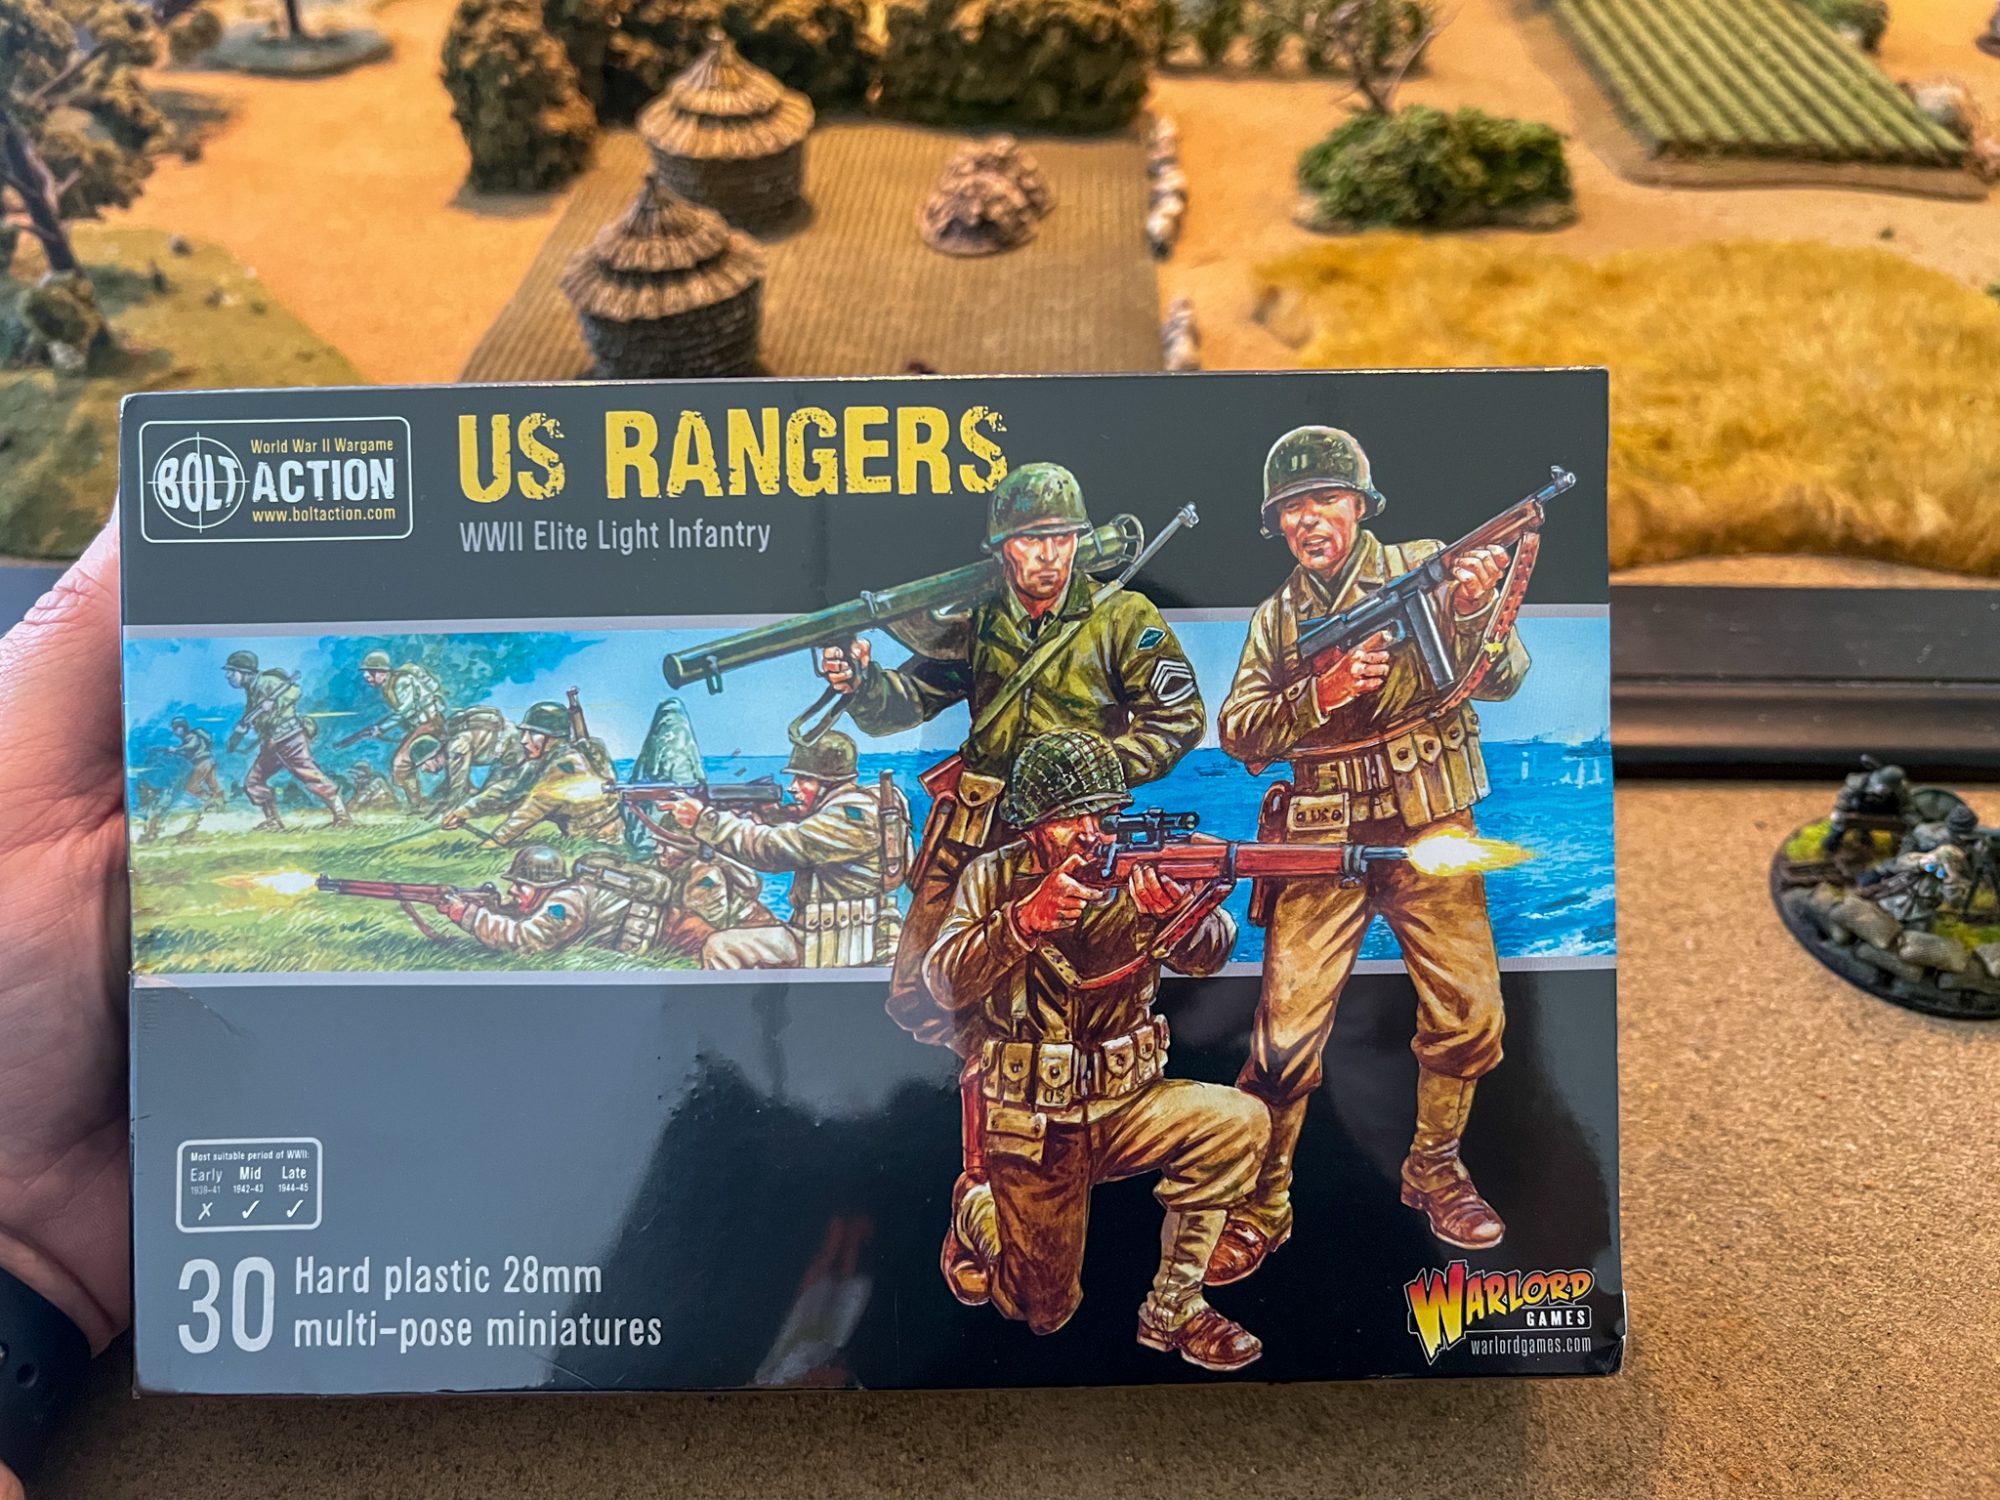
I’m certain that the U.S. Army Rangers need absolutely no introduction from me. While only officially founded in 1943, it should be said that the spirit of the Rangers is older than the United States of America itself, having its roots in Colonel Benjamin Church, the father of American Ranging and Rangers, who participated in the early wars against Indigenous People in the New World. That tradition carries well into our modern day, but perhaps no Rangers are more famous than those of the Second World War.
The Models
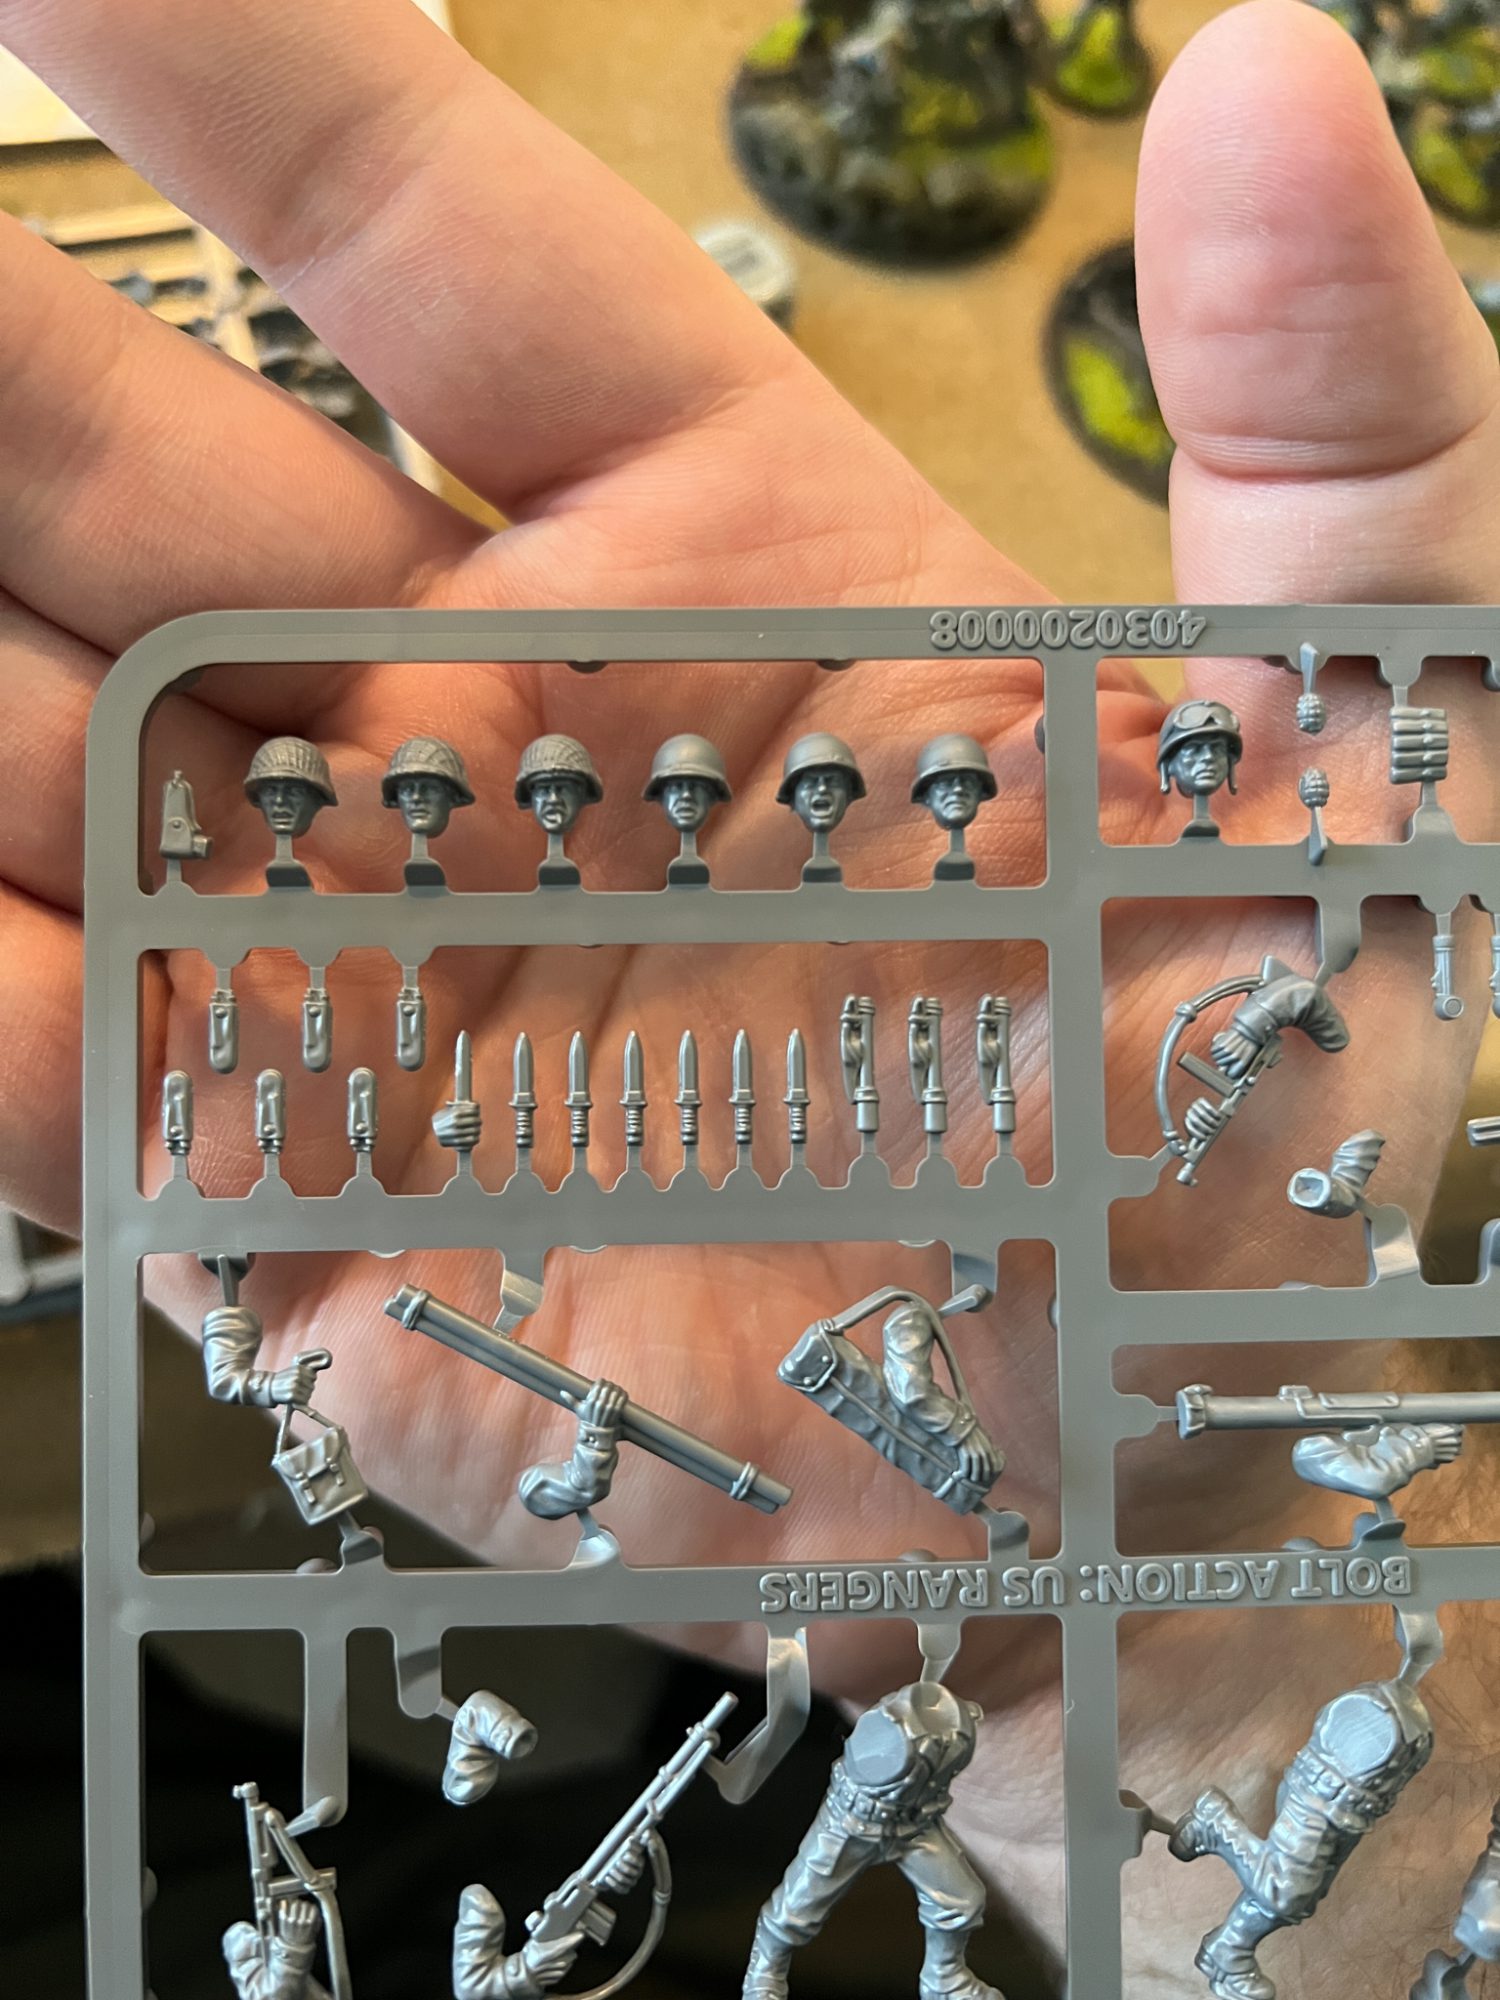
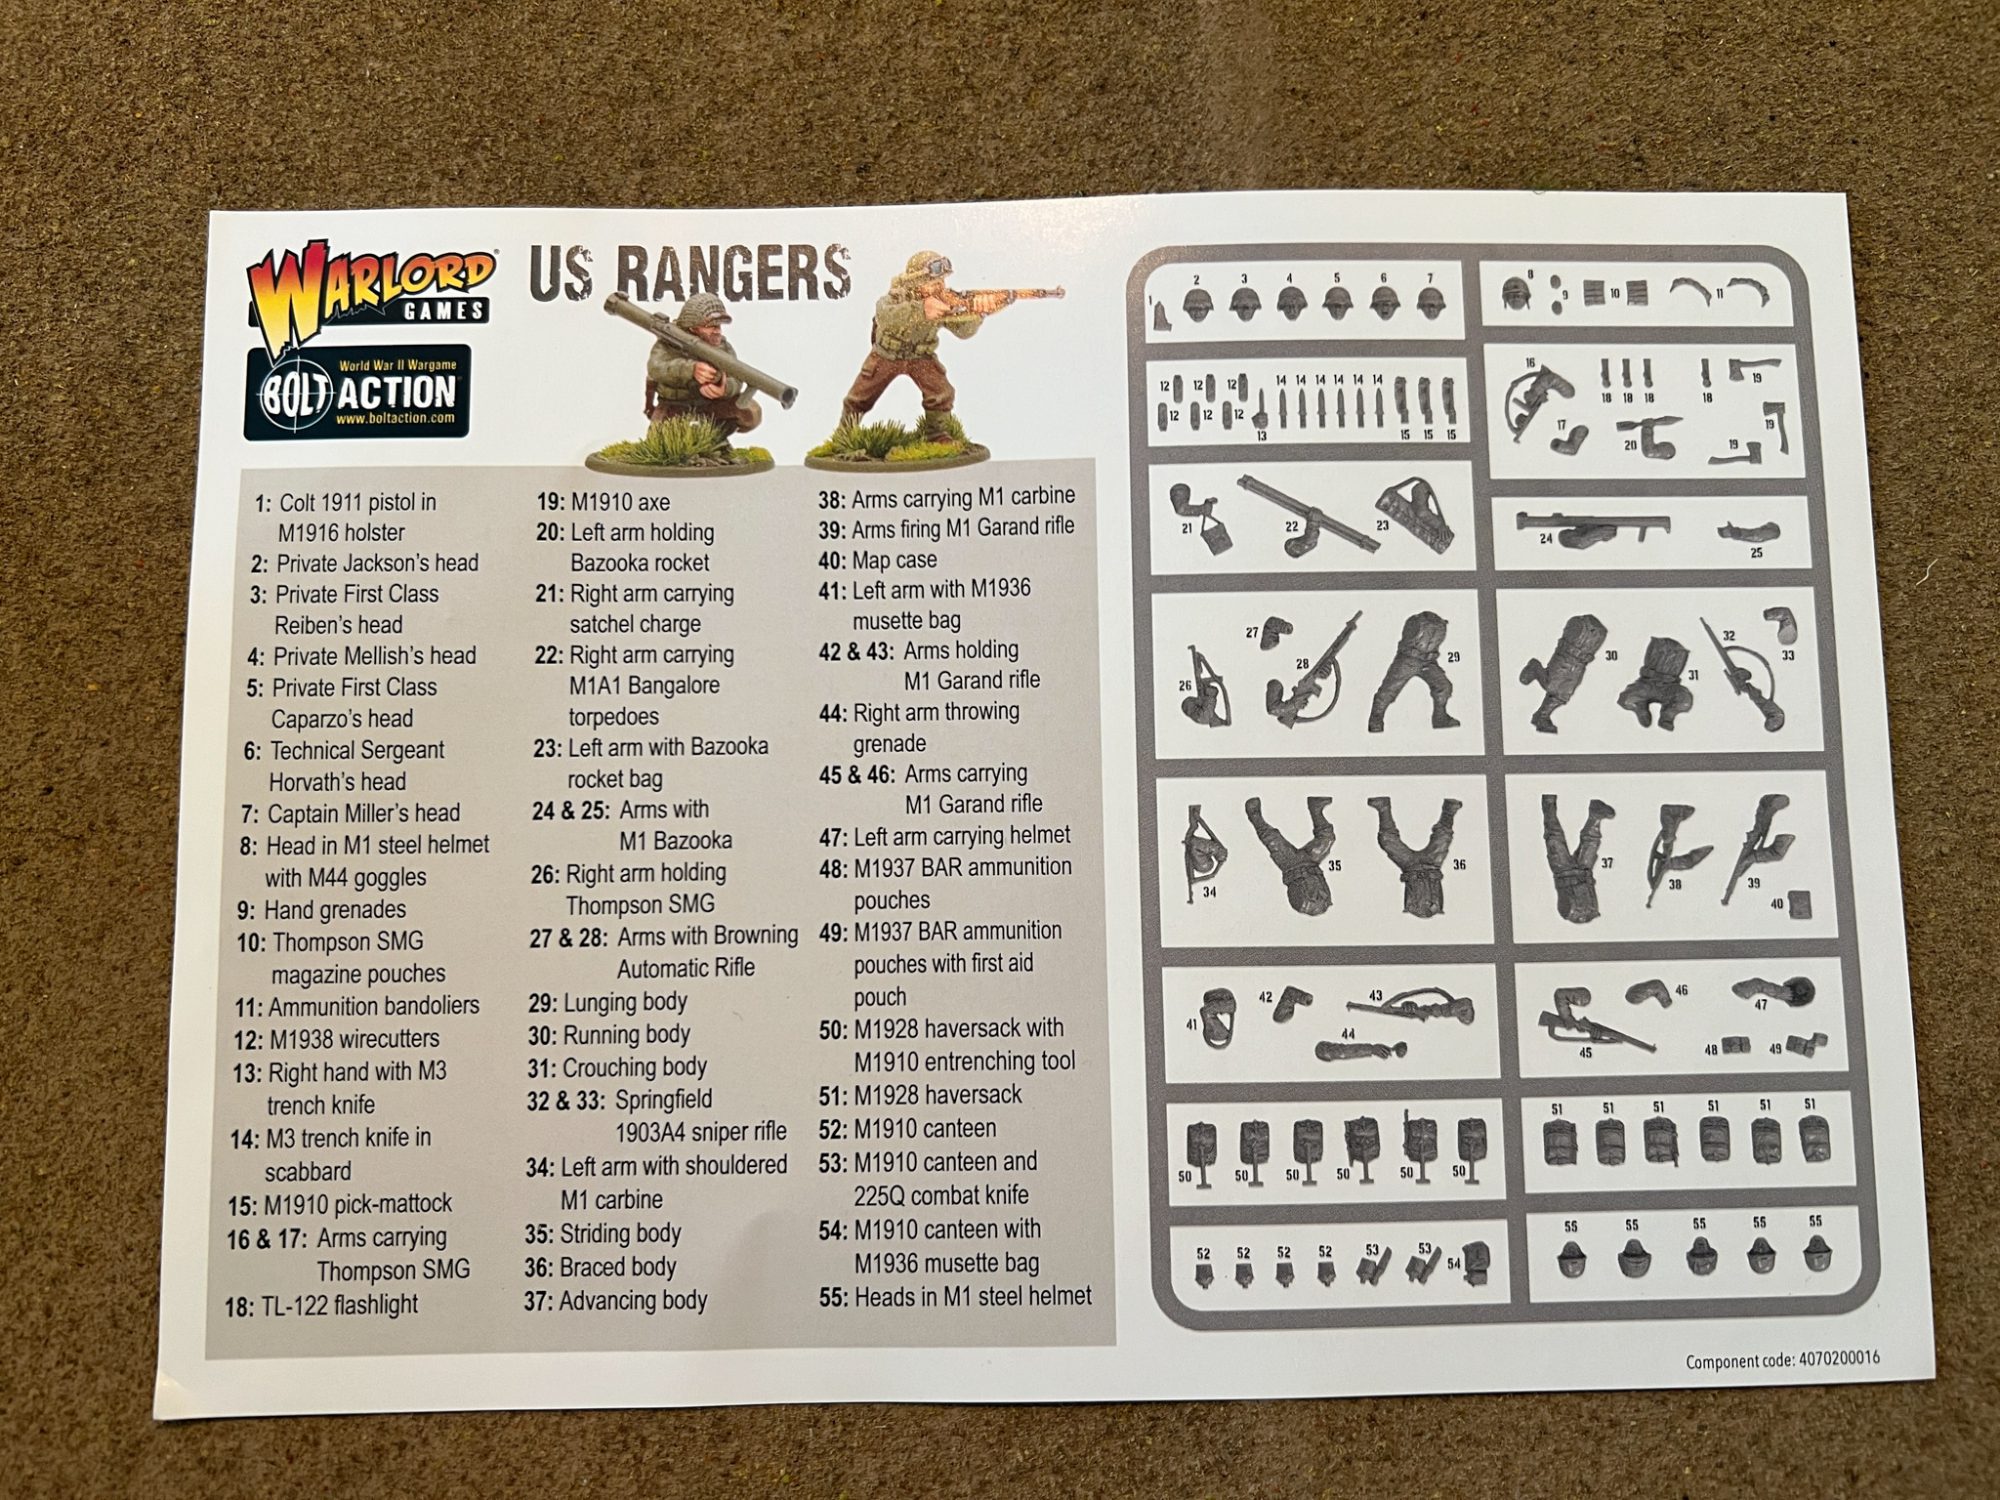
The box itself is great. We have some wonderful sprues that feature a variety of standing, kneeling, or running poses and weapons aplenty. In addition, the new Rangers box also features head sculpts based on the boys of Captain Miller’s 2nd Ranger Battalion from the film Saving Private Ryan. There are plenty of additional bits to really flavor your units – flashlights, hatchets in sleeves, bags, pouches and the M1928 haversacks (with and without an entrenching tool). I will take a moment here to point out a few things I found odd about this kit. Primarily bit 47, a left arm holding a helmet. While it makes for an amazing, cinematic model, this kit doesn’t come with any bare heads! If you only bought this kit, your only option would be to build a fellow holding a helmet while wearing one. Luckily I have a ton of bits left over from my Early War German Army and I managed to find a helmetless head among them. I can definitively say my favorite bit in the entire kit is the Ranger head with the M44 goggles.
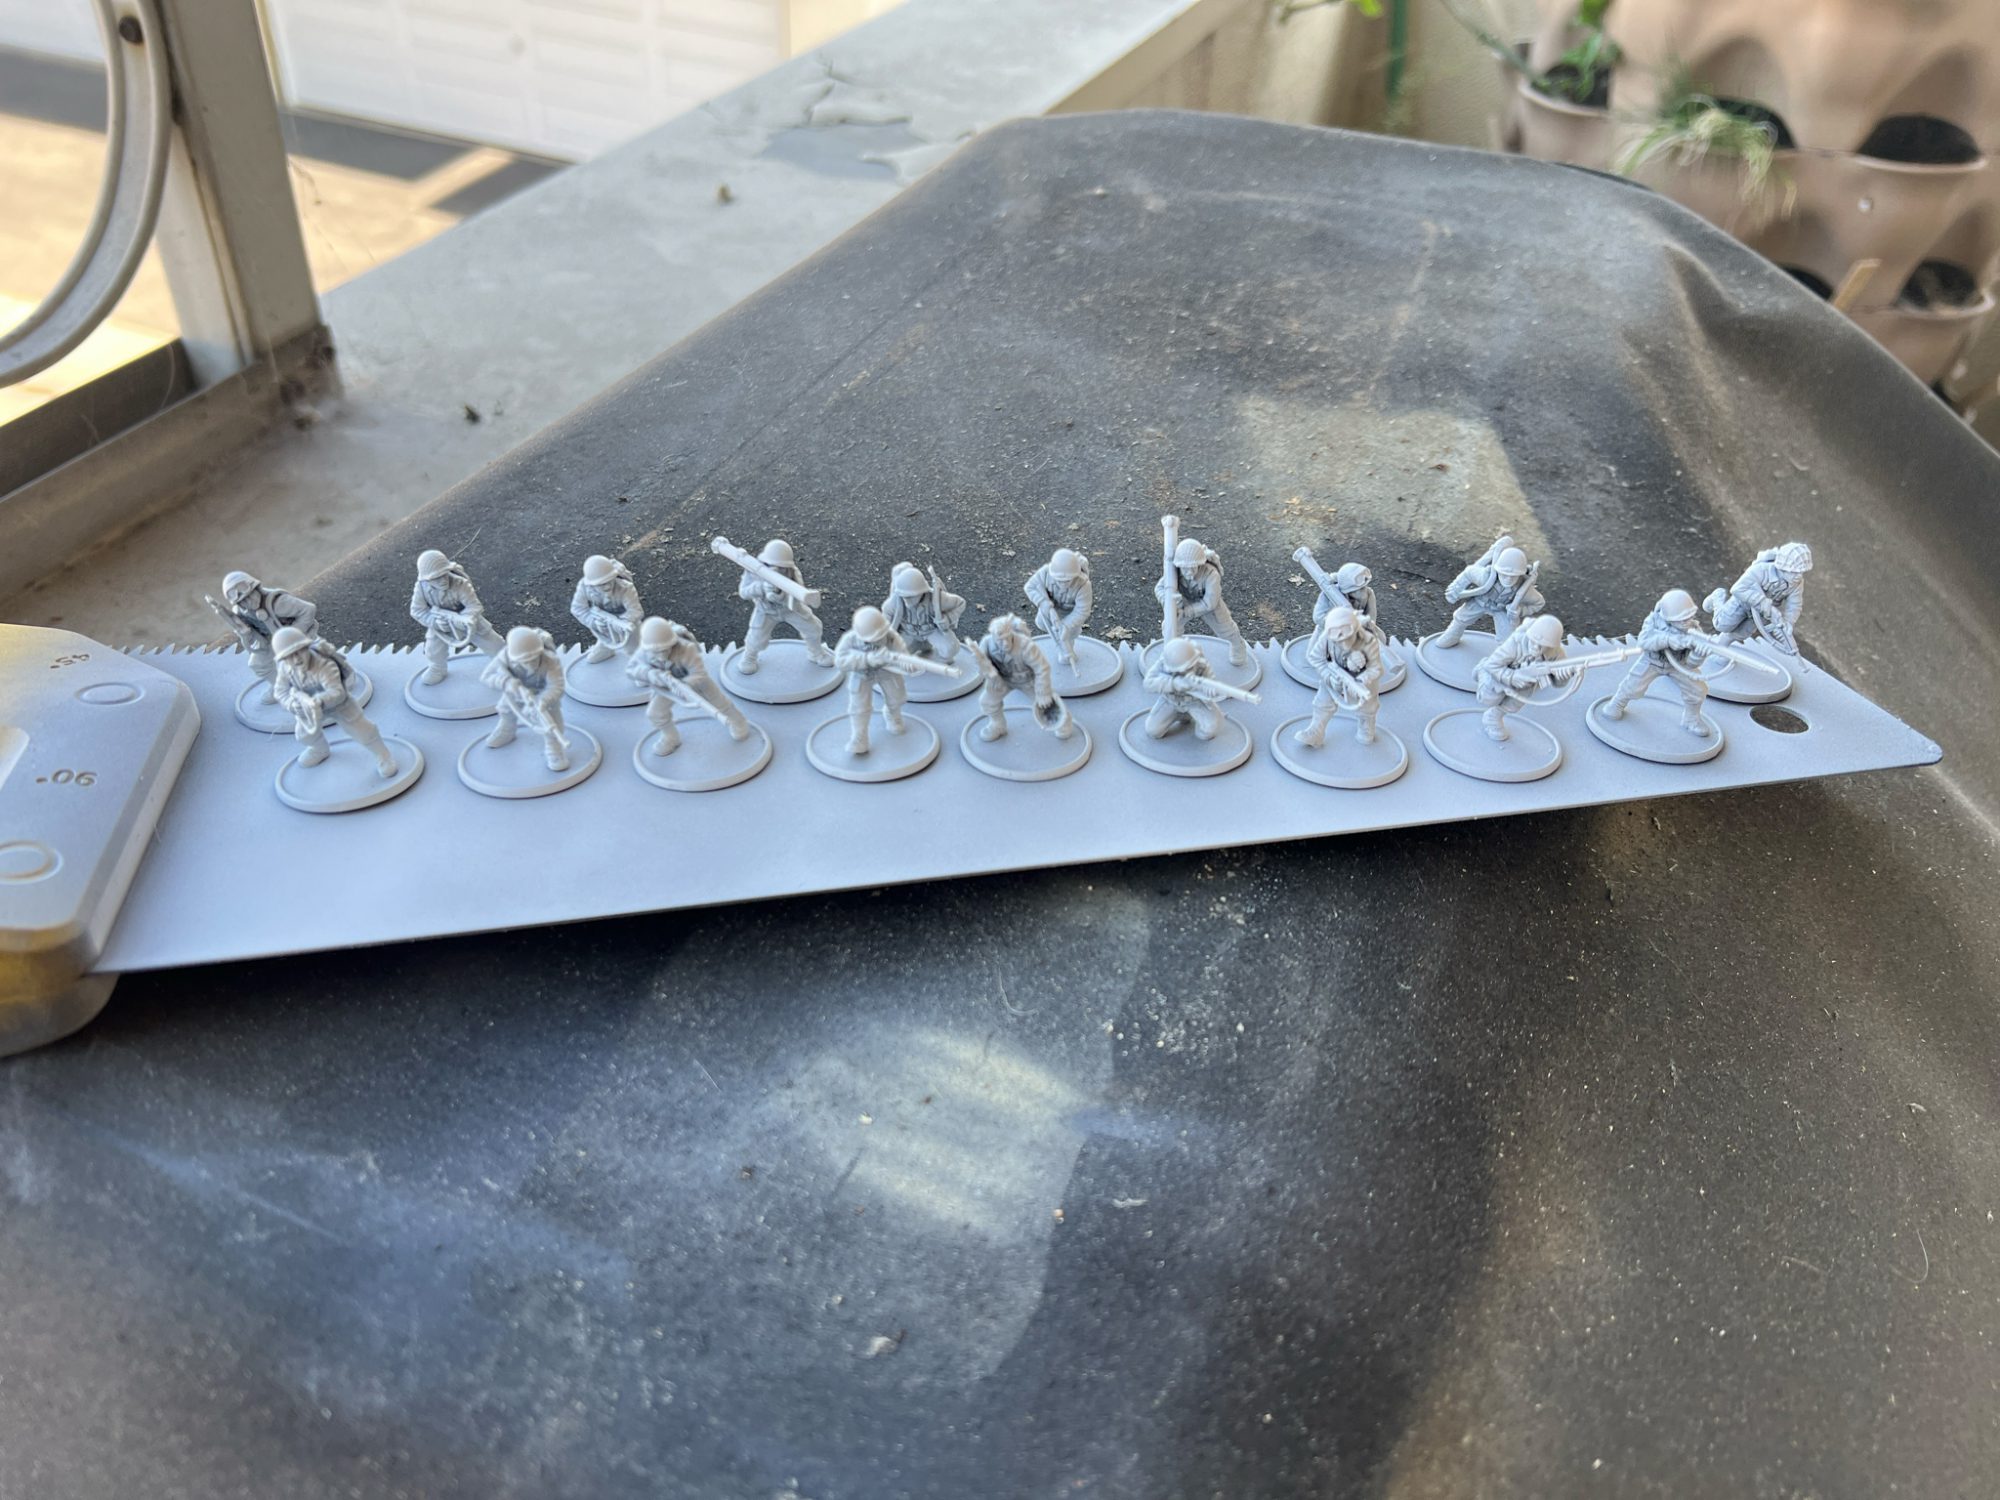
With 30 models coming in the box, I decided to split them up by making two 10-man squads equipped with a BAR and 3 Thompsons each. That left 10 models left, which I built as a 1st Lieutenant with 2 extra men armed with Thompson Submachine Guns and, with an eye on 3rd edition which is creeping ever closer, three 2-man bazooka teams. Boy does this kit come with a lot of special weapons!
Lastly, I’d be remiss if I didn’t mention the transfers that come in the kit! They offer a bunch of options, as can be seen below, but I mainly used the 2nd Ranger Battalion (that would be the orange lozenge with the 2 in it) and the Blue Ranger patch (the blue ranger lozenge).
Putting the units together was easy enough. The models are as easy as most warlord games kits to assemble, minus the stubborn mold lines. I will not lie to you, dear reader, the longest part of preparing for this article was looking for and scraping mold lines, and I still missed some.
Painting the Base Coats
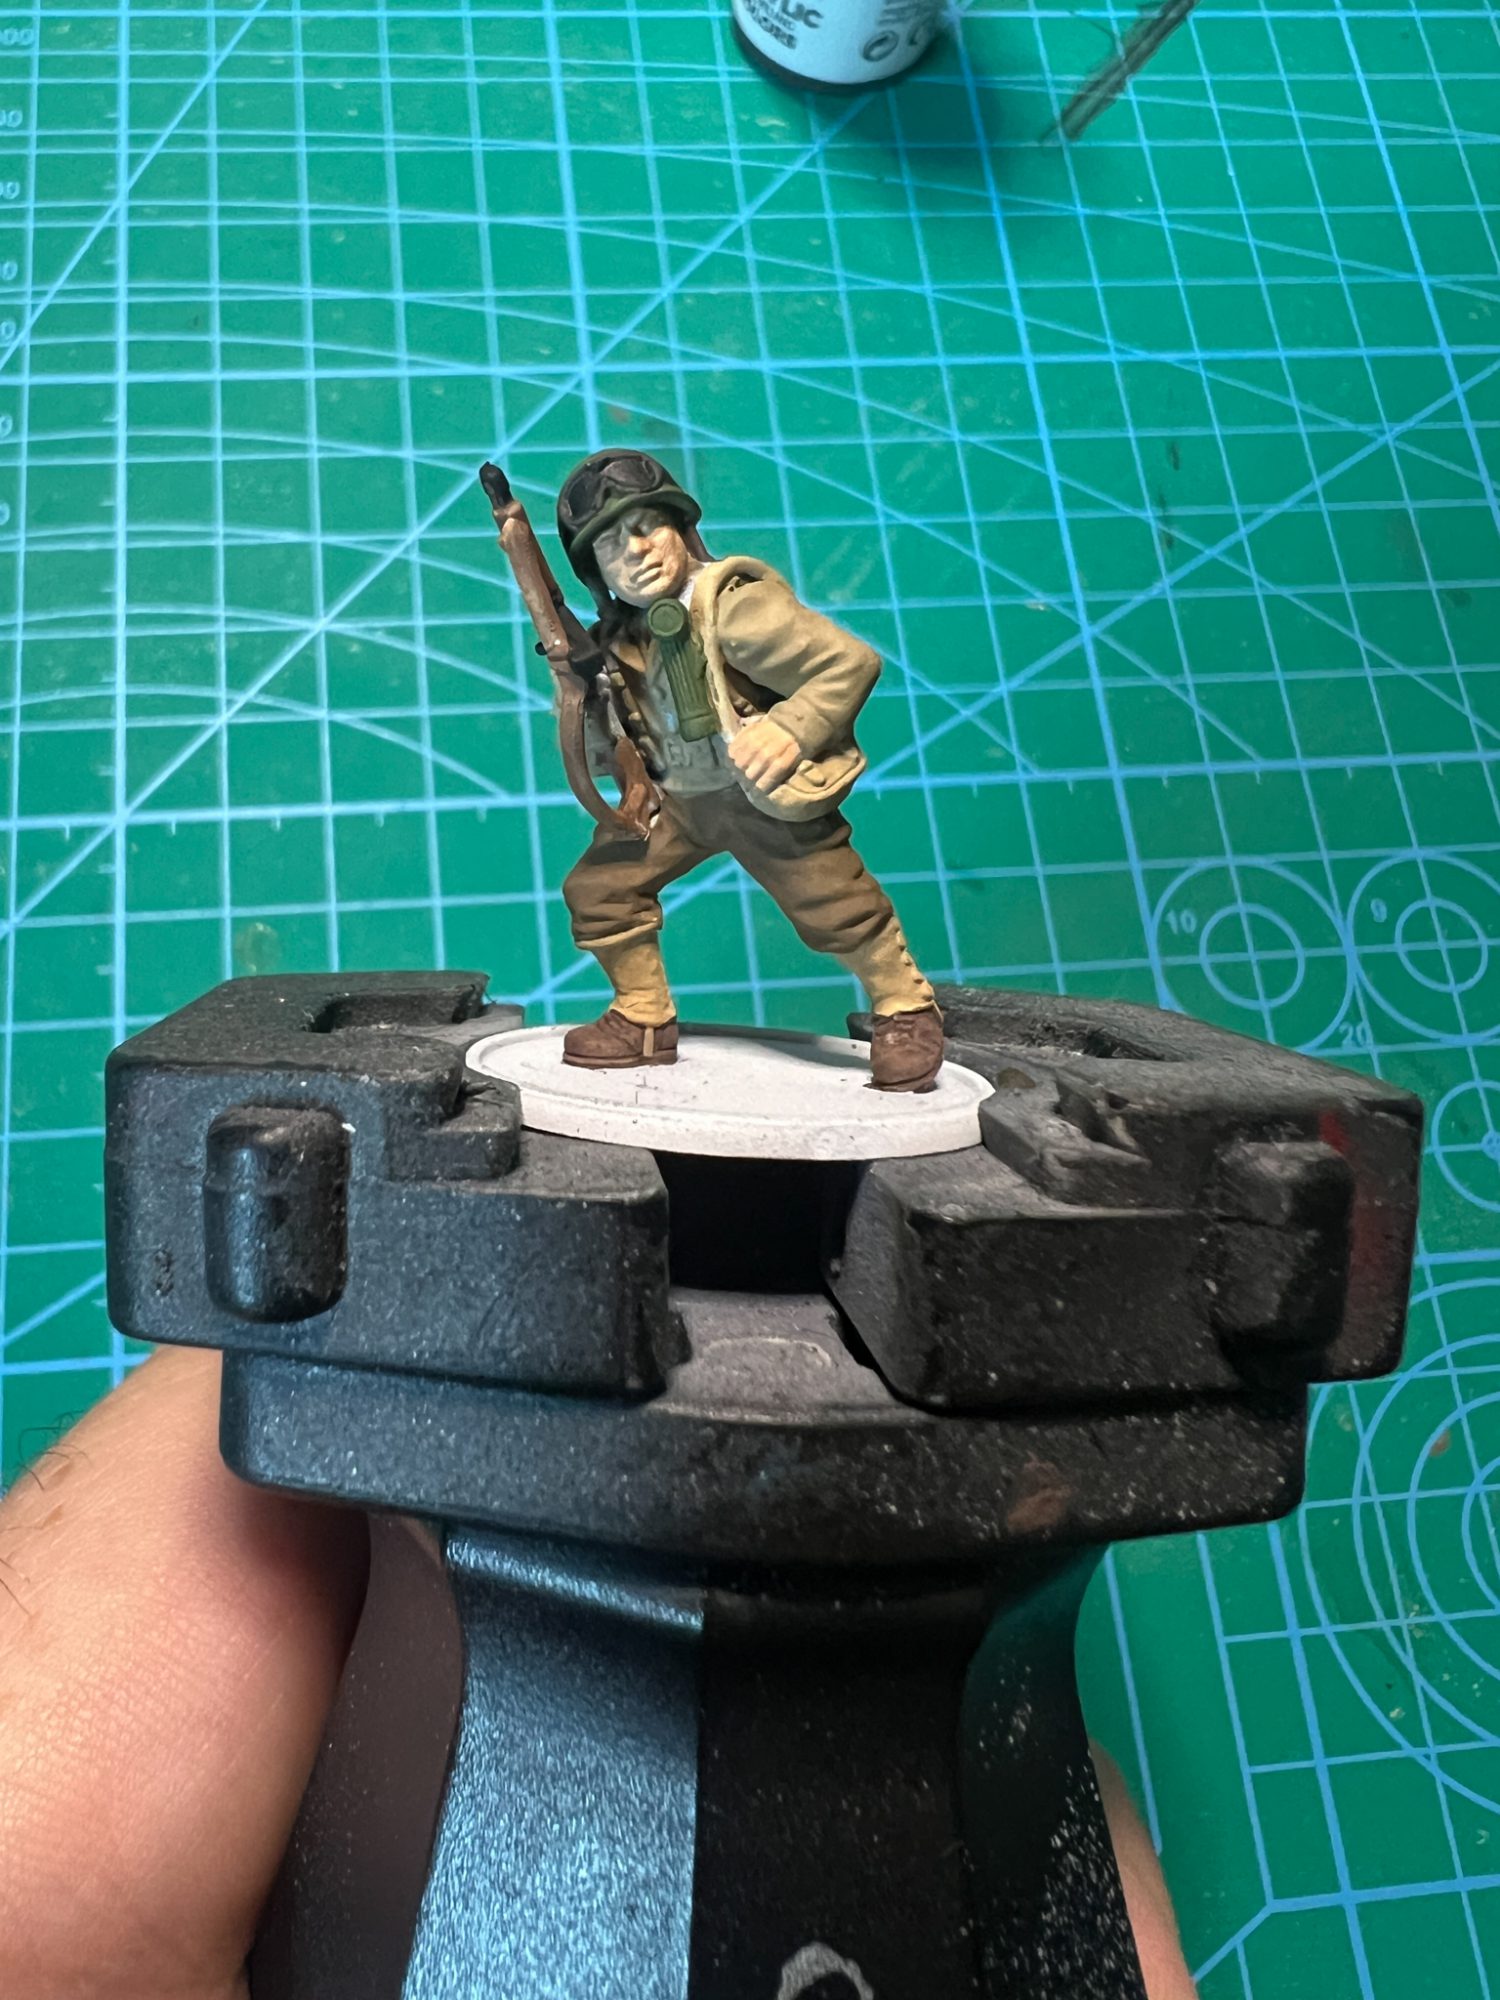
For painting them, in general, it’s a relatively straightforward process – I do all the basecoats, followed by a wash, then “soft highlights”, where I only add a layer of the original basecoat color mixed in with a bit of Ivory from Pro Acryl. The idea stems from me not wanting any edge highlight on any of my historicals models. The outcome is a model that looks like this:
Pants: WWI British Khaki (AK)
Coat, bags: WWI French Milky Coffee (AK – this is one of my favorite paints – both because of the amazing name and the amazing color) with a dot of British Khaki (AK)
Sling: Mud Brown (AK)
Shoes, leathers: Leather Brown (AK)
Rifles, shovel handles: Thondia Brown (Citadel)
Metallics & Lenses: Basecoat Black (Vallejo Model Color)
If you’re planning on adding on transfers, now is the time to do so.
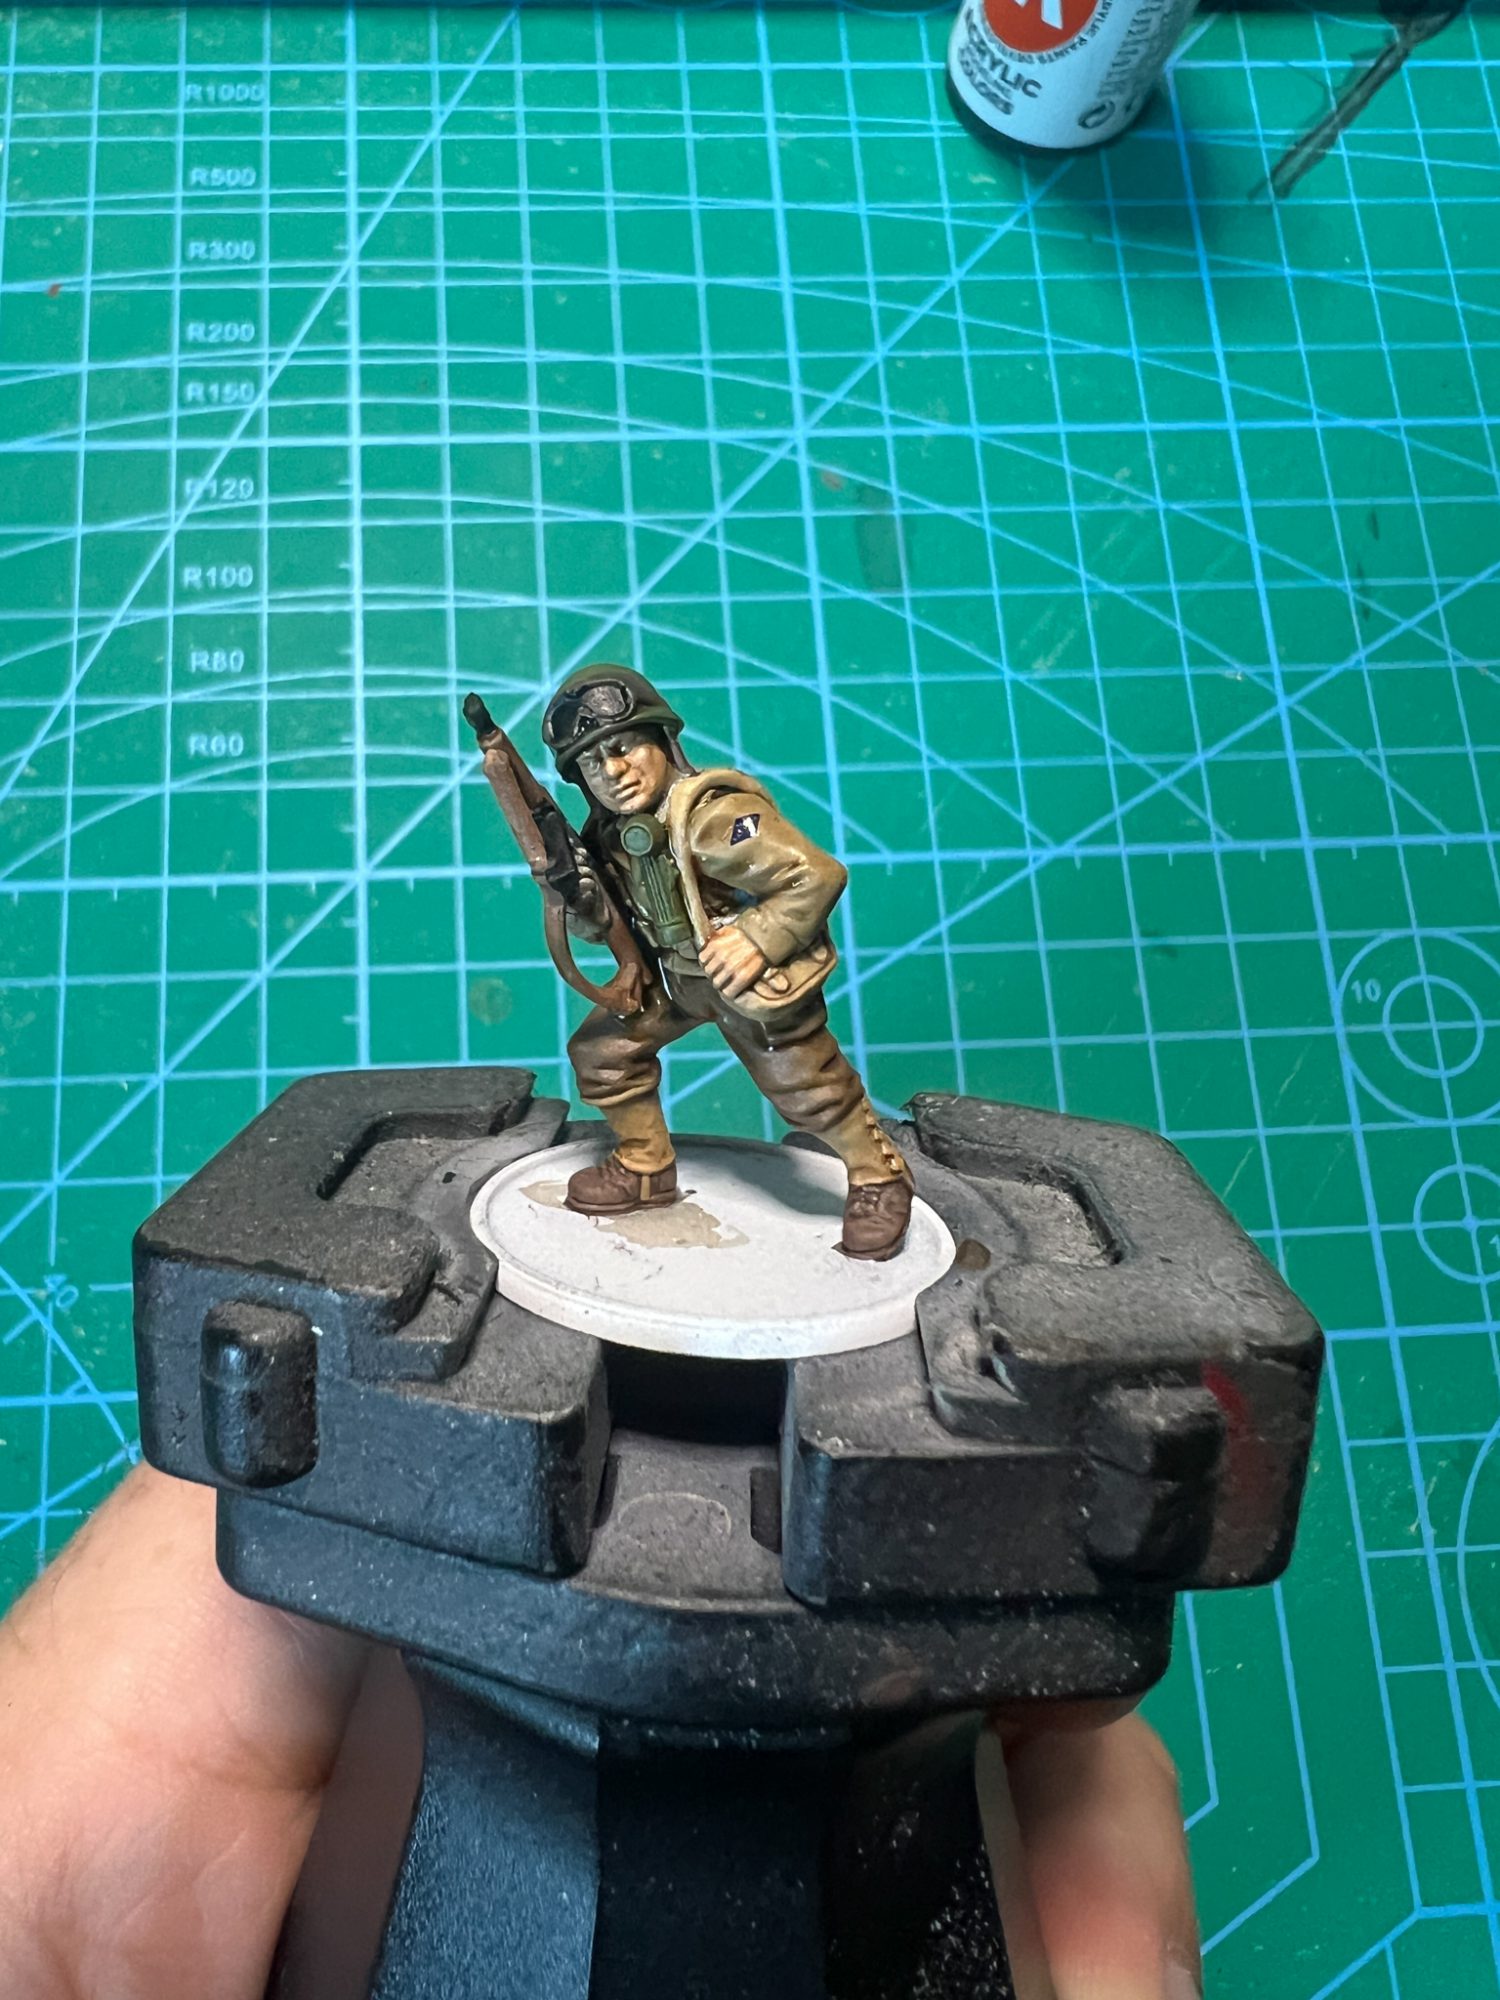
Applying the Wash
Wash: Aly’s Brown Liquid. I’ve linked this before in some of my other articles, but my default go to wash for historical miniatures is Aly’s Brown Liquid made by the mighty Aly Morrison. It’s simply a 40/40/20 mix of Agrax Earthshade, Seraphim Sepia & Lahmian Medium, with a few drops of Drakenhof Nightshade added in. I will say that recent batches I’ve made have included some Matte Varnish because of the change in Citadel’s washes that sometimes makes the non-glossy washes actually glossy.
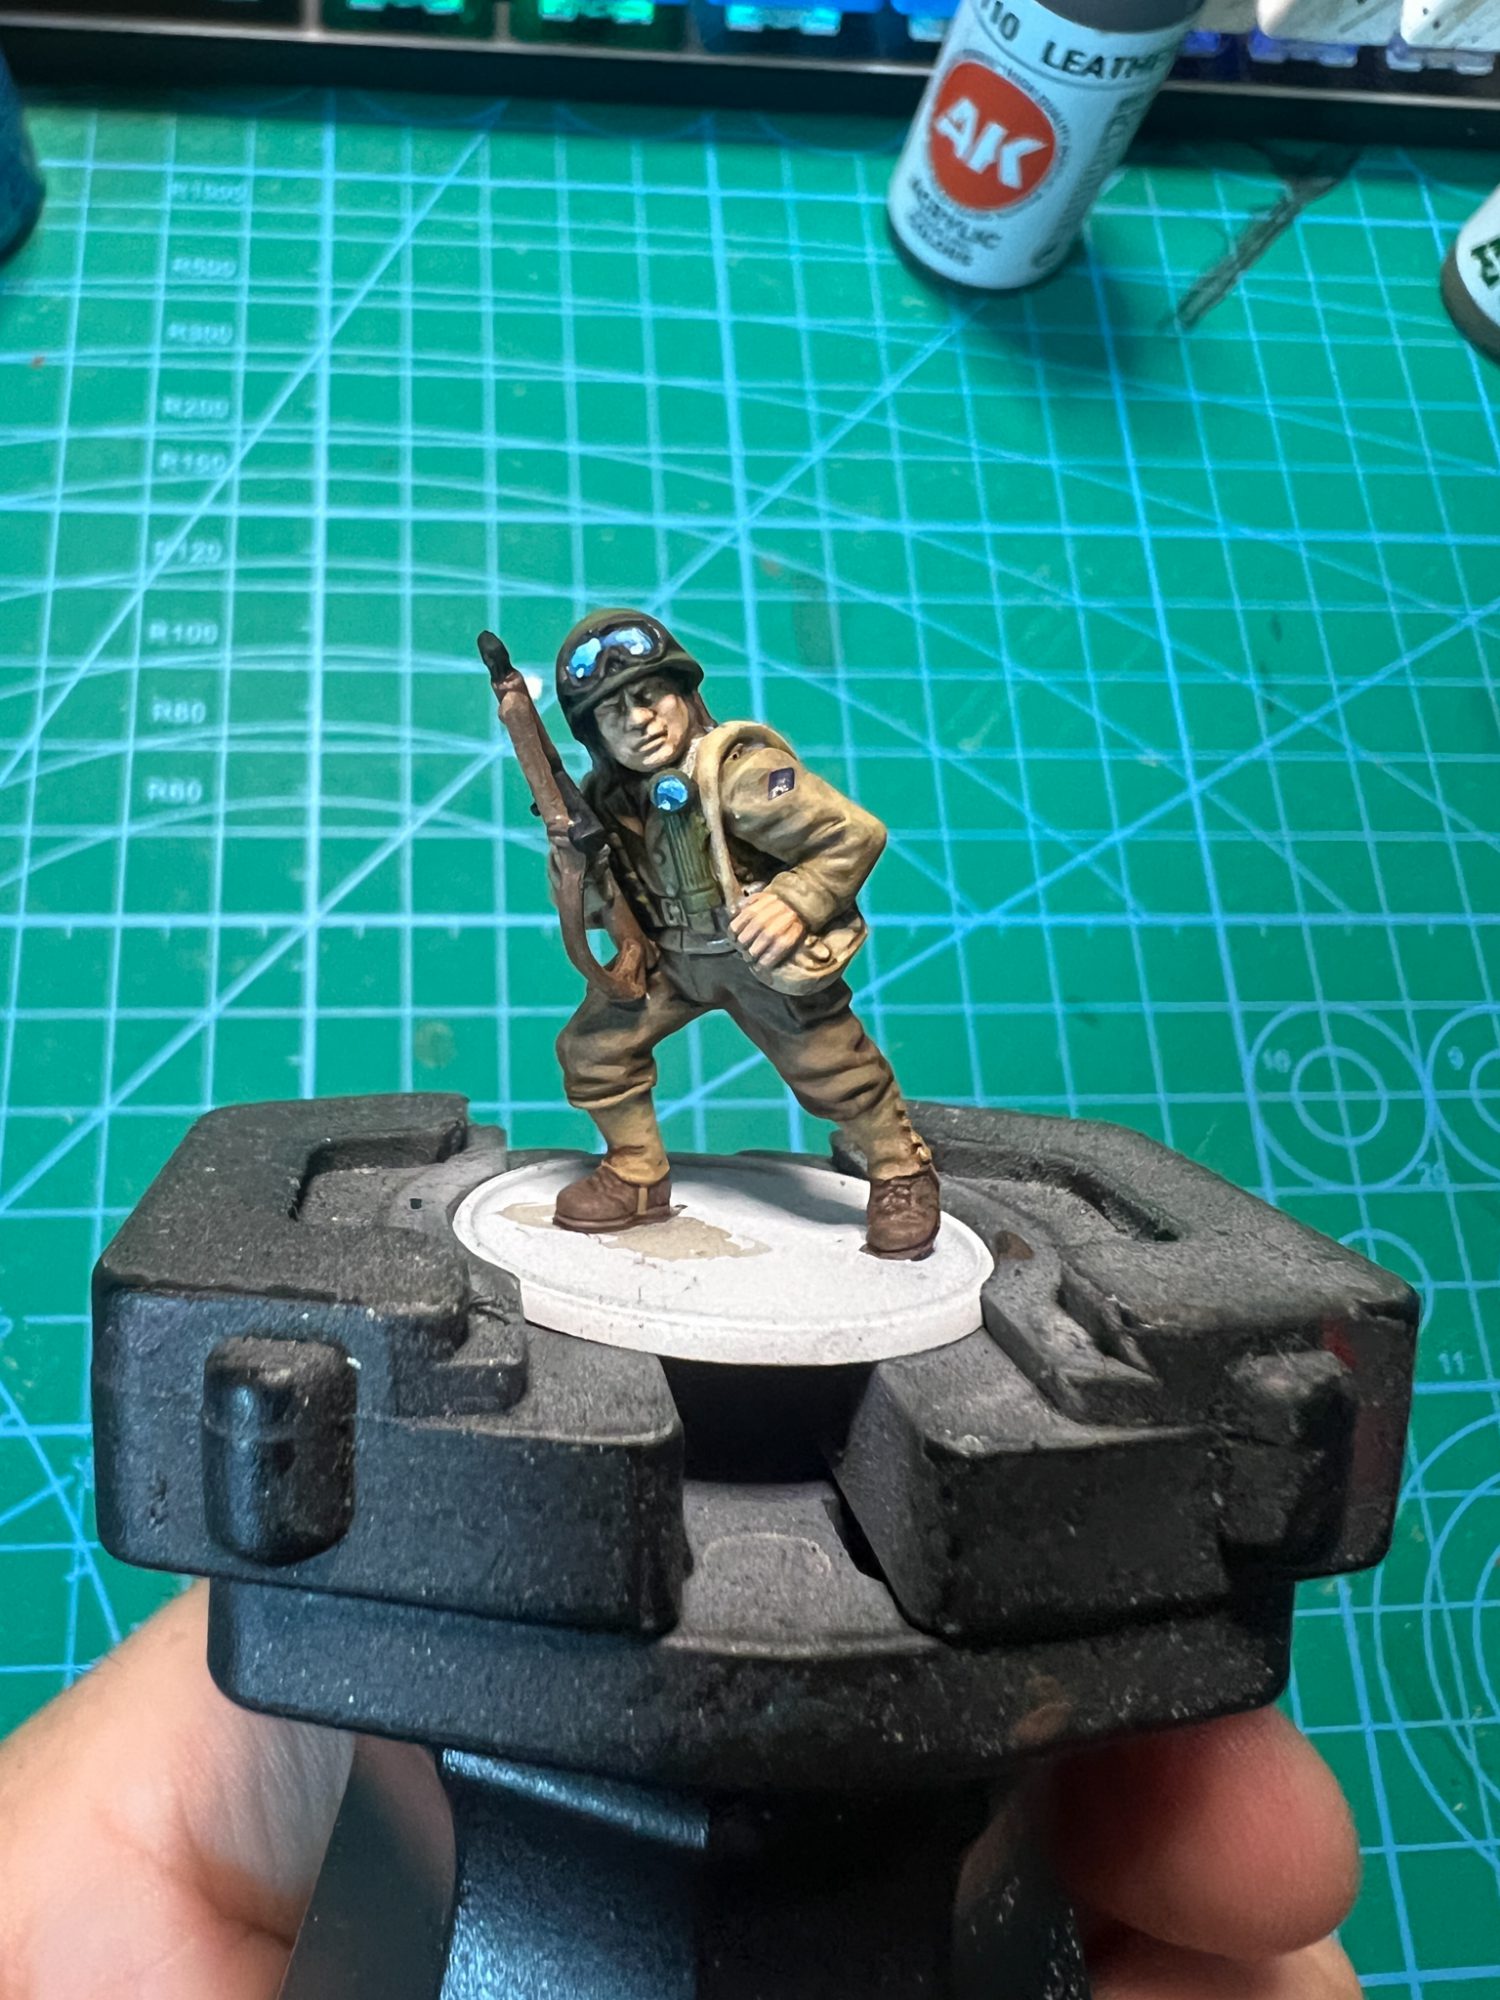
Highlights
Soft Highlights: As mentioned above, simply take whatever color was used for the base coat, add in a little bit of Ivory by Pro Acryl (I usually just do a small dab with my size 1 brush and mix it in with 2 drops of the base color). Thin out the paint to a glaze consistency (this means the paint should be pretty watery and translucent. When you apply it to an area like your thumbnail, you should see the color on your nail but you should also be able to see through it) and apply on the upper portions of each section – the top of the helmets, the upper areas of arms you can see when looking straight down at the model, etc.
Lenses: For any sort of glass – goggles, flashlights, etc., I paint them by first basecoating the entire area with Black (Vallejo Model Color) then a dark blue in 90% of the area that was just base coated black. You can use any dark blue – think like Kantor Blue from Citadel or Dark Grey Blue from Pro Acryl. Then you want to pick a brighter blue – I used Temple Guard Blue from Citadel – and apply it over 80% of the area you just painted the dark blue. In general, you want to follow the shape of whatever you’re painting and paint the upper portion, leaving the bottom black. Lastly, add in a little brighter tone – I used Ivory from Pro Acryl – and do a thin line across the top of the shape. The last step is to add a white dot on the apex of the curved line you just painted and on the bottom in the black area. It should look like the below:
Basing
Basing: I based these Rangers on the film Saving Private Ryan, and my favorite scene from that movie is when they finally find Private Ryan in the flower field when they blow up the half-track. Because this is my favorite scene (and I was watching it while painting these models), I knew I had to base my guys to match this scene. Luckily it’s very fast and easy! Simply cover the base in AK Interactive’s Dark Earth Diorama paste (or a similar dark brown paste). Allow to dry, then begin sticking some Gamers Grafts tufts on top of the paste. Sometimes these can peel off because the glue isn’t the best – if you’re worried about that, just add a little drop of superglue before you put the tuft down and it won’t come up. I also used Gamers Grass flowers here.
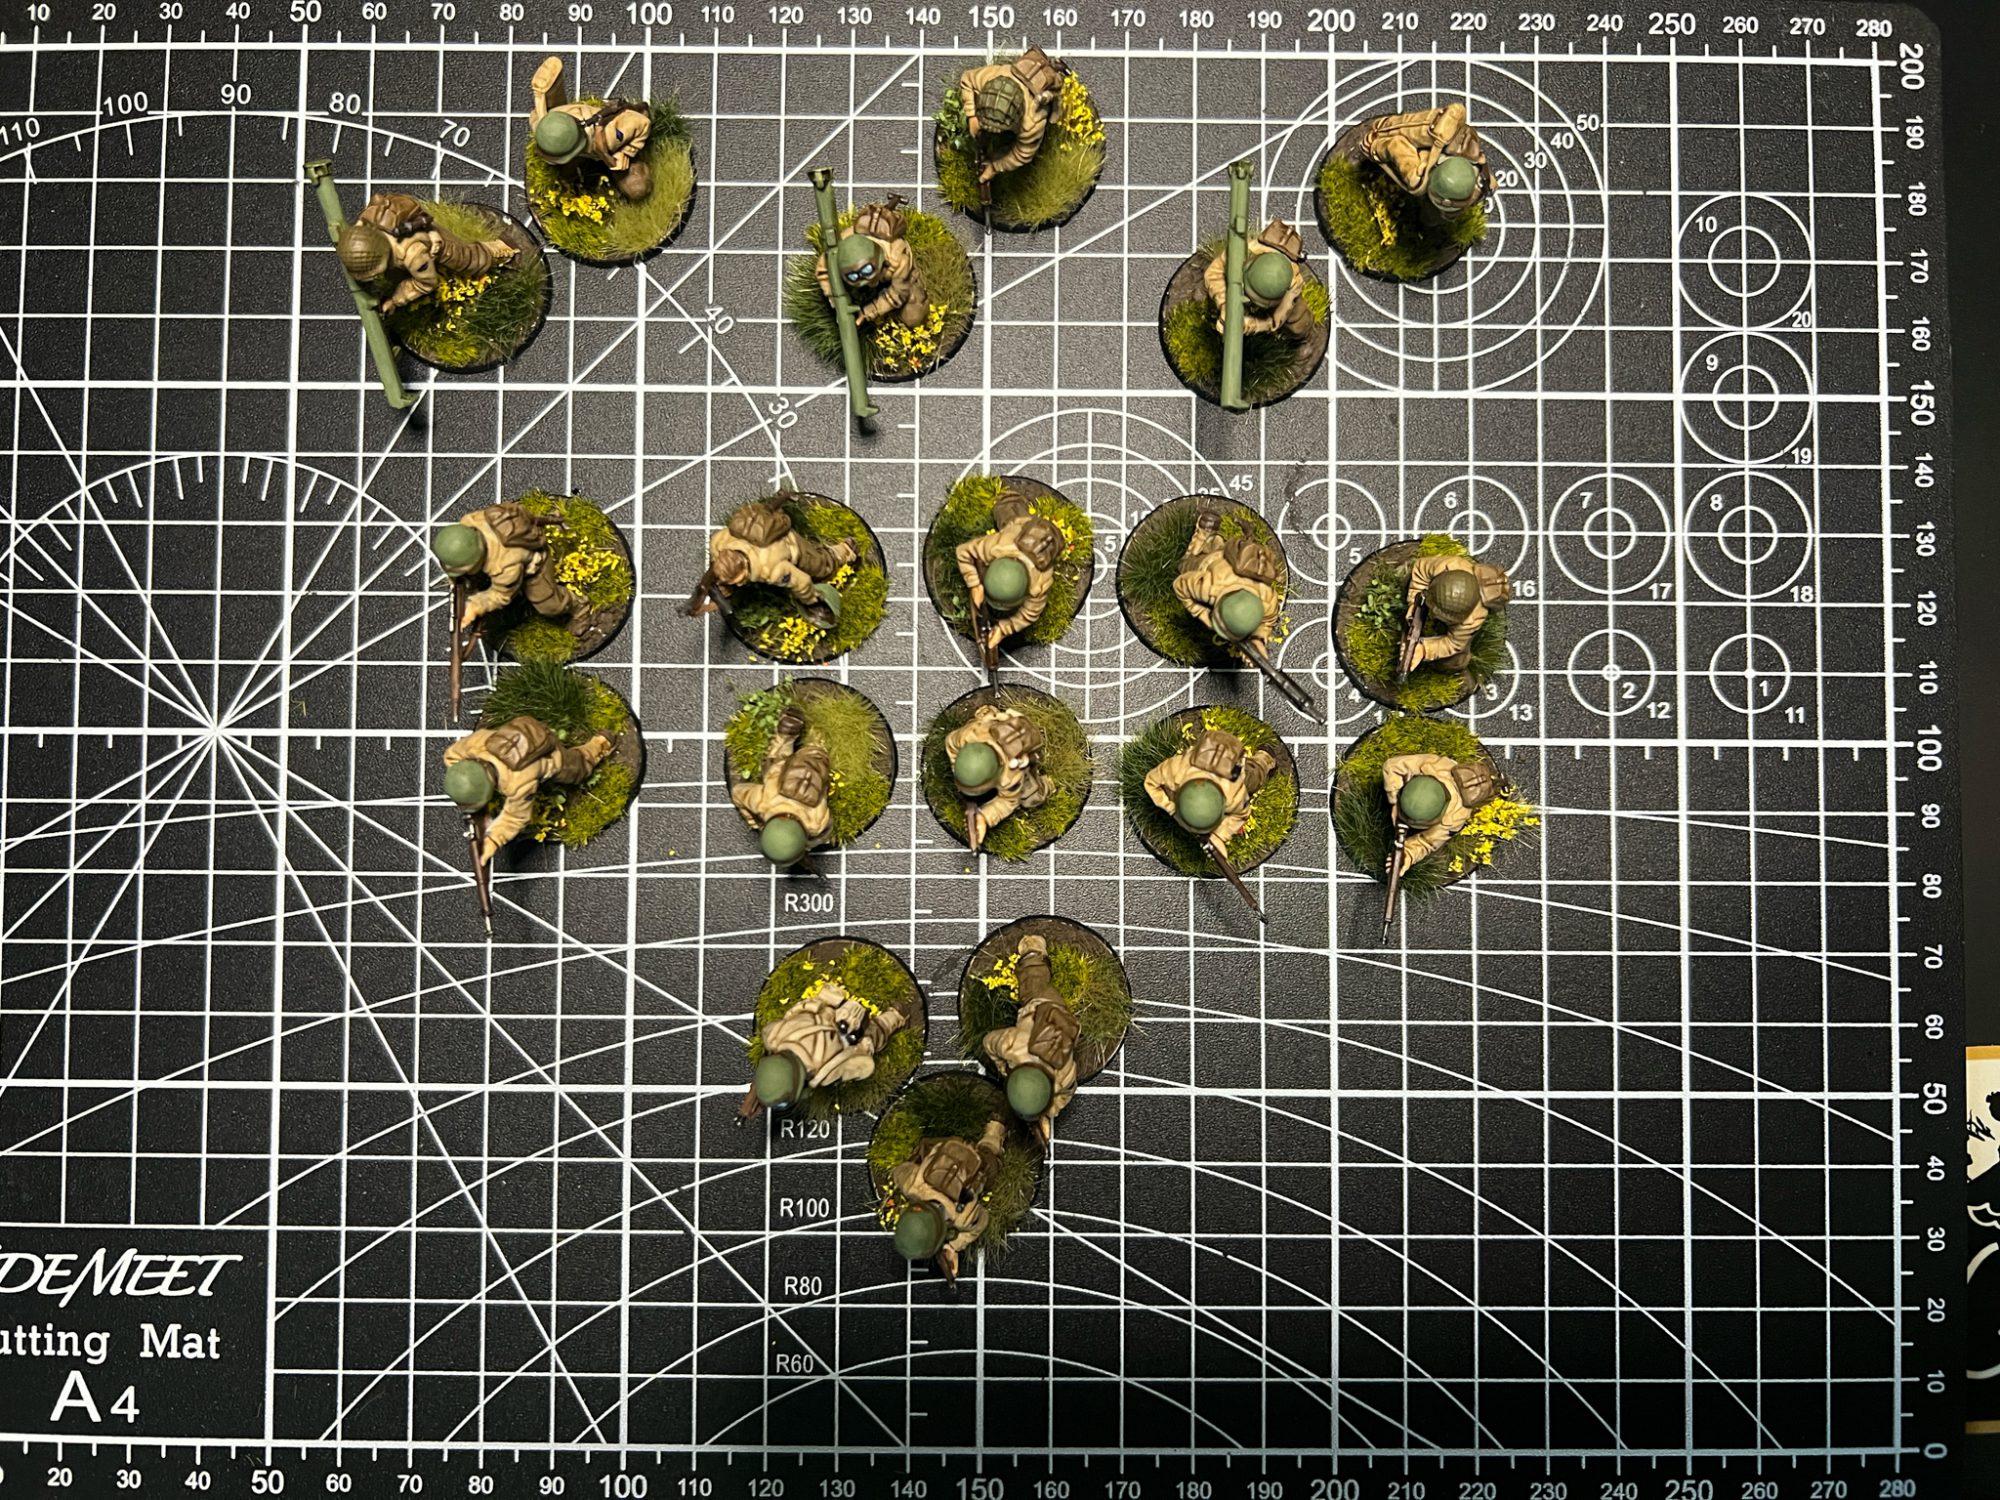
To me, I think one of the best ways to do grass fields is to actually vary the size and color of the grass tufts you’re using. If you look at unkempt fields of grass, they’re rarely all the same size and color. It’s a jumble of vegetation, so I try to reflect that in my basing.

In conclusion, these models are great! As with most Warlord kits, I found assembling to be easy, cleaning mold lines to be a real pain and painting them was a ton of fun. With Bolt Action V3 coming out shortly, if you haven’t put together any American troops, now is a great time and this is a great kit to do it with! If you have put some together already, let me know what you thought below!
Have any questions or feedback? Drop us a note in the comments below or email us at contact@goonhammer.com. Want articles like this linked in your inbox every Monday morning? Sign up for our newsletter. And don’t forget that you can support us on Patreon for backer rewards like early video content, Administratum access, an ad-free experience on our website and more.
