In this special edition of How to Paint Everything, the Go On, Hammer! Team offers you tips, tricks, suggestions, and other manner of hobby know-how to help you get across the finish line with your non-miniature painting needs. Whether you’re painting a birdhouse, and outhouse, or your actual house, we’re here to lend a hand and a hammer (although, you probably don’t want a hammer for painting. That one’s free).
Interior Walls
Marcy: Like the classic film Dodgeball says, if you can dodge a wrench, you can dodge a ball, and so if you can paint a miniature, you can paint a wall. That might sound glib, but from having painted far more walls than miniatures in my life, the skillset is quite similar, and in a lot of ways applying things that you know about painting miniatures works extremely well for interior housing walls. There’s also quite a few things people tend to not realize or not know, and also that they tend to learn incorrectly by having their usual first exposure to DIY work be their parents, who are possibly a lot of things, but regular painters are probably not one of them.
One of the best tips I can offer that I’ve heard or seen horror stories of is the fact that people often don’t realize they have to clean a wall before painting it. If you’ve ever noticed that your paint job on your living room wall has bumps and other odd textures in it, you probably painted over dust and other things that were on the walls before you started painting! Alternatively, cracks in the wall or other slight imperfections can lead to other odd issues, so smoothing the surface with something like caulk or spackle can vastly improve your end result. If you like, think of it like cleaning your minis and filling gaps, and it will make a lot of sense. Cleaning walls isn’t really as tedious as it sounds, unless they’re extremely dirty; just get a clean towel that isn’t going to leave fiber particles and give the wall a good rub down; you can even use a slightly damp towel if you’re particularly worried, or even dust and then wipe it down.
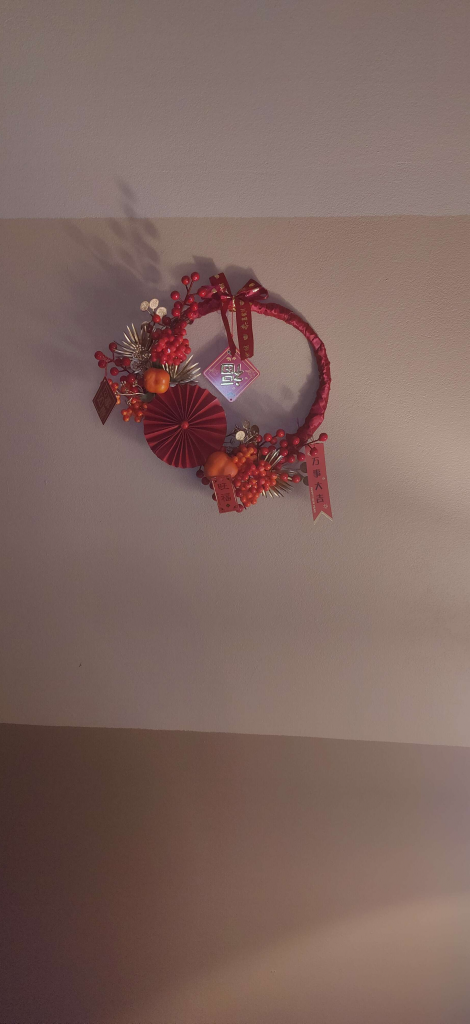
Painter’s tape is my best friend, and probably should become yours too. It helps you protect edges and areas you don’t want painted, but you can do a lot of really cool things with it. Perhaps the proudest wall I’ve ever painted is a living room wall that has a 3 color gradient with extremely straight, clean lines all the way across the entire space, which I did entirely with the use of painters tape and patience after measuring and sketching out where each section of the wall would start and stop (The fact that the wall kind of looks a bit like Dig Dug layers is unintentional, despite my obsession with the game. Probably).
Something that I wish I’d known earlier is that priming a wall makes everything else so much easier; quite a lot of my youthful DIY ‘volunteering’ involved painting walls that weren’t primed, and boy, was that not fun. Priming your walls is just like priming your minis, folks: it helps the final coat stand out better and take better and helps you even out what you’re painting over or on. As far as the actual paint you want for your space, the other fun parallel to minis is that thin, multiple coats of paint done over time comes out much, much better than slapping heavy rollers against a wall and painting like you only have one chance at this. Unless you’re some sort of house flipper on TV, you likely have a good chunk of time to paint, and taking your time to do it properly with multiple coats will go a long way!
As a final tip here, if you have the money and space available to store some more paint than you need for your project, I really advise having an extra gallon or so left for repairs and unexpected instances, such as when your cousin’s child scrawls on your wall in marker when you were told they were “very well behaved in other people’s houses”. This is especially true if you are going for unique color schemes, because over time color matching can be a pain in the ass and may lead you to impromptu redecorating or entirely painting a room over again, which sucks.
NotThatHenryC: I’m in the middle of doing some renovations to my house so I thought I’d throw in my thoughts. I’m probably in a slightly different situation to Marcy in terms of the time I have available, which can change some of the calculations on priority. We’re moving towns this year so we need to sell up. Preparing a house for sale involves a lot of white emulsion and not many interesting colour gradients. In my case it also provides a powerful motivation to do a load of jobs I hadn’t got round do.
The toughest part of this job was the staircase. It’s three stories and at the start it had multiple layers of wallpaper on, all damaged to some degree. The top was this textured stuff that I guess somebody must have loved, but I didn’t. Before we could paint we had to get all this stuff off and repair a lot of damage – some of which we caused getting the paper off. It was worth doing this for the finish we were eventually able to get.
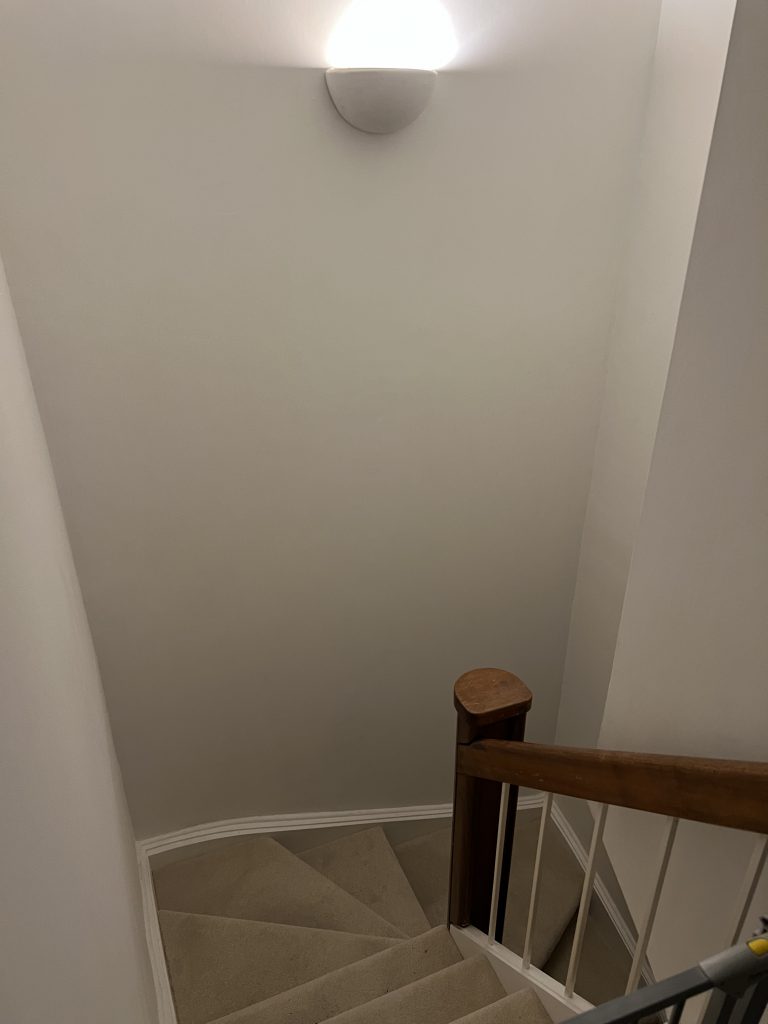
The safety issues of a project like this are a bit different to working with minis. It’s not all that bad to get a little nick to the finger from a hobby knife now and then, especially as you’ll probably superglue it back together soon anyway. Falling off a ladder down a staircase wouldn’t be good though, so it’s worth making sure you have decent equipment and take all possible care on a job like this.
Removing layers of different paper, which had originally been stuck down with all kinds of different glues, just took a lot of time. Some layers responded well to having water sprayed on first, but others came off better dry, for example. A good scraper, actually a filling knife with a wide end, really helped.
When it was all finally off the next job was to paint a thin layer of white primer over it all. This didn’t look good but showed all the dents and scrapes in the surface to fill – which we then spent the next few hours doing.
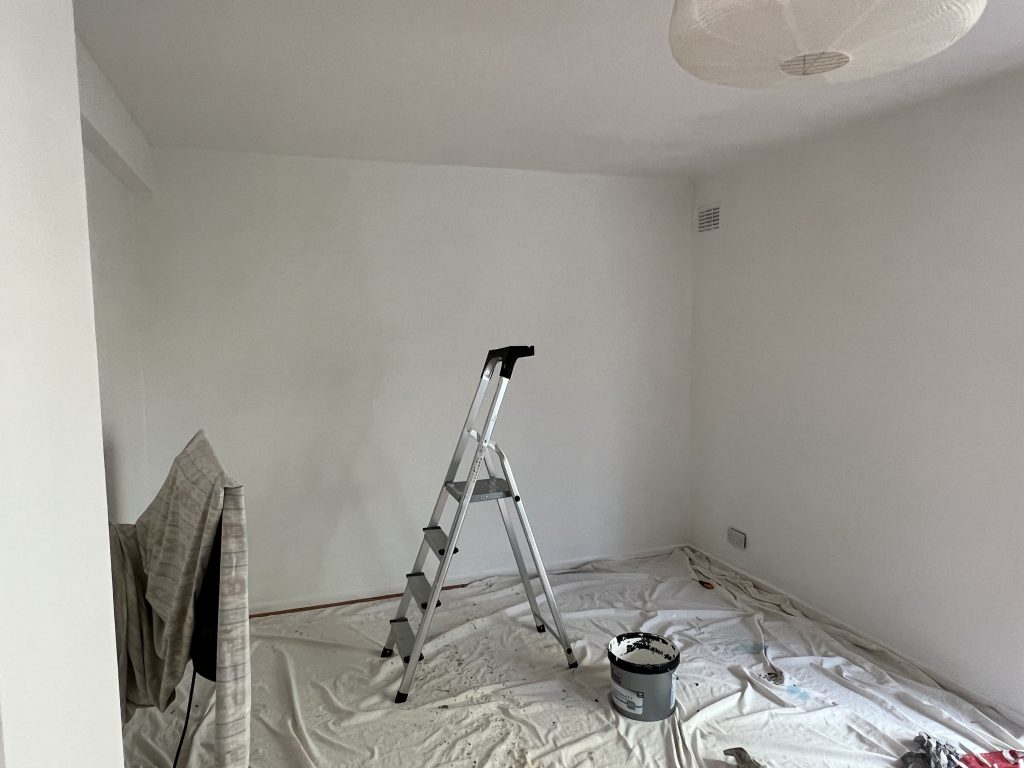
When actually painting I’ve found that a long stick for your roller is surprisingly transformative. The fact you’re holding the roller in two hands with some leverage is one of the rare cases where you get better results, faster and more easily. Unfortunately, some of the poles on the market are a bit rubbish and I’m currently sad because mine is broken.
Good paint helps a lot with speed. You’re not going to get the job done in one hit but you don’t want to have to do five coats. I’m nearly at the bottom of my second 10L pot of Dulux Supermatt and I’m very happy with how it goes on. I’d really strongly recommend water-based paint for everything nowadays as it’s just so much less hassle to clean off brushes and anywhere else it shouldn’t be.
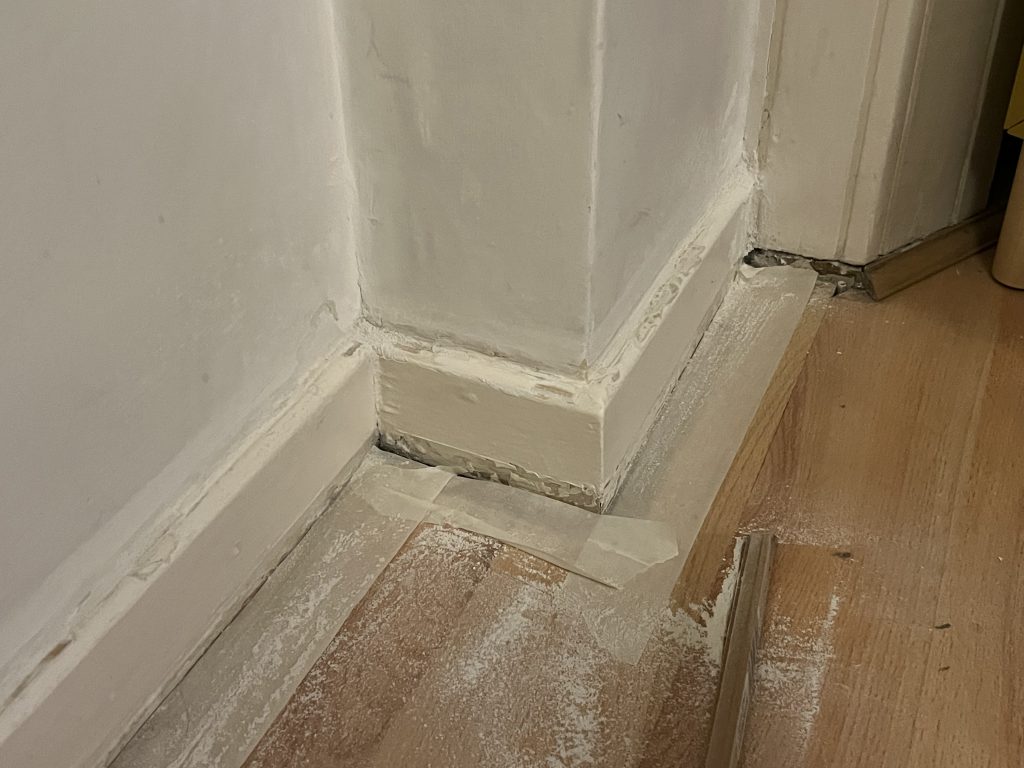
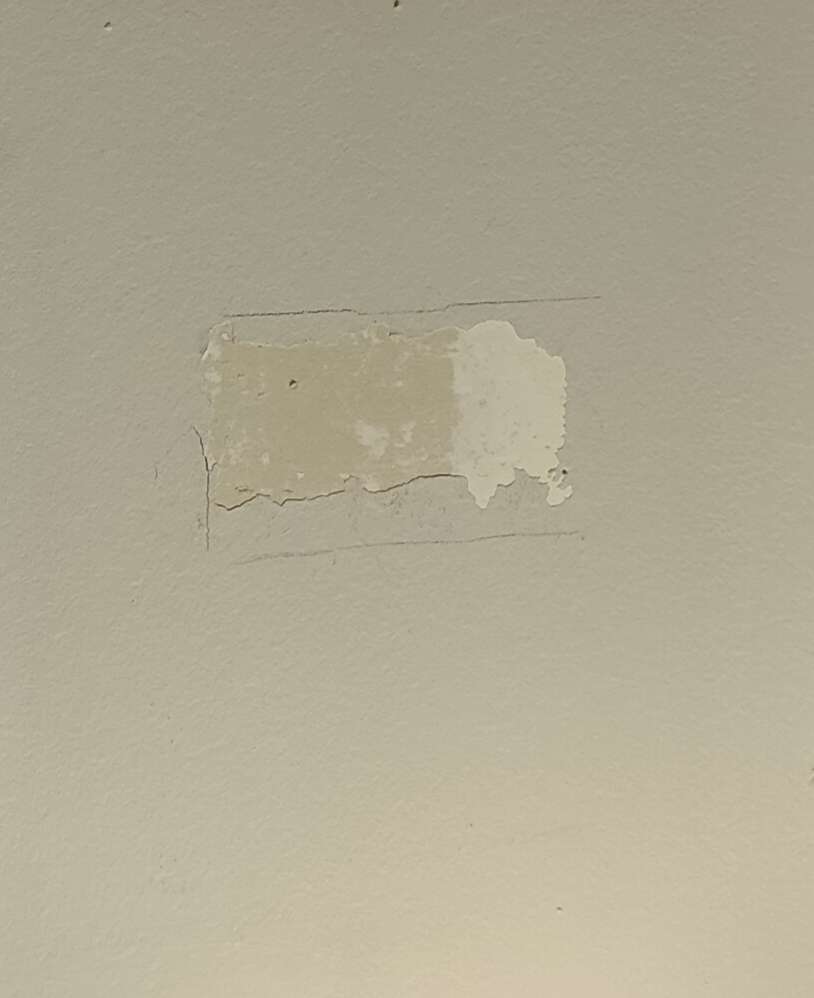
Another feature of my house is ancient cables that don’t do anything anymore, running along skirting boards and things like that. It’s pretty satisfying to pull these away, but it leaves a bit of a scar, full of layers of old paint, glue and the odd nail here and there. Lots more scraping, sanding, filling and sanding again was required before I could slap some undercoat on and begin painting properly. You’ll have to trust me that this looks better than it did.
Next up I’m going to have to tackle a lot of woodwork and doors. I find this much less fun than painting walls on a stick. But the hardest part is behind me now.
Exterior Painting
I’m going to level with you: You should probably just hire someone to do this for you. But if you don’t have that type of cash, or you’re a real DIY Oomfie, I’ve got a few tips for you!
- Are you sure you can’t hire someone?
- You’re going to need to pressure wash your walls. You may also want to inspect them for any type of exterior damage, and you’re likely going to need to ensure that you’ve got a lot of free time in order to do this. You’ll need to make sure plants aren’t leaning against your walls, which might mean trimming or otherwise restricting them, and again, I really just urge #1.
- Okay, so you don’t want to pay someone; that’s fine.
- Once you’ve pressure washed, you’re going to want to invest in good primer paint and possibly a paint sprayer or a lot of rollers. You don’t really need to be as exacting with exterior paint as you do with interior, since you’re likely just painting a singular color rather than doing some sort of design (unless you’re interested in pissing off your neighbors and/or fun HOA legal battles; looking at you, neighbor who painted their house hot pink out of spite), so just take your time.
The biggest exterior housing paint tip I can give you is to pay attention to the weather. You know how people always say don’t prime miniatures when it’s humid outside? Well, your house is outside. Do you think it wants to be painted when it’s humid? No. Check the weather.
Decorative Painting (Birdhouses, etc.)
If you’re looking for DIY painting tips that maybe involve things that aren’t your actual house, then I’ve got some other tips for you. You may remember I recently painted an entire blow mold Santa Claus using Citadel paints, and while Citadel paints aren’t exactly the best economy for your home projects of that size, they can make really good choices for plastic, ceramic, or metallic items that you’d like to give some sort of life to.
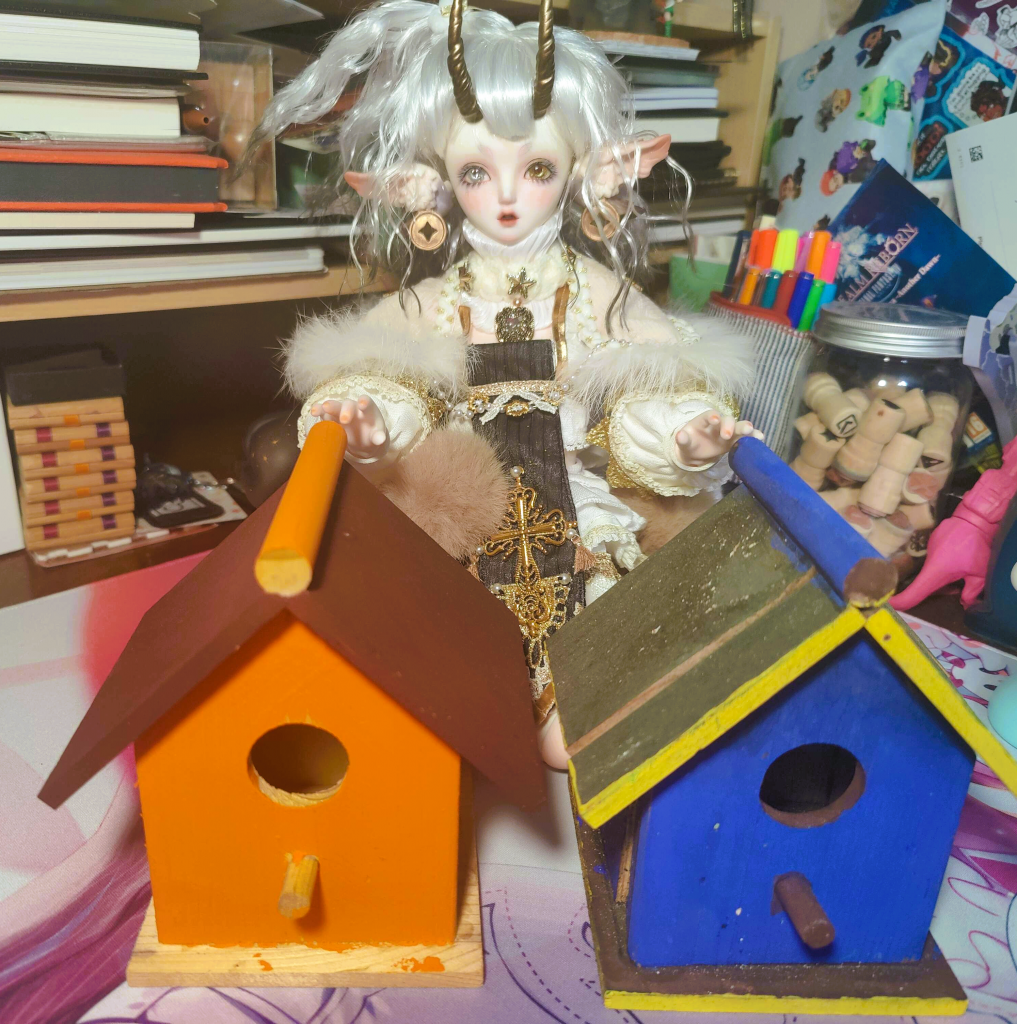
For example, here are two little wooden birdhouses that I recently painted up. Now, what I actually found was that the acrylic paints from Citadel didn’t work super great on the cheap wood these were made from, so I ended up having to rely on some basic craft store paints to get the job done. That said, I used very little effort to do these, and while I doubt birds will end up nesting in them, I plan on hanging them up outside to give a little bit of color to the area in which I have some bird feeders assembled.
I’ve also found that some porcelain, ceramic, or otherwise mass-produced garden statues take really well to spray paints, which have helped keep them clean and also brighten up their appearance. If you’re in the mood, using some of your rattlecans to give your garden gnomes or decorative planters a little bit of extra life. At the very least, they’re likely cheap ways to test out spray paints for your miniatures, as well as giving you a few new ways to test your painting skills and refresh your mindset; I found that after working on these birdhouses, for example, it got me back into the thought of painting minis again, since it helped break me out of the mindset that I don’t have time to paint anything.
