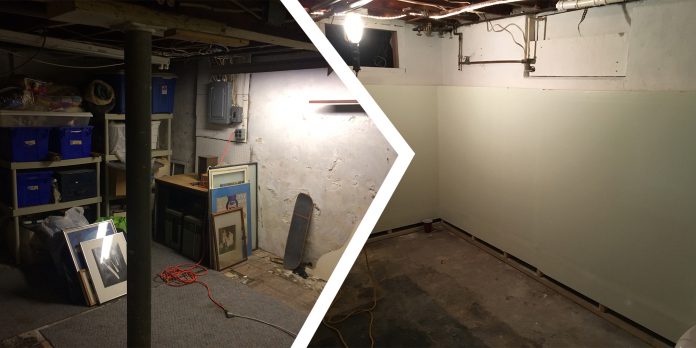
This is the story of a Ham’s first real chance to take a space, and with a lot of work, turn it into a space to hobby and game in. It was never perfect or fully finished, but it was my space that saw countless hours of hobby and many games. You can find the overview of that space in it’s entirety in a gaming space article.
Let’s go back to the heady days of 2016, I had just purchased my first house and I was able to take half my basement and convert it into my new, dedicated hobby space.
I started with a dirty, dank basement, with mold growing on the floor and one wall that was built to look like a log cabin. I got a dehumidifier and with some bleach and a scrub brush got cleaning and made it a habitable space.
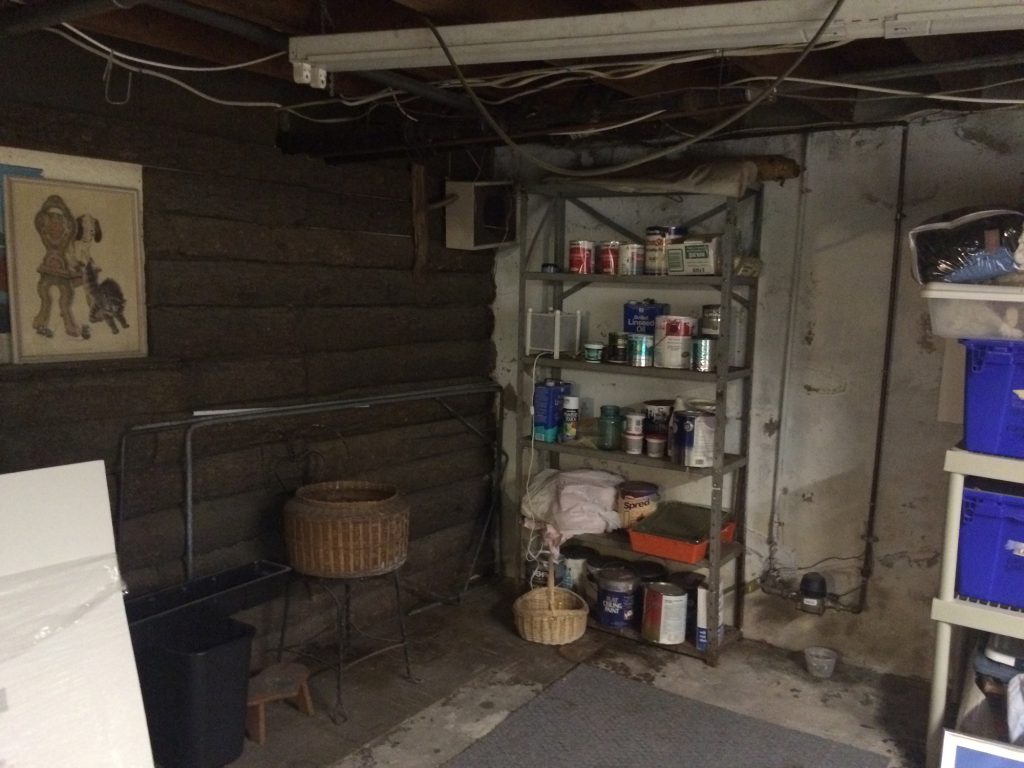
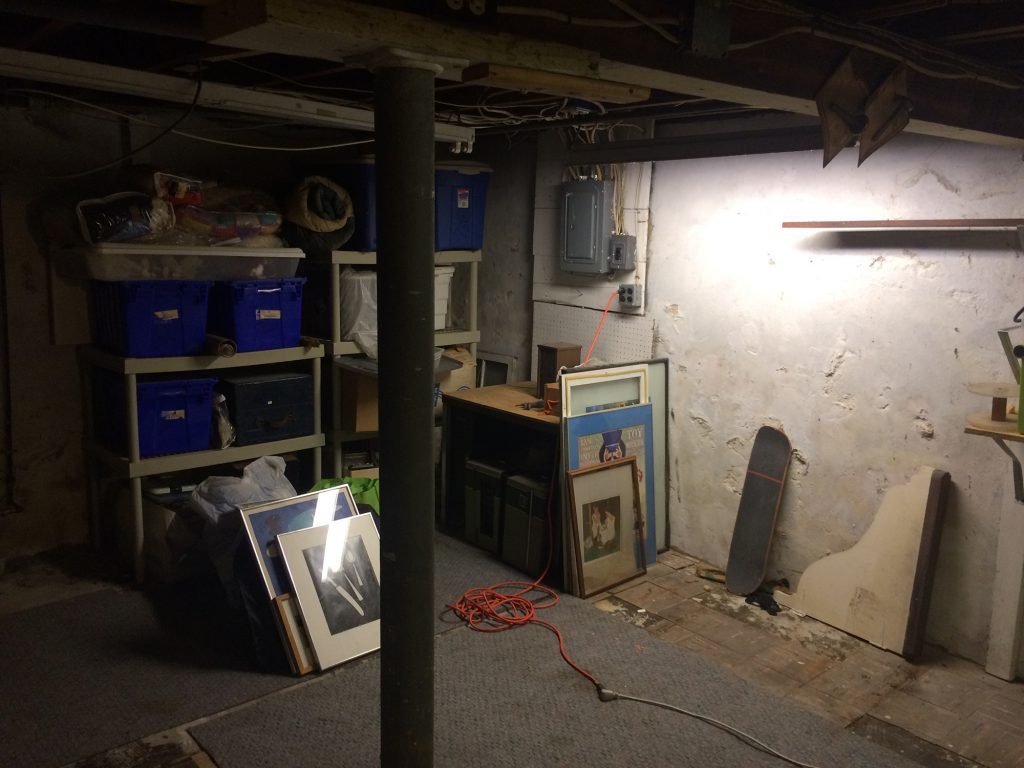
Next up were walls. These were necessary to make it a room and give me space to hang art and ephemera. After a lot of measuring and calculating I went to Home Depot and bought all my materials. Now, this was back when 2x4s were a dollar, so building this out wasn’t very expensive. Nowadays, this would be very different.
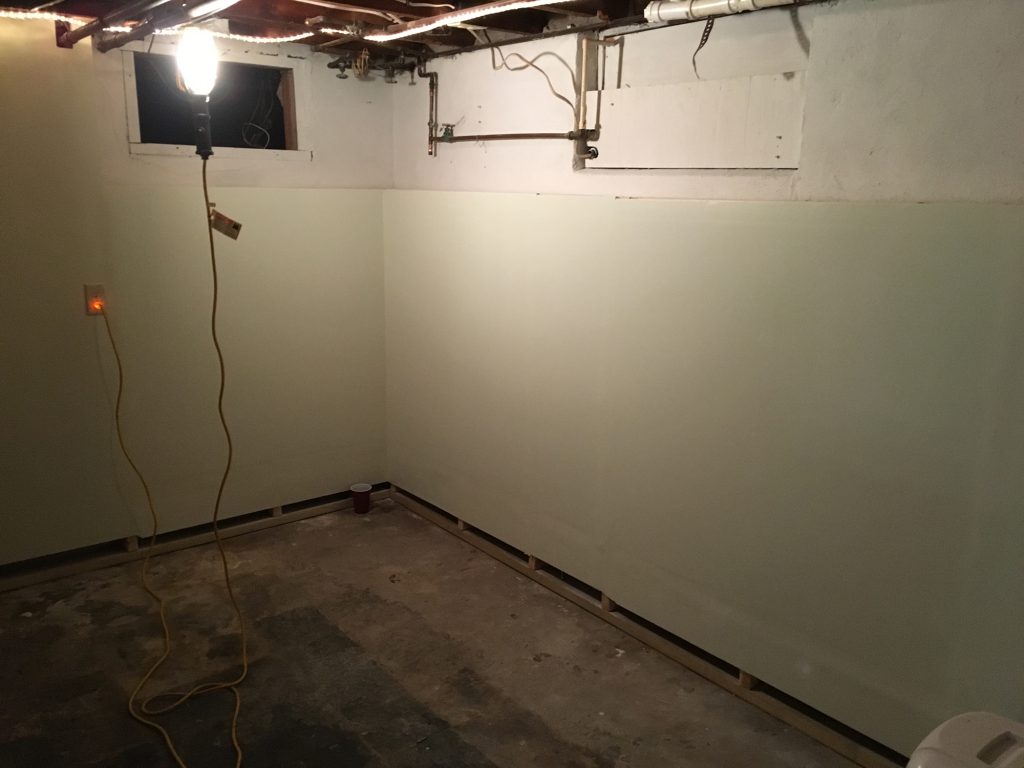
I made a few important design and material decisions at the outset of this project. I used pressure treated 2x4s for my footers to avoid any rot if there was moisture trapped under them. I made sure not to drywall to the floor, leaving about 4 inches of gap and left the top of the walls open and didn’t add a ceiling. That was more due to the fact that the ceiling was very low, but also I wanted to allow for air flow behind the wall to prevent mold. The gap at the floor was insurance against water intrusion, which thankfully never happened.
Drywall
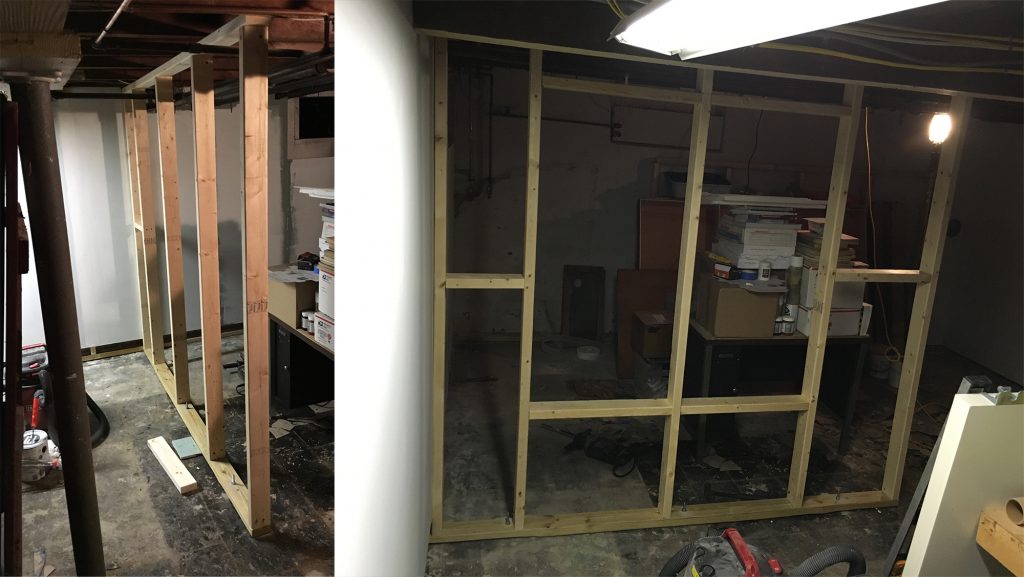
For framing out the walls, I sunk concrete anchor bolts into the floor. I used a hammer drill to drill the holes and tapped the anchors in. With washers and nuts I bolted the footerss down. Due to the ceiling height, I screwed my header to the floor joists in the ceiling and then cut my studs to length and screwed them in place.
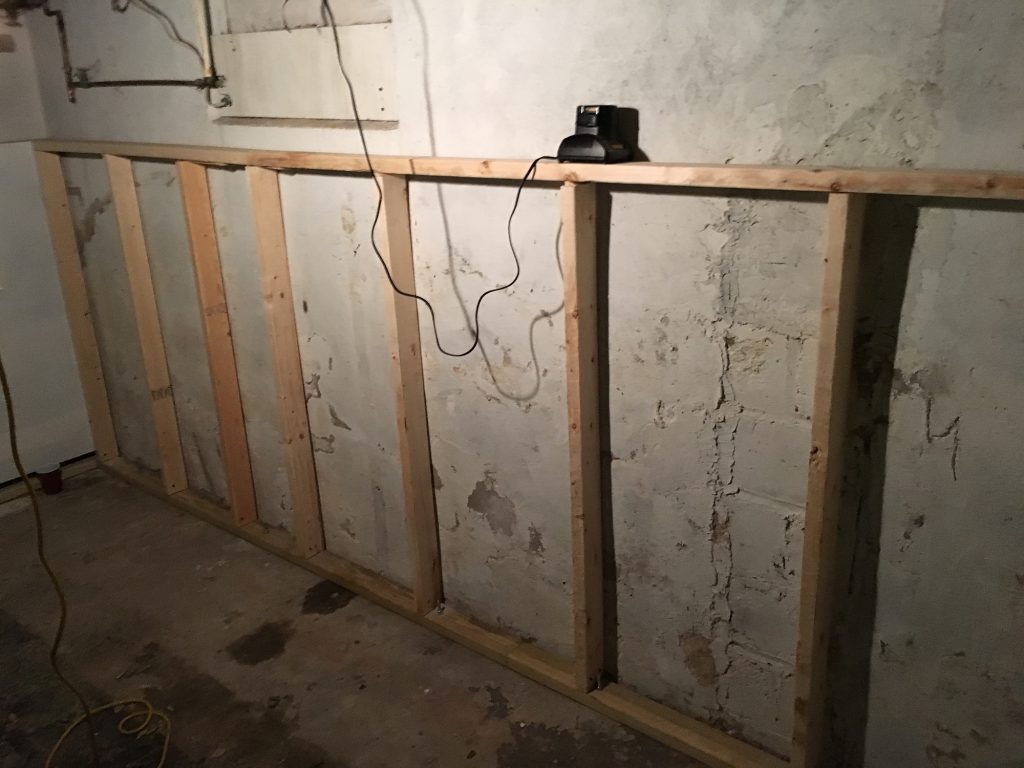
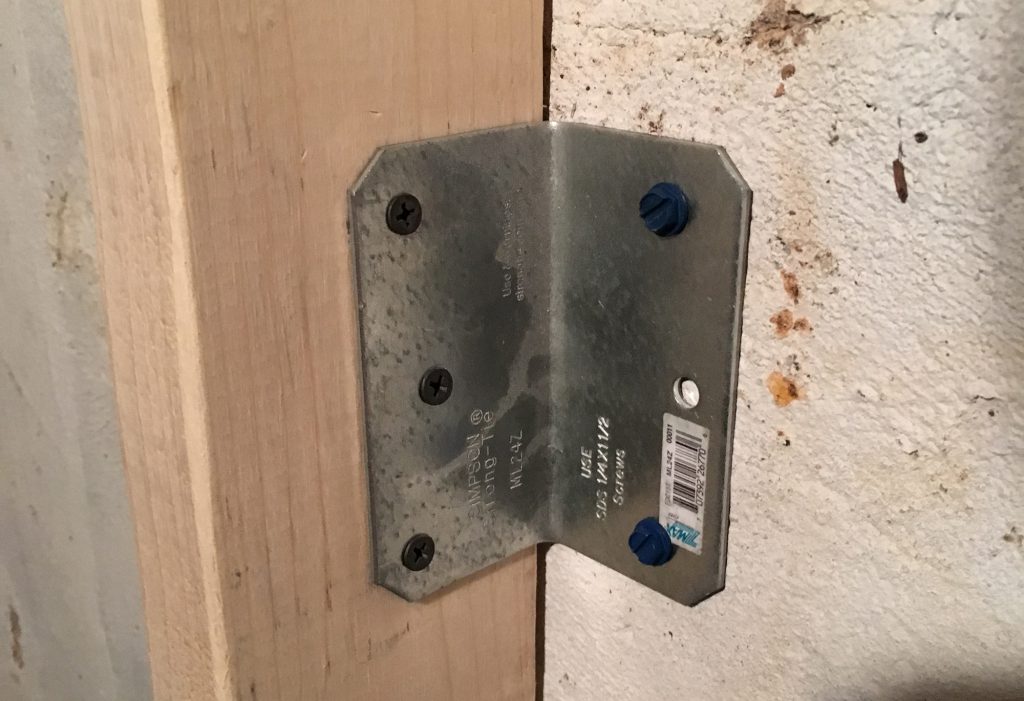
One of the walls needed to be about chest height, which added a wrinkle of how to support it. I used concrete screws and metal brackets.
Here we can go through the drywall process, where it’s cut to size based off your stud spacing. I based that off the space I had to fill, not off the usual stud spacing.
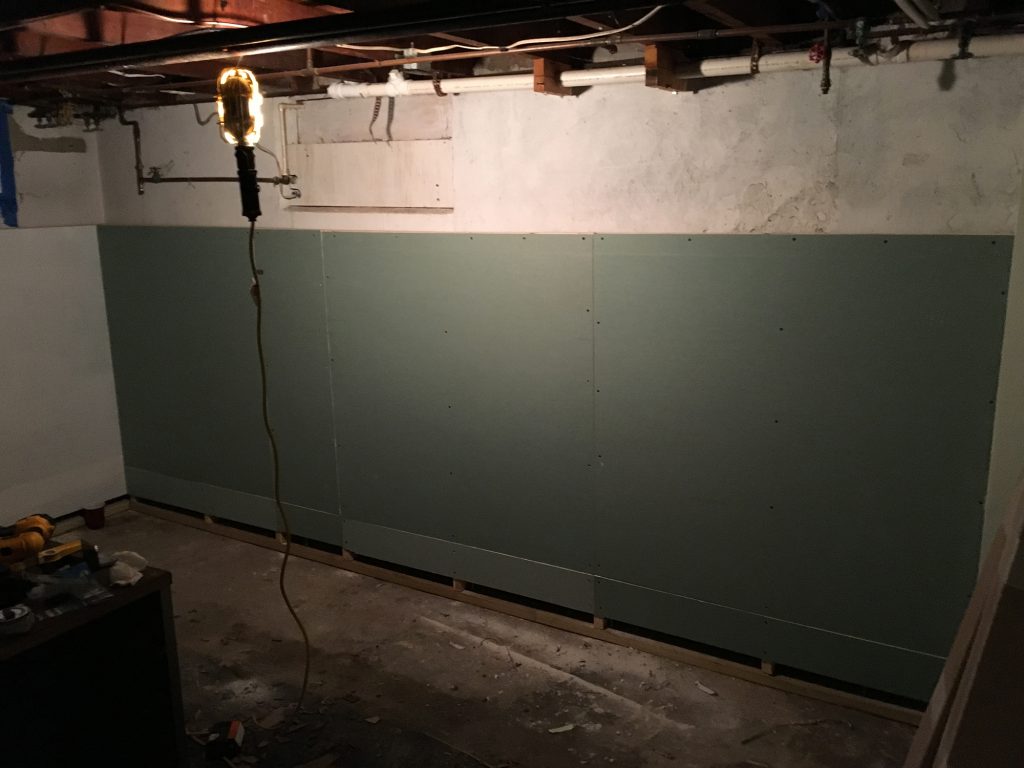
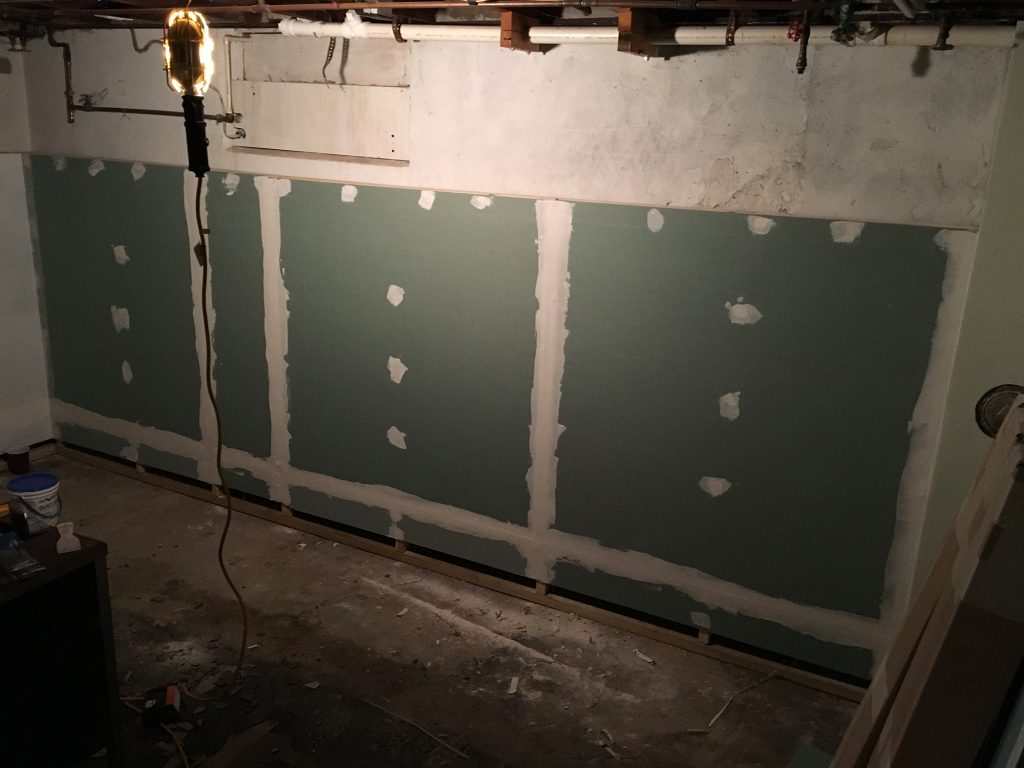
I was also using scraps of drywall, which is how I ended up with very small strips along the bottom. I used drywall sparkle and fiberglass drywall tape on the joints and after some sanding, used a leftover color from one of the rooms we painted to paint it all.
Divider Wall
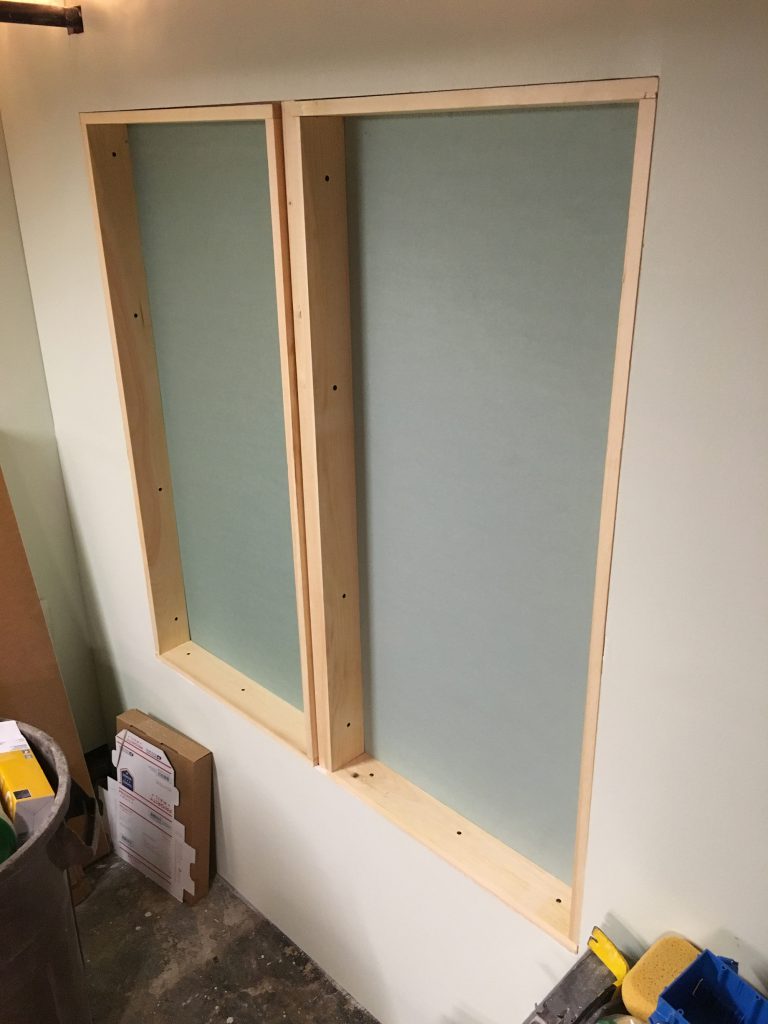
I added a divider wall that I built a display case into using the framing to create the void for the shelves.
After drywall, I used some 1x4s to trim it out the space and added shelves on metal shelf hangers.
Once I had that built and shelves cut, I painted it all black. Which might have been a mistake as it made it very dark, but I lived with it until I moved.

Gaming Table
I also built my gaming table for that space and still use it to this day, having been disassembled to move it and blessed it with some upgrades over the years. I built the frame out of 2x4s and designed it with a shelf under it for storage. It’s a full 4×8 feet in dimension, allowing for a 4×6 board to go on top with room at the ends for books, casualties and drinks.
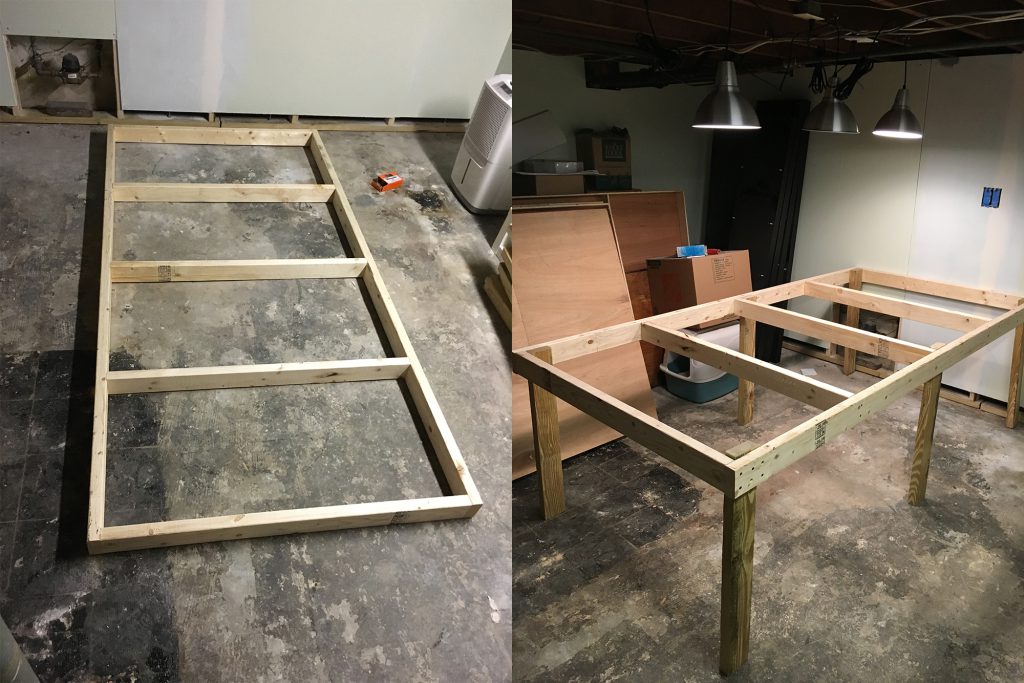
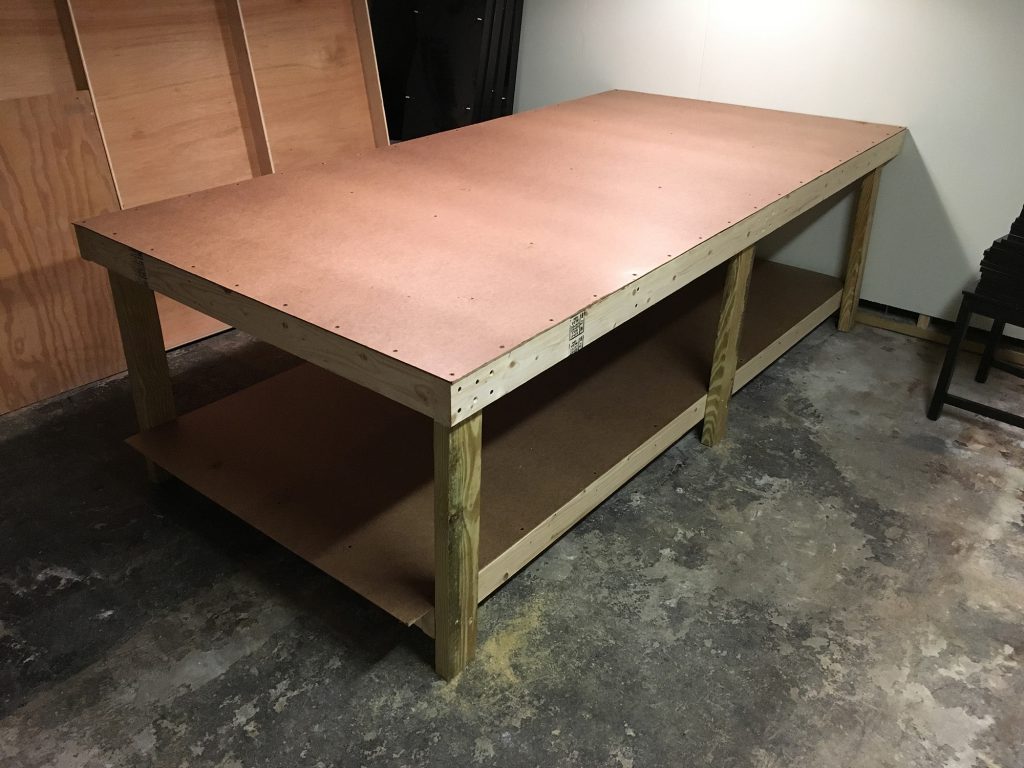
I apologize for the lack of thorough pictures. I wasn’t quite the archivist I am now apparently, and hopefully these overviews helps.
Feel free to find me over on Instagram @40khamslam, drop us a note in the comments below, or email us at contact@goonhammer.com. and ask me questions about constructing or designing a hobby and gaming space.
