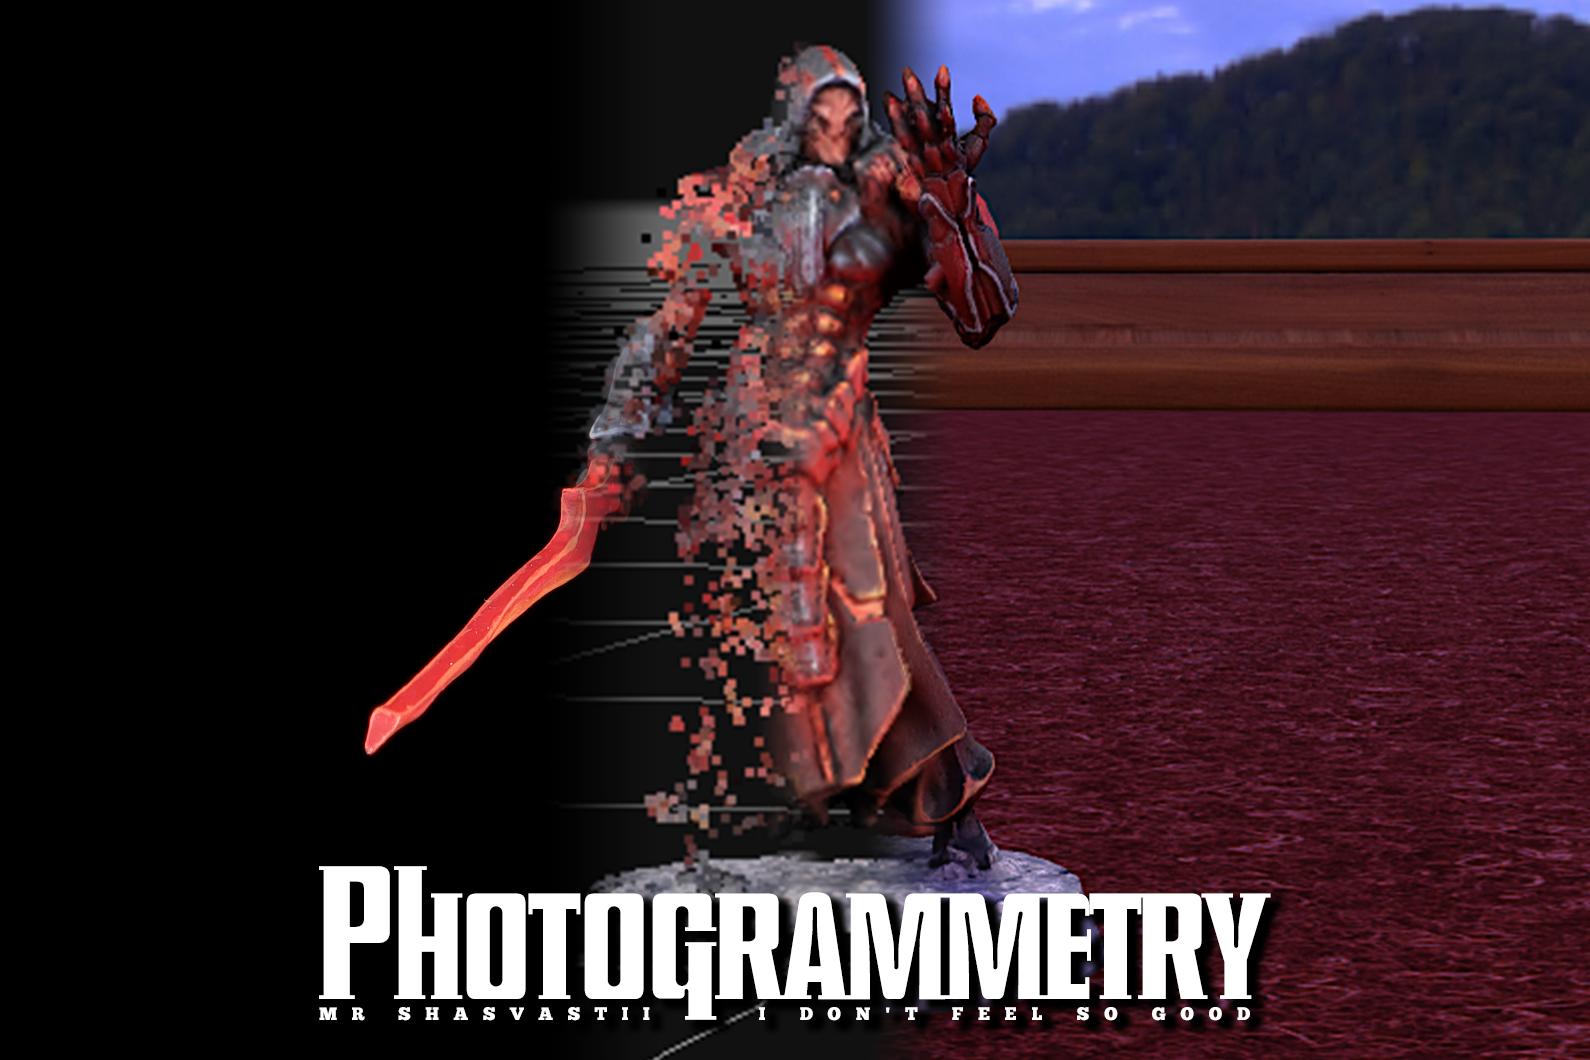
Turn your physical models into digital 3D models in this guide to photogrammetry.
Photogrammetry is the cool thing all the hip people are into these days. Turning your great looking miniatures into digital 3D models and using them in Tabletop Simulator? Why, I heard that person you like uses photogrammetry, what a motivation for you to get started with it!
Here is the collection of all our articles to help you on your path to learning photogrammetry. Follow along as I build the 3D model for my Umbra Legates, which you can see in all its glory right here.
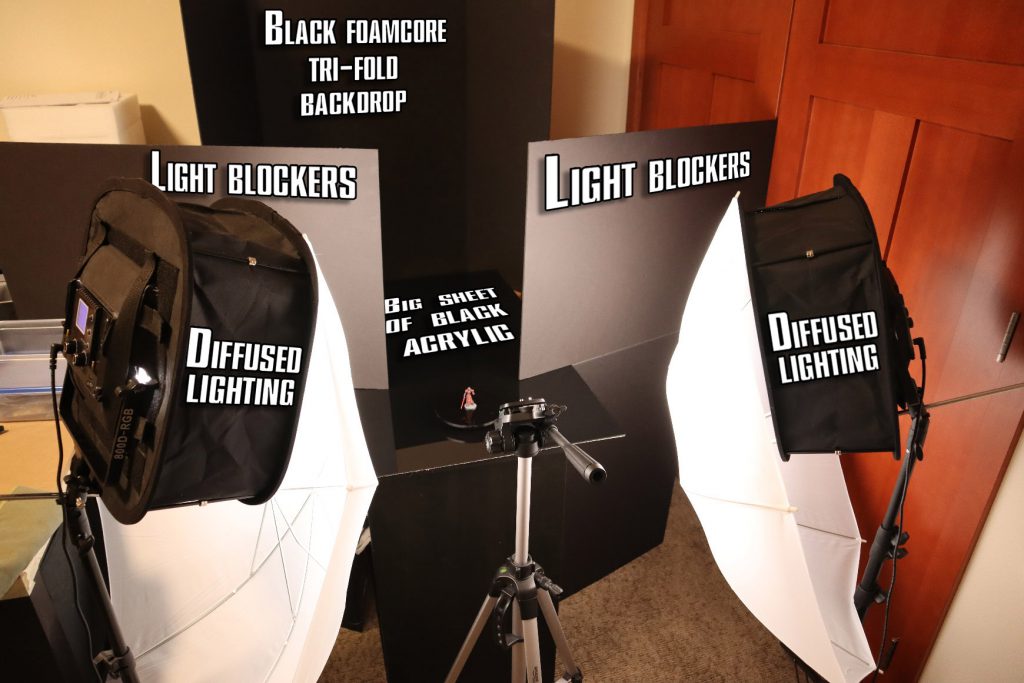
Getting Started with Photogrammetry – Part 1 – Taking Photos
It all starts with high quality pictures, so learn how I take pictures that give me great results, every time.
- What is Photogrammetry?
- What Software Does This Series Use?
- How Many Photos and at What Angles?
- How to Get Great Looking Photos
- Camera and Tripod
- Diffused Lighting
- Surface the Model Stands On
- Black Backdrop
- Light Blockers
- Lazy Susan
- Small Circle of Black Acrylic
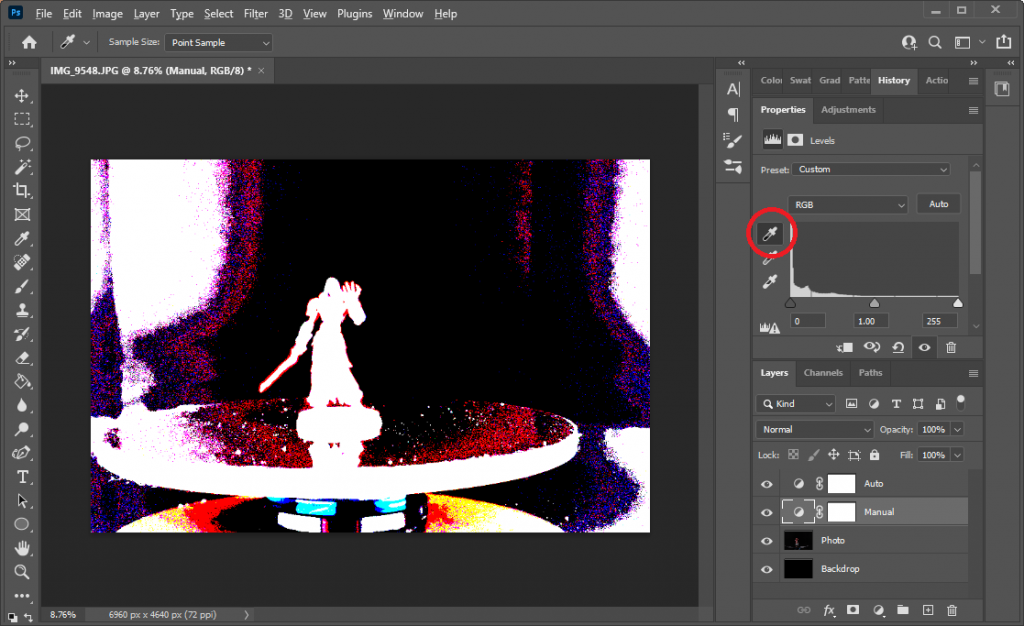
Getting Started with Photogrammetry – Part 2 – Cleaning Photos
Ever wish you knew the basics of Photoshop and how to do some quick steps to isolate your model from it’s background, well this is the article for you!
- Why Clean Photos
- Photoshop
- Photoshop Alternatives
- Open the Photo and Create a Backdrop
- Adjustment Layer – Auto
- Adjustment Layer – Manual
- Masking
- Project Directory
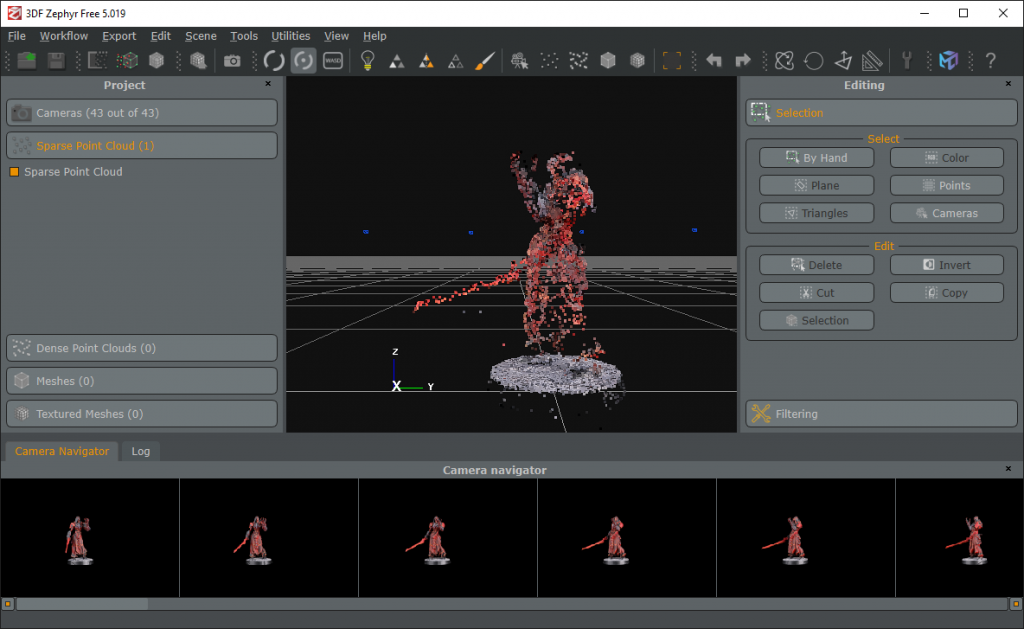
Getting Started with Photogrammetry – Part 3 – Creating Models
Using 3DF Zephyr, we’ll turn those cleaned photos into a 3D model in this exhaustive step-by-step guide.
- The Tools We Need
- 3DF Zephyr
- New Project and Importing Photos
- Sparse Point Cloud
- Dense Point Cloud
- Rim of Base
- Mesh Extraction
- Cleanup – Remove Spikes and Filling Holes
- Retopology
- Decimation
- Textured Mesh Generation
- Export Textured Mesh
- Loading into Tabletop Simulator
Getting Started with Photogrammetry – Part 4 – Cleaning Models
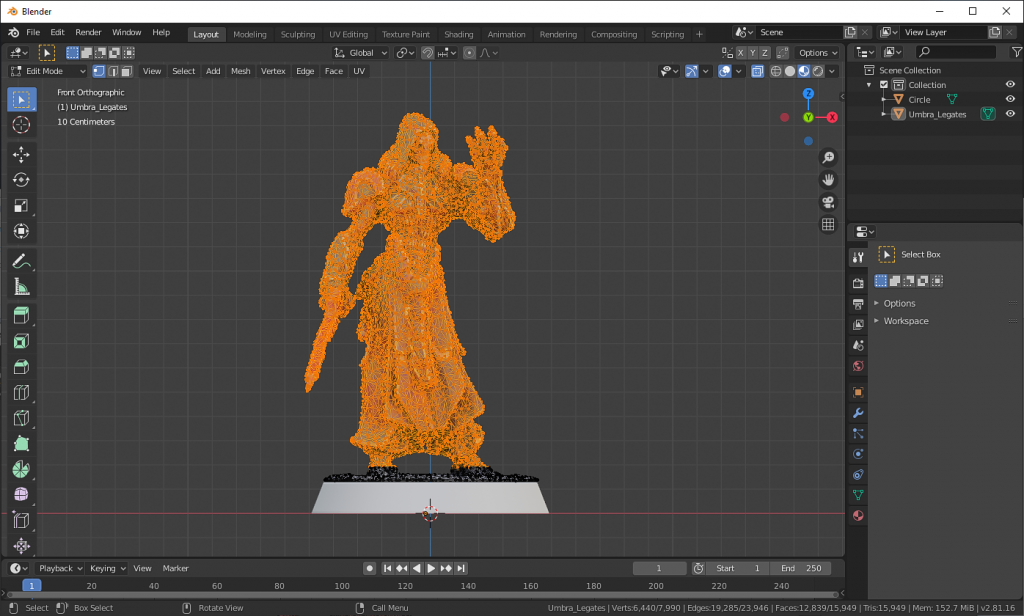
Watch as I hilariously misuse Blender and brute force it to get it to do what I want: putting a final level of polish on a 3D model and getting it ready for Tabletop Simulator.
- Import Obj and Basic Controls
- Brush Mirroring and Viewport Shading
- Camera Projection
- Model Orientation
- Cleanup
- Model Sizing
- Footprint Cleanup
- Settle the Model
- Export the Obj
Getting Started with Photogrammetry – Part 5 – Tabletop Simulator
Importing the final model into Tabletop Simulator. Aligning, linking, and getting it ready for multiplayer games. It all ends here!
- Get a Model for the Base
- Import Your Model
- Align the Model to the Base
- Link the Base
- Color the Base
- Upload to Steam Cloud
- Name and Save
Have any questions or feedback? Drop us a note in the comments below or email us at contact@goonhammer.com.
