Playing at home can be a wonderful experience, but creating a great gaming space with limited time and resources can be a massive challenge itself! Each week in our Gaming Spaces series we’ll be looking at an author’s gaming space, how they built it, and the interesting flourishes that make it theirs. This week we’re looking at Mike Bettle-Shaffer’s gaming space.
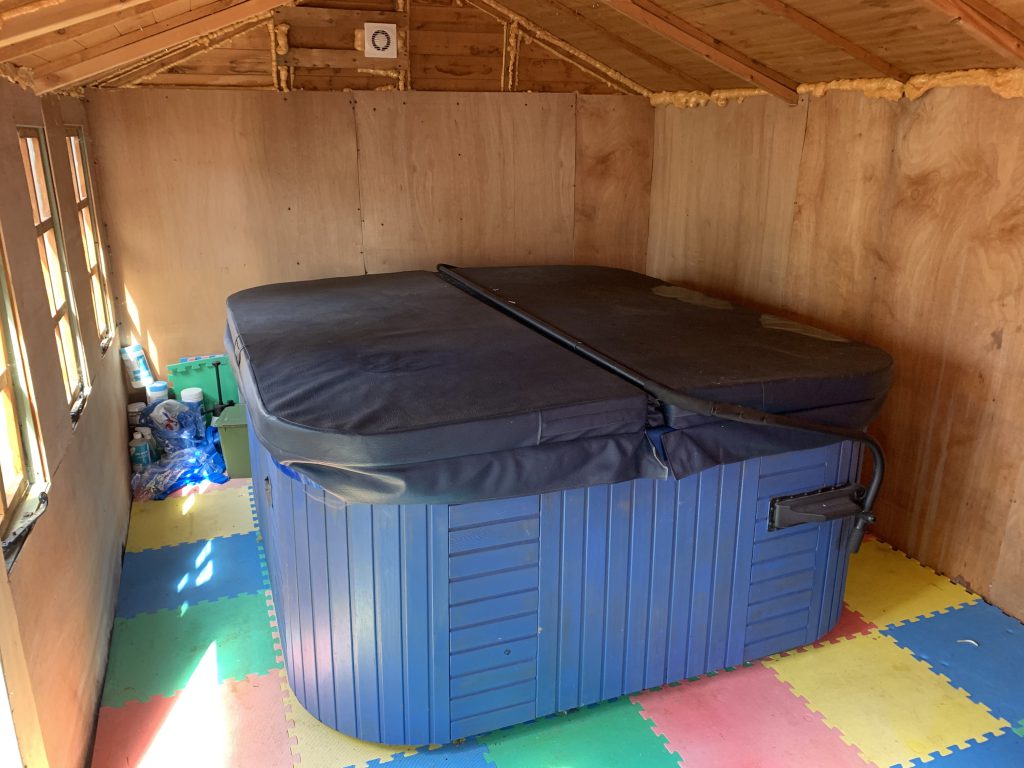
I was recently lucky enough to purchase a home with my wife, and as my father-in-law kindly described it the home we’ve purchased, “it’s like Shed World.” There’s a total of five on the property if you count the garage, which has been converted to a workshop. Early on I claimed the largest of the regular sheds as a new hobby space but there was one very large problem already installed in it:The hot tub. It’s big, heavy, and the shed was built around it. I did have one very optimistic builder claim he could “get [the hottub] out on it’s side” but when the movers actually tried there was no way it was going through the shed’s double doors so I was stuck with it for a little while.
Enter the builder. Finding a reliable builder has been pretty tough this year, with demand for builders skyrocketing as lots of people decided to invest in home renovation projects in lieu of exotic holidays. Thankfully ours was the partner of a colleague from work and had some availability. After having a look around he decided the easiest way to get the tub out was to remove an entire wall “and move it like the Egyptians”. Once the wall was out, me and him used a combination of ladders, planks and bricks to slide the behemoth to its new home, just outside the shed.
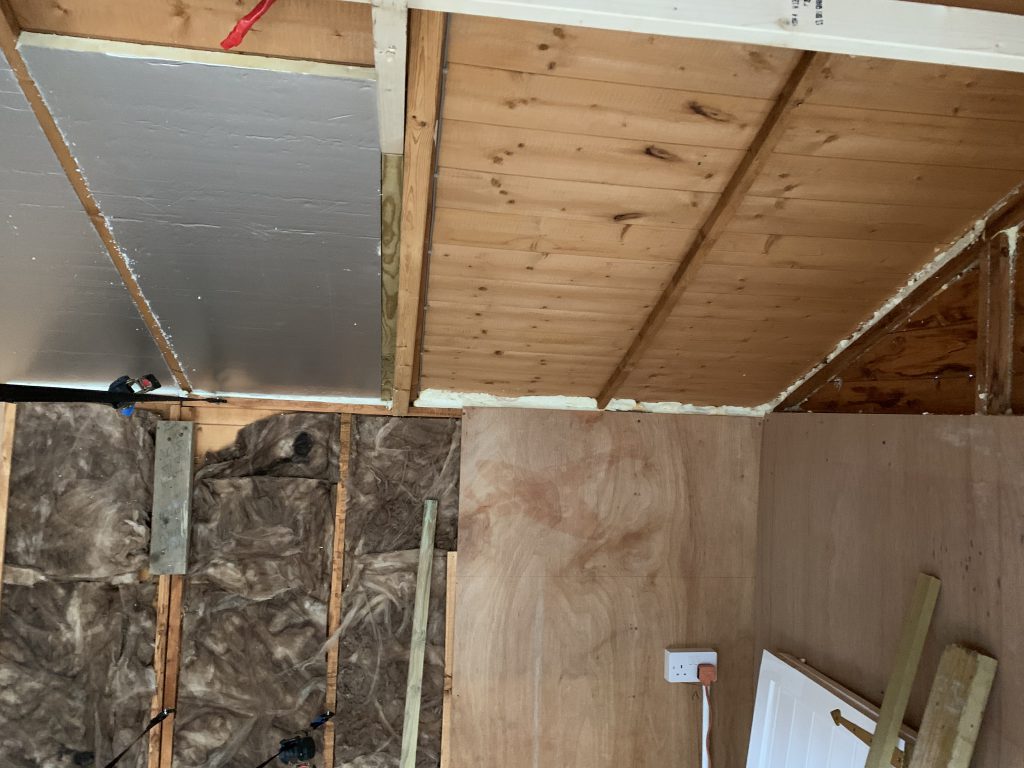
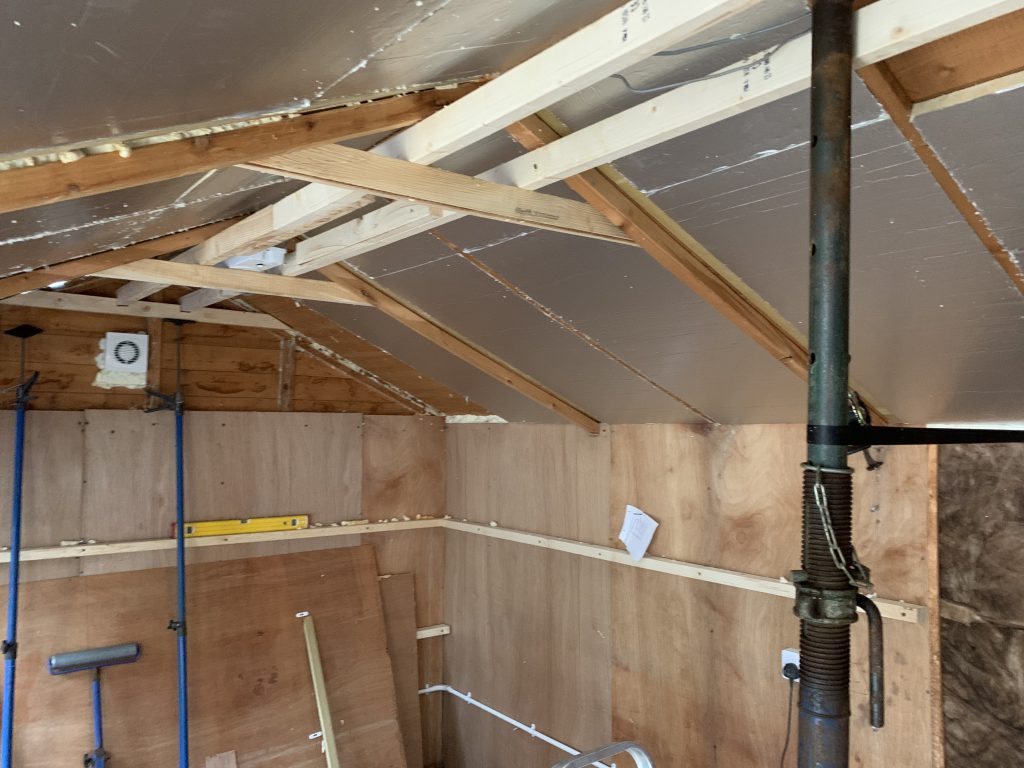
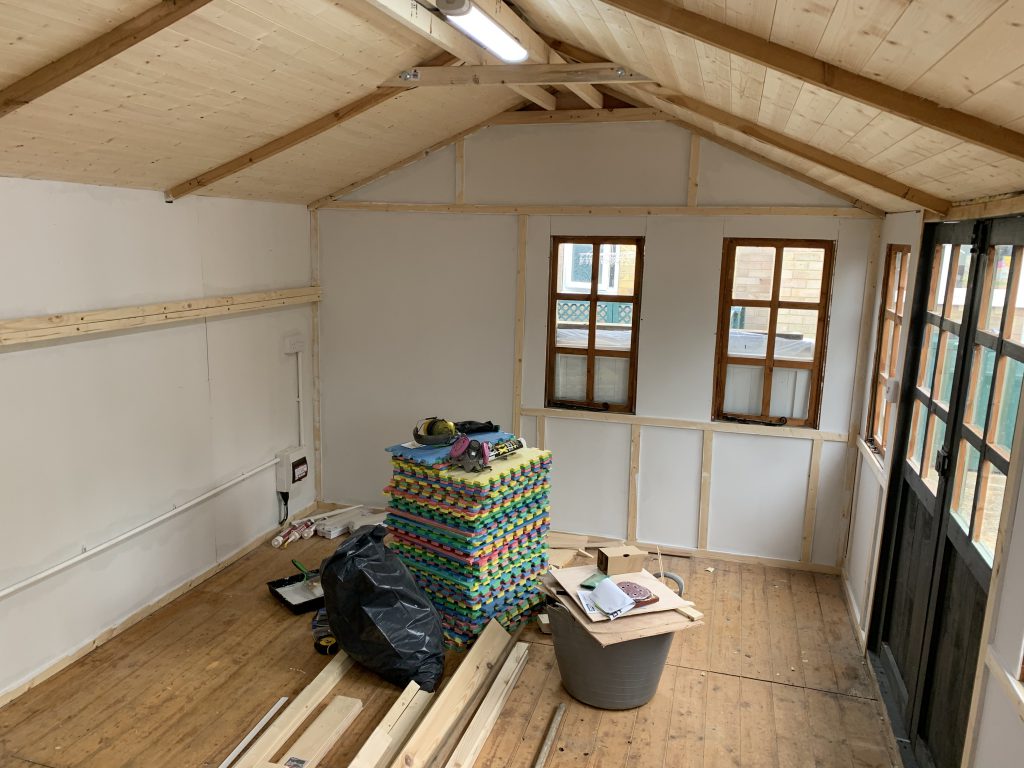
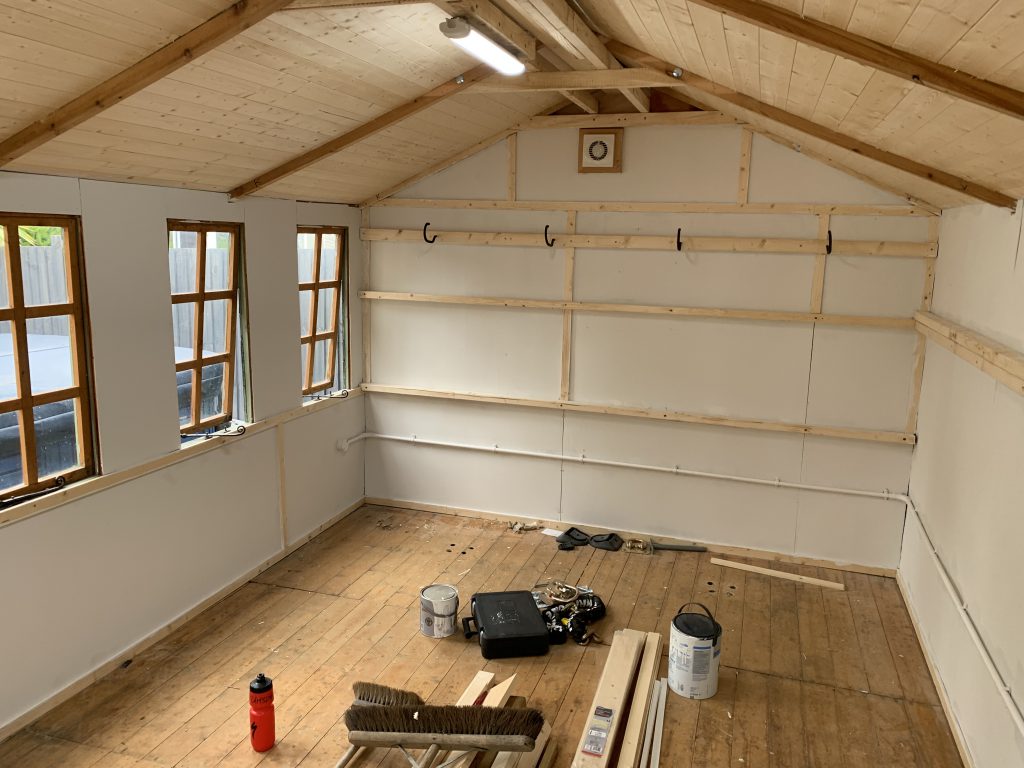
With the building cleared the old floor could come up and the real work could begin. There was significant sag in two of the walls and the ridge line of the roof so after jacking everything up and using cargo straps to pull it plumb, CLS timber was added to reinforce each wall. After the walls were fixed up they were re-paneled with 6mm interior plywood and the ceiling was insulated with Kingspan foam and then covered with softwood tongue and groove boards to give a slightly nicer finish. With the structural work done a pair of high wattage LED lights replaced the slightly sad security lights, making the room even brighter and more comfortable for long hours of gaming. Things were getting exciting at this point, with the promise of my own hobby space only a few days away.
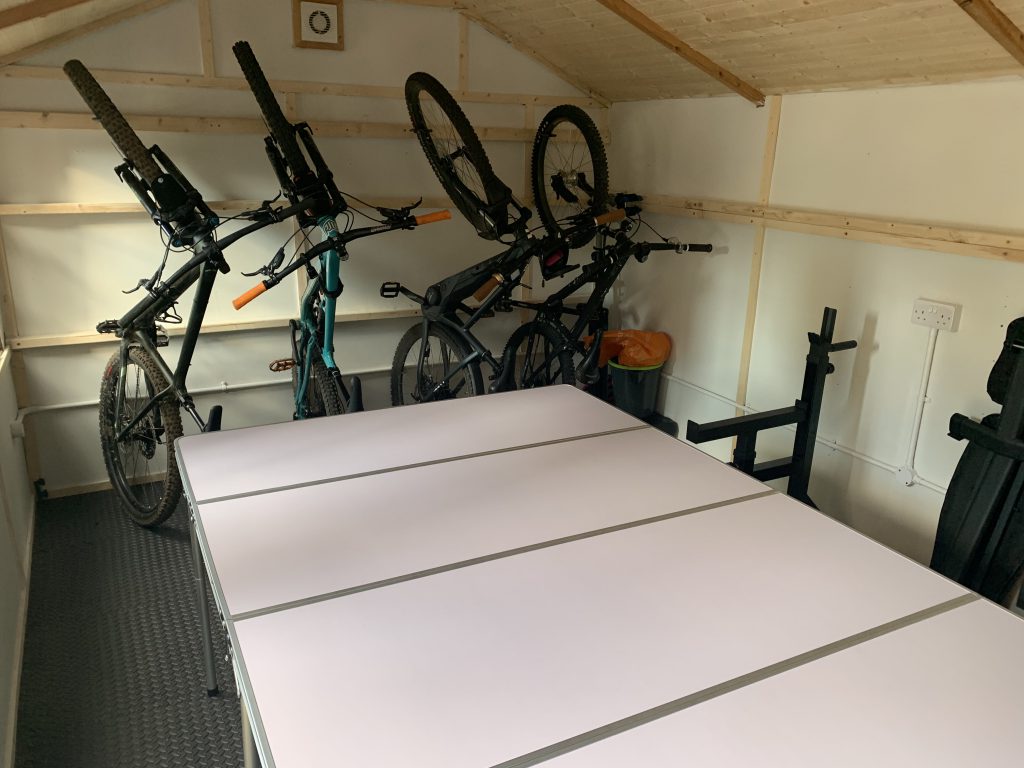
I’m still debating whether I’ll stain the exposed wood, but I sanded back the plywood boards and painted them cotton white to brighten the room up a little. I also laid new black expanded foam matting and fitted a couple of heavy weight ground anchors for the bikes.
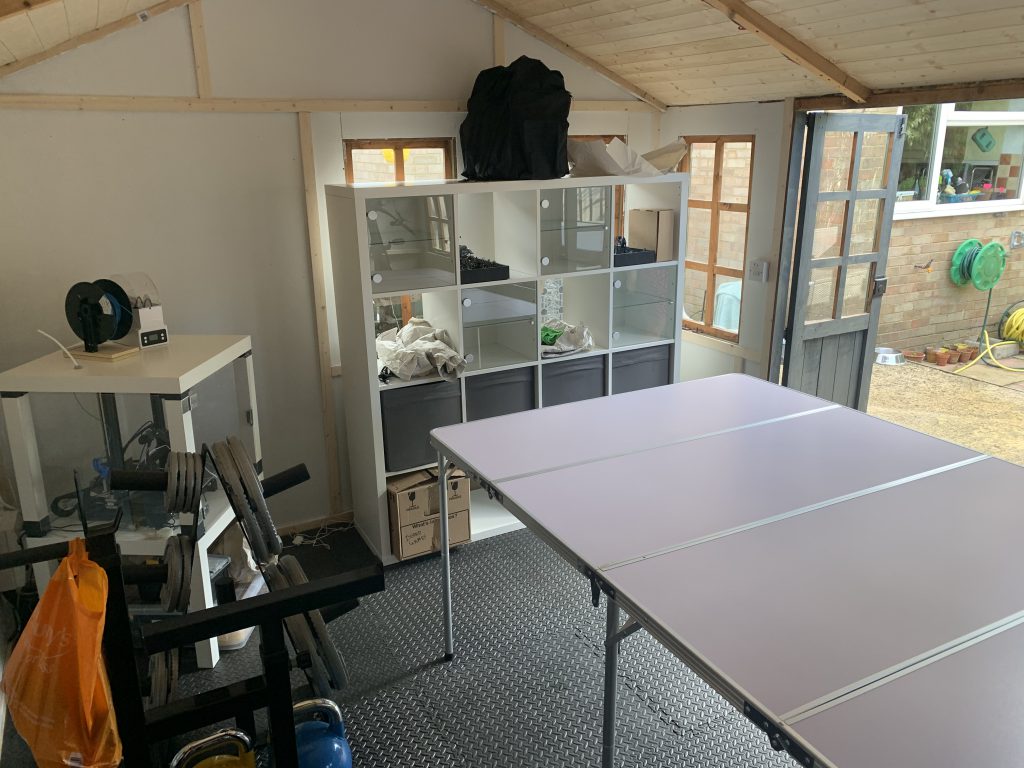
I already owned a 6′ x 4′ foldaway table from Urbanmatz and a 4 x 4 Ikea Kallax from my previous hobby space. The Kallax plus a couple of garage storage boxes allowed me to set up a nice display for my miniatures and tidy away all of my terrain in a fairly compact way. My squat rack and weight bench can be packed away to be relatively compact and the room is just large to accommodate the table and a couple of people.
Overall I’m incredibly happy with the space and I’ll probably wait before making any more major changes.
Next Time: In the first of a three-part series on different spaces, Robert “TheChirurgeon” Jones talks about building and storing a table to play at his parents’ house.
Have any questions or feedback? Drop us a note in the comments below or email us at contact@goonhammer.com.

