
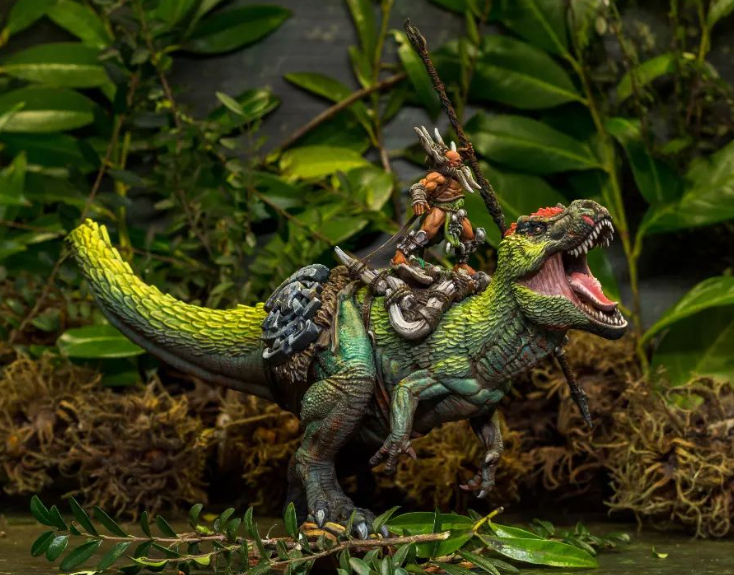
Welcome back to my mini-series on the smaller skirmish form of Conquest: First Blood. Through this I’m going over how the game plays and each faction that you can place on the table, their strengths, weaknesses, and how to field them. This week I’m diving into W’adrhŭn: the big bad orcs-riding-dinosaurs.
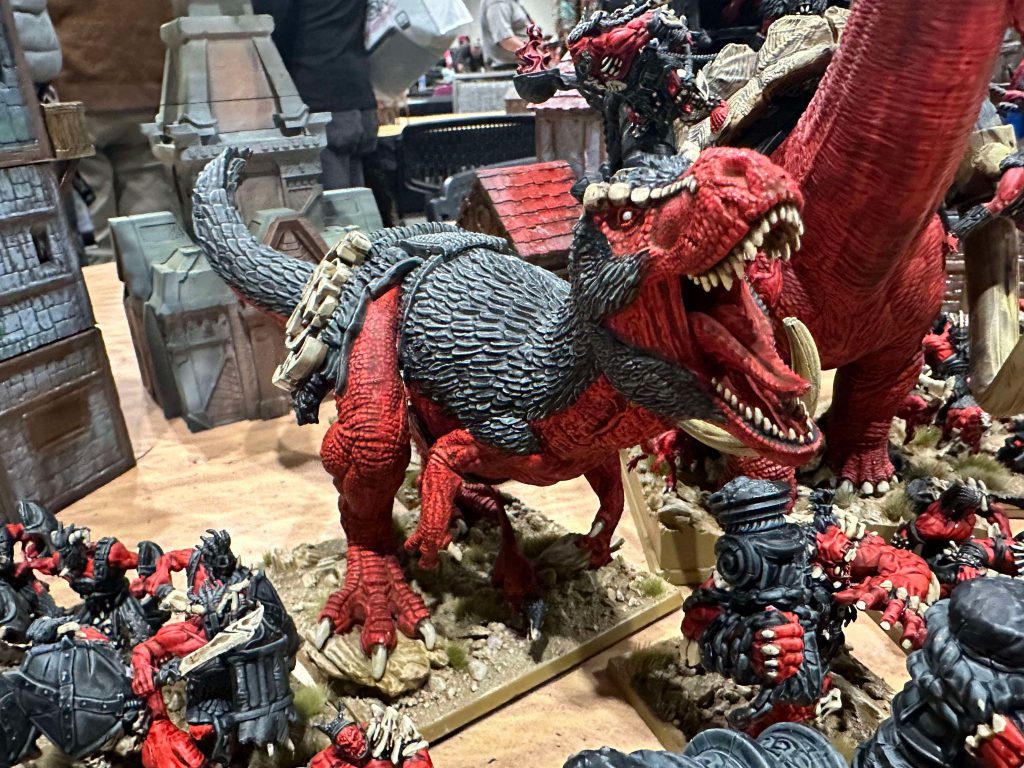
This represents one of the most unique factions that Conquest has access to. Aesthetically speaking, a giant hulking orc riding an even bigger dinosaur is a choice that not a lot of other games have; old Warhammer comes close with Lizardmen, but it’s not quite at the same level.
So how does a W’adrhŭn warband play in First Blood? Do they play like the traditional hit face orc playstyle that is very common if you play an orc faction or are there nuances to the faction that is unseen? In today’s faction focus, we’ll be looking at that and sharing a bit of insight in how these wasteland dwellers play.
Strengths:
- Some of the strongest ranged options in the game
- Characters that can influence the battlefield from across the map
- Giant death lizards
Weaknesses:
- Vulnerable to cleave
- Does not like prolonged fights
- Reliance on ‘dice’
Army Abilities
Epidermal Keratin Deposits: The long and short of this ability is that every time one of your models takes a wound as a result of a failed defense roll, roll a die. On a roll of 1 (15% chance), you ignore that wound. Ward saves for everyone! On a deeper layer, this ensures that most W’adrhŭn models are more resilient than their counterparts, but at the same time, since this is a roll-reliant ability, there is always a chance that it does not work in your favor.
Massive Frame: More of a flavor ability to represent how big and massive the W’adrhŭns are compared to the other factions in Conquest. Models with this special rule cannot “Attack Through”, meaning that you can easily hide your ranged units behind an infantry and they cannot be touched. Also, as an additional bonus, you get to also re-roll failed morale tests of “6”. Don’t forget about this ability!
Keen Hearing: An ability to represent their enhanced senses, character models essentially double their command range. This ability can ensure that a character can operate on one flank and can still potentially buff another regiment elsewhere.
Hymn of the Victor: An often redundant ability because of the double command range, this ability again ensures that whenever you score a VP, a queen on one side of the battlefield can heal another regiment on the far end. This makes some characters in a W’adrhŭn army play best as an objective holder since they can still effectively influence the battlefield without much drawback.
Character
W’adrhŭn characters often lack the clash stat of true melee elite factions, but almost every one of them has some form of armor reduction in their attacks. Their defense stats tend to be mediocre, but like all W’adrhŭns, they are deceptively sturdy due to having keratin deposit and and massive frame to give them a chance to negate wounds and a reroll for resolve check results of 6.
Another thing that is vital to remember is that due to the W’adrhŭn’s superhuman sense of hearing, they have ways to extend a character’s command bubble to extreme distances. By default, W’adrhŭn character double their command range for commanding presence due to Keen Hearing, but when your character regiment scores an objective and is within range of the objective zone, this triggers the Hymn of the Victor ability which gives them Global range for command abilities! Always try to push your character onto objectives so you can benefit from this amazing ability.
Predator
@rob_o_bass
A powerful marksman with many interesting abilities, the most crucial of which is the ability to let you quote the classic Arnold movie all game long! The predator can fire four shots at a respectable range of 15 at decent accuracy and armor piercing. Fiend hunter means he is quite good at hunting down brutes, cavalry, and monsters from afar. Normally, a ranged unit is easily locked down by advancing and charging them, but the Predator’s ability Got No Time to Bleed allows them to withdraw without consequences.
The Predator also has the deadly shot ability, which doubles a shot’s damage on a defense result of 6, something that can be more easily achieved with the Kiss of Dinosaur artefact that makes the defender reroll successful saves!
Order-wise, the Predator has one of W’adrhŭn’s most powerful orders: Way of the Hunt. This order gives +2 speed to a friendly infantry regiment, and with the new rules on charge distance being a static number, +2 speed can put you in positions where you can charge the enemy but they can’t charge you. Some W’adrhŭn units under Way of the hunt can outcharge even cavalry units! As a bonus, the predator provides a bit of situational utility by providing opportunistic to all his units and fluid formation to W’adrhŭn’s ranged units. His second order imposes a -1 penalty to resolve on brute, cavalry, or monsters, allowing your units to take them down more easily.
Finally, the Predator has the unique ability: Kill marks. This ability allows him to gain extra victory points by killing 8 enemy models. The value of 1 VP differs with each scenario, but considering killing your enemy models is something you want to do anyways, this can sometimes open up different ways to reach the win condition during your match. Note that the second part of Kill Marks only triggers at the end of the game, and so it only affects draws or games when you are losing by one point.
Mounted Predator
The mounted version of the Predator costs 50 points instead of being free like most infantry characters. It has many similarities to the infantry version but trades a little ranged firepower and utility for speed, durability, and powerful close combat abilities. The mounted version of thrill of the kill means that if you can rack up her kill counts, the mounted predator can permanently increase her melee attacks, potentially turning her to the biggest melee hitter in the game! This version also lost fiend hunter, making infantry a better target for this character, seeing as she wants a lot of casualty tokens anyway! The war stare is a good option for this character, giving him more attacks to generate more casualty tokens and enough cleave to go through most infantry’s armor. Note that their Rampant Savagery order gives them terrifying, which stacks the if it bleeds we can kill it, for a total of -2 resolve.
On the unit side, the mounted version provides fluid formation for the raptor riders and hunting packs instead of the ranged units. They also lose feral, but most importantly, each of them now counts as 3 models for the purpose of controlling objectives! This is a very powerful ability, as hunting packs are cheap and spammable while being fast enough to get to places.
Orde- wise, the mounted version lost Way of the Hunt and instead obtained Mark of Conquest. The Mark of Conquest order is much less flexible considering it only provides +2 speed on charges instead of a base statistic and it also only works against enemies on objectives; however, it works on any of your units instead of just infantry, so not only does it work on Raptor Riders but also the Mounted Predator herself, giving them a speed of 10 for charging!
Scion of Conquest
The Scion is the spellcaster character of the W’adrhŭn, though you might not have guessed it by looking at his combat statistics. With a respectable clash of 3 and cleave 2, the Scion is perfectly capable of smashing his way through the frontline, and like almost every W’adrhŭn character that’s where he belongs! His spell suite consists of three support spells. Embolden provides hardened, which really helps the W’adrhŭn and their low-ish armor. Disruption is useful when facing specific casters, and Deafen is HILLARIOUS against scary cavalry or brute units. Nothing is more satisfying than telling two orders of the crimson tower model that they can’t make attacks this round.
The Scion wants to be in the thick of things with his objective-focused abilities. His sacred censer disqualifies enemies in his engagement range from being counted for objective scoring, which means many times he can win an objective by simply walking up to the opposition along with his retinue, but even when his allies die around him, their Resonating Life Force helps him score that objective one last time. Once per-game, the scion can also use Visions of Conquest, an ability that gives him total control over which of his units activates and when. This is perfect for round 2, when it is often a game of who gets onto which objective first and who gets to charge first.
The signature ability of the Scion is Echoes of Conquest. This ability not only allows him to cast spells twice in one round, it also provides him with 3 actions per activation instead of two. The amount of crazy things you can do with 3 actions is mind-boggling. The most straightforward of which is the ability to advance, charge, and clash. This allows him to advance 5 inches, charge 5 inches, and then still swing his giant sword at the enemy. His threat range is equal to most light cavalry! If you don’t need to go charge long distance, you can instead use his third action to cast a spell, inspire and attack, or inspire, attack, then advance. Note that this also means his retinue gets 3 actions, so never leave home without them.
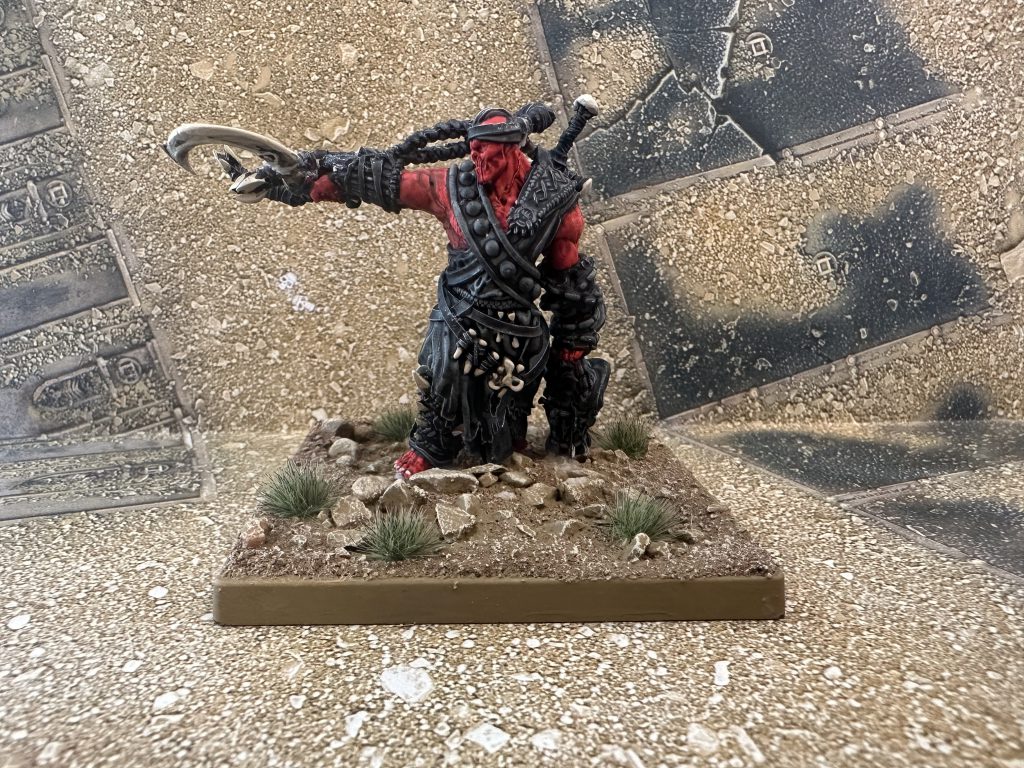
Chieftain
It has been said by many (Including Goonhammer’s own Magos Sockbert et al) that the W’adrhŭn do not play like what one would expect out of an orc army; that their mobility, fancy tricks, and lack of heavy armor make them play more like what you would expect from…from…elves!
The Chief is here to say: Not all W’adrhŭn!
The chieftain is here to smash faces with top of the line melee stats. He’s here to throw rank after rank of cheap orc braves at enemy lines and drown them in corpses. He may not have many fancy abilities like the previous two characters, but boy does he let your army play like their distant green cousins from other IPs.
Like a traditional orc leader, the Chief understands the value of the rank and file. His The Trials ability reminds the young W’adrhŭn warriors that if they fail in impressing him, they do not gain the right to become warriors and have to join the agricultural caste instead. Because of this, ALL brave and blooded units in your army ignore the first time they become broken, keeping them in the fight for one extra round. Stoic Elder gives Veterans, an otherwise unremarkable unit, Oblivious, making them quite durable for W’adrhŭn standard. Veteran Champions also honors the ancient tradition of putting one hard-hitting model inside a sea of cheap orc bodies, as it gives your champion officers Flurry. It also gives you global command range for the champion’s unit without having to trigger the Hymn of the Victor.
For orders, the Chieftain has the ever powerful Way of the Hunt to help his horde get to objectives faster. His second command is Bellowing shout, which is situational but can help you prevent powerful orders being given to a non-character regiment. Always check your opponent’s command list to see if there’s anything worth blocking. His last order, Fight or Be Bound uses the fear of farming to make one of your brave or blooded unit gain linebreaker, this includes their officer. The caveat being, if the ENTIRE regiment doesn’t end their activation within an objective zone, they are immediately broken. The price to pay for failing to meet the condition is severe, but keep in mind that it is also subject to The Trials should it be the first time they are broken this game.
Thunder Chieftain
The Thunder Chieftain is a bigger, beefier version of the regular chief. He has more attacks, more wounds, is…somewhat faster, and specializes in buffing your Thunder Riders only instead of your infantries. He gained Linebreaker, which when you combine with his native Cleave value of 2 and perhaps a War Stare upgrade, means that he can break down even the heaviest armored units in the game. He also deals quite a bit of damage with his impact attacks and stampede ability. A single charge from the Thunder Chieftain can wreak so much havoc, he can single handedly break units.
The Thunder Chief helps other thunder riders by making them count as extra models when contesting the same objective he is due to Thunderstruck, as well as giving them Ride the Lightning which gives them terrifying when they use their second action to charge. Note that terrifying doesn’t affect impact damage, so it’s really only there to make it them potentially fail to perform a combat rally.
The Thunder chief has the same suite of order as the regular chief, which is good, but if he ever triggers Hymn of Victors, he can use TWO orders in the following round! So always get him in those objective zones!
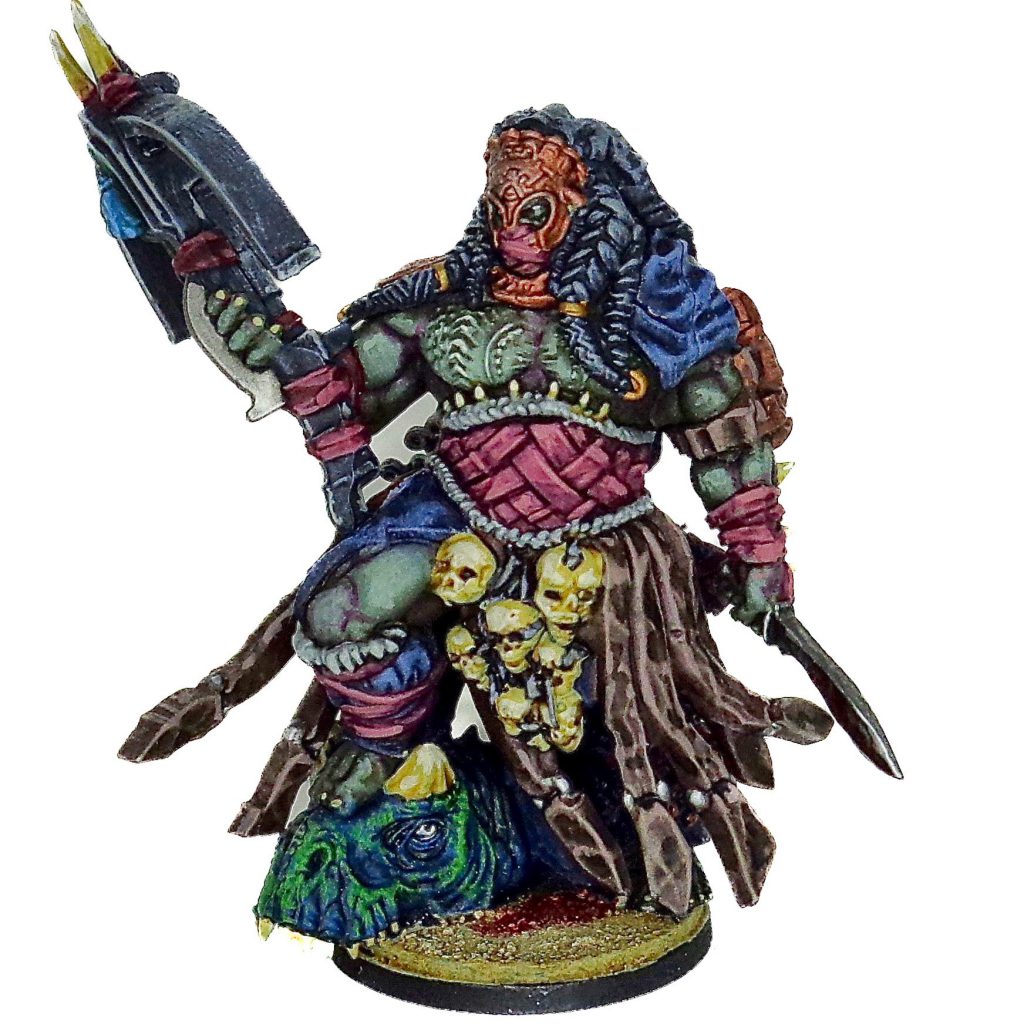
Matriarch Queen
As an Asian man, the Matriarch reminds me of my mother quite a bit. She’s gives out orders non-stop, you can hear her from a mile away, and you really don’t want to make her mad… While she doesn’t hit as hard as the Chieftain, she’s still a W’adrhŭn character, which means Clash 3, good attack value and cleave 1. She has a resolve value of 4, but this is rarely used because her Loyalty ability means she and NEVER makes morale tests. This is a great boon, upping the survivability of her and her retinue.
Though she doesn’t improve any specific units like most other characters, the Matriarch has the Inspiring Presence ability that prevents units from being broken at all as long as they’re within her command range. Admittedly, her Command range is quite low at CR5, but with Keen Hearing, Hymn of the Victor as well as her ability to count any regiments wholly within an objective zone as being in her command range through the One Voice ability, it’s actually quite easy to get every unit you have on the table under your command range. She also synergizes with Warbreds, who makes it so that she can reject challenges with no penalty from her Born in Shame ability. The Matriarch can also send up to two non-monster, non-character regiment to enter from reserves by using her Teaching of the Wasteland ability, perfect for certain scenarios that lets you flank upfield further, or to pop a slinger unit within range of an unsuspecting target!
The Matriarch has an excellent suite of order, including a rare source of healing for W’adrhŭn using To the Last Breath, and two offensive options by either giving out Linebreaker through her Frenzy command, or Opportunist through Pursuit. To cap it all off, she can give out TWO commands per activation, making her an amazing army buffer.
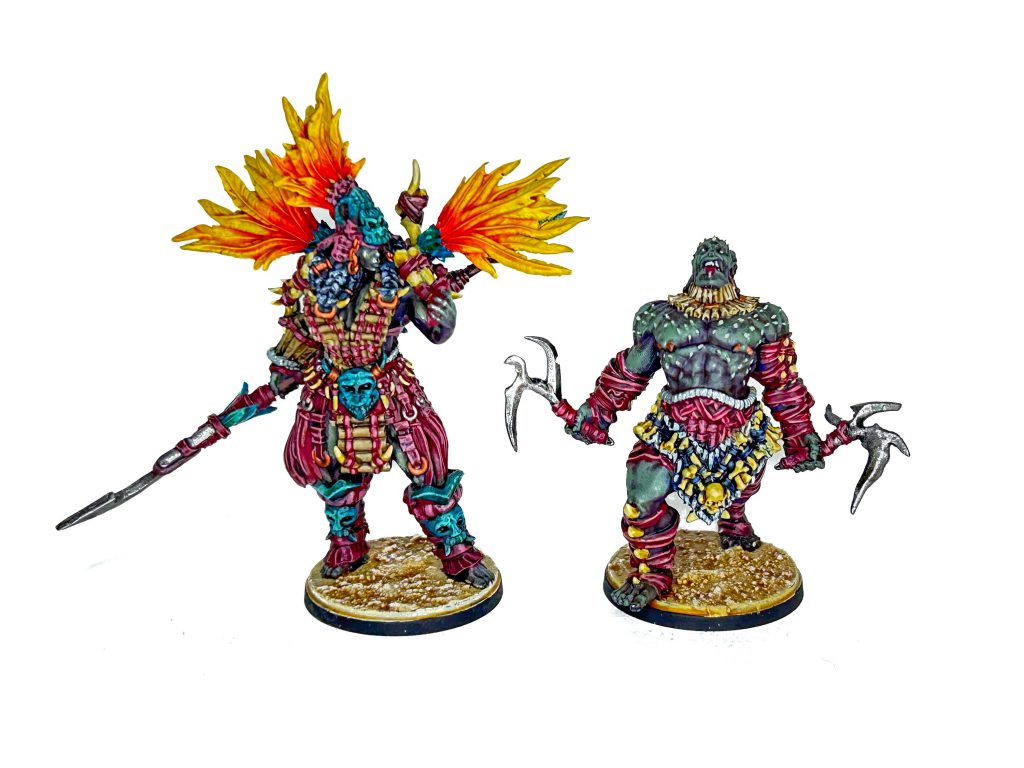
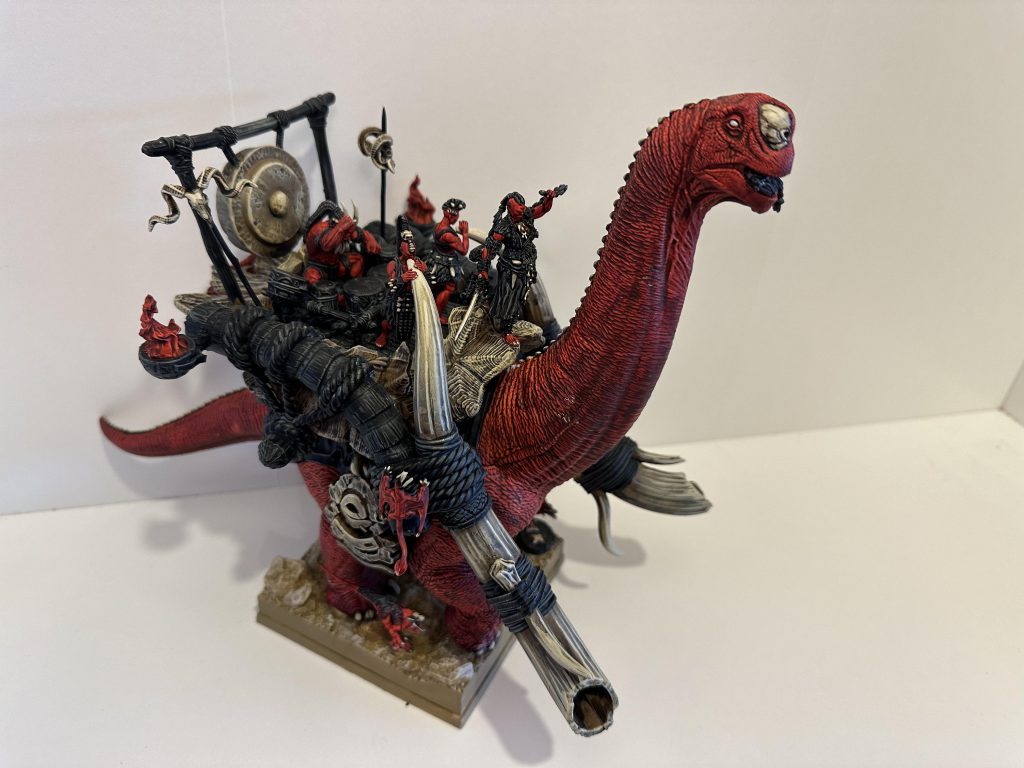
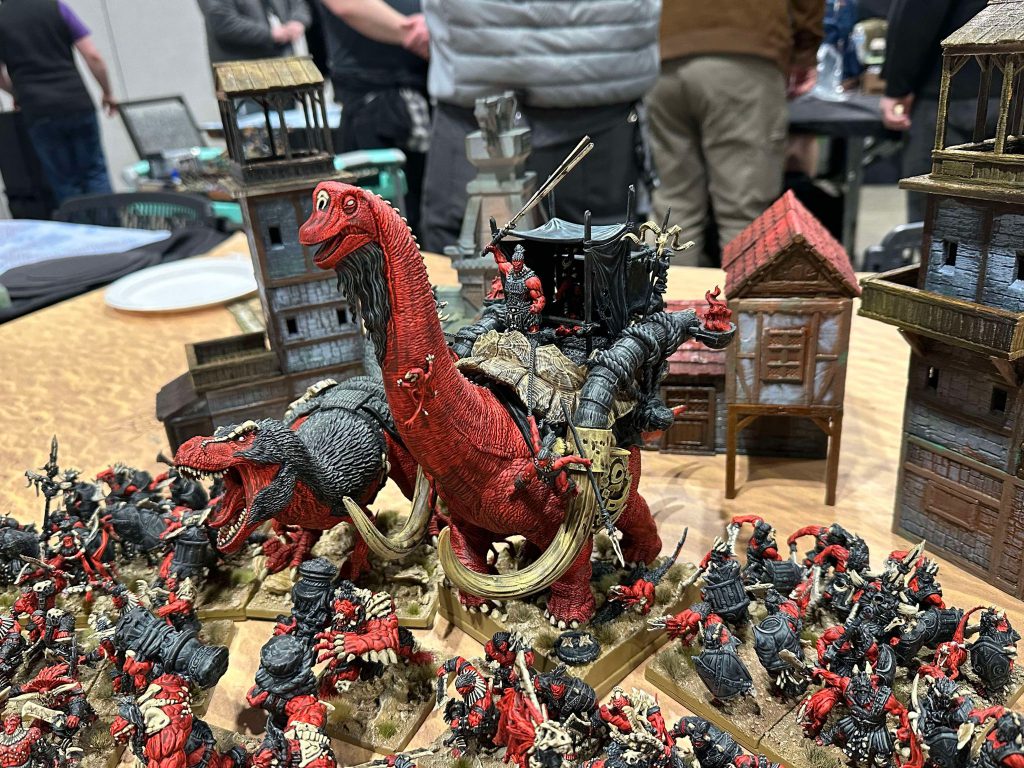
Apex Queen
The big bad monster character of W’adrhŭn, and boy is she scary. The combination of traits between the Matriarch and the Apex predator creates a perfect harmony of tank, beatstick and buffer. You pay for it though, seeing as she costs almost half your army in a 1000 point game, but any objective you point her towards, you will almost always win.
The Apex Queen lost her ability to give two orders and the Keratin deposit rules, but consider that your Loyalty ability applies to a giant murder lizard instead of the queen’s retinue.With a total of 23 wounds and no damage from resolve test, the Apex Queen might just be the hardest to kill model in First Blood!
Infantry
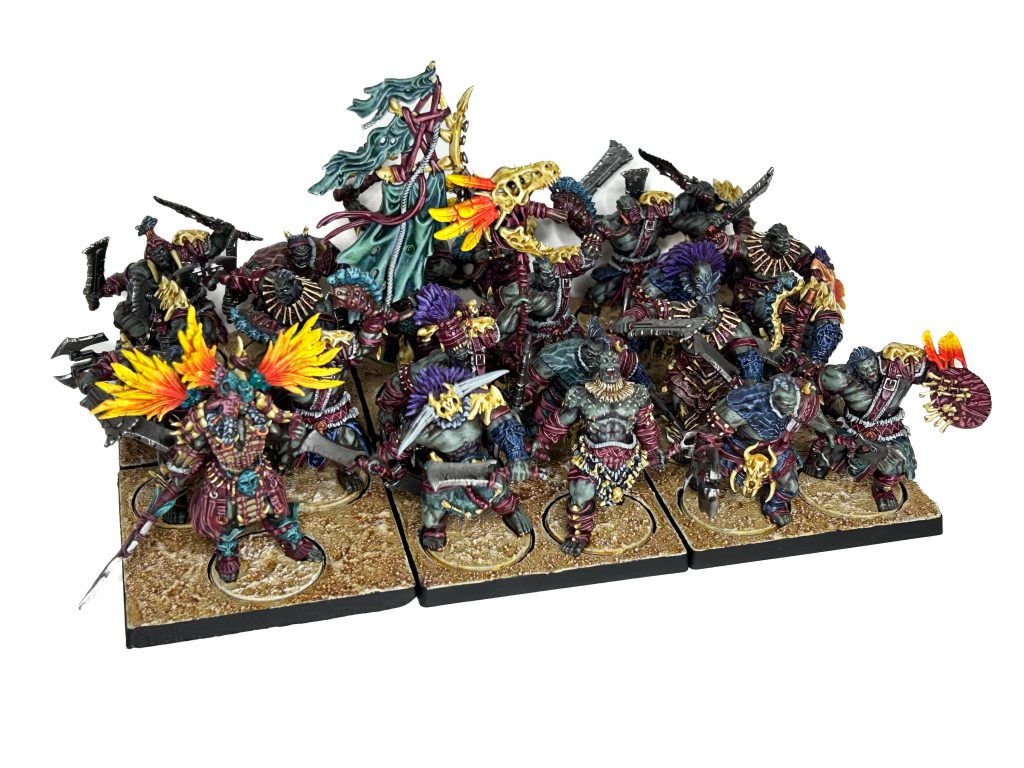
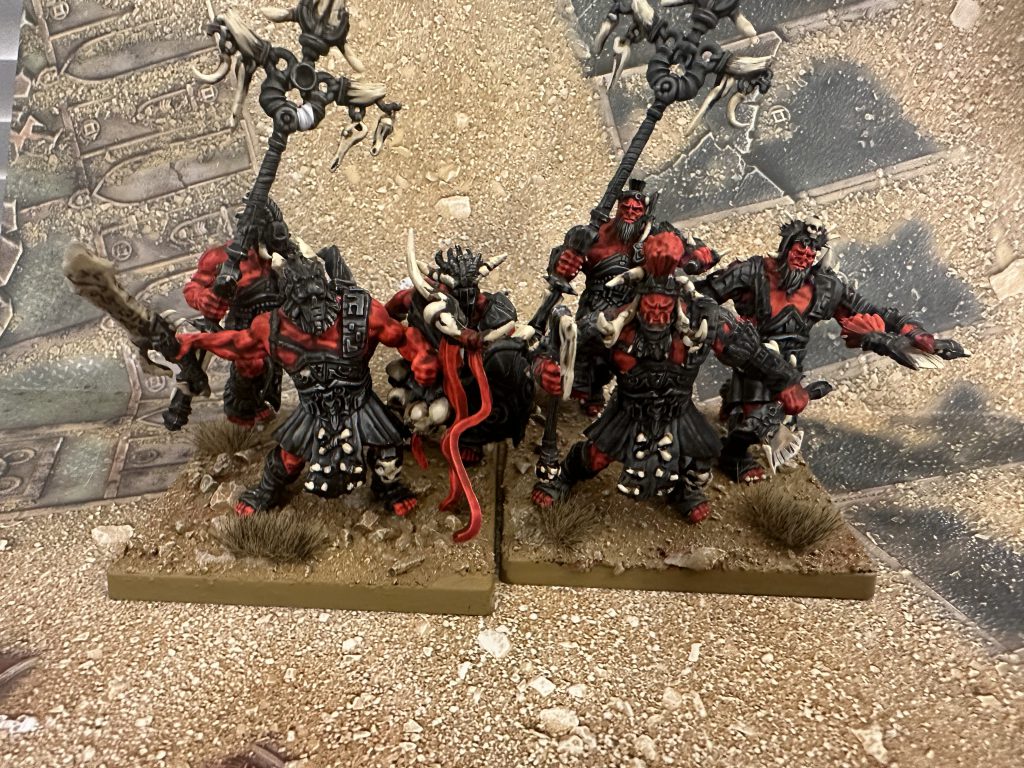
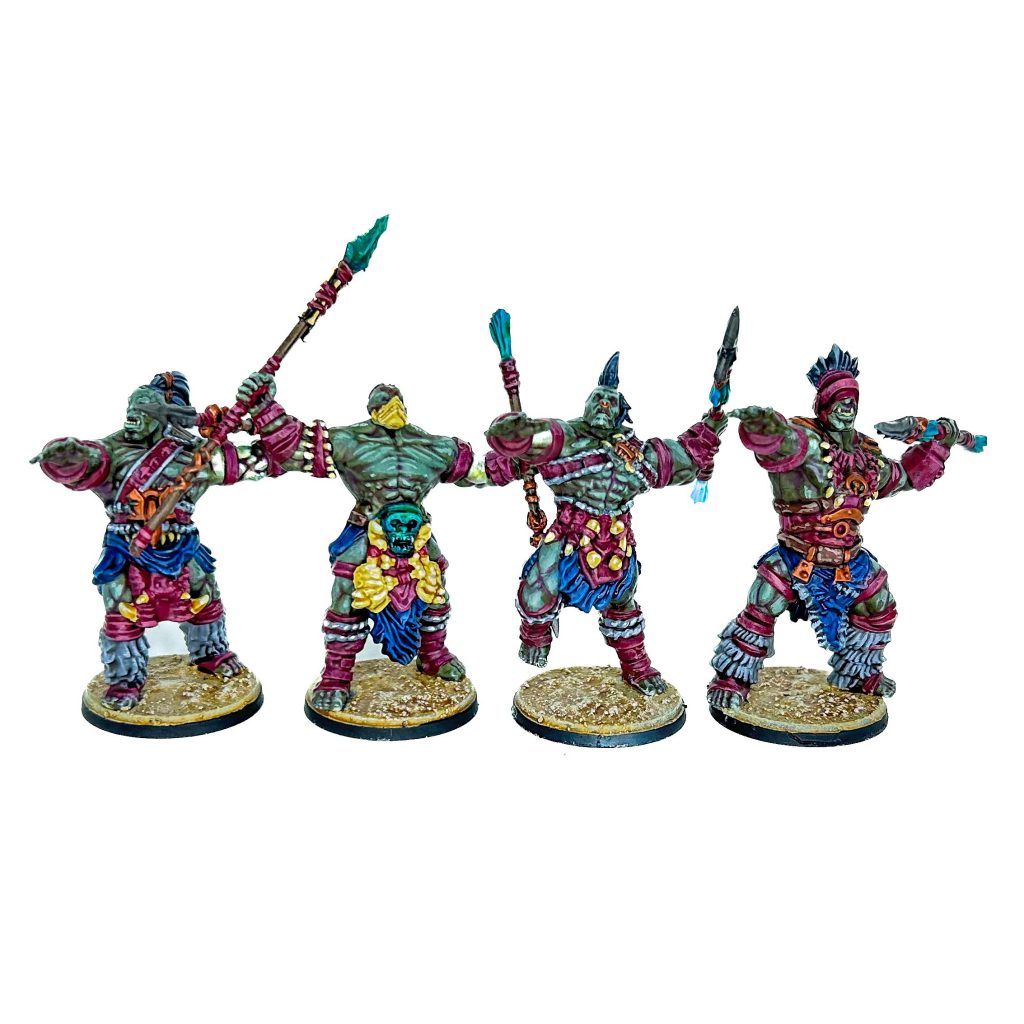
Braves
Every faction has a boring basic conscript unit with a shield and a spear. The braves are nothing like these units. For one, they don’t have a spear. Or rather, they do, it just doesn’t come with the support ability for some reason.
These young warriors are not yet full fledged W’adrhŭn, so they’re dirt cheap and have mediocre stats. They DO, however, have the full suite of faction abilities, and this makes them a tarpit like no other. They have the same or lower cost as other faction’s model in their class, but they get to reroll resolve checks of 6 and a ⅙ chance of negating any wounds due to Keratin, making them grossly durable for their point cost. bring big blobs of them and watch your enemy struggle to finish them.
Blooded
The young warriors that have already passed their trials. The Blooded gained an extra attack dice per-model in return for leaving their shield at home and losing 1 point of defense. They can amass quite the attack volume, but with an unimpressive clash of 2 and a higher price point, they’re not your most cost-efficient killers.
Six Blooded models is only 5 points fewer than four models of the next regiment, and when you read their entry, you’ll see why I’m not too keen on the Blooded.
Chosen of Conquest
The elite W’adrhŭn infantry, personal champions of their living goddess Ukunfazane, the Chosen of Conquest are shock troops with very little equals in First Blood 2. They have an amazing three attack dice per model at good a Clash value, and Cleave 1. This means even a minimum unit is throwing 13 attacks of good quality; a world of difference from the Blooded for virtually the same number of points.
More impressively, the Chosen can perform three actions per activation. Always bring enough Chosen to get a banner; being able to perform a march, a charge, and then a clash at 12 inches is not something infantry should be able to do, but here we are! Chosen love characters with Way of the Hunt; that +2 speed puts their effective threat range at 16 inches (7 inch march, 9 inch charge with unstoppable from banner). Even if they’re not charging, the Chosen can get to objectives with impunity.
They are not without their flaws, however. For their high price-point, they are still just 2 wound infantries with defense of 3, though their resolve of 4 and Massive Frame means they won’t take too much damage from resolve checks. Keep them just outside of your opponents’ charge range, and pick your targets well, and they’ll win you many games.
Veterans
The veterans are the other W’adrhŭn elite infantry. Lore-wise, they are Blooded warriors who have proven themselves in battle many times, and are granted the use of Metal armor and weapons. In game, however, they have the exact same defense stats as the young unproven W’adrhŭn warriors wearing cloth and bone armors. Their clash value of 3 and cleave 1 attacks mirrors the Chosen of Conquest, but they only have two attacks each (even though they get Flurry when you trigger Hymn of the Victor).
The reality is, unless you’re using the Chieftain, the Veterans are worse in almost every way to the Chosen of Conquest, and not that much cheaper.
Hunters
@rob_o_bass
The hunters are a hybrid unit that can throw a decent ranged attack with Armor Piercing 1 and Deadly Shot, while also having a serviceable Clash statistic of 2, allowing them to charge the enemy when the lines have closed.
Unfortunately, they have as low a defensive statistic as you can get, so they don’t really last long in combat. It can be quite tricky to get them in the right position to use their short ranged barrage, but now and then, they’ll get a slew of deadly shots and really annoy your opponents before dying.
Slingers
If you ever played using or against the W’adrhŭn in The Last Argument of Kings, you will know that while the Predators are the, uh…Predators of this game, the Slingers are the Rambos of First Blood. These musclebound marksmen would just stand there using outdated weaponry, and generate enough shots to obliterate entire hordes while yelling for five minutes straight and never reloading or taking a breath
The First Blood version of these Tribal Terminators is slightly less precise, but generates even more shots. Ranged units have very clear setback in First Blood, as they can’t shoot an enemy once they’re locked into combat, but the Slingers only need to shoot once or twice per game to be worth their points. If they ever get to aim, the face on your opponent as you tell them your four slingers generated hits in the double digits is priceless.
Cavalry / Brute
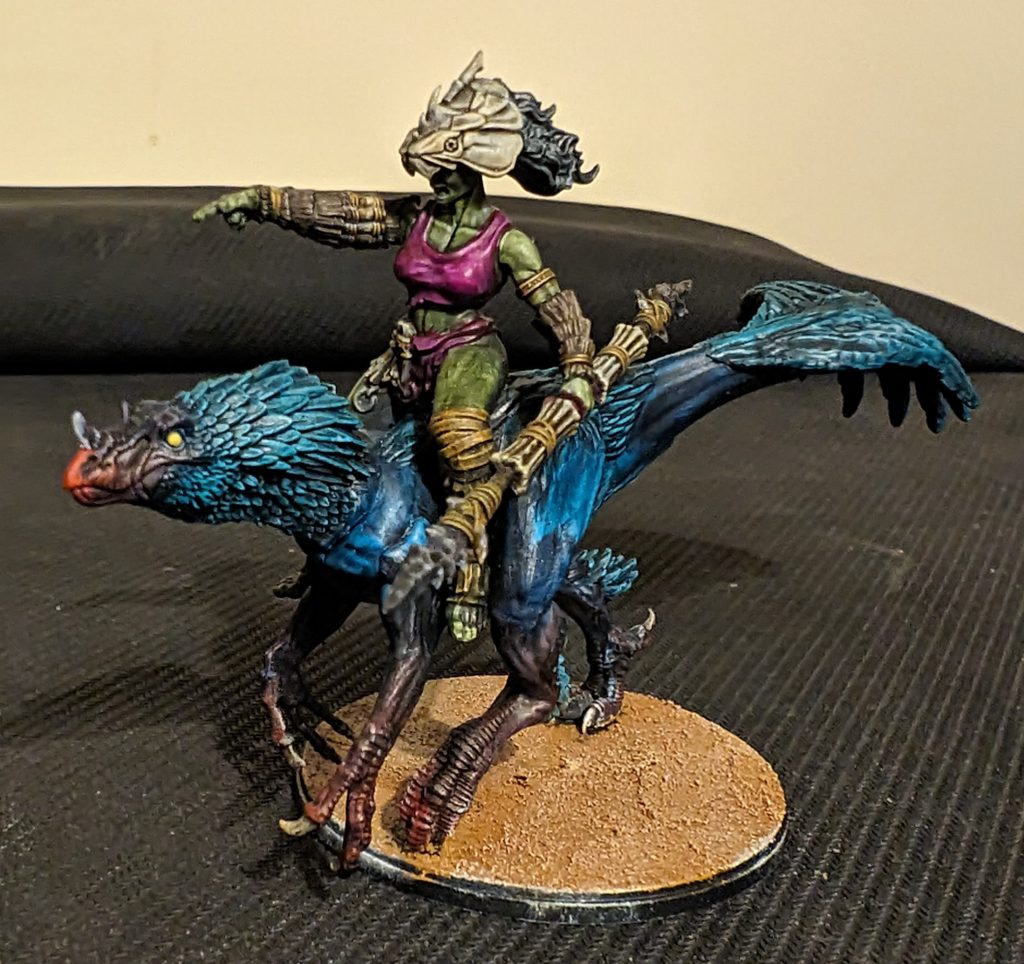
Raptor Riders
This fast moving cavalry with a thrown spear forms the backbone of W’adrhŭn’s hit and run playstyle. They can move into an undefended flank, throw some harassing ranged attacks, and then also potentially charge against squishy missile troops. Just keep in mind that this mobility and firepower comes in with a very weak defensive profile, mostly relying on their Evasion 2 to survive a counter-attack. Think of this unit as a horse-archer (raptor archer?) and you have a great idea on how to utilize them.
Hunting Pack
An often-maligned choice due to the disliked feral rule. Feral makes a unit potentially ‘lose’ their activation if you fail their resolve test. Despite being a far cheaper option compared to Raptor Riders at only 90 points, the trade-off in consistency and offensive power seems to pay itself in terms of the difference.
Having said that, please ignore all of the above comments if you are bringing the Mounted Predator, as they essentially replace Raptor Riders in that list. Cheap, spammable, and count as 3 to seize objective – it’s the perfect chaff unit to get into objective and secure them until the big hitters moves in place.
Thunder Riders
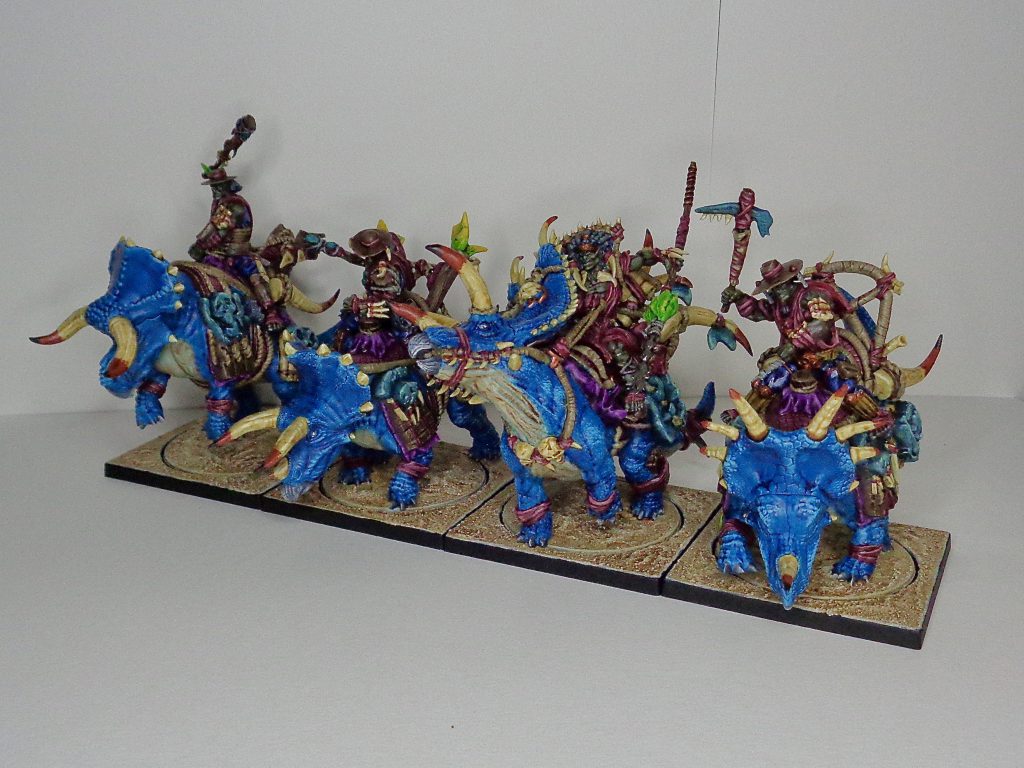
@rob_o_bass
While ‘slower’ than the other brute and cavalry options at speed 6, this hulking triceratops rider gives a lot of firepower within that 140 points package. Starting with a solid attack of 5, impact 3 and brutal impact 2. They also have the special rule of Unstoppable, giving them an extra 2” of charge range. Stampede gives them an autohit if they are engaged with an enemy regiment and Linebreaker removes the Shield special rule. This is W’adrhŭn’s equivalent of a heavy cavalry.
Warbred
Grotesque abominations whose sin of killing their mothers during birth propels them to atone for their entire lives through combat, the Warbred trade some of the resilience and dice stability that the Thunder Rider have for the potential for a more explosive turn. Their special rule Relentless Blows offers a chance to double your hit on a natural roll of “1”. This chance is represented by being slightly more expensive at 150 points compared to Thunder Rider’s 140.
Monster
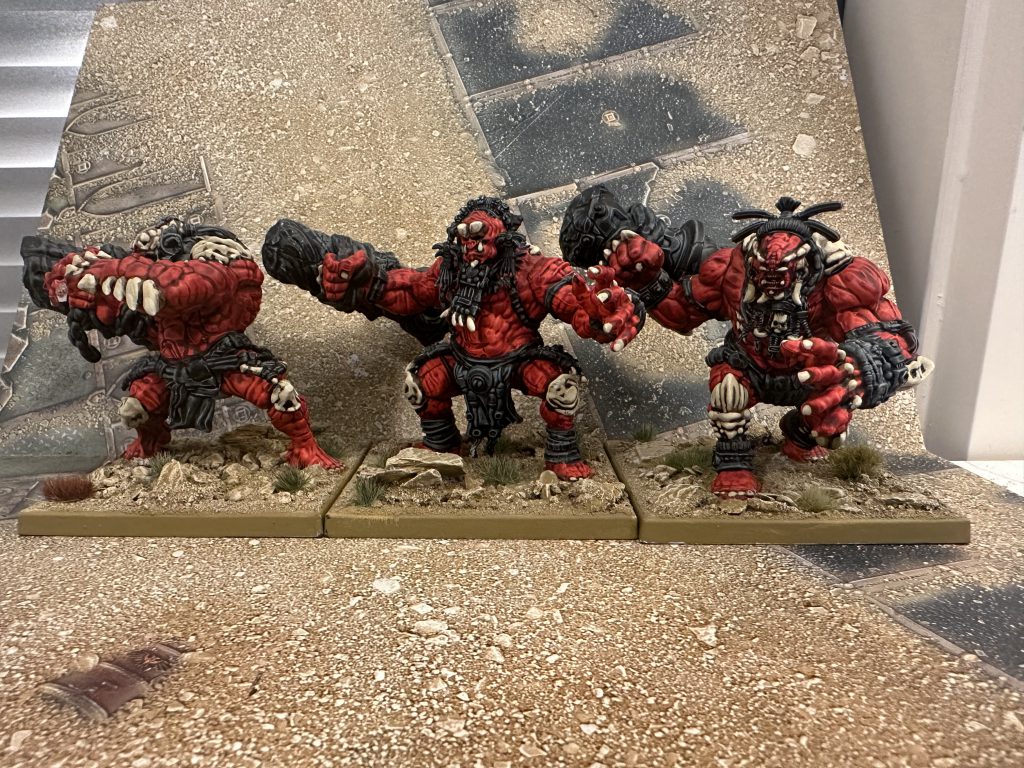
Apex Predator
In First Blood, each monster is designed to do one thing and do it well. One of the more iconic monsters in Conquest, the Apex Predator is a monster designed to hunt down other monsters. Not only is it a very impressive-looking monster sculpt-wise, it also comes in with a bevy of special rules to ensure that you feel like you are wielding a giant death lizard (count how many times I’ve said it in this article).
Apex Predator prefers hunting other monsters (or cavalries and brutes) thanks to the Fiend Hunter special rule, giving them attack re-rolls when facing that certain type of Regiment. To assist in their giant slaying duties, they also come in with Cleave 2 to negate armor, Deadly Blades to potential deal double wound on a failed roll as well as terrifying 2 to ensure that the enemy takes -2 penalties on their resolve tests (except clockwork hoplite and Old Dominion units).
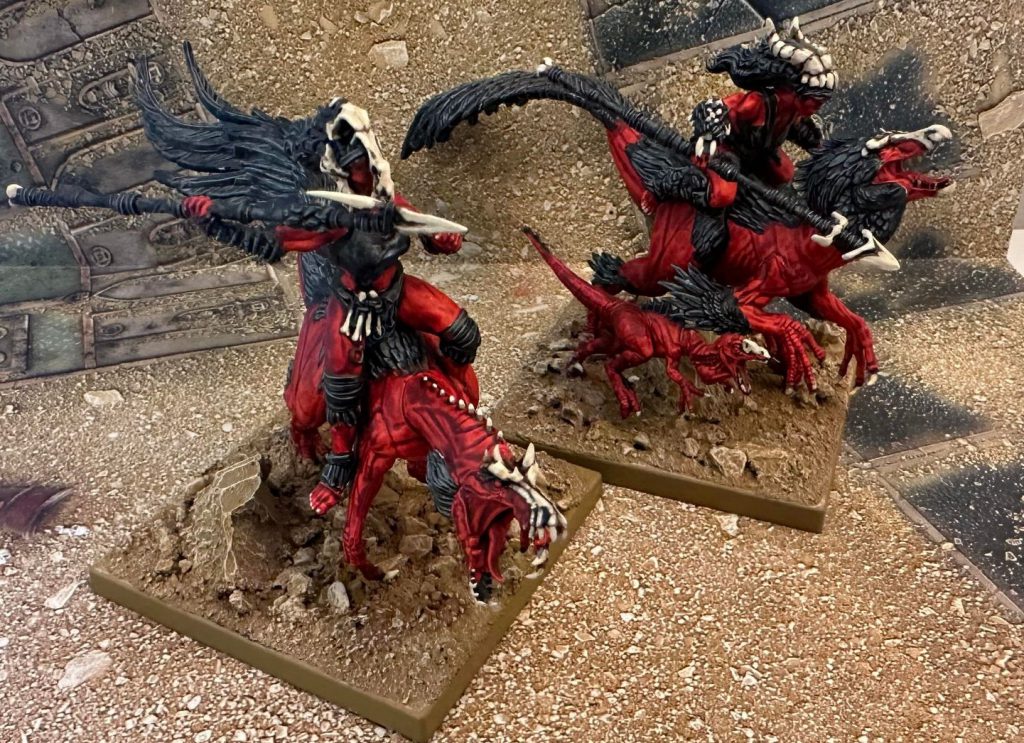
Couatl
Soon(™). In the Happy Hour, Leandros made it clear that the rules for Couatl will be available in First Blood as soon as they are available in Last Argument of Kings. This article will be updated as soon as that comes to fruition.
What we do know is that the Couatl represents a new type of unit called Airborne. Airborne unit are not aerial units, they cannot interact with objectives and they cannot be charged by other units or charge another unit.
In Last Argument, it represents a unit that can give ‘marks’ to a regiment – so everyone else will get a potential benefit when engaging that particular marked regiment.
Tontor / Drum Beast
Another Soon(™). In one of the First Blood Happy Hours, the devs have mentioned that the Tontor is currently in the works. So once again, this article will be updated as soon as we have further information on that end.
Officers
W’adrhŭn currently only has two officer models; however, each of them will provide a regiment with a very cost-efficient upgrade.
Champion
A very basic officer, basically an upgraded version of the veteran with its stats line of 4 attacks and 4 wounds which is cheaper compared to bringing two additional veteran models. As an additional boost, this officer also has the ability to remove the broken status. Allowing your regiment to still fight at max efficiency.
Aberration
This officer has more wounds compared to the champion, albeit at a lower clash stat. However, they compensate for that by having flurry to reroll their attacks. The only drawback that this officer has is that it can only be attached to a unit of Blooded. As an added bonus, when this officer is killed – it will deal some damage back in the form of lethal demise. This warrior will fight literally to the death!
Building a First Blood W’adrhŭn List
To best leverage a W’adrhŭn list, you need a healthy amount of ranged elements and skirmish elements before having the ‘core’ of your army. As explained above, many of W’adrhŭn’s components are not as durable as other factions, so you need to leverage their higher speed and mobility to find weakness in the opponent’s line.
Consider the following as a ‘guideline’ for a W’adrhŭn list:
- 1-2 Skirmish Components: Raptor Riders, Hunters, Slingers
- 1-2 Objetive holders: Braves, Veterans, Chosen of Conquest
- 1-2 Brute / Cavalry: Warbred, Thunder Riders
- 0-1 Monsters: Apex Predator
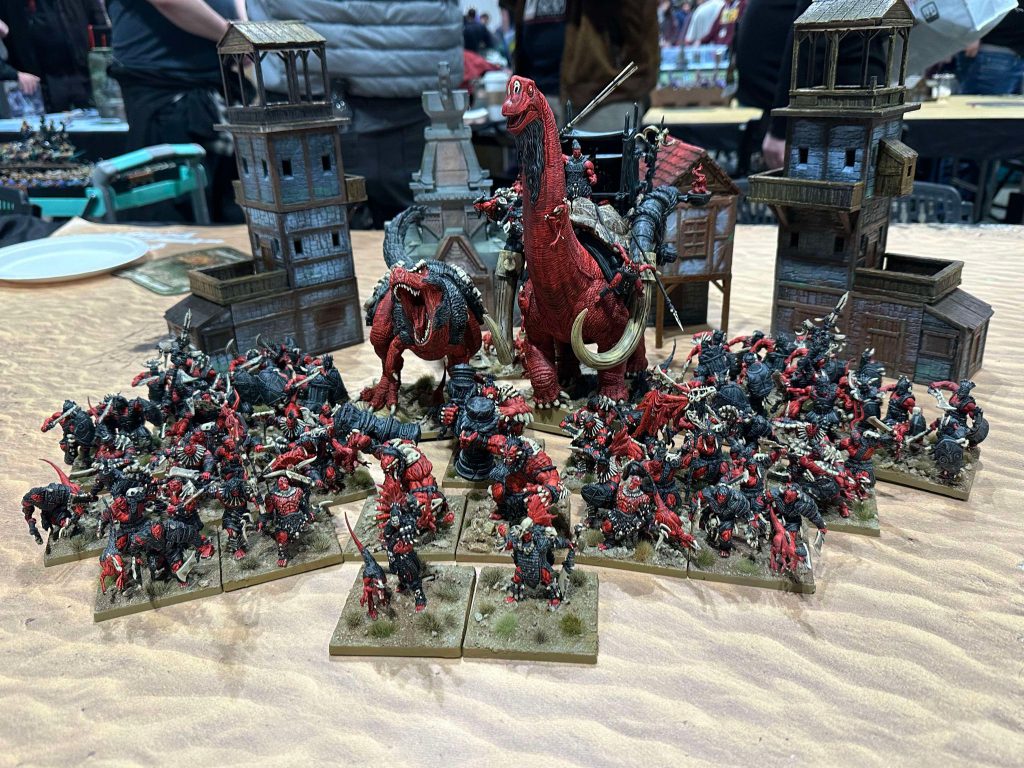
Sample W’adrhŭn list:
=== First Blood ===
The Hunt is On [1000/1000]
The W’adrhŭn
* Predator [25]: Kiss of the Dilosaur
* Slingers (6) [170]:
* Raptor Riders (1) [120]:
* Veterans (7) [245]:
* Braves (8) [150]:
* Warbred (1) [150]:
* Thunder Riders (1) [140]:
The Predator serves as a solo regiment, using it’s long range to hunt down key models. Kiss of the Dilosaur ensures that enemies will need to reroll successful defense dice against its volley action. Both the veterans and braves are there as a form of objective holder, while the real killer of this army: 6 slingers will rain terror from 15” away.
Conclusion
Thank you dear reader for making it this far. W’adrhŭn plays more akin to an elven faction in a traditional fantasy army. Plenty of their components are fragile, have high mobility and have powerful ranged supports. On top of that, they also have the capability to bring scary monsters which forms the core of their strategy.
One of the first few experiences of you playing a W’adrhŭn warband is that it’s very dice-reliant. But vanvan, how could a game based on dice have even more reliance on dice? Their army abilities, for one, give each wound a potential ward save on a roll of 1. Moreover, plenty of entries in their army have reliance on dice, such as torrential fire (extra hit for each initial hit from a volley attack), deadly blades (double wound on a natural roll of 6 defense), and many more.
Sometimes you can have a very good game where all the dice are aligned and you can spike your way into a victory, but oftentimes it’s the reverse of what just happened.
Maths aside, because we are here to play with orcss and giant murder lizards – W’adrhŭn warband might not fit the traditional mold of a fantasy orcs but they look amazing on the battlefield. The warband rewards crafty players who can take advantage of the terrains and to choose their battlefields. And of course, here at Goonhammer wishes you roll well on your dice!
As always if you want to get 10% off and support Goonhammer you can make your Conquest purchase by clicking here for US/Canada or here for EU/rest of world. You’ll also need to enter code “goonhammer” at checkout.
Have any questions or feedback? Drop us a note in the comments below or email us at contact@goonhammer.com. Want articles like this linked in your inbox every Monday morning? Sign up for our newsletter. And don’t forget that you can support us on Patreon for backer rewards like early video content, Administratum access, an ad-free experience on our website and more.
