
In this series of articles we take a deep dive into a specific detachment for a faction, covering the faction’s rules and upgrades and talking about how to build around that faction for competitive play. In this article, we’re covering the Lost Brethren Detachment from Codex: Blood Angels.
The Tenth Edition release of Codex: Blood Angels gives the faction access to three detachments, each focused on a different style of play and encouraging players to use different units. In this series we’re diving deep into each Detachment and talking about what its rules are and how to play it, with this article in particular focusing on the Lost Brethren Detachment, which itself is built around the Death Company.
Thanks to Games Workshop for providing us with a preview copy of the Blood Angels army box and Codex.
Detachment Overview

Blood Angels players have been anxiously waiting for the other ways to play their army since the Index dropped with Tenth Edition, and everyone knew we were going to get some kind of Death Company Detachment. In addition to being one of the faction’s most iconic units, Death Company armies have been around a while, most notably for the Flesh Tearers Successor Chapter, led by Gabriel Seth and composed of an even larger measure of blood-crazed weirdos. The Lost Brethren Detachment is more a narrative/flavor play than the Liberator Assault Group, offering less flexibility and more focus on just taking Death Company marines.
Detachment Rule: A Noble Death in Combat
Each time a DEATH COMPANY model from your army makes a melee attack, re-roll a Wound roll of 1 if that model’s unit is below its Starting Strength; re-roll the Wound roll instead if they’re below Half-Strength.
Additional: DEATH COMPANY MARINES and DEATH COMPANY MARINES WITH BOLT RIFLES units in your army gain the BATTLELINE keyword.
Every Blood Angels Detachment is a melee Detachment but especially the Lost Brethren. We’ve seen this rule before on units – it’s okay, but not amazing. Generally speaking you don’t want to be below Half-Strength, and if something is killing you an opponent is likely (and better off) trying to finish the job that turn. Your unit’s output sees a small jump if you lose one model out of ten, but otherwise this is more about mitigating the effects of losing models than it is about doing more damage. Still, this is a solid complement to the Death Company’s ability to re-roll hits in melee, but is a surprising non-combo with Lemartes’ Fury Unbound ability. Where it really does work is in a unit led by Astorath, where they gain [DEVASTATING WOUNDS], and if you can find a way to get full re-rolls to wound there you’ll be able to do some insane damage.
Enhancements
The four Enhancements available to this Detachment can only go on DEATH COMPANY characters, limiting them to the Death Company Captain and Jump Pack variety options. They’re mostly just OK, and aside from Blood Shard I don’t think I’d bend over backwards to take any of them.
- Sanguinius’ Grace (20 points) – Once per battle you can activate this at the end of your Fight phase if you’re within Engagement range of 3+ enemy models to fight an additional time. That three or more models rider really holds this back, as it requires some rather careful positioning from your 40mm base. When you pull this off it’ll be devastating, but careful opponents can really limit how often you can use this with careful casualty removal. This really wanted an effect to Consolidate more than 3”, but your Detachment doesn’t give you that. At 20 points you can skip this one.
- Blood Shard (25 points) – The first time the bearer of this is destroyed, roll a D6 at the end of the phase. On a 2+, set them back up as close as possible to where they were and outside of engagement range with 3 wounds remaining. This is incredibly good, and worth it whenever you can find the 25 points to drop it on one of your characters. A lone Death Company Captain can still do very large amounts of damage or just act as a helpful distraction, eating Overwatch fire for another unit in the Charge phase.
- To Slay the Warmaster (15 points) – Once per battle at the start of the Fight phase, you can activate this if the bearer is within Engagement Range of one or more enemy CHARACTER units. Pick one of those enemy CHARACTER units and roll 6D6. For each 4+, one CHARACTER model in that unit suffers 1 mortal wound. This feels like overkill in most respects. Yes, a free extra grenade you can lob specifically at a Character can be solid against the likes of Abaddon, but a unit of Death Company won’t need it to pulverize most threats.
- Vengeful Onslaught (10 points) – If the bearer is destroyed then until the end of your next turn Death Company models in your army get +1 to hit. This one is a pretty simple army-wide buff and I really like the idea of taking a solo captain just to get it. The downside is that it’s really hard to make it happen organically – you have to throw your character into harm’s way in an attempt to get him killed, though fortunately your Jump Pack Captain can take a Plasma Pistol and just fire that thing on full hazardous mode in an attempt to constantly go out in a blaze of glory in the Shooting phase.
Stratagems
The six Stratagems here can only be used on DEATH COMPANY units, fitting in with the theme of the Detachment. They’re decent but nothing amazing, and you can get most of the better effects here in Liberator Assault Group. The stand-out unique Stratagems here are Glorious Sacrifice and Lost to Rage.
- Glorious Sacrifice (Epic Deed, 1 CP) – Use this in any phase on a Death Company unit that was just destroyed while it was within range of an objective marker you controlled. That marker remains under your control even if you have no models in range of it until your opponent controls it at the end of any phase. This is really handy for forcing an opponent to come to you – you can put small units of 5 death company intercessors on an objective and if an opponent tries to shoot them off it you can play this to retain control of it, forcing them to walk out to the middle of the table to try and take it and die in the street to your chainswords.
- Armour of Contempt (Battle Tactic, 1 CP) – Used in your opponent’s shooting phase or any fight phase to drop the AP of incoming attacks by 1. This is always useful.
- Final Retribution (Epic Deed, 1 CP) – Used in the Fight phase, right after an enemy unit picks a Death Company unit as one of its targets. Until the end of the phase, each time a model in your unit is destroyed, roll a D6 and add 1 if you have a friendly Chaplain within 12” of the unit. On a 4+ that unit can fight before it’s removed from play.
- Furious Onslaught (Battle Tactic, 1 CP) – Used in the Fight phase on a Death Company unit from your army before it piles in. Until the end of the phase it can move D3+3” instead of 3”, or if it’s within 12” of one or more CHAPLAIN models or below Starting Strength, it can move up to 6” instead. This is very limited and situational but solid for those situations when it happens.
- Lost to Rage (Battle Tactic, 1 CP) – Used in the Fight phase on a Death Company unit from your army below Starting Strength. That unit can improve its Attacks, Strength, and AP by 1 until the end of the phase. Then if they’re not within 12” of a CHAPLAIN model they also gain [HAZARDOUS]. This is huge – the buff you get here is massive, and having a Chaplain attached to the unit means you can do this pretty much with impunity. Having to lose a model
- Wrathful Rampage (Strategic Ploy, 1 CP) – Used in your Movement phase after a DEATH COMPANY unit from your army Advances. That unit is eligible to declare a charge this turn. If it’s within 12” of a CHAPLAIN model or below Starting Strength it can also shoot. This is always good and will be something you use multiple times per game, every game. The only thing to note here is that you have to use this in your Movement phase when you Advance, so be sure to plan around that timing.
Playing This Detachment
The Lost Brethren gives you a fluffy way to build a Flesh Tearers or Death Company army. There’s some real power here – you can advance and charge, you can fight on death, you can sticky objectives on death, and you can buff your guys in melee – but it’s hard to make up for the Detachment’s lackluster rule when comparing it to your other options. There’s also no getting around the need for Chaplains to make the units work as anything more than melee missiles.
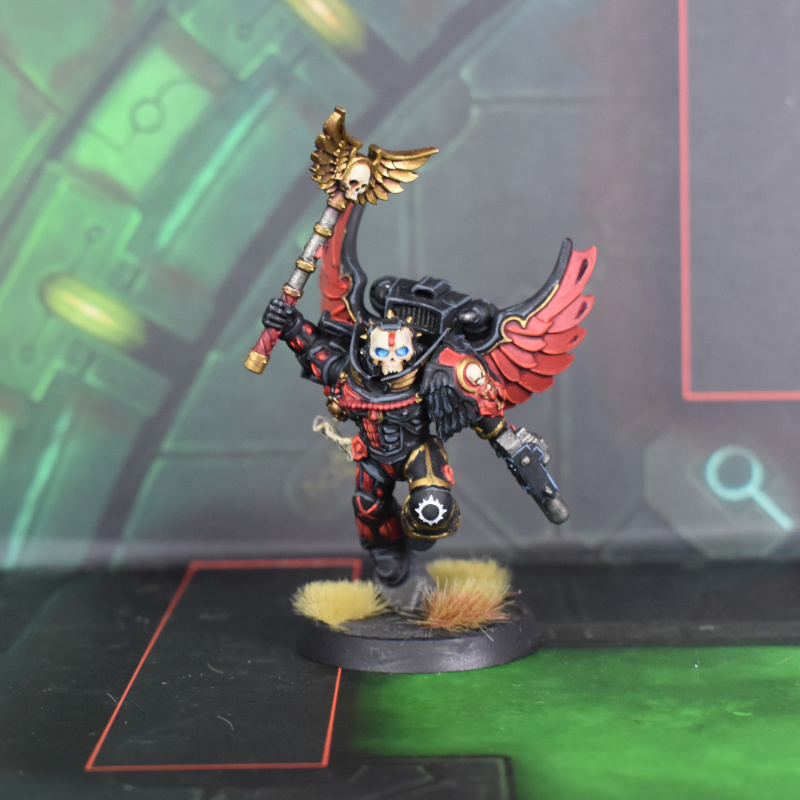
On the table Death Company want a large number of Chaplains interwoven into their ranks to both keep their OC up and help them get the most out of their Stratagems. Lemartes is a must-take in any Detachment army, where his ability to give his unit -1 damage and [LETHAL HITS] are absolutely massive and he’s just the best Chaplain option in the army. You’re also taking Astorath in every single army, because he also has the CHAPLAIN keyword and in addition to being an insanely strong melee unit he also just gives his unit innate Fight on Death and DEVASTATING WOUNDS for the entire unit.
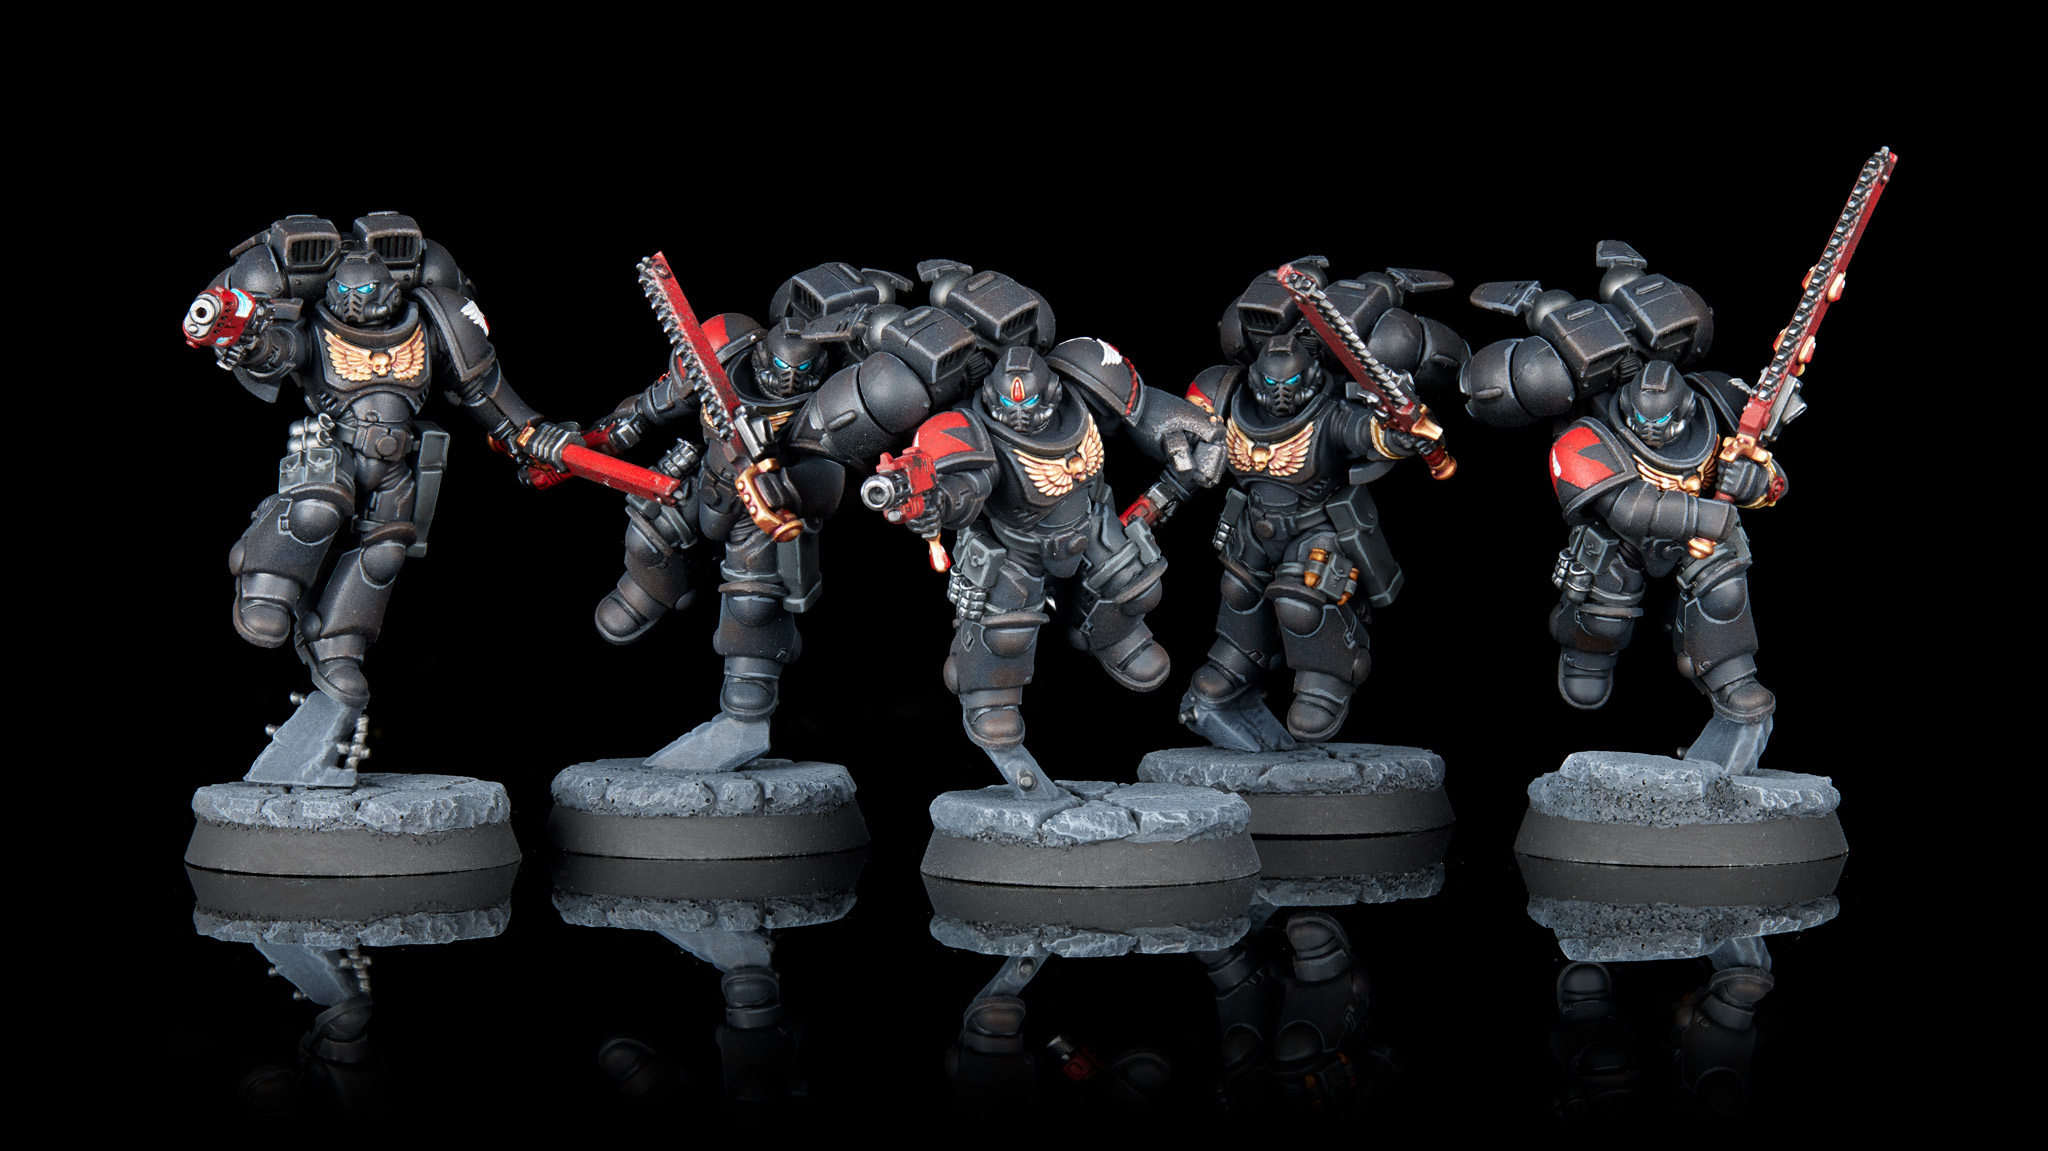
What the Lost Brethren Detachment really does for you is give you a reason to take five-model units of Death Company Marines with Bolt Rifles to hold objectives and perform Actions – though note that doing this requires you to keep a Chaplain nearby so they can stay OC 1, and that may require holding back more than you planned for those units’ sakes.
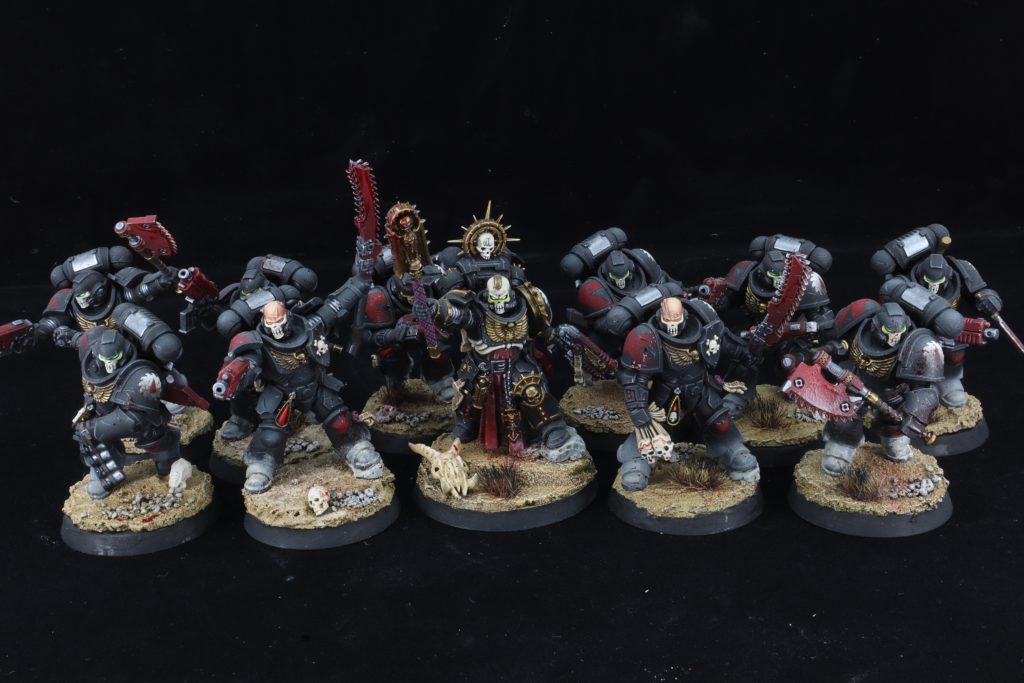
Any Lost Brethren army starts with three full units of Death Company Marines with Jump Packs, one each supported by Lemartes, Astorath, and a Chaplain with Jump Pack. You want to give those units as many Plasma Pistols as possible (x4), and it’s worth firing those off at full power early so you can potentially kill one of your models using [HAZARDOUS] to enable Lost to Rage against a key target. From there you have options, and the most compelling among those are more Death Company Infantry. The Death Company Dreadnought has some outside appeal, but with only six attacks even re-rolling hits and wounds it’s going to leave a lot to be desired in terms of output.
Final Thoughts
There are some really interesting, flavorful rules in the Lost Brethren Detachment. Its biggest downsides are its reliance on Chaplains to keep its units able to score VP and the fact that there are just two better Detachment options available to Blood Angels, each of which does just as much or more for Death Company. Still, there’s enough power here that you can play the Detachment without worry about that and simply jamming black power armored marines down your opponent’s throat, and then score VP after they’re dead.
Have any questions or feedback? Drop us a note in the comments below or email us at contact@goonhammer.com. Want articles like this linked in your inbox every Monday morning? Sign up for our newsletter. And don’t forget that you can support us on Patreon for backer rewards like early video content, Administratum access, an ad-free experience on our website and more.
