Merry Grotmas! Games Workshop is releasing a new series of detachments – one per army, every day until Christmas. In this series we’re looking at these new detachments, covering what’s in them, how they play, and how they’ll fit into the broader meta and your games.
Necrons have been eating good in 10th Edition, supporting a very broad range of army builds via strong detachments, a few key centrepieces and a great range of supporting utility tools. In the most recent metagame we’ve seen Hypercrypt Legion dominate via its exceptional movement tricks, but the strong all-rounder options of Awakened Dynasty and Obeisance Phalanx have also seen a decent amount of successful play. That makes it all the more impressive that the new Starshatter Arsenal was immediately in contention for best Necron detachment, and one of the strongest one unleashed by the Grotmas calendar, leading to the Detachment receiving a number of nerfs in the January balance update a month later.
Changelog
- 2025-01-20: Updated with January Dataslate changes and a new list
- 2024-12-06: Initial Publication
![]()
Detachment Overview
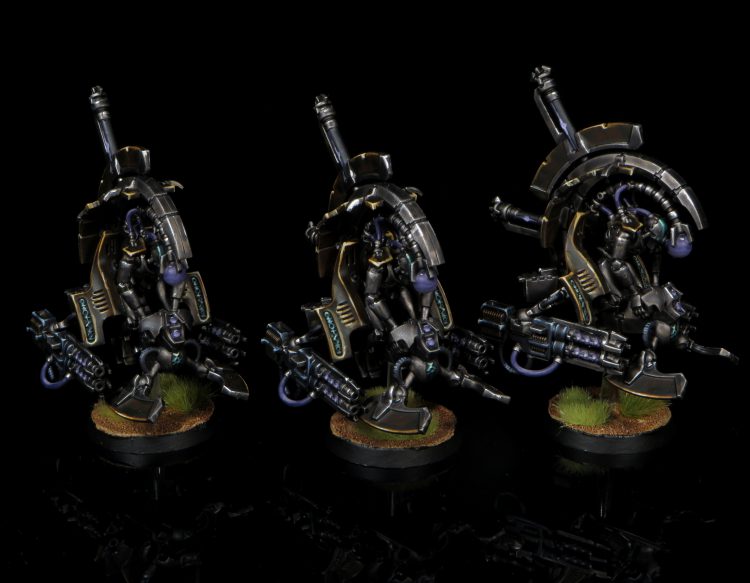
Starshatter Arsenal is a very potent all-rounder Detachment with particular incentives for running MOUNTED and VEHICLE units (except TITANIC ones, which most of its rules exclude). While these specific keywords are the focus, it has a good amount to offer other options as well, making a substantial proportion of the Necron toolbox available to you.
Hypercrypt Legion can, of course, already make great use of Vehicles and (sometimes) Lokhust Heavy Destroyers thanks to the mobility it offers them, but what sets this detachment apart from Hypercrypt is that it provides you with both substantial mobility boosts and a toolbox of tricks to power up your units, and the overall package it offers feels stronger than any of the ones currently on the market. It also distinguishes itself by providing tools to make Lokhusts of both flavours durable and mobile enough to operate normally on the table, rather than relying on Hypercrypt or the Veil of Darkness to make them feasible, turning them into premium choices. Finally, it’s incredibly broad in what you can do with it – as well as Lokhusts, units like Doomstalkers that have only previously been viable in one detachment get a look-in, and having broad buffs not tied to Leaders opens up the use of stuff like Triarch Praetorians.
Basically the only situation where this isn’t great is if you really want to run Monoliths or Tesseract Vaults, and if so then hey, Hypercrypt is still right there. However, you’re definitely going to want to think long and hard about whether you love those enough to stick with them.
The Video Version
If you’re looking for a video version of this Detachment review, we’ve got you covered here:
Detachment Rule: Relentless Onslaught
Each time a NECRONS model makes an attack that targets an enemy in range of an objective marker, add 1 to the Hit roll. In addition, all NECRON VEHICLE and NECRON MOUNTED units (excluding TITANIC) get ASSAULT on all their guns.
This is exceptionally strong. Almost all Necron units hit on 3s or 4s, so +1 to hit when going after key targets is nice, especially for a few things like Triarch Praetorians that can plausibly benefit from it in multiple phases. It’s important not to start thinking of this as always on, because long-ranged shooting exchanges in particular often won’t feature a foe on an objective, but it helps get the job done when it really matters – and it isn’t even the whole ability. It’s also particularly relevant for my beloved Illuminor Szeras, whose mediocre WS/BS3+ is normally a source of shame.
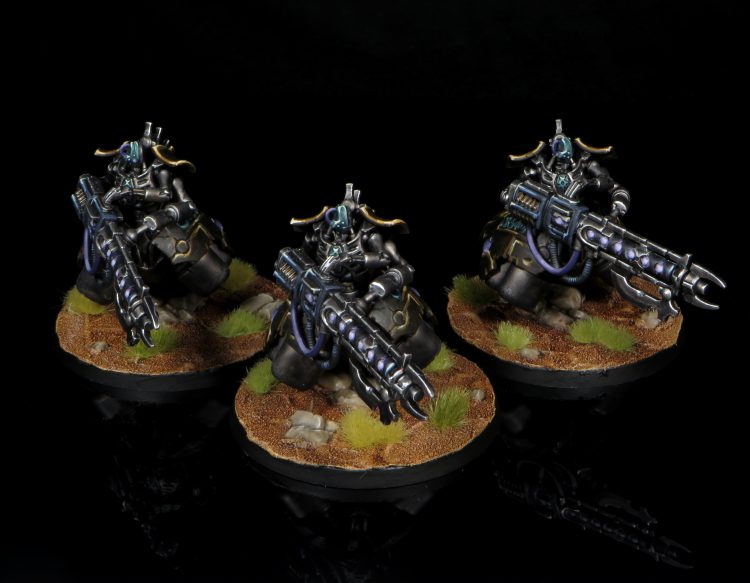
That second part really helps Lokhusts of all types operate, and is a nice bonus for Doomsday Arks or Doomstalkers trying to line up shots. Lokhusts have suffered a lot from the combination of FLY changes and not being INFANTRY in 10th, and some extra reach to help them get around (supplemented by a powerful Stratagem) helps mitigate that. The combination of effects also starts making particle beamer Tomb Blades worth looking at as an actual “go” unit, as they’re speedy and get great volume, while operating with near impunity once you factor in the Stratagems we’ll look at shortly.
This is a great foundation to build on and also doesn’t lock you into any one build (beyond needing at least some Vehicles/Lokhusts to be about to get the most from it).
Enhancements
The hits continue in Enhancements, and these have a ton of play.
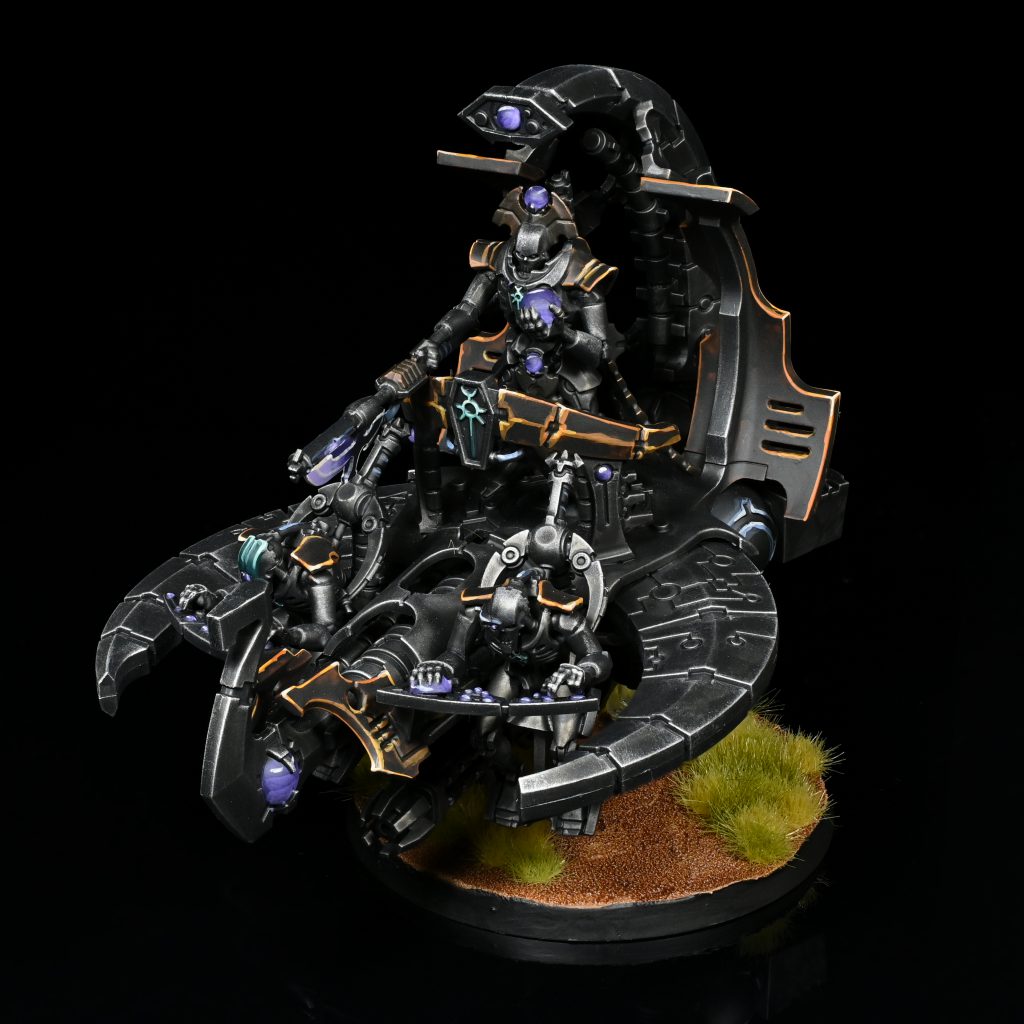
- Dread Majesty (30 pts): Give an Overlord or Catacomb Command Barge a 6” Aura of re-roll 1s to hit and wound for all non-TITANIC Necron units. Uh. Sure. Yes, I will do that in any build not taking the Silent King, thank you. Good with pretty much anything you’re doing in this detachment other than maybe regular Lokhusts just because they already have access to re-rolls.
- Miniaturised Nebuloscope (15 pts): Gives a unit Ignores Cover. Great on any of enmitic Lokhust Heavies, Immortals with Szeras support, or regular Lokhusts, and priced to move.
- Demanding Leader (10 pts): In your Command Phase, pick one friendly Vehicle or Mounted unit within 6” to be eligible to Shoot in a turn it fell back. This protects you against one of the key ways to defeat Lokhusts and it’s dirt cheap, both of which are solid upsides. The January balance update adjusted the timing on this to happen in your Command Phase rather than your Movement phase, which means you now need to be much more judicious about planning how to use it, and you can’t pull the trick any more of falling back into range to activate it. That makes it significantly less useful but still pretty cheap.
- Chrono-Impedance Fields (25 pts): In your Command Phase, pick one Vehicle/Mounted unit within 6” to get -1 to incoming damage till your next Command Phase. Exceptionally good, completely changes the game on how well Lokhusts of both types match up into their nemesis, which is medium volume D2 shooting, and if you don’t feel like doing that, just have someone follow the Silent King around as a -1D hype bot.
Stratagems
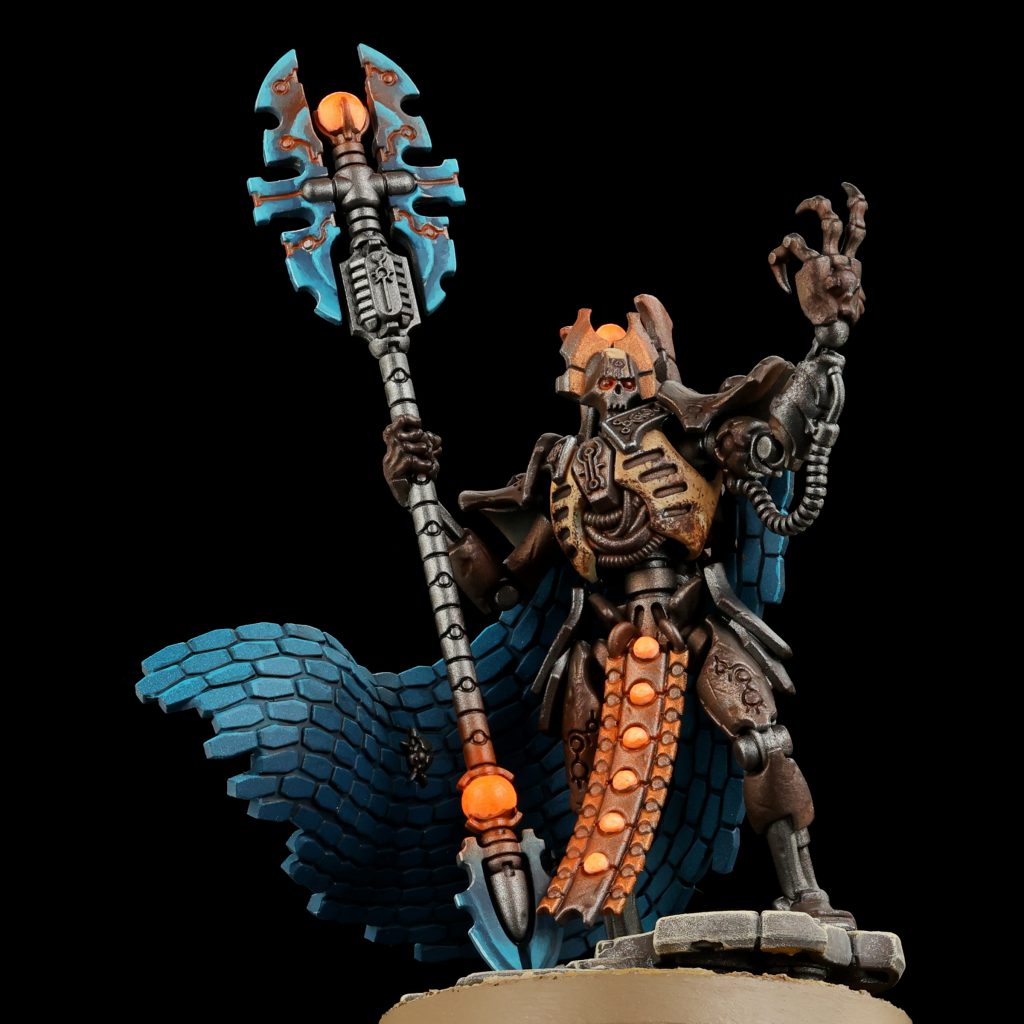
The Stratagems are where this all falls apa- just joking they’re great. There are five that are good or better (one a new top ten game-wide contender) and a sixth that you’ll use occasionally. You really want to be bringing Imotekh along so you can go ham on these. The January balance update raised the CP costs on Merciless Reanimation and Unyielding Forms to 2 CP, which really puts a strain on your CP and makes them much less reliable. Most of this is predicated on the notion that the Silent King isn’t TITANIC, which admittedly makes for some very rough internal balance issues for the Detachment. All of these exclude TITANIC units.
- Merciless Reclamation (Battle Tactic, 2 CP): Used in the Shooting or Fight phase to give one of your units +1 to Wound if their target is within range of an objective. No keyword limitations other than the no TITANIC one. Extremely good in a wide variety of contexts, whether it’s powering up re-rolling Immortals to deck something, horrendous volleys for a big Triarch unit out of deep strike, or maybe even a C’tan punching something into the sun. At 2 CP it’s pricey but it can be a big upgrade especially on bigger units with lots of shots.
- Unyielding Forms (Battle Tactic, 2 CP): Use in your opponent’s Shooting Phase or the Fight Phase to give a Vehicle or Mounted unit -1 to be wounded by attacks with higher S than their T for the rest of the Phase. Good clean fun, and particularly strong on a big unit of regular Lokhusts, especially stacked with one of the Enhancements for maximum durability. At 2 CP however it’s pricey, and we/d have liked to see this have the older format of 1/2 CP depending on the size of the unit.
- Chronoshift (Strategic Ploy, 1 CP): Auto-advance 6” for Vehicles or Mounted. When you need it, you love having it, and it’s a great combo with the detachment ability for Assault.
- Dimensional Tunnel (Strategic Ploy, 1 CP): In your Movement Phase, allows a Vehicle or Mounted unit to move horizontally through terrain and models. An additional huge boost to the mobility of larger Lokhust units, and very helpful to set up improbable pounces with Catacomb Command Barges or Triarch Stalkers. If you’re inclined towards taking one big shooty Doomsday, it also makes it far more feasible to start it hidden and still expect to get early value.
- Endless Servitude (Strategic Ploy, 1 CP): At the end of your Fight Phase, activate the Reanimation Protocols of a unit on an objective you control. Probably the weakest of the bunch because it’s conditioned on the thing you’d like it to help you achieve – if you already hold an objective, adding more models isn’t letting you flip it. Warriors might occasionally be strung between two and be able to pull that off, and in very specific circumstances you might be able to use it while the enemy is Battle-shocked so they don’t then take the point on their turn, but this is mostly going to be used when you have a C’tan you want to heal up, and it’s at least fine for that. Also worth considering that if you know you’re going to use this somewhere, you can zip a Reanimator into range before doing so, maybe using one of the preceding strats for the reach.
- Reactive Reposition (Strategic Ploy, 1 CP): Saving the best for last here, good lord. After an enemy unit has shot you can pick one of their targets and make a Normal Move of up to D6″. Reactive moves are always good, and this is likely to drive people up the wall. The struggle for Necrons has always been handling situations where stuff can get taken out in a single turn, and this makes that way harder to do against high-value stuff like Lokhust Heavies, and being able to use this on The Silent King is monstrous. You can use it to press forward onto objectives as well as run away too – this kind of reactive move after the enemy shoots without constraints on where you go with it is practically unheard of outside of once-per-game abilities. It will sometimes be worth slinging it onto something that doesn’t match the keywords too – it has the same problem as modern Phantasm, which is that sometimes you’ll roll a 1 and it’ll do nothing, but it’s usually pretty feasible to plan so that a 3+ does something meaningful, at which point you’ve got the option to gamble if you want to. The drop in auto-6″ in the dataslate makes this a bit riskier to just throw out when you need more than 3″ of movement, but Lokhusts really don’t want to be in combat and when you’re in danger of being charged, every inch matters.
Playing This Detachment
There are several ways in which you can address this. On some level, you can pretty much just jam some units in and do whatever, because there’s plenty of support here for your good datasheets, and pretty much everything in the detachment helps you achieve successful Warhammer.
The second level of flippant answer is “Silent King and some buddies” because hoo boy is Szarekh busted to all hell in this, going from already being an ultra-potent all-round monstrosity to a nigh indestructible one. Support him with some Doomsdays, maybe some Destroyers, few utility things, you’re golden. Alternatively, go all-out scorched earth shooting by maxing out on Doomsdays and Doomstalkers, because unlike in Hypercrypt there’s no cap on how many big threats can benefit from the mobility in the detachment rule. You can also establish an exceptionally good aura combo to augment them, because although the Silent King theoretically overlaps with the aura from Dread Majesty, you can just take both and then leave ignore modifiers on TSK all the time, fantastic with the flat damage shooting that build throws out.
Let us assume, however, that the attraction here is playing something a little more nuanced, and you want to use some options that don’t always thrive. If you’re aiming at that, what this build really helps with is properly utilising big but somewhat cumbersome hammerblow units, because it both enables them to hit at peak strength when you need them to, provides mobility to get them into position, and adds protection for plenty of them via the Enhancements and Stratagems. You can either go hard on lots of these, or maybe support them with a few big conventional Infantry units, as limited quantities of both Warriors and Immortals can get plenty of value here. If you’re going hard on vehicles – as most of the current top builds do – you’ll need a plan for dealing with high-pressure armies which can put units in your face early and often and tag you in combats you don’t want to be in – Fall Back and shoot and Big Guns Never Tire are only going to do so much for you.
Strengths
- There’s a lot of really great movement tech here – everything from extra speed to moving through walls to reactive moves
- Good buffs for mounted units – Lokhusts are going to have a great time
- Extra movement and [ASSAULT] on your vehicle and mounted units will make it difficult to hide from your big guns
Weaknesses
- Doesn’t work for TITANIC, so Monoliths and Vaults are off the table
- You’re going to want to have a lot of CP for those Stratagems – something the January balance update made even more of a challenge
- Recent nerfs have made parts of this Detachment such as the Demanding Leader Enhancement and Reactive Reposition really tone down the overall power level for Mounted units
Army List
It’s no surprise given the relative power of this Detachment that it has quickly become a competitive mainstay for Necron players and lists. So much so that it led to a number of nerfs in the January balance update shortly below LVO. Note then that these are all lists which exist in a meta prior to that update, though none of the changes were to actual points values. As such I’ve prioritized finding a list here that includes Imotekh, as he’s likely to be a bigger mainstay moving forward.
This list was run by Jacob Wagner at the 2025 Las Vegas Open event, where he took it to a 5-1, 28th-place finish over the event’s first six rounds, losing to Don Hooson’s Death Guard in round 4. It’s emblematic of what we’ve seen become the main list for the Starshatter Arsenal: The Silent King, some Hexmarks for scoring, Doomsday Arks and Stalkers, and some Lokhusts and Tomb Blades for seasoning.
Jacob's List - Click to Expand
It’s pretty clear looking at the top Starshatter lists that a trio of Doomsday Arks make up the base of the army for most of those lists, and it’s pretty common for them to also pack Imotekh and some Lokhusts, plus a unit of Tomb Blades. The Tomb Blades give you early scouting and a lot of utility, while the DDAs and Heavy Destroyers are your long-ranged punch. This list takes the Demanding Leader enhancement and Chrono-Impedance Fields on its Hexmarks, giving it Lone Operatives who can protect the DDAs, Stalkers, and Lokhusts from melee threats while also giving them some Overwatch cover. While some Starshatter lists tend to take more melee support – often in the form of Skorpekh Destroyers – Jacob has decided not to bother, going for more of a heavy ranged stat check approach that’s likely to pay off better against armies which can just plow through the Skorpekhs anyways, or at least trade up into them.
Final Thoughts
Although Starshatter Arsenal will not remain the dominant option for competitive Necrons following its nerfs, it’s clearly still got some chops thanks to decent buffs on solid units and a very strong Detachment rule. It’s clearly in the conversation with Hypercrypt Legion and while lists between the two have a lot of similarities thanks to the value of Doomsday Arks they offer enough divergence that we do get some list variety with both as viable options in the field. If you’re taking Necrons competitively, this is one of the serious options for doing so.
Have any questions or feedback? Drop us a note in the comments below or email us at contact@goonhammer.com. Want articles like this linked in your inbox every Monday morning? Sign up for our newsletter. And don’t forget that you can support us on Patreon for backer rewards like early video content, Administratum access, an ad-free experience on our website and more.
