In our Detachment Focus series we take a deep dive into the game’s detachments, looking at their rules, how they play, and how they affect list building. In this article we’re looking at the Hammer of the Emperor Detachment from Codex: Astra Militarum.
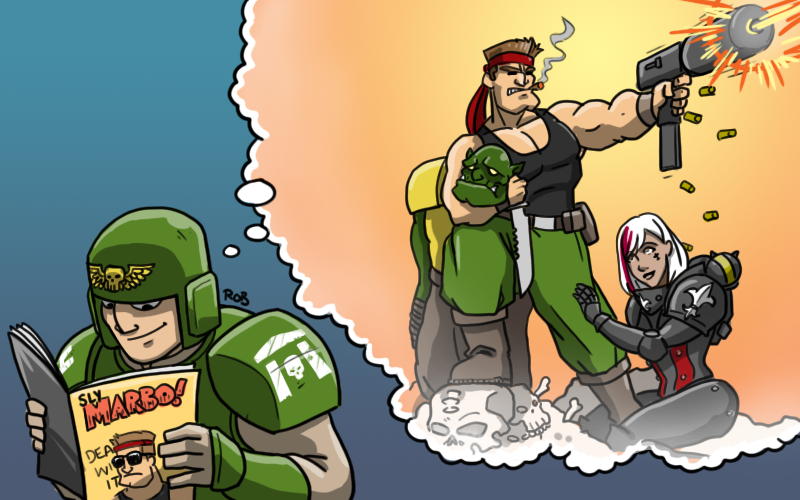
Have you been annoyed by the way Games Workshop keeps pushing out new kits for those hoity-toity Cadians and fancy Death Korps poseurs in their long skirts? Do you long for the days when the guard was made of roided-up monsters from planets where the very air wants to kill you? Well, the good news is that Codex: Astra Militarum came packed with a Catachan-flavored detachment just for you: The Recon Element.
We’d like to thank Games Workshop for providing us with a preview copy of these rules for Review purposes.
Detachment Overview
Recon Element provides a board control/primary denial-style build that encourages you to swarm the table with huge amounts of Infantry, Cavalry, and Sentinels. It increases the durability of your Infantry and provides Stratagems and Enhancements that can constrain your opponent’s ability to react. This style of army has a long history of putting up impressive performances in the hands of players whose backs can take the strain of moving 150 models around the table, and this looks like it may be good enough to be a problem. Supporting Cavalry and Sentinels in addition to Infantry also increases flexibility in how you build this; Armoured Sentinels feel like they’re legitimately great here. This detachment has real promise in singles, and should absolutely go in the toolbox for team builds thanks to how effectively it plays its intended skew game.
The Video Version
Are you already sick of reading when you could be out there doing in the Jungles? Well we’ve got you covered with a video version of this review:

Detachment Rule – Masters of Camouflage
All REGIMENT and WALKER units have the Benefit of Cover all the time. If a model would also receive the Benefit of Cover thanks to terrain or other effects, add +1 to the model’s Save Characteristic (to a maximum of 3+).
This is great for upping the durability of all the units you want in this Detachment. Cover all the time is just good if you’re throwing down hordes of 5+ Save Infantry, and getting an extra bonus on top of that (which you can stack with the Take Cover! Order) can push your units to saving like Space Marines. Chewing through the numbers of models you can put down with a 3+ save becomes very tough at range. Don’t forget that the core Go to Ground stratagem exists, which provides an on-demand way to switch on the extra bonus here; you can reliably plan around pushing out a full Infantry stack, and pushing them to being 3+ with Cover. Obviously melee still provides a strong way to scythe through such a setup, but the detachment has some Stratagems that can reduce the risk of that as well.
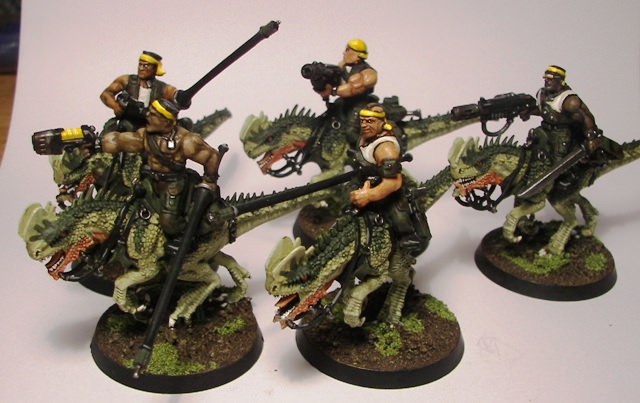
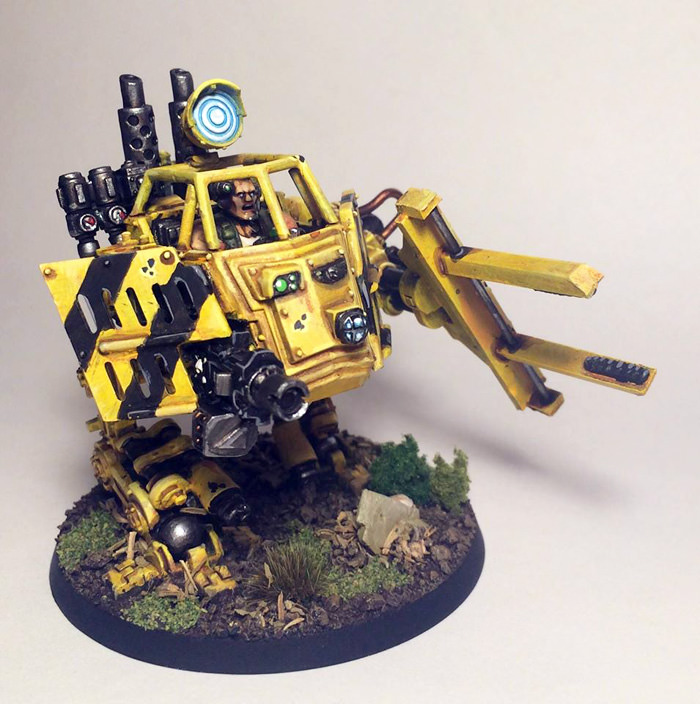
It isn’t just horde infantry who benefit here too – always being in Cover is fantastic for Armoured Sentinels with their base 2+ Save, making these a great addition to the detachment. Heavy Weapon Squads, Field Ordnance Batteries and Artillery Teams all have REGIMENT as well, increasing the value of these in this detachment, particularly Catachan ones and the new Krieg heavy weapon squads (which have a base 4+ save). Finally, Death Riders and Rough Riders all benefit, and enjoy upping their defences. These cavalry units also give you something that can get stuck into combat if the opponent tries to bully you in melee, mitigating a detachment weakness. Master of Camouflage is one of the strongest detachment rules offered by this book.
That said, if there’s an area you have to watch out, it’s Torrent weapons – some armies that are overburdened with flamers like Death Guard and Thousand Sons are going to eat you alive. Fortunately, there’s nothing stopping you from taking tanks and shooting them in the face.
Enhancements
There’s an interesting mix of utility options here, some very cheap, though also fairly niche. These are all limited to INFANTRY characters.
- Guerilla Honours – Allows you to redeploy up to three other Infantry units after both players have deployed, or put them in Strategic Reserves. It’s quite expensive, and you’re probably still taking Lord Solar if you really want a redeploy effect, so it’s probably a miss.
- Scare Gas Grenades – Once per game, you can select an enemy unit (non-VEHICLE/MONSTER) within 8” of the bearer at the start of any phase, and force a Battle-shock test. Won’t always do anything but it’s ultra cheap, so if you end up with a few points over, why not? It’s going to be particularly good on UKTC boards, as it doesn’t require visibility, so a unit staged behind a central ruin can cover the whole of the central objective with the threat range.
- Survival Gear – A very cheap Enhancement that gives the Bearer Scouts 6”, but notably does not extend it to a unit they lead. That was a bit of a head-scratcher at first, but there are a couple of uses. Most notably, providing the option of a Cadian Castellan joining Kasrkin without removing their ability to Scout, or sticking a Primaris Psyker with a big brick of Catachans. The former feels somewhat plausible given that the Castellan also gets an extra order in this book.
- Tripwires – A medium cost annoyance upgrade, which gives you a chance to stun any INFANTRY or MOUNTED unit that ends a Normal Move, Advance, Fall Back or Charge within 9” of the Bearer’s unit. This inflicts -1 to hit till your next turn on a 4+. This is surprisingly real, as it helps deal with one of the army’s weaknesses, which is getting rolled over by melee Infantry. Because this triggers from the Bearer’s whole unit rather than just the bearer and triggers on Charges as well as Movement phase stuff, you’re very likely to get two rolls against melee threats, meaning that this combines really well with the plan of pushing one big squad up and using Stratagems to limit the opponent’s ability to react to them.
Stratagems
This detachment’s Stratagems provide a strong, cohesive suite of tools to execute the board control plan, and are a big part of why it should have legs.
- Crack Shots (Battle Tactic, 1CP) – Provides a PLATOON unit (the three core Infantry squads and command squads) with the [PRECISION] rule when they Shoot. Probably the weakest (and least on-plan) of the Stratagems here, but still OK on occasion if you have Krieg units, as it can let them spike out a Character.
- Draw Them Out (Strategic Ploy, 1CP) – Allows a PLATOON unit to make a 6” reactive move after your opponent ends a move within 9” in their Movement Phase. This is more like it – the ground coverage on PLATOON units can be huge, so this gives you lots of agency to respond to the opponent or control space.
- Scramble Field (Wargear, 1CP) – Activate at the start of the opponent’s Reinforcements step, and prevent enemies from being set up within 12” of one of your INFANTRY units in that phase. Again, this is a very strong effect for a list that can have 25-model units in it. This stratagem is a huge spoiler for some matchups and great for stopping those pesky units with torrent weapons from dropping where they can shoot you.
- Courageous Diversion (Strategic Ploy, 1CP) – Activate at the start of your opponent’s Shooting Phase to give a MOUNTED or INFANTRY unit a 6+ Feel No Pain and -1 to be hit when they’re the closest eligible target. This can help protect a giant Infantry stack that’s controlling space or significantly boost the survivability of Death Riders or Rough Riders, as 6+ Feel No Pain always works best on multi-wound models. Just remember that you need to use this at the start of the phase.
- Tanglefoot Grenades (Wargear, 1CP) – Used at the start of your opponent’s Charge phase to give enemy units -2 to Charge rolls against a GRENADES unit for a phase. Really good, again, and works especially well with Death Riders or something that’s reactive moved with Draw Them Out to make it hard to nail a charge. Worth noting that GRENADES are extremely common in this book, and even Heavy Weapon Teams, Field Ordnance and Artillery have it, so if you’re using those as backfield objective holders, this can help disrupt a Deep Strike charge. Note that this doesn’t stack with other negative charge roll modifiers.
- Scouting Outriders (Battle Tactic, 1CP) – Let a MOUNTED or WALKER unit that’s wholly within 10” of a Battlefield Edge jump into Strategic Reserves at the end of the opponent’s turn. Great for bouncing a squad of Armoured Sentinels around to shoot at stuff, or repositioning a Rough Rider or Scout Sentinel MSU for scoring.
Playing This Detachment
Take tons of scouting infantry, add a splash of Cavalry and Sentinels, and be an absolute menace to your opponent’s game plan. This detachment is focused on ruining your opponent’s ability to execute their plan through movement reaction, and cheap and very durable units while denying charges and deep strikes. You’re forcing your opponent into a plan of outright aggression; if they haven’t brought the smoke, they’re going to be out of luck.
That said, while the core of your game plan is always going to be annoyingly tough infantry, it’s worth remembering that even though they aren’t going to be quite as strong, tanks are still plenty viable units in this army, and you may find that you need them for the supporting punch your units need. Don’t be afraid to experiment with a tank or two or some indirect fire options to take out key threats.
Strengths
- Infantry and Cavalry: Honestly, the detachment rule here is crazy. If you’ve done the math here, this detachment gives you the ability to build in a 3+ save (effective 2+ with cover versus attacks with AP) against ranged attacks. This is absolutely bonkers for datasheets that start on a 5+ save.
- Board Control: There are no surprises allowed against you when you’re playing this detachment. No deep strikers, no lucky long bomb charges, and no attacking your fighting units without an easy-to-achieve debuff.
- Scoring: You’re going to have a lot of OC in this detachment because you’re going to be taking a lot more Guardsmen and other small units. This plays great in controlling mid-board objectives early via the Scout rule and allows you to easily achieve action-based secondary objectives as they come up.
Weaknesses
- Armour: There’s nothing here for your tanks. You’re going to have to find other ways to bring killing power or accept the fact that your tanks aren’t going to be operating at peak efficiency.
- Pressure: I could feasibly see this detachment struggle against armies that can present multiple melee threats up the board fast. These days, World Eaters are able to bring an impressive amount of MSU mele threats to bear with eye-watering movement on the first turn. When engaged with that many melee threats, a high ratio of horsies and Guardsmen may not do much for you.
- Enhancements: Frankly, the Enhancements are very expensive, and somewhat middling in this detachment. The nice thing is that there are two cheap ones to help you pad out points. The issue is that most of these are typically going to be relevant once or twice per game at most.
A Sample List
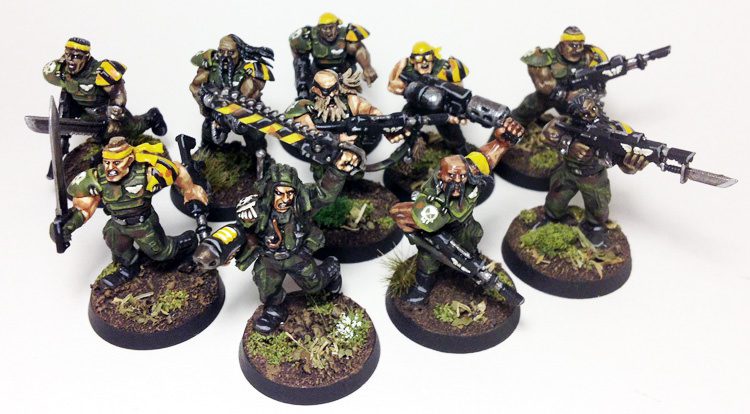
Lean heavy into infantry units, and figure out how you’re going to put the hurt on lists that bring pressure. Scout is tremendously powerful in this detachment because you’re going to be lacking some more traditional mobility offered by transports, tanks, and firepower reach offered by artillery. Specifically, Kasrkin and Catachans shine in this detachment; both have Scout and both offer good platforms for receiving orders.
3 hour good morning isometric hold - click to expand
This is MSU: the game. You better score your objectives, because you’re not going to be killing much that isn’t infantry. I’ve brought a bunch of mortal wounds to offset the weak anti-tank this list brings to the board. Even with that, you’re always going to be in a relatively uncomfortable spot on this axis; it’s just not enough anti-tank to deal with lists that bring a ton of vehicles.
This list really leans into the Scout and Infiltrate rule so you can get out in front and score your points early. It brings Kasrkin, Heavy Weapons Teams, Sentinels, Rough Riders, and a Hellhound in an attempt to introduce some killing power into this otherwise very score-focused list.
We’ve brought 2 large squads of Death Korps to offer resilience and objective control for contested mid-board objectives. This list will literally be physically challenging to play at events because of all of the models you’re going to be responsible for moving; be prepared to play on a chess clock for your and your opponent’s good.
Final Thoughts
Recon Element may be the strongest detachment in the book. I have no doubt we will see some very skewed lists put up results with these rules. Hopefully, this detachment doesn’t become so dominant in the competitive scene that it drives points for the rest of the book. If you’re a fan of infantry hordes and MSU, enjoy it while it lasts. If you’re not, well, it probably won’t last long.
Have any questions or feedback? Drop us a note in the comments below or email us at contact@goonhammer.com. Want articles like this linked in your inbox every Monday morning? Sign up for our newsletter. And don’t forget that you can support us on Patreon for backer rewards like early video content, Administratum access, an ad-free experience on our website and more.


