


")


In our Detachment Focus series we take a deep dive into an army’s Detachments, covering what’s in them, how they play, and how they’ll fit into the broader meta and your games. In this Detachment Focus we’re looking at the Rapid Evisceration from the Emperor’s Children.
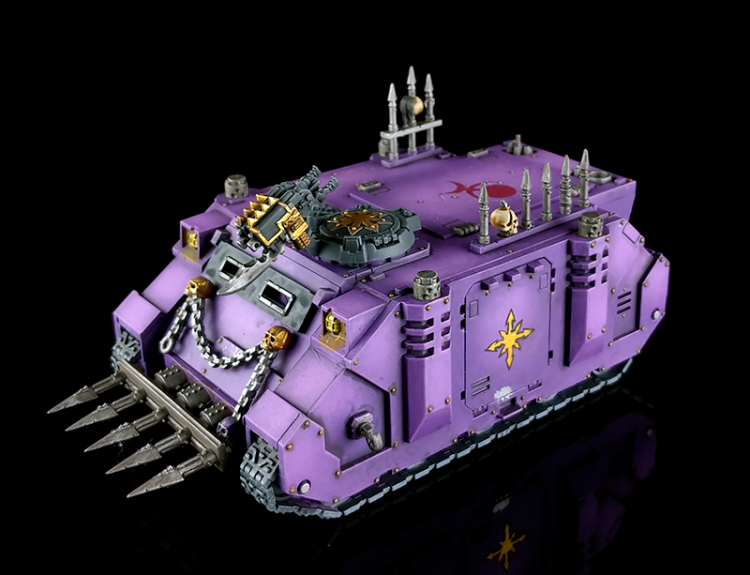
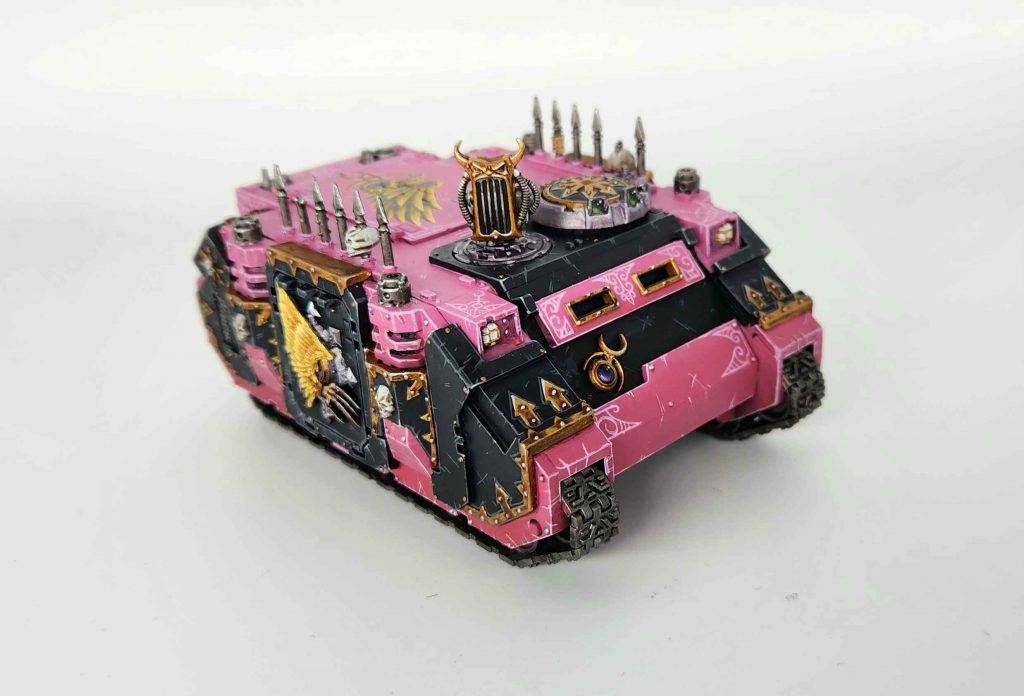
The most unique Detachment in the Emperor’s Children isn’t the one with pledges to the Dark Prince, nor the one where you bring daemons. No, the real stand-out in the bunch is the one where you take a bunch of Rhinos. The Rapid Evisceration Detachment is based around using transports to move quickly around the table, hopping out to wreak havoc on your enemies, then hopping back in to do it again. If you love painting Rhinos, this is gonna be your Detachment.

Detachment Overview
The Rapid Evisceration Detachment focuses on getting into and out of transports. The core rule here buffs your offense the turn you disembark, and most of the rules here either help you get into or out of transports out-of-phase, though some other key rules let you go back into reserves and come back early. This all leads to a very hit-and-run style, where your units show up, pop out of a transport to kill something, then hop back in to avoid taking casualties so they can do it again the following turn. This is a Detachment with a ton of great tricks for scoring, but will need an investment of 400-700 points worth of transports to really work.
The Video Version
If you’d rather watch than read about this Detachment, we’ve got you covered with the video version here:
Detachment Rule: Mechanised Murder
Each time an Emperor’s Children model in your army makes an attack, if it disembarked this turn from a Transport, it can re-roll hit and wound rolls of 1.
There aren’t many re-rolls in the Emperor’s Children Codex, making this a reliable source of easy re-rolls that can help elevate your units – especially Noise Marines and Flawless Blades – to the next level. If you’re running power armored infantry you’ll already want to have some Rhinos in your army to protect them and ferry them around and this makes them even better.
Enhancements
All four of the Enhancements in this Detachment affect vehicles in some way, and three explicitly affect Transports. All four of them can only go on INFANTRY units, meaning they’re limited to Lords Exultant, Lords Kakophoni, and Sorcerers. These are very, very good.
- Sublime Prescience – Infantry only. Once per turn in your Movement phase you can pick a friendly Transport in Strategic Reserves. Then if you bring that unit in from reserves, you can treat the current battle round as being one higher than it currently is. This is very, very good – it lets you bring in a transport on the first turn of the game from reserves, and bring in a second on round 2 in your opponent’s deployment zone.
- Spearhead Striker – Infantry only. Each time the bearer disembarks from a Transport, you can re-roll Charge rolls made for the bearer’s unit and enemy units cannot use the Fire Overwatch Stratagem to target the bearer’s unit. This is also very good, though not being able to get it on Flawless Blades really hurts.
- Accomplished Tactician – Infantry only. Once per turn, in your opponent’s Shooting phase, just after they’ve shot with an enemy unit, you can pick a unit within 9” of the bearer that was hit by that unit’s attacks, then pick a friendly transport wholly within 6” of said unit and able to embark within it. That unit embarks within that transport. This is a solid way to protect your unit, and you can pull off some really fun tricks using this and Reactive Disembarkation.
- Heretek Adapt – Infantry only. Once per battle round, when a failed saving throw is made for a friendly Vehicle within 6” of the bearer, you can change the Damage characteristic of that attack to 0. This is OK. It’d be better if it worked on your transport while you were in it, but you can combine this with Reactive Disembarkation to get out when you’re getting shot, then blank an attack for a failed save. This is going to do its best work on Land Raiders and Maulerfiends.
Stratagems
All six of the Stratagems in this Detachment target vehicles, and most focus on Transports. They’re all set at 1 CP.
- On to the Next (Strategic Ploy, 1 CP) – Used in the Fight phase, after one of your units kills an enemy unit. If that unit is wholly within 6” of a friendly transport it can embark within, then you can put it in the Transport. This is a great way to move-fight-move with something. Get out, make a charge with your re-rolls bonus, then hop back into your transport (charge with the transport to keep it in range).
- Advance and Claim (Strategic Ploy, 1 CP) – Used in your Command phase. One Transport from your army that has a unit of Tormentors embarked within it who aren’t Battle-shocked. Pick an objective marker within range of that transport that you control and that marker remains under your control until an opponent controls it at the end of a phase.
- Dynamic Breakthrough (Epic Deed, 1 CP) – Used in your Movement phase on a vehicle in your army. Until the end of the phase, that vehicle can move through non-Vehicle, non-Monster enemy models, automatically passing any Desperate Escape tests. It can’t end its move within Engagement Range of an enemy unit.
- Ceaseless Onslaught (Strategic Ploy, 1 CP) – Used in your Charge phase on a unit that disembarked from a Transport that made a normal move this turn. Until the end of the turn, your unit is eligible to declare a charge. You can’t use this to get a charge from a transport arriving from reserves, but this is basically your ticket to dropping a unit off after it gets out of a Rhino. That’s huge for a unit of Infractors you want to smash into an enemy without making them run across the table (15” of movement is better than they’ll get most of the time getting out and attempting an advance + charge), and you can combine this with Spearhead Striker to ensure your unit can’t be shot when it climbs out.
- Reactive Disembarkation, 1 CP) – Used in your opponent’s Shooting phase, after they pick one of your transports as a target. One of your units embarked in that Transport can immediately get out and be set up anywhere wholly within 6” of the Transport and outside Engagement Range of enemy units. This is huge for those times when you know your Transport is going to eat it and you’d rather protect the guys inside than try and keep the thing alive with a desperate Smokescreen Stratagem. The extra distance can help you get to a safe hiding spot, and it’ll keep your guys from being Battle-shocked when they get out.
- Outflanking Strike (Strategic Ploy, 1 CP) – Used in your opponent’s Fight phase. Pick one Transport from your army, or two Dedicated Transports. If those transports are wholly within 9” of one or more battlefield edges, you can pick them up and place them into Strategic Reserves. This is really solid, and you can use this to pull off some silly tricks when you combine this with something like the Sublime Prescience Enhancement to go off the table turn 1 and then come back on. Rhinos aren’t that big, and you can definitely use this to force your opponent to screen out their backfield late.
Playing This Detachment
This Detachment is all about transports and the tricks you can pull off with them. Any build of this army probably starts with at least three rhinos, and a Land Raider full of Flawless Blades and Lucius is probably in the cards as well. Sublime Prescience is a must-take here, though the rest of the Enhancements less so.
Because of the standard buffs you get for getting out of a transport, this really feels like the place Noise Marines are most likely to thrive, dropping out of their transports to light up an enemy unit before popping back in the following turn and doing it again. Tricks like Accomplished Tactician and On to the Next can help you hop back in out-of-phase, letting you make the most of your disembark bonus and keeping your precious elite infantry off the table when it’s your opponent’s turn to fight back.
Strengths
- Offensive Buffs. This Detachment offers a solid offensive buff that’s easy to get and works well with units you already wanted to take.
- Movement. An army built around Transports is already going to have great movement, but when you factor in all the ways you have to get in and out of transports, you can stack on extra movement pretty easily.
- Reserves Shenanigans. While you can’t deep strike a rhino, this Detachment gives you the ability to pull them back into reserves so you can drop them back onto the board, giving you the ability to zip across the table at a moment’s notice.
Weaknesses
- Transport-Dependent. All of your moves and strategies here depend on getting out of or into a transport, limiting how much you can do turn-to-turn. You’re also basically getting nothing when you aren’t in your transports.
- Points-heavy. In that same vein, spending 400-700 points on Transports to make your game plan work is going to feel pretty rough for an army that’s already pretty elite.
- Limited offense. While you get a baseline offensive buff from getting out of a transport, that’s about all you’ll get, and this army needs help cracking enemy transports and breaking through heavier targets. A single Land Raider isn’t going to cut it, and your buffs don’t help the transports’ offensive output.
A Sample List
Transports, transports, transports. I’m not entirely sure it’s worth trying to fit a Land Raider into the army competitively, but I’m at least going to start by trying and figuring everything else out later.
Sample List - Click to Expand
Is two Maulerfiends enough? I’m honestly not sure. I’m going hard here on the Land Raider + Lucius + Flawless Blades, and there’s a very real chance that just isn’t a strong enough play to work out. If that’s the case, it’s easy to imagine dropping that brick for another maulerfiend and a daemon prince or two, and giving him the Heretek Adept Enhancement instead to protect the Maulerfiends while he’s with them. This is an insanely mobile army and it runs the trick of being able to use Sublime Presence to drop in the land raider (or a Rhino) from Strategic Reserves on the first turn, or in your opponent’s DZ on round 2.
Final Thoughts
The Rapid Evisceration Detachment feels like the most unique of the options available to the Emperor’s Children, giving them a very fast, tricky playstyle to work with. There are a ton of fascinating tricks here and interesting tech for zipping around the table, offering the kinds of plays that make it impossible to stop you from scoring VP early in the game. If your style is more hit-and-run, then this may be the Detachment for you.
Have any questions or feedback? Drop us a note in the comments below or email us at contact@goonhammer.com. Want articles like this linked in your inbox every Monday morning? Sign up for our newsletter. And don’t forget that you can support us on Patreon for backer rewards like early video content, Administratum access, an ad-free experience on our website and more.
