
In our Detachment Focus series we take a deep dive into an army’s Detachments, covering what’s in them, how they play, and how they’ll fit into the broader meta and your games. In this Detachment Focus we’re looking at Mortarion’s Hammer from the Death Guard.
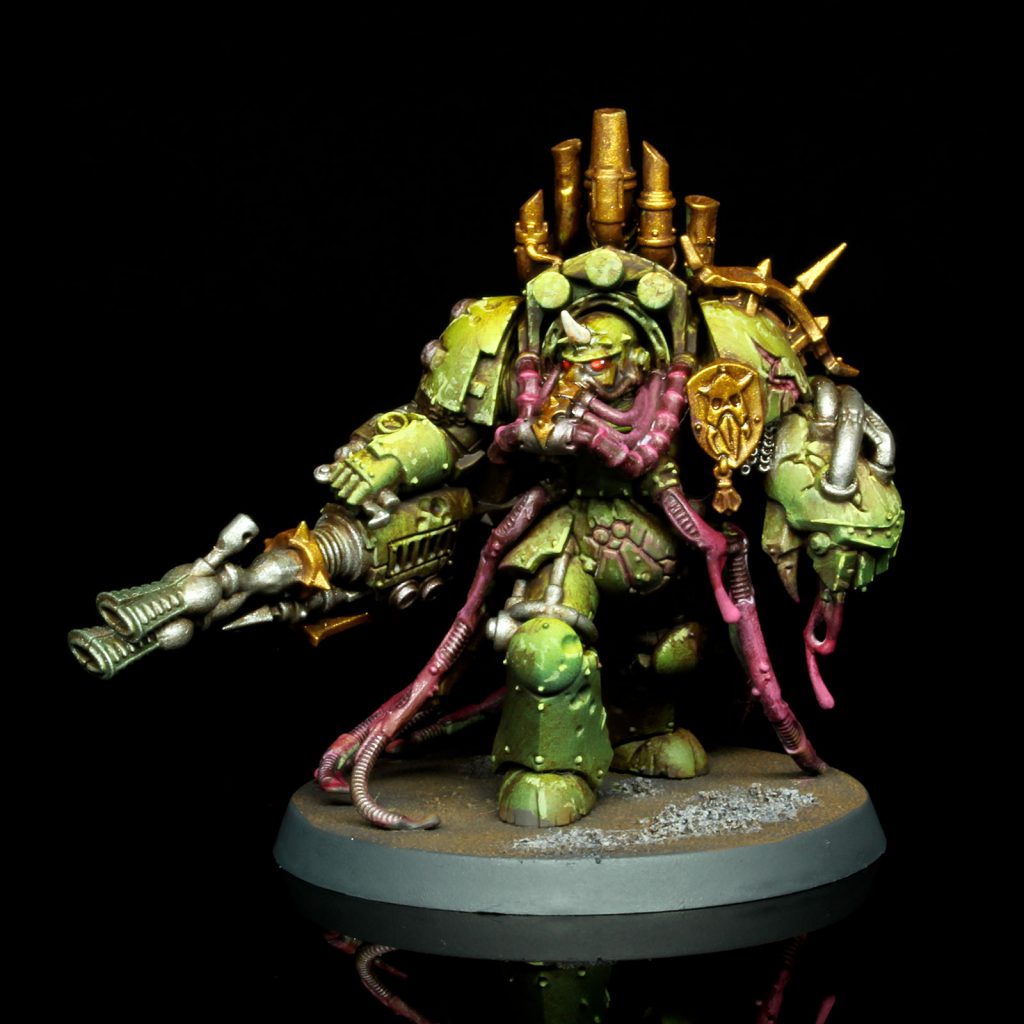
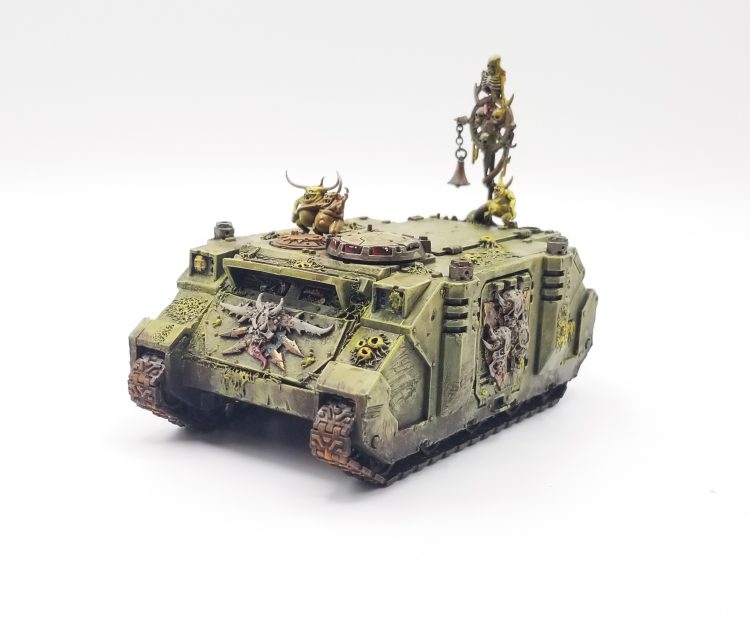
The new Death Guard Codex comes with a dizzying amount of quality datasheets, providing a plethora of different ways you can approach building a list. Lets be honest though, you’re here for the tanks. Sure the big smelly guys and the zombies are cool but the big tough vehicles are one of the main draws of the faction. Mortarion’s Hammer focuses on those units while also providing some tools for a more well rounded approach.

Detachment Overview
First and foremost, Mortarion’s Hammer is a Vehicle Detachment. While the Detachment rule itself helps everything (especially one specific non-vehicle unit we’ll discuss later), almost all of your stratagems only work on Vehicle units. Expect to bring some Drones, Plagueburst Crawlers, and/or Defilers if you’re building for this one.
The Video Version
If you’d like to watch a video version of this Detachment Focus, we’ve got you covered here:
Detachment Rule: Miasmic Bombardment
At the start of each battle round, pick a number of enemy units more than 12″ away from every model in your army that is on the battlefield. Until the end of the battle round, those units are Afflicted. You can pick 1 unit in an Incursion game, 2 in Strike Force, and 3 in Onslaught.
This is a really simple rule, but it can be devastating under the right circumstances. For one, your Plagueburst Crawlers can now reach out and hit backline objective holders with the benefit of Rattlejoint Ague applied (-1 to saves). But the real fire here is using this to create windows for your Deathshroud Terminators to deep strike in more than 6″ away from Afflicted units. There are a ton of other applications as well – this is a very flexible rule. That said, it’s also a rule that kind of doesn’t matter late in the game unless you’re suddenly out of position across the table from something you need to kill.
Enhancements
Unfortunately since vehicles can’t get enhancements, there isn’t a ton here that’s really on theme with the Detachment. The best you’ll get is something that works well with a Lord of Virulence, this Detachment’s best friend. That said, there are some bangers here.
- Eye of Affliction – Gives this character’s unit Ignores Cover. This is fine but most of the time you’ll be running Lord of Virulences with Deathshroud, and those all ignore cover anyways. Good if you’re running a unit of Blightlords, though.
- Bilemaw Blight – This one can only go on a Plaguecaster. In the Shooting phase they get +12” on their Plague Wind. This is fine but isn’t really helpful given the only way you’ll want to run Plaguecasters here is in a Rhino where they won’t get the benefit.
- Shriekworm Familiar – Once per battle round, this model’s unit can use the Fire Overwatch stratagem for free. Now this is what I’m talking about. This is amazing on Deathshroud with a Lord of Virulence, where you’re automatically hitting with their Plaguespurt gauntlets when you fire Overwatch.
- Tendrilous Emissions – This one’s the must-take. A Lord of Virulence model in your army gets Lone Operative while they’re within 3” of a VEHICLE unit and he gives those Vehicles the ability to re-roll 1s to wound with ranged attacks. This is amazing and will help keep your buffs online even farther into the game, allowing your Lord of Virulence to take up more risky positions out in the open in order to spot targets for the rest of your army. You also don’t have to take him alone for this benefit, but you probably should
Stratagems
The Stratagems on offer here give you a lot of interesting tools to work with, including several that boost your movement on vehicle units.
- Blighted Land (Strategic Ploy, 2 CP) – At the end of your movement phase, you can select a terrain feature within 24” and visible to a vehicle in your army and everything within 3” of that terrain feature is Afflicted until your next turn. This can be brutal when used in conjunction with your Plagueburst Crawler’s Spore-Laced Shockwaves ability if your opponent is bunched up around a terrain feature. The two CP cost is a bit steep but if you can make it happen this stratagem can be devastating.
- Relentless Grind (Strategic Ploy, 1 CP) – The quintessential vehicle Detachment strat. This lets your vehicles go through walls while moving. In an army that wants to take Defilers, this is a godsend, and is also otherwise solid on drones and Plagueburst Crawlers and even Helbrutes if you’re that kind of pervert.
- Drawn to Despair (Battle Tactic, 1 CP) – This is the one stratagem in the Detachment that works on Non-Vehicles. For one CP a Death Guard unit gets full re-rolls to hit against a target they can see in your opponent’s deployment zone. There’s not a ton of great shooting in Death Guard that isn’t on vehicles and won’t already be benefiting from your Lord of Virulence painting targets to make this worthwhile. If you’re running Blightlords, it could be nice for them.
- Font of Filth (Strategic Ploy, 1 CP) – Used in your Shooting phase. This one simply gives a Vehicle’s weapons Assault for a turn. Useful for when you need just a few extra inches for optimal sightlines.
- Eyestinger Storm (Strategic Ploy, 1 CP) – In your opponent’s command phase you can force a battleshock test on every unit on an objective that a vehicle in your army can see. This doesn’t have any penalties to the roll, which can make it a bit of a long shot, but it could be nice to deny some points and it’s nice you can use it before the battleshock step so they can’t use Insane Bravery to automatically pass their test.
- Stinking Mire (Strategic Ploy, 1 CP) – at the start of your opponent’s charge phase you pick a vehicle from your army and enemy units charging it get -2 to their charge rolls until the end of the phase. Great for guarding your home objective with a Plagueburst Crawler or just putting your thumb on the scales during your opponent’s go turn. Helps mitigate one of your biggest challenges with the army, which is keeping your units out of melee with the enemy.
Playing This Detachment
This Detachment skews you toward a shooting castle with some mid board brawlers/control units. You want a Lord of Virulence selecting a target each turn for all your Vehicle based blast weapons to systematically remove your opponent’s units from the table as you set up your board state. Defilers make a great mid-table brawler, removing cover for your other shooting pieces while being able to hang on objectives and fight most stuff that comes at them. Deathshrouds are also a must here, providing a great way to crush the last of your opponent’s reserves while also delivering a Lord of Virulence for even more vehicle buffs to targets the one at mid board may not be able to see.
Strengths
- Leans Into Some of Your Best Units. Plagueburst Crawlers, Deathshroud, and Drones with Launchers all love this Detachment and you’ll be looking to run those in your lists anyway.
- Fantastic Detachment Rule. as we mentioned above, the Detachment rule is very flexible no matter what Plague you pick and it unlocks some combos that aren’t possible in other Detachments.
- The Lord of Virulence. It’s hard to overstate how valuable this guy is, making your vehicles even better while also providing a midboard action bozo who’s reasonably tough is a great add to the army.
Weaknesses
- Limited Scope. With five of your six stratagems only working on vehicles, you’re really pigeon holing yourself with the list options here.
- Non-Synergistic Enhancements. With the exception of Tendrilous Emissions, your enhancements won’t help your Vehicles do their job better or really make the game plan this Detachment wants you to adopt any better.
- Hyper Elite. Death Guard is already a fairly elite army, but making a list that wants to take a bunch of vehicles will leave you a bit light on the ground compared to something like a Flyblown list.
A Sample List
There are a few different ways you could build a Mortarion’s Hammer list but our initial suspicion
”Sample
This list is pretty straightforward: it’s gonna move to the middle of the table and shoot whatever the Lord of Virulence particularly dislikes that turn. The Plagueburst Crawlers provide some early pressure to your opponent’s backline while the Deathshroud come in turn 2 to cause some more havoc in your opponent’s lines. The defilers and drones move up to mid table providing effective bullying pieces and a good area of space for your Lord of Virulence with Tendrilous Emissions to benefit from Lone Operative in. The Poxwalkers can either be used as an early roadblock for your opponent or you can use one to defend home with your Talleyman if your opponent has deepstriking threats and you don’t want to keep a Plagueburst Crawler back there.
Final Thoughts
Mortarion’s Hammer lets you skew into some of the best and coolest units in the Death Guard roster while providing a pretty unique playstyle compared to the other detachments. There’s a lot of great tools here to make your vehicles sing and punish your opponent for daring to share a table with you. If you’ve got a big stinky motor pool of Death Guard tanks and Daemon Engines, this is the Detachment for you.
Have any questions or feedback? Drop us a note in the comments below or email us at contact@goonhammer.com. Want articles like this linked in your inbox every Monday morning? Sign up for our newsletter. And don’t forget that you can support us on Patreon for backer rewards like early video content, Administratum access, an ad-free experience on our website and more.
