In this series of articles we take a deep dive into a specific detachment for a faction, covering the faction’s rules and upgrades and talking about how to build around that faction for competitive play. In this article, we’re covering the Liberator Assault Group Detachment from Codex: Blood Angels.
The Tenth Edition release of Codex: Blood Angels gives the faction access to three detachments, each focused on a different style of play and encouraging players to use different units. In this series we’re diving deep into each Detachment and talking about what its rules are and how to play it, with this article in particular focusing on the Liberator Assault Group.
Thanks to Games Workshop for providing us with a preview copy of the Blood Angels army box and Codex.
Detachment Overview

Anyone who played Blood Angels with the 10th edition Index will be familiar with this Detachment, which is an updated version of the Sons of Sangunius Detachment, right down to using the same Detachment rule. This Detachment encourages players to use a variety of units, but generally focuses on melee units, giving you a huge bump in power when you complete a charge. This new version of the Detachment changes some Stratagems out and re-works others, and four of the Stratagems let you opt for a unit to succumb to the Red Thirst (becoming Battle-Shocked) in order to secure a second benefit. While this is a downgrade for say, Red Rampage, it’s a flavorful way to handle things and the only real downside is that you can’t double up on powerful effects or if you’re fighting a Dread Talons Chaos Space Marines Detachment, in which case you can rest easy with your assured victory.
Changelog
- 2024-11-13 (Current): Updated for the Q4 Balance Dataslate
- 2024-08-24: Original Publication
Detachment Rule: Red Thirst
When an ADEPTUS ASTARTES unit from your army fights, if it made a Charge move this turn, that unit gets +2 to the Strength characteristic and +1 to the Attacks characteristic of its melee weapons.
This is the same as the current rule for the Sons of Sangunius Detachment and spoiler: It’s very good. The Index received an update to its rule in the January Dataslate to bring it in line with this rule, and since then Blood Angels have steadily seen an improvement in win rates, becoming one of the game’s better armies. +2 Strength lets the army get around a large number of key Toughness values, where going from 4 to 6 is huge against tougher infantry and going from 8 to 10 with power fists is massive for taking on most vehicles. This is absolutely an ability which pushes you toward a melee-focused army and it turns units whose output is otherwise merely decent into something truly deadly.
While you will activate this rule with Heroic Intervention, the rule heavily favors being the aggressor in match-ups, or at least being at the head of a counter-charge against another melee opponent who over-extended themselves early. The good news is that Blood Angels are one of the game’s fastest melee armies, armed with both a host of jump packs and the ability to Advance and Charge thanks to a Stratagem in this Detachment.
Enhancements
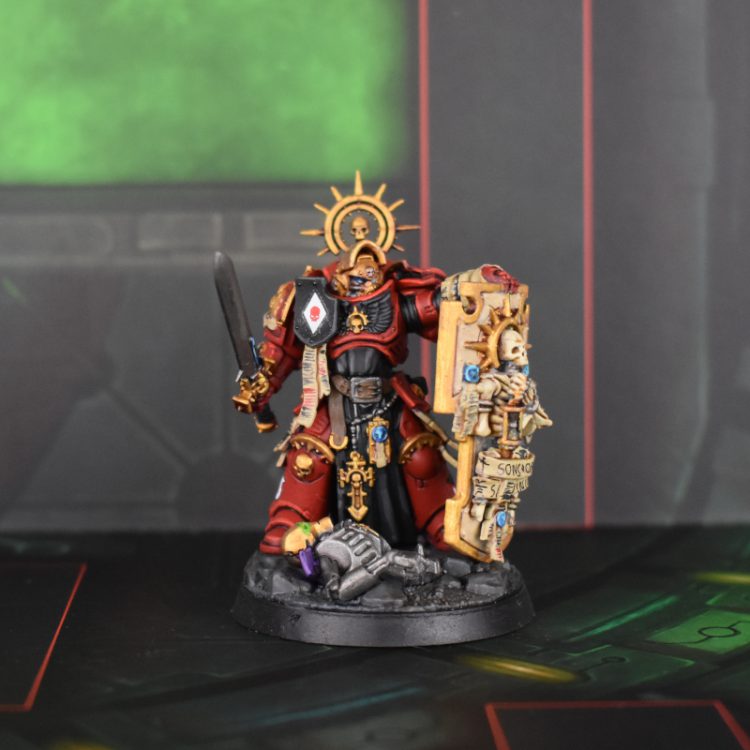
Of the four Enhancements in the Liberator Assault Group Detachment only one is a returning option from the Sons of Sanguinius – the Icon of the Angel returns unchanged here, but the other three options have been replaced by better options.
- Speed of the Primarch (30pts) – Once per battle, at the start of the Fight phase, you can activate this to give the bearer’s unit the Fights First ability. This is great – it won’t save you when you’re charging into another unit with Fights First, but it can be huge for gaining the upper hand when you’re stuck in against another melee army, or just making a key unit more or less unchargeable.
- Rage-Fuelled Warrior (10pts) – Once per battle, at the start of the Fight phase, you can activate this to give the bearer’s melee weapons [SUSTAINED HITS 3] for the rest of the phase. This is fine – A Relic weapon Captain will come in with 7 attacks on the charge, giving you solid odds of scoring 8-9 hits hitting a single 6, and occasionally he’ll blow up for 12+ hits, just eviscerating some poor target. Works well with Finest Hour on the Captain.
- Icon of the Angel (10pts) – Each time a non-MONSTER, non-VEHICLE enemy unit within Engagement Range of the bearer’s unit attempts to Fall Back, they have to take Desperate Escape tests. If they were already Battle-shocked, they get -1 to their tests. This is a pretty solid way to trap more durable units, though most of the game’s infantry threats are just going to die when you touch them – this is more for the units you’re able to consolidate into.
- Gift of Foresight (15pts) – Once per battle round, after you make hit roll, wound roll, or save for the bearer, you can treat the result as an unmodified 6 instead. This is very solid when used in concert with a Captain’s Finest Hour ability, which gives them a big boost to their Attacks characteristic and the [DEVASTATING WOUNDS] ability.
Stratagems
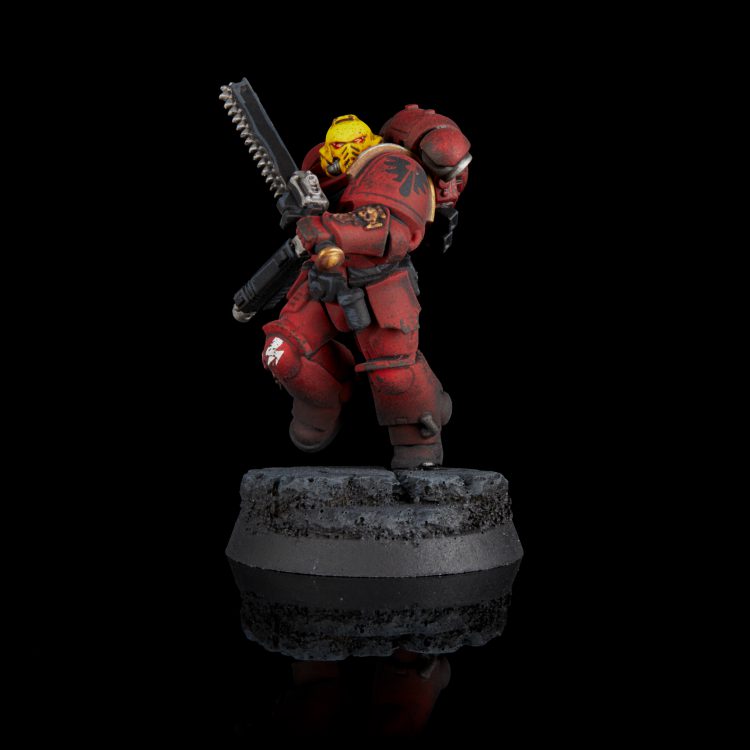
The Stratagems in the Liberator Assault Group Detachment strongly resemble those in the Sons of Sanguinius, with a number of key changes. Specifically, four of them now offer you one of two effects, with the option to take both (or an upgraded version) in exchange for giving in to the Red Thirst, i.e. making your unit Battle-shocked. We’ll come back to that in a bit. It’s a really neat idea that really adds to the Blood Angel identity on the board. If it hasn’t already been mentioned, it’s worth considering a Chaplain on Foot in your lists to mitigate the downside of these strats in a pinch (something that is also extraordinarily lore-friendly). These strats are all quite useful and make the detachment one of the most straightforwardly powerful ways to run your Sons of Baal.
- Angelic Grace (Strategic Ploy, 1 CP) – Used in any phase, when your unit has a mortal wound allocated to it. That unit gains a Feel No Pain 5+ against mortal wounds. This is really solid and great for surviving an incoming rash of Devastating Wounds from something like an Infernal Master.
- Armour of Contempt (Battle Tactic, 1 CP) – Used in your opponent’s Shooting phase or the Fight phase when your unit becomes picked as a target. For the rest of the phase, incoming attacks worsen their AP by 1. This is always useful to have and again it’s great for surviving incoming fire when your units haven’t closed the gap between themselves and your targets.
- Savage Echoes (Battle Tactic, 1 CP) – Used in your Opponent’s Charge phase on a unit that was just charged by an enemy unit. Pick either Strength or Attacks for your unit’s melee weapons. Until the end of the turn you can add 1 to the characteristic you picked. You can instead choose to give into the Red Thirst, and if you do they become Battle-shocked but you get +1 to both characteristics instead. This is a very solid way to punish an opponent for trying to bypass your charge bonus by charging you first and combos very well with Speed of the Primarch. The big thing to note here is that this is used when you are charged, not when you fight – you’ll need to be careful to use it early on a unit you know will survive because once you select them to fight it’ll be too late to use it.
- Red Rampage (Battle Tactic, 1 CP) – Used in any Fight phase on a unit you just picked to fight. Pick one of either [LANCE] or [LETHAL HITS] for them to gain on their melee attacks. Or, you can give into the Red Thirst and have them become Battle-shocked to get both. This is fantastic for punching up into tougher units with chainswords and combos extremely well with +2S on the charge to give you 4+ to wound against bigger targets or 2+ against tougher infantry targets. Red Rampage was one of the signature power stratagems in the Sons of Sanguinius index and it comes back here slightly toned down. It’s still an extraordinarily strong stratagem as Lance + the Red Thirst detachment rule is often all you’re going to need to annihilate opposing units in combat.
- Aggressive Onslaught (Strategic Ploy, 1 CP) – Used in your Movement phase, after one of your units advances. That unit can choose to either still shoot or charge this turn. Give into the Red Thirst instead though (the unit becomes Battle-Shocked), and you can still shoot and charge this turn. You won’t do much shooting with this, but Advancing and Charging remains one of the game’s most valuable abilities, and any Detachment which gives you access to it is pretty much immediately playable. You will be using this every single game. Just be aware that this Stratagem is used in your Movement phase, when a unit Advances – it can’t be used once you get to the Charge phase and any reasonable opponent will stop you from using it if you do any shooting. This is the juice every Blood Angels player has been looking for – ABC is back, baby! Always Be Charging.
- Relentless Assault (Strategic Ploy, 1 CP) – Used in your Movement phase after one of your units Falls Back. Your unit is eligible to either shoot or declare a charge. Give into the Red Thirst (become Battle-shocked) and you can do both. This is also very good, letting you disengage whenever you get stuck in a combat with something you don’t want to be fighting and either choosing a new target or re-activating your charge bonus. As with Aggressive Onslaught, this one’s used in your Movement phase, after a unit Falls Back, so be mindful about declaring it to your opponent.
That’s a powerful suite of Strategems, and it gives you some really great tools for dismantling opponents of various sizes and moving around the table. The big things you need to be concerned about here are making sure you declare your Stratagems at the correct time and figuring out when to give into the Red Thirst and Battle-Shock your units. Note that if you Battle-shock your units on your turn they’ll stay Battle-shocked until your next Command phase, meaning that if your opponent has any models left alive on the objective you won’t have the OC to contest it. You’ll also have to choose which Stratagem you want to use when you give in – the Stratagem makes an exception for applying to your unit after they become Battle-shocked but once that happens you won’t be able to target them again.
You can, of course, remove Battle-shock from your units at the start of any phase once per battle using a standard Chaplain. You can’t do this in the same phase you fire off the Stratagems to stack multiple red thirst effects, but you could use it at the start of your opponent’s Command phase to ensure your unit is contesting an objective, shrugging off the downsides to your ability.
Playing This Detachment
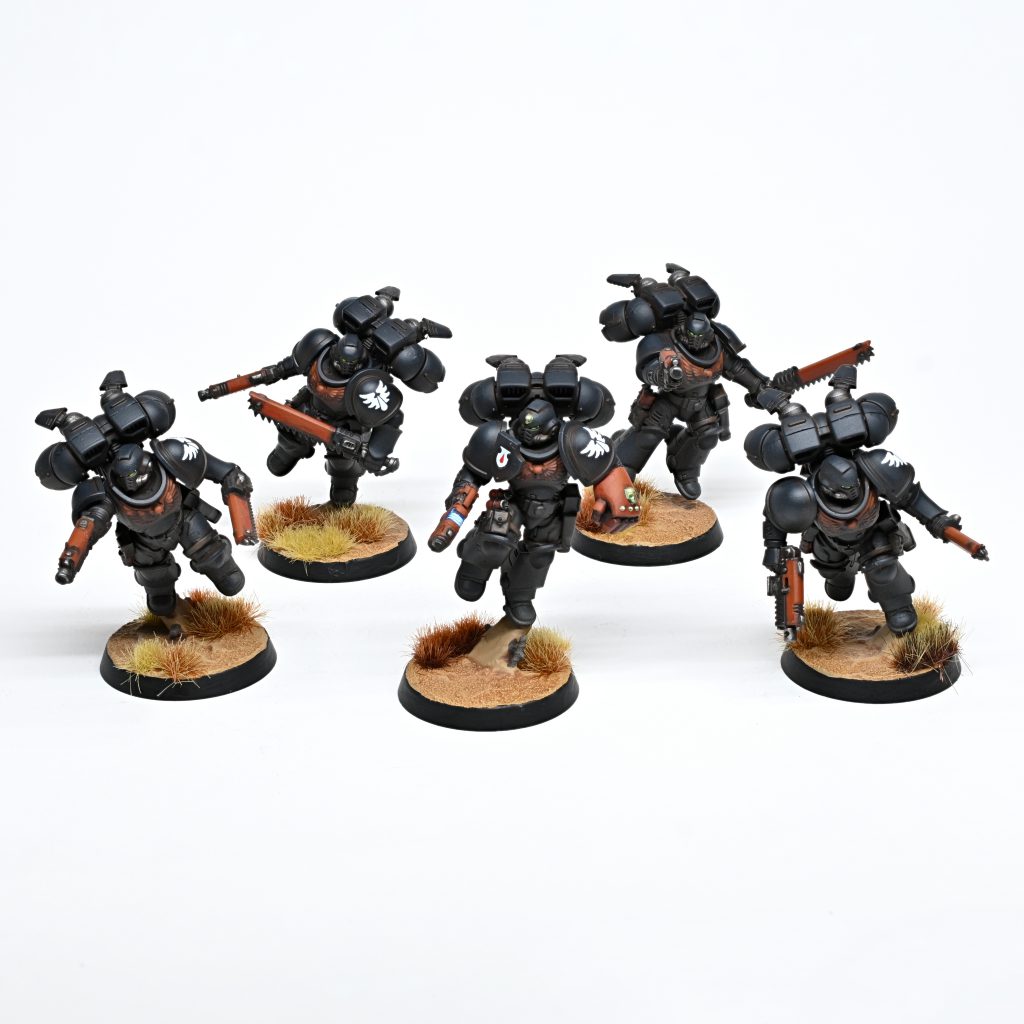
On the surface, this will play similarly to the Sons of Sanguinius Detachment, using multiple units of Assault Intercessors with Jump Packs, Death Company, and Sanguinary Guard to either go full send at the opponent or stage early for some incredibly disastrous turn 2 charges. With the Liberator Assault Group there’s a scary amount of inevitability to a large force of assault marine bearing down on you – you know that once they crash into you it’s over; it’s just a question of when.
When you play this Detachment, your primary means of interaction with an opponent is charging them and tearing them apart in melee, with some side units like Scouts and Infiltrators to perform actions, hold rear objectives, and screen out your backfield. With this Detachment your biggest concern is setting up those early charges, making sure you get into position to make them while avoiding being shot up by an opponent, depleting your forces before they arrive. Savvy opponents will deploy back from the line, preventing you from making turn 1 charges and screening their more important units with less valuable units to tie you up for a turn. The good news is that with 12” movement and FLY there’s very little they can do to stop a turn 2 charge, but you’ll need to make sure that your turn 1 moves put you in a safe position from which you can stage those charges.
In a similar fashion to World Eaters, it’s not going to be uncommon for a Liberator Assault Group army to go down on primary scoring early and then catch up late when an opponent no longer has the living units to contest anything in the middle of the table. Unlike World Eaters, the Blood Angels have a number of useful action scoring units and access to allies who can help them stay up or ahead on Secondary scoring. And that’s the rub – while the Liberator Assault Group don’t necessarily make an amazing “jail” army, opponents really don’t want to come out to meet you, as even when they charge you they’ll have to contend with Speed of the Primarch and Savage Echoes to punish them.
Anthony Vanella’s List – The California Cup ’24 – 3rd Place
Anthony couldn’t stay away from red fighty boys in power armor for long and has become an early adopter of the new Blood Angels post-codex. He took this list to a 7-1, 3rd-place showing at the 2024 California Cup, losing only to Genestealer Cults in the first round (he’d beat them in round 8). A lot of the units you’d expect are here, plus a few that will surprise you.
The list - Click to expand
So you’ve got Mephiston, a Captain, Dante, and Lemartes here, with Assault Intercessors, Sanguinary Guard, and Death Company with Jump Packs for them to join. That’s pretty expected, and the Infiltrators and Scout Squad give you your backfield and objective units. What’s more surprising here are the two assassins and two Vindicators – the former can root out key characters while the latter give it some anti-vehicle punch and can’t be tied up in combat.
Anthony’s general plan was to reserve Lemartes’ squad, a single Vindicator, and the Culexus assassin. The Assault Captain joins the Assault Intercessors and rides in the Impulsor and with Mephiston and the Jump Pack Intercessors can do early board control and keep the opponent backed off, which clears space for Lemartes to Rapid Ingress. Lemartes and his unit will typically then push forward on a “shove” turn with both Vindicators and Dante’s unit. The Culexus is here to either kill an important psyker or go for a battleshock play on their homefield in the shove turn. The Callidus is a key part of this as well, and will be used to put all of the opponent’s important units – or at least as many as possible – in her +1 CP cost aura. Then the scouts, Lieutenant, Impulsor, and anyone who’s not busy fighting in melee move around doing actions and picking up secondary points.
Final Thoughts
The Liberator Assault Group Detachment has a lot to offer Blood Angels players and acts as a solid upgrade over the Sons of Sanguinius Detachment, losing a tiny amount of power in the Stratagems but gaining versatility and a significant amount of power via superior Enhancements. If you’re looking to port your Index army over to the new Codex, this Detachment will suit you just fine. It offers a ton of versatility and won’t force you into any specific units such as Death Company or Jump Pack units.
Have any questions or feedback? Drop us a note in the comments below or email us at contact@goonhammer.com. Want articles like this linked in your inbox every Monday morning? Sign up for our newsletter. And don’t forget that you can support us on Patreon for backer rewards like early video content, Administratum access, an ad-free experience on our website and more.

