In this series of articles we take a deep dive into a specific detachment for a faction, covering the faction’s rules and upgrades and talking about how to build around that faction for competitive play. In this article, we’re covering the Hypercrypt Legion Detachment for the Necrons.
The Tenth Edition release of Codex: Necrons gives the faction access to five detachments, each with their own strengths and weaknesses. These can dramatically change how the army plays, as each one tends to push players to build in a different way. In this series we’re diving deep into each Detachment and talking about what its rules are and how to play it.
![]()
Detachment Overview
The Hypercrypt Legion detachment was one of the breakout hits from the Necron Codex, and after a few rounds of nerfs it now stands as the probable strongest detachment as we enter Pariah. Necrons are known for being slow and purposeful, but the Legion turns that on its head with its potent Detachment Rule, allowing units to constantly zap around the board doing mischief/scoring points. It’s also achieved the impressive feat of making a single Monolith a genuinely viable centrepiece, something that hasn’t really been true at any other point in the post-8th Edition era, where it’s always been either useless or only good when spammed. If you want something a bit more direct, it’s also a good detachment if you just want to blast your foes off the table with big guns, as Hyperphasing mitigates the unwieldiness of larger Necron models, making it difficult for foes to hide from their well-deserved obliteration. These lists have come to the fore in Pariah – big shooty threats have been treated relatively lightly in Dataslate changes, and combining these with the Silent King is very strong.
That’s not the only option going though – all-rounder builds still appear to have some play, and a few other archetypes from Leviathan likely still have a good shot. All of these are unified by their reliance on the exceptionally potent Detachment rule.
Detachment Rule: Hyperphasing
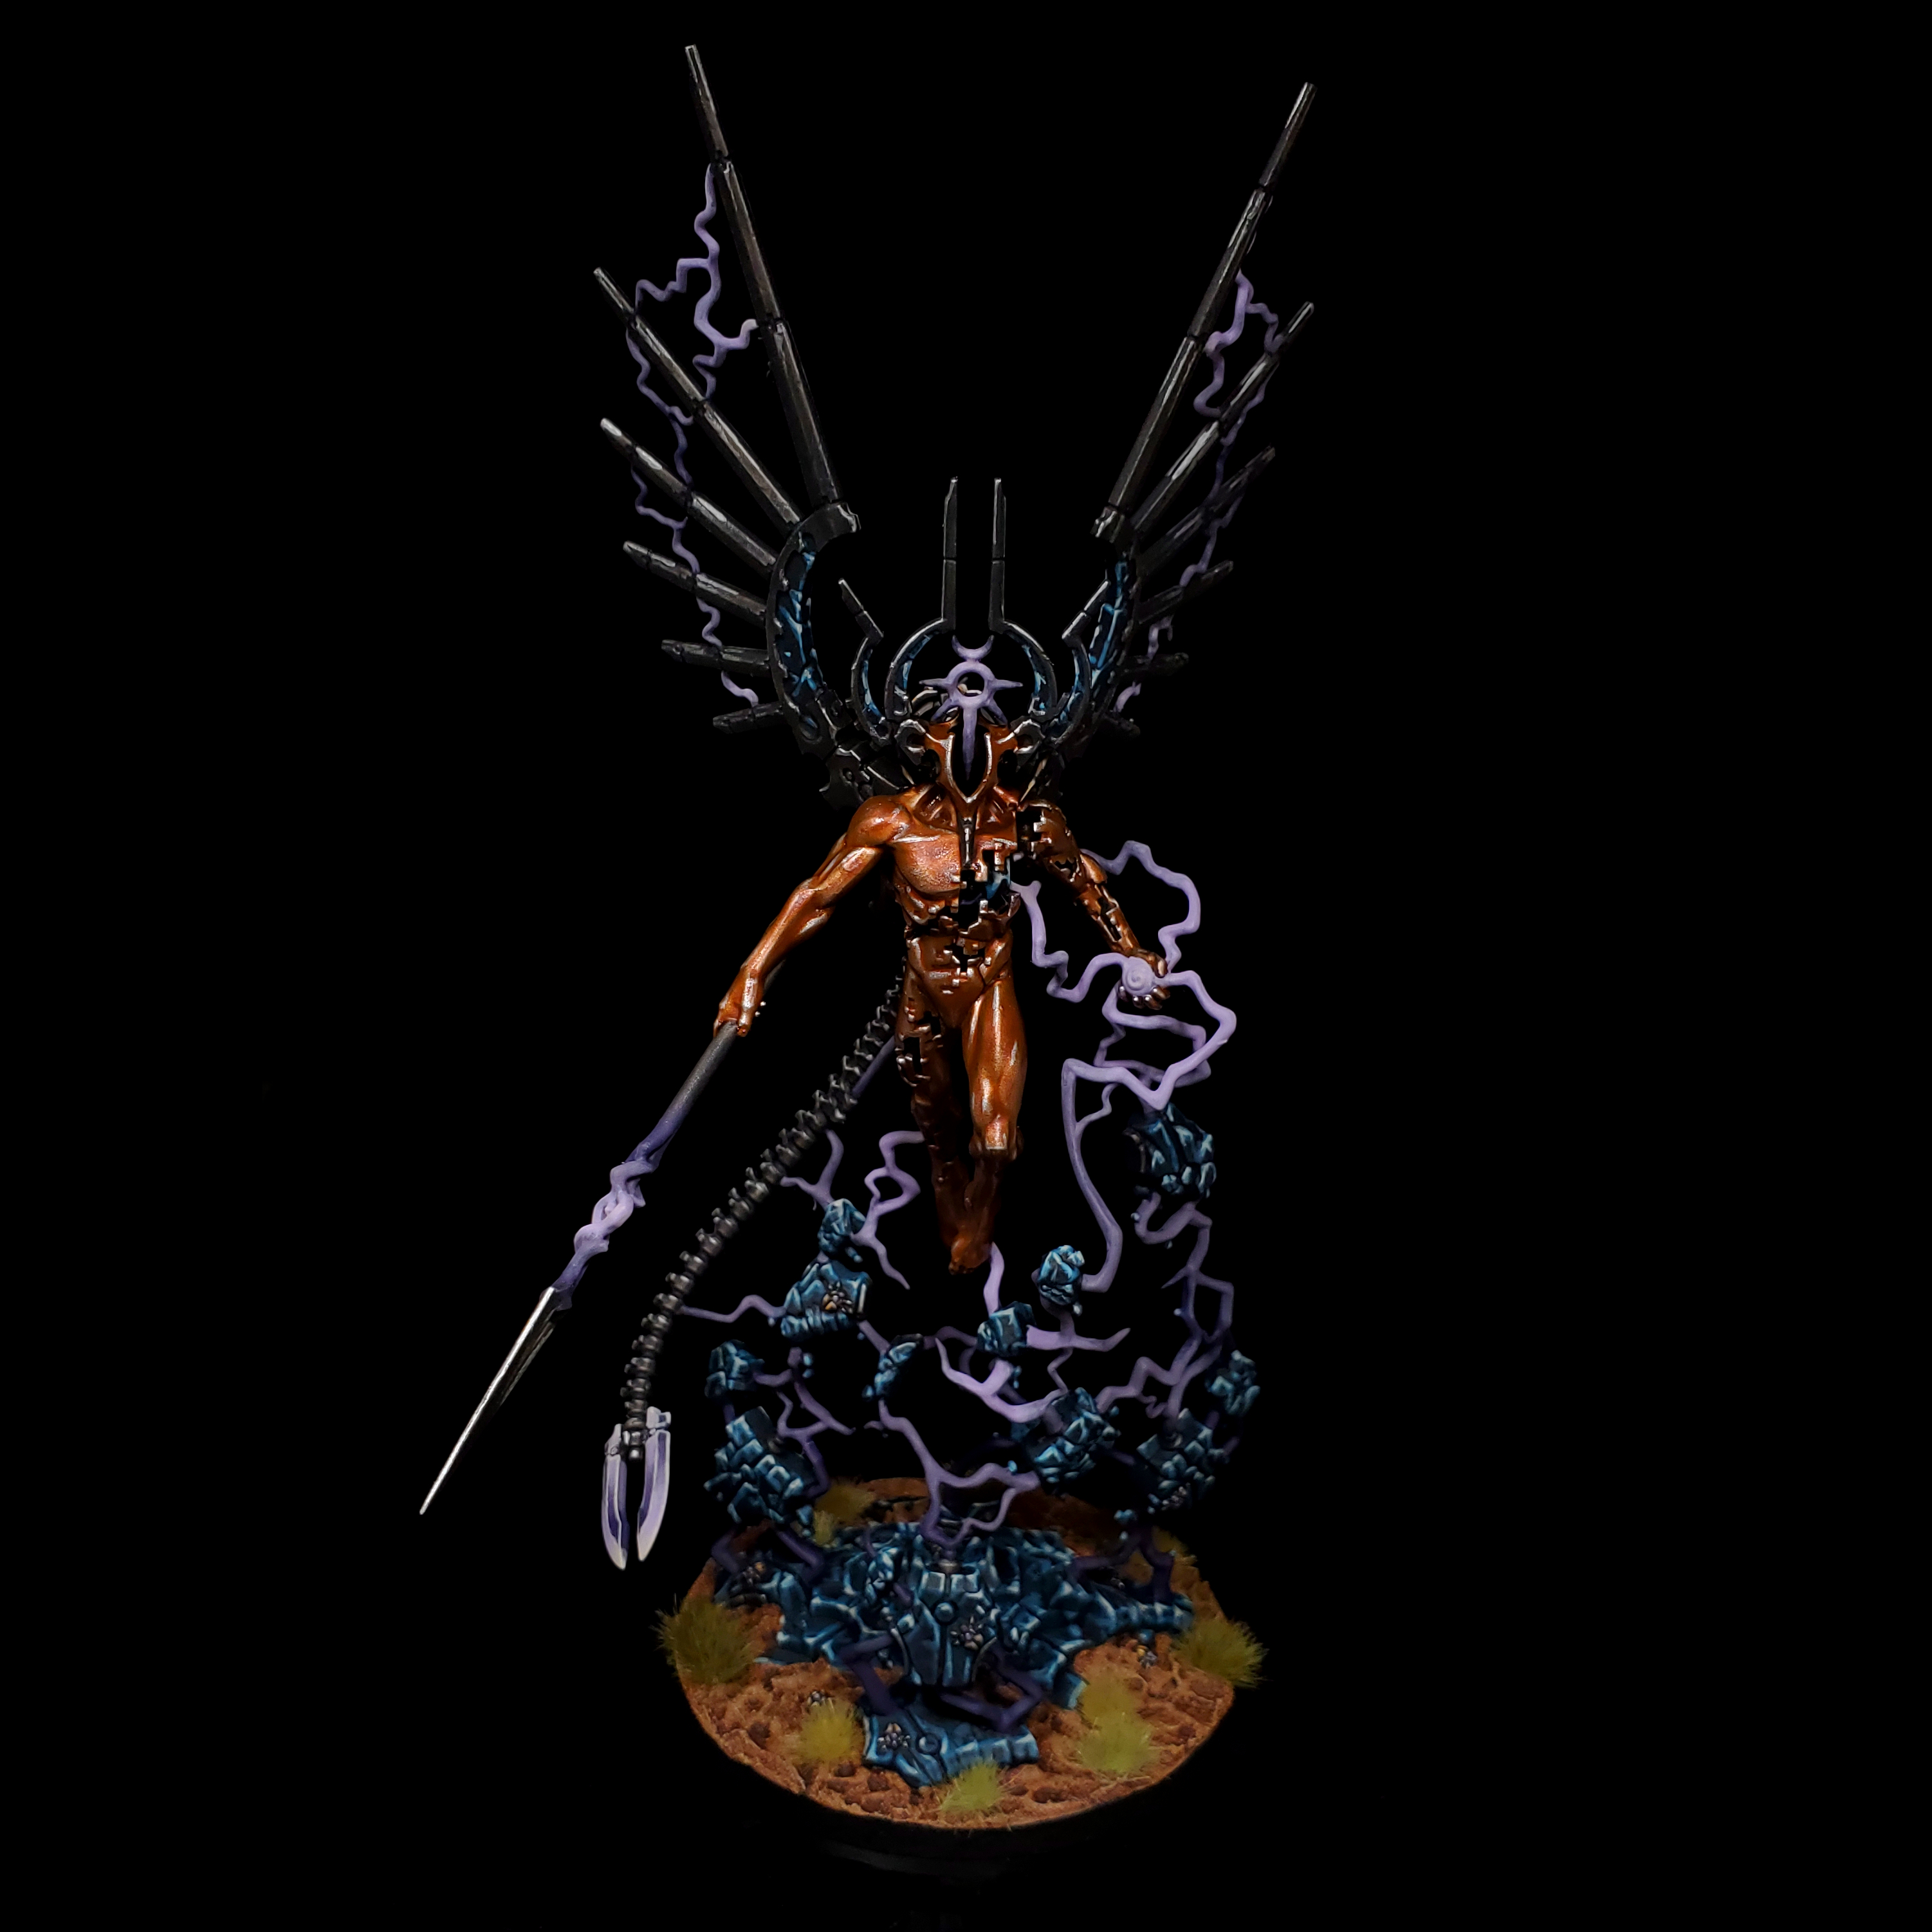
Hyperphasing is the reason you play this detachment, turning Necrons into (mostly) Grey Knights. At the end of each of your opponent’s turns, you can pull up to three units that are not in Engagement Range into Strategic Reserves (or two/four in Incursion/Onslaught respectively), readying them to return to the battlefield when the time is right. This means that the army can never be truly pinned down, and gives you exceptional scoring reach, especially in concert with the Cosmic Precision Stratagem, which gives you the ability to bring a unit down anywhere that’s 3” or more from the enemy instead of 9”.
It also works particularly well with units with Deep Strike, as although the ability pulls units into Strategic Reserves (and doesn’t specify how they then arrive, so they’re bound by normal limitations), if you have the Deep Strike rule, you can use it when coming in from reserves. This means that if you go second, you can pick up a unit with Deep Strike and come in straight away on your opponent’s turn. This famously lead to the dramatic conclusion of this year’s World Championship of Warhammer, where a Monolith teleported behind an Aeldari army turn one (though note that Monoliths can’t zap a unit turn 1 as-of Pariah).
This does a wide variety of things for you. First up, it means you’re exceptionally good at scoring Secondaries, as you have a deeper pool of Reserves than anyone else except Grey Knights, and better access to cheap chaff than even them. This advantage is particularly notable in Pariah, as many other ways of doing Actions have gotten weaker, but Hypercrypt’s ability to do so is largely unchanged.
It also means that some normally ponderous units like C’tan can adapt to battlefield situations far more effectively here than anywhere else, and makes unwieldy models like the Tesseract Vault genuinely strong. Speaking of unwieldy models, it lets you fully pop off when combined with a Monolith and a Chronomancer, setting up ways of flipping objectives and causing mayhem that outstrip almost anything else in the game.
In Pariah Nexus, it’s also incredibly good with the War of Attrition Secret Mission. If you go second and focus on clearing out the enemy’s Battleline, then that unit of Immortals you have sitting on your home objective can score you this incredibly reliably, which means in some matchups you can really focus in on Secondary scoring at the expense of early Primary, knowing you have a reliable backup plan.
Enhancements
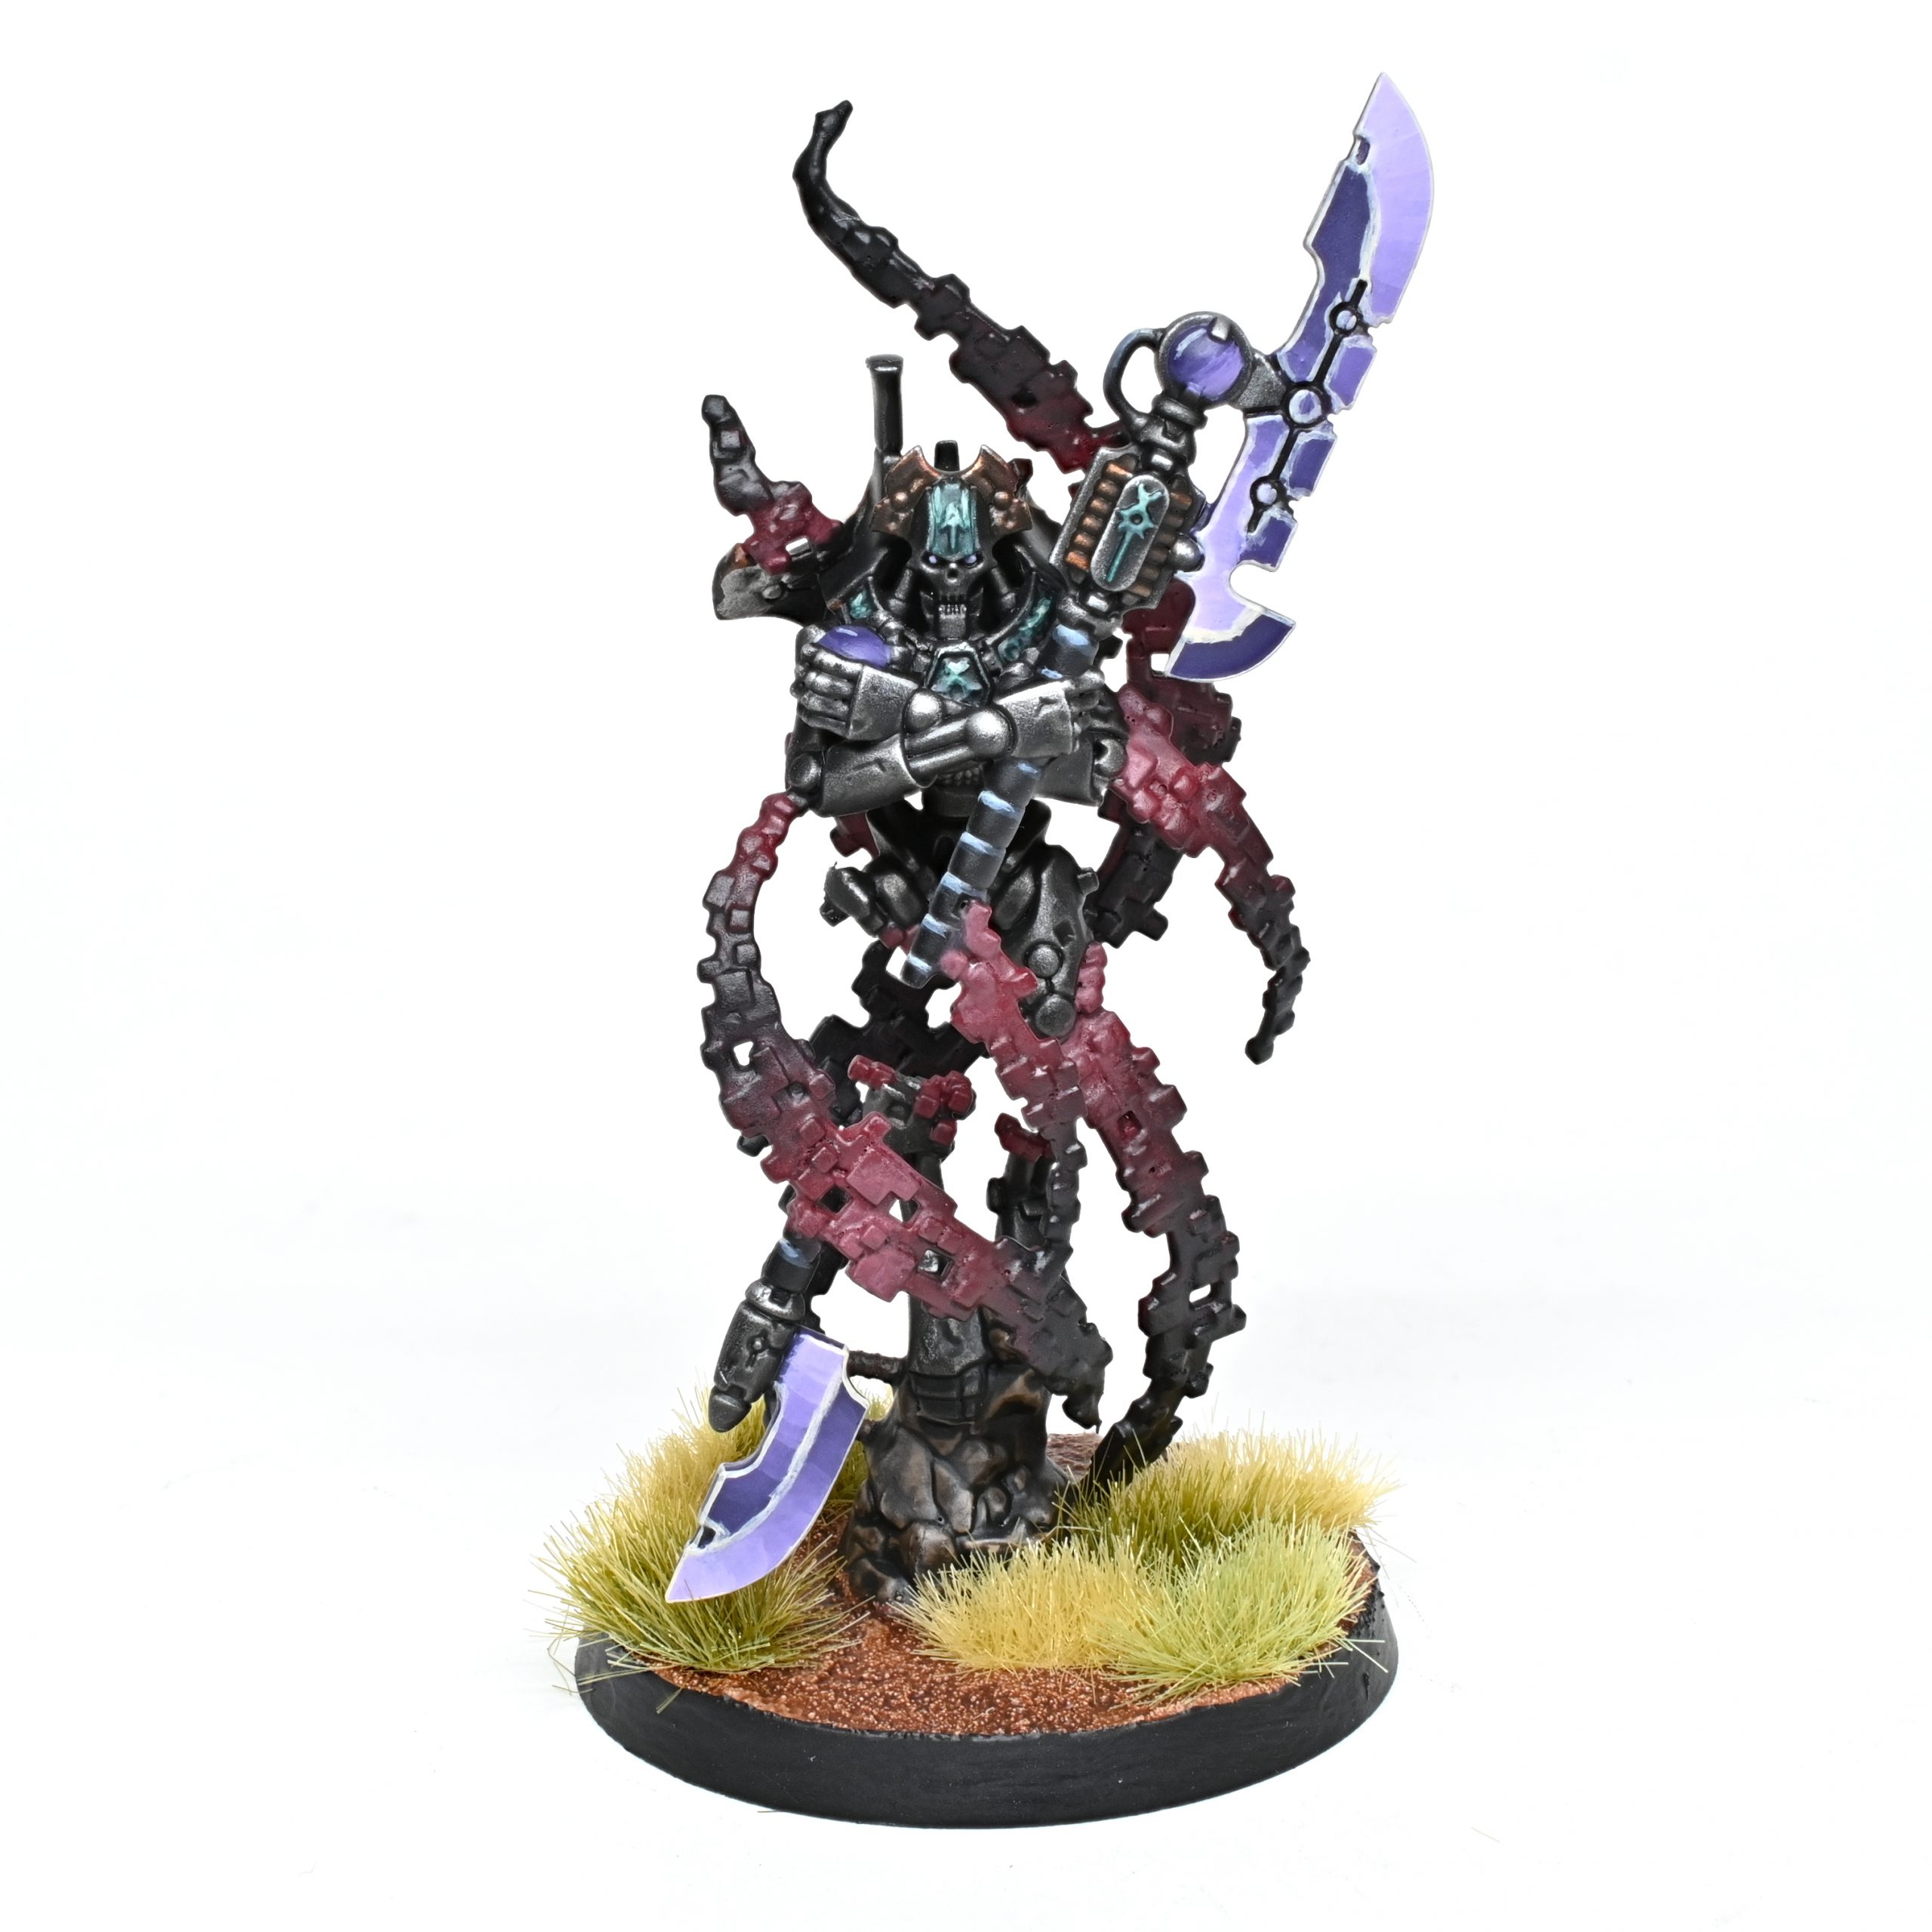
The Legion’s array of Enhancements are very strong, and often form a key part of your plans.
- Dimensional Overseer (25 points) – This lets you pull one additional unit with Hyperphasing each turn. This used to cost 10pts, at which point you kind of just took it incidentally, now it’s a bit more of a choice, as it’s (almost) directly competing with one additional unit. It can still be worth it if, for example, you know for sure you have 4+ big shooting threats you want to be able to move around.
- Arisen Tyrant (25 points) – This lets your unit re-roll 1s to hit all the time, and fully re-roll hits if the unit was set up on the Battlefield this turn. This is extremely good, and particularly useful with tesla Immortals, providing a route to go full fish for thirty-something hits with a Plasmancer, or on a Lokhust Lord powering up either enmitic Heavy Destroyers or a big block of regular Lokhusts. Don’t forget that “set up” also includes from a Transport, so you can combine this effectively with a Night Scythe full of Immortals. The fact that this provides re-roll 1s to hit all the time is just gravy.
- Hyperspatial Transfer Node (15 points) – This gives the bearer’s unit the ability to auto-Advance 6”. Can be fun if you have a second unit of Immortals or Warriors with a Chronomancer, but probably the most skippable of the bunch.
- Osteoclave Fulcrum (20 points) – This gives the bearer’s unit Deep Strike (and by extension, the ability to be pulled and dropped turn 1 when you go second). This sees particularly heavy use in versions of Hypercrypt that use Warrior blocks, as it adds a lot of flexibility in how you utilise them without relying on your once-per-turn usage of Cosmic Precision. Lokhust Destroyers are also good with this, as they’re generally a pain to maneuvre, and don’t rely on Arisen Tyrant for access to hit re-rolls.
Stratagems
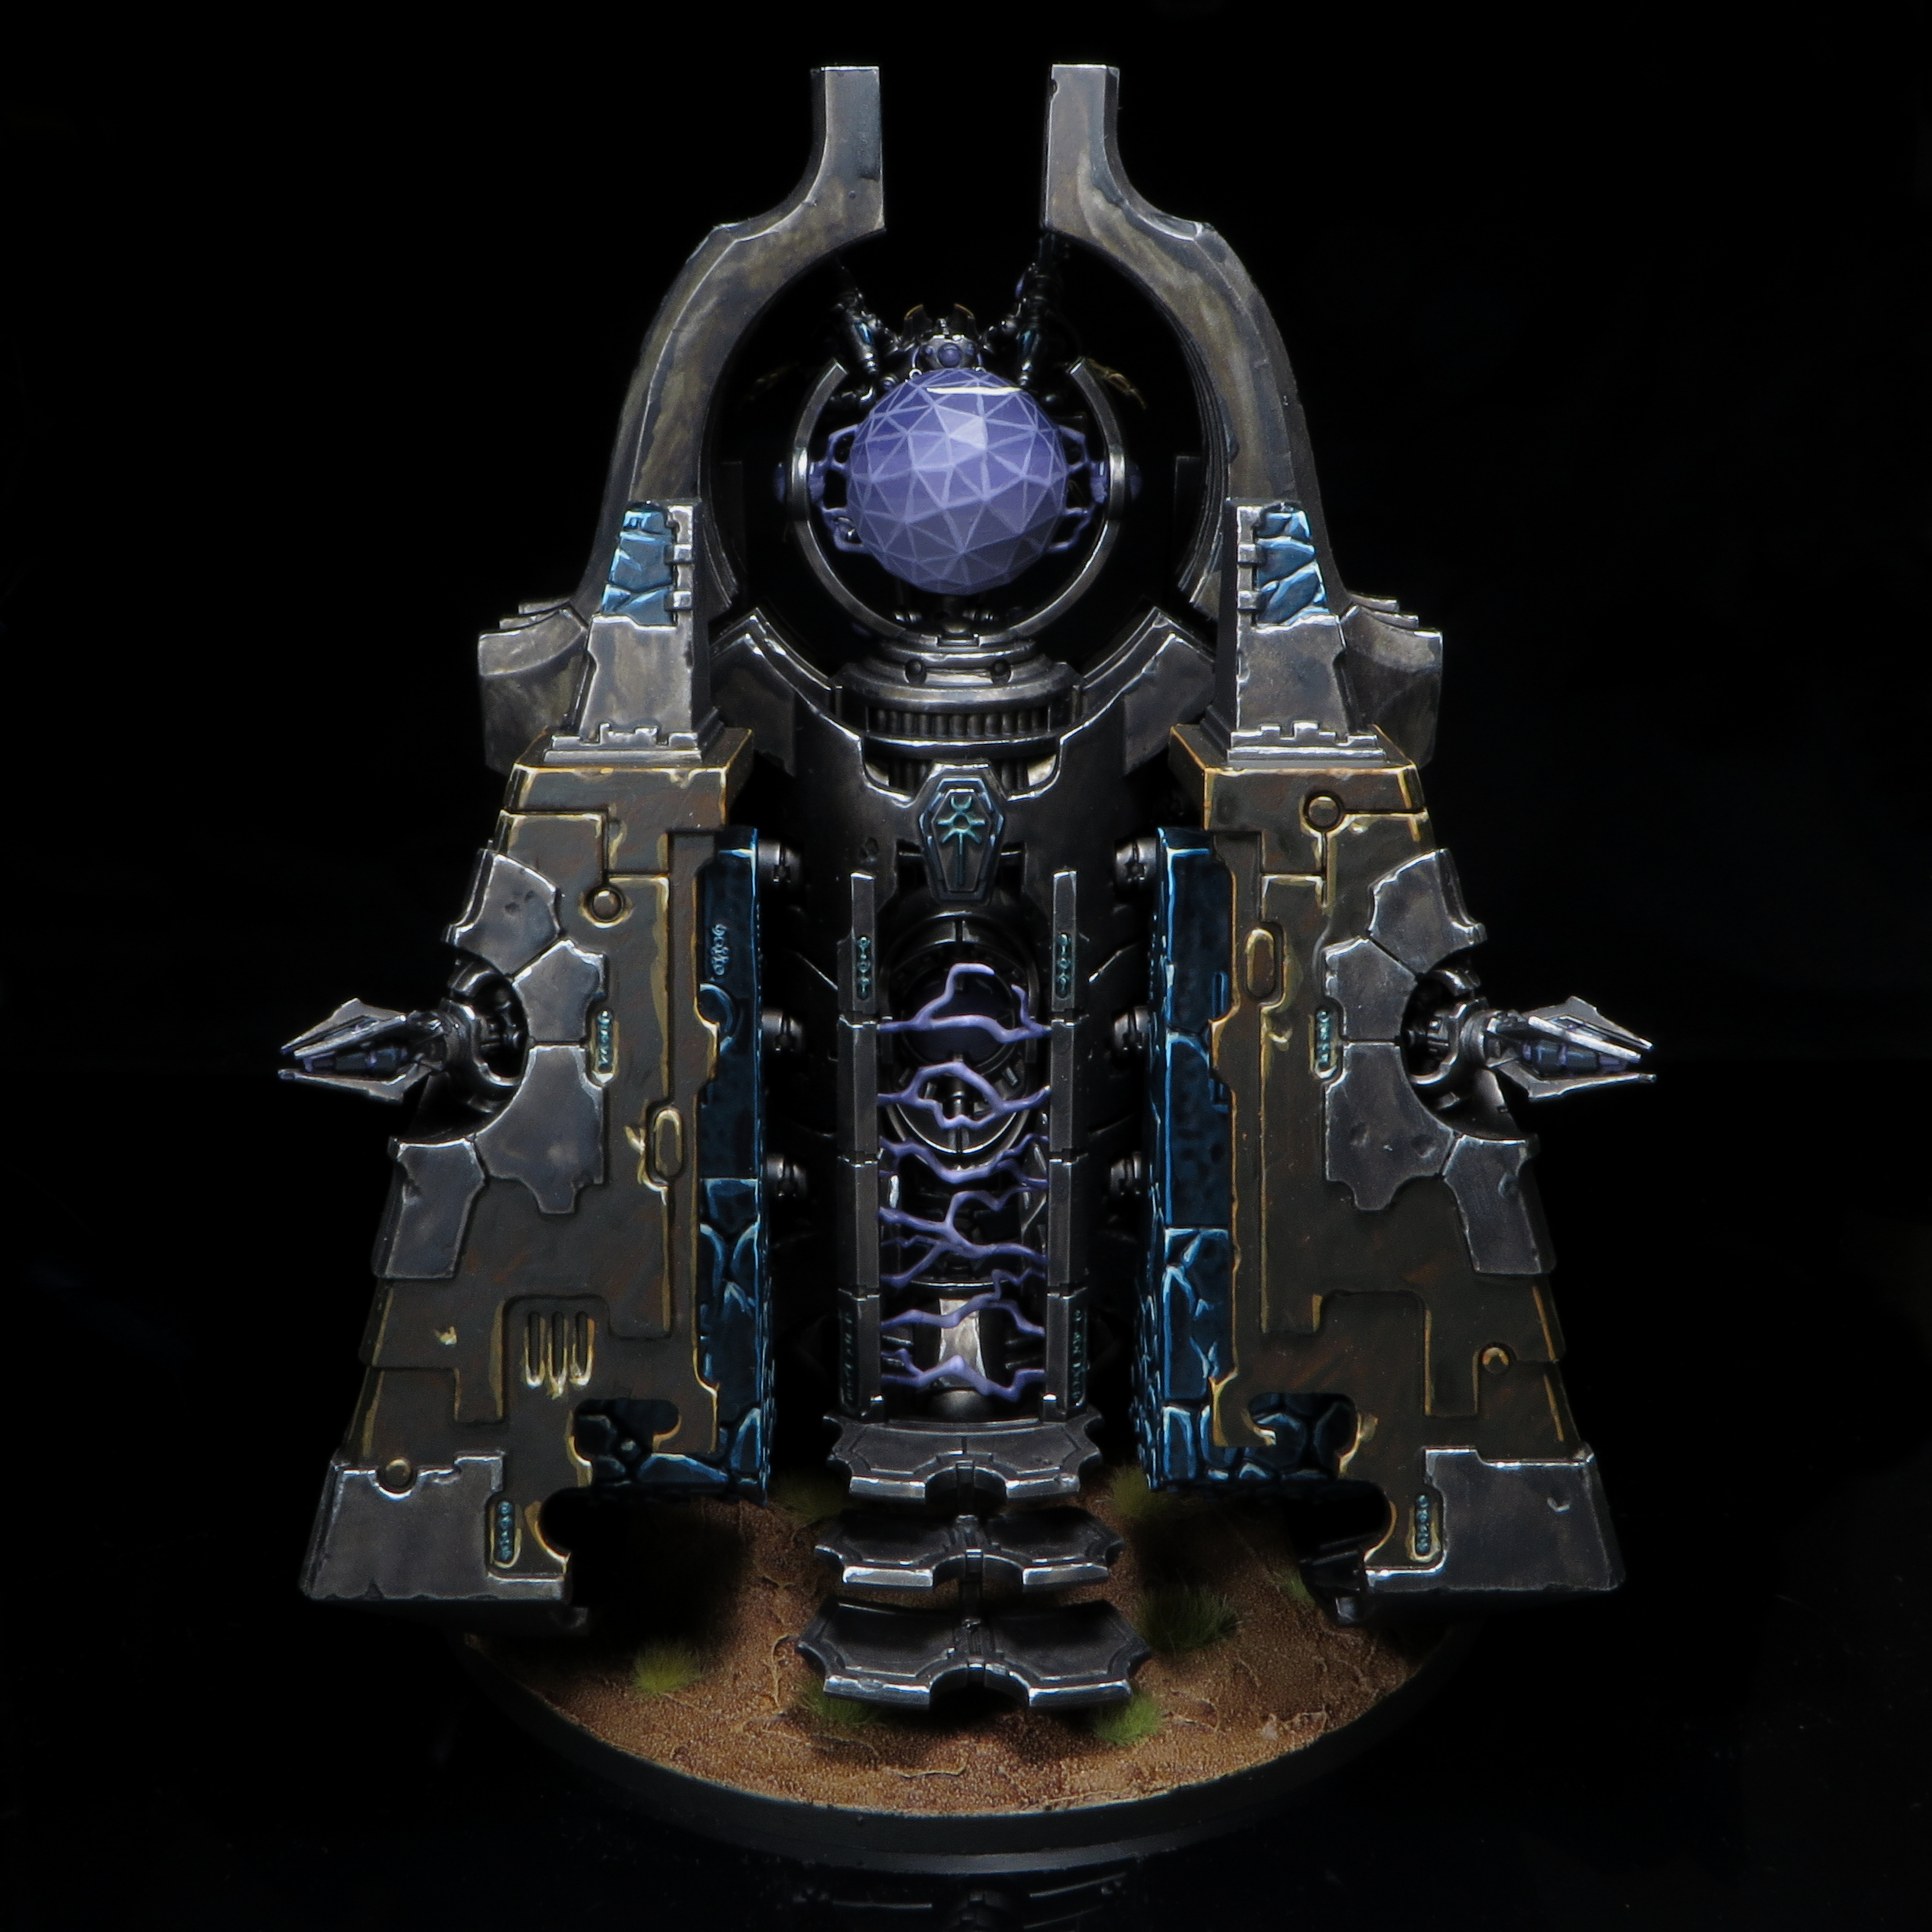
Hypercrypt’s Stratagems are weird, in that unless you’re taking a Monolith (or occasionally a plane) fully four of them are never usable, and of the two remaining one is pretty marginal. The final Stratagem, however, is so good in combination with Hyperphasing that you’d take some variants of this detachment even if it was the only Stratagem they got.
Cosmic Precision (Strategic Ploy, 1 CP)
Let’s get the big one done first them – Cosmic Precision lets a unit that’s either Deep Striking or arriving after being pulled with Hyperphasing to be set up anywhere on the Battlefield that’s more than 3” from the foe instead of the normal 9” (they cannot then charge). As of the June 2024 Dataslate, you cannot use this on MONSTERS.
This does a number of things for you. First up, it makes it very hard to stop you from sneaking small units into your opponent’s deployment zone, making the detachment great at forcing Fixed Secondaries or scoring Tactical as the situation requires. Second, it means that even your units that don’t naturally have Deep Strike can set up where you need them rather than near a board edge.
Finally, it lets you do extremely silly things using either or both of a Monolith or Chronomancer (or Tomb Blades for some variants of the latter). Even if your opponent very carefully places models on an objective so a 3” Deep Strike doesn’t put you straight on, if you can land within 5” of the control zone with some Chronomancer Immortals, you can shoot then move onto it after. Alternatively, drop a Monolith 3” away, then use the Eternity Gate (which has no distance-from-foe requirement) to put a unit straight onto the point. Or do both of these! Can you get the Monolith anywhere within 10.99” of the enemy home objective? It could be yours!
Play like you need to save a Command Point for this every single turn, as it’s easily your most powerful trick. The only thing to keep in mind with this is that you can’t use it on a unit that started the game in Strategic Reserves (and doesn’t have Deep Strike), only ones you’ve pulled in the game, so rather than starting something like a lone Lokhust in reserves, start them on the table and pull them turn 1.
Reanimation Crypts (Strategic Ploy, 1 CP)
The second Stratagem that’s always available to this detachment lets you activate the Reanimation Protocols of your units that are in reserve in your Command Phase (as long as your Warlord is alive). The threshold for wanting to use this is quite high, but it can come up in the heavy shooting or multiple C’tan builds if several have both taken damage and been pulled. The other fringe place it can be relevant is on a unit that you’ve pulled and are planning to drop on an objective (or to score an Action Secondary) that would otherwise be Below Half-Strength when set up. This normally forces a Battle-shock test on arrival, which you can’t auto-pass (because Insane Bravery is only usable in the Battle-shock step of the Command Phase), but this can provide a way around that if one of your units happens to have the perfect number of models/wounds remaining.
Hyperphasic Recall (Strategic Ploy, 2 CP)
We now move on to the “please take a Monolith, oh please” section of proceedings. The good news, if you want to do that, is that while this is expensive it’s also incredibly powerful. This is used after one of your units is either shot at in the enemy Shooting phase or is swung at in either Fight Phase, and loses at least one model. The unit can immediately be zapped to a Monolith, setting up in the same manner as for the Eternity Gate. This is very versatile and very strong. If the opponent is planning to focus down one of your units in either of their damage dealing phases, this can whisk you to safety after the first volley/swing, leaving the rest of their pathetic units shaking their fists with impotent rage. It’s even funnier if they’re about to charge with an alpha unit and smoke a model with some incidental firepower before hand (though for my money, if you’re playing with this detachment you should definitely warn your opponent about this in your pre-game chat, and I’ll usually give non-Hypercrypt players an “are you sure you want to do that?” at minimum the first time that it looks like they’ve forgotten). It also has more subtle uses around changing objective control and (occasionally) pulling a unit out of combat so that they are then eligible to be picked up with Hyperphasing. There are very few Stratagems in the game that feel like they’re worth 2CP, but this can definitely be one of them (though having to have your Monolith alive is also a steep enough requirement that I think it could cost 1CP in a world where Necrons weren’t already strong).
Quantum Deflection (Wargear, 1CP)
Another Monolith-skewed tool here, though also good with Night Scythes and Doom Scythes, making this a decent place to use them. This gives a vehicle a 4+ Invulnerable Save when your opponent targets it. This doesn’t come up in shooting for Monoliths that often, because if they’re in Cover (which they frequently are) then it doesn’t make a difference against any AP up to -3, but it’s great if your opponent slams some AP-4 melee into the Monolith (which they are absolutely going to try and do), and good to protect a Scythe from enemy melta, which is otherwise a nightmare for their T8 3+-save having frames.
Dimensional Corridor (Strategic Ploy, 2CP)
Are you taking a Monolith yet? This lets a unit that set up via the Eternity Gate of a Monolith still Charge, as long as that Monolith started the turn on the Battlefield (i.e. you can’t warp a Monolith in then do this immediately). This is another expensive trick, but it’s situationally useful either with a Wraith unit (who become Eternity-eligible thanks to the INFANTRY keyword of the Technomancer) you need to delay the foe with or a more dedicated melee threat like Lychguard (five with Imotekh or Trazyn is fine in this Detachment) or a Skorpekh brick (fairly attractive at their post-Dataslate price tag, and enormously destructive in a way that no other Necron unit really is).
Entropic Damping (Wargear, 1CP)
…And finally, another Stratagem for the Monolith. Daring today aren’t we? Technically it’s any TITANIC unit, but you know the one they mean (though in Pariah you could occasionally use it on a Tesseract Vault. This is used when the enemy unit within 18” targets the Monolith with shooting, and gives the firing unit Hazardous. Is that good? The short version is mostly no – unlike some defensive Stratagems, this only affects the specific unit you triggered it on, rather than lasting the phase, and that means the impact here will usually be minimal. The exceptions are when an enemy elite infantry unit is fully unloading on you with multiple guns each, or an enemy Monster/Vehicle is targeting you with multiple guns and they’re on <=3W remaining and it’s tactically useful if they die. Basically – if the enemy conveniently points all the guns of Allarus Custodians, bolter Aggressors or Hearthguard at a Monolith (maybe a Crisis Team with gun drones and a four-gun Commander or Scarab Occults with a Character for ~15 guns total if you’re feeling spicy/desperate), you may actually want to press the button. Otherwise, it’s not worth it, and if you look at Vashtorr’s Datasheet you can see that GW have worked out that this effect needs to be pushed far more aggressively to be worth it.
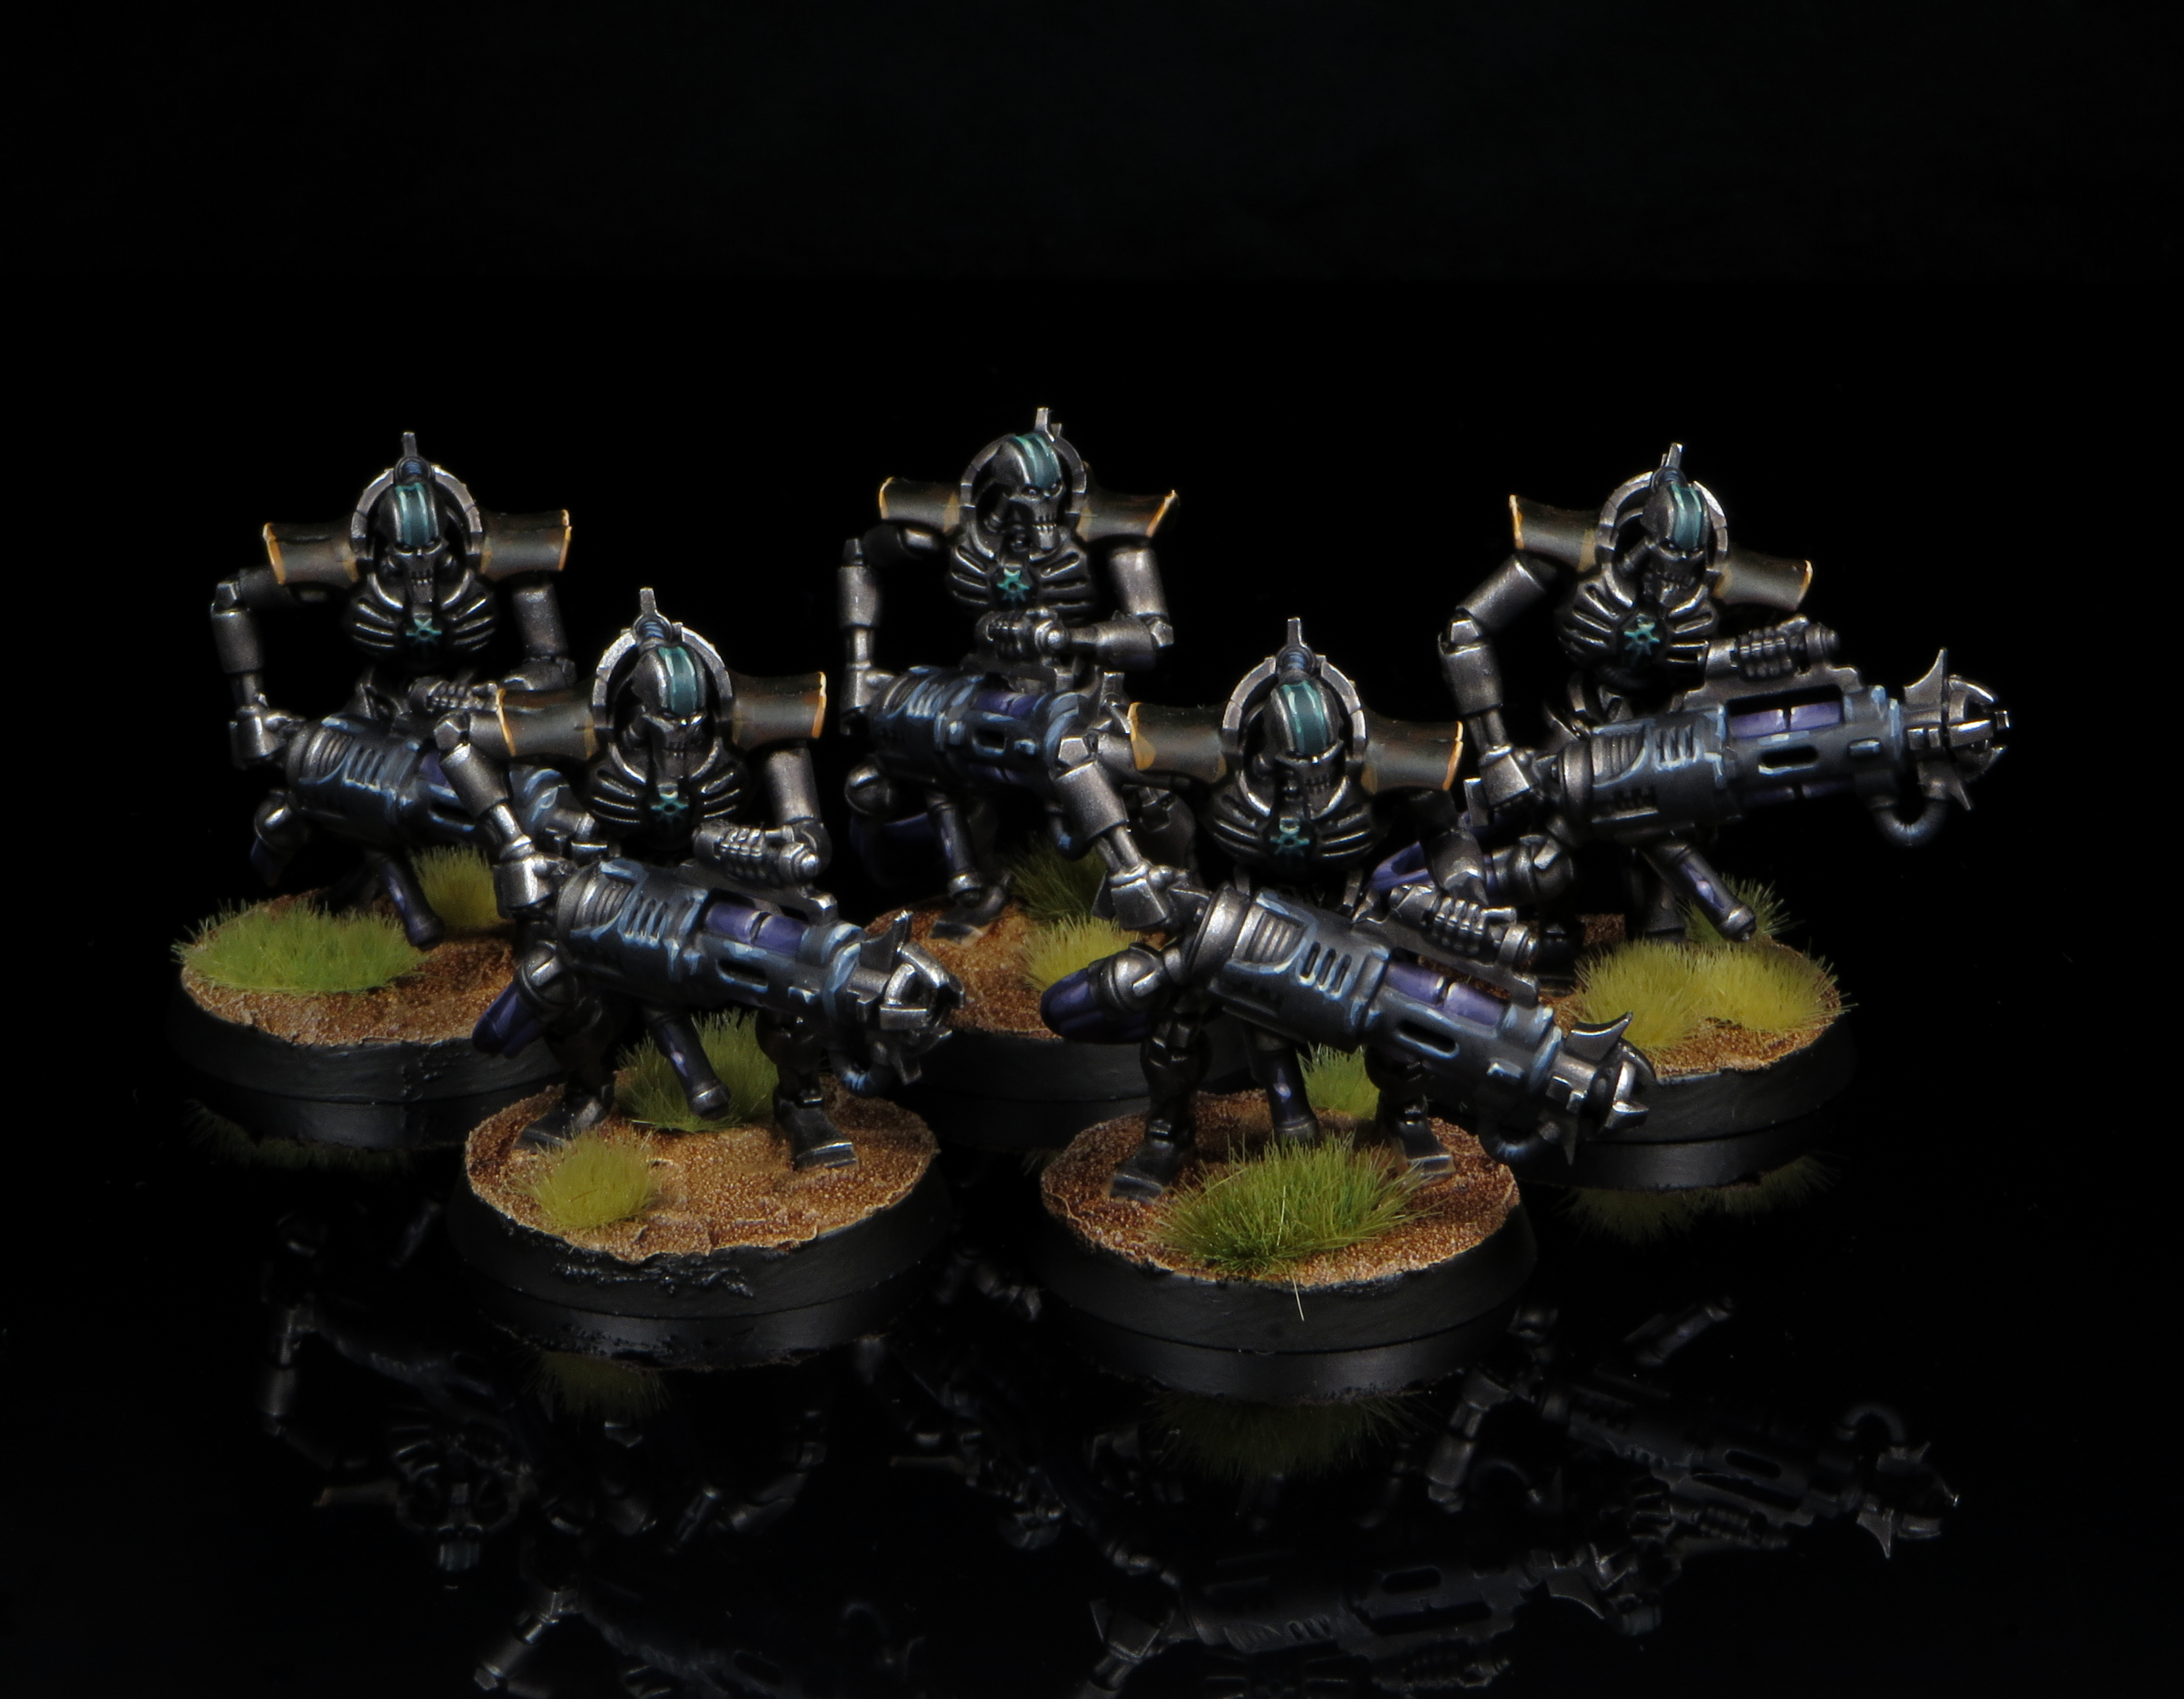
Playing This Detachment
As mentioned up top, this detachment is very diverse in the strategies it supports, but I think you can broadly group them into three sub-archetypes:
- Teleporting Heavy Shooting.
- All-rounder Monolith-supported Immortals and C’tan.
- Monolith-supported Warriors.
That’s probably not even all of them, and you can slide up and down how closely a build cleaves to one of these and still potentially be good. There are also flex picks like Night Scythes or Skorpekh Destroyers that you can flex into some of the flavours and expect to get some big value from them. One of the advantages of this detachment if you’re an established Necron player is that you can put all sorts of toys to effective work.
The first option is the biggest in early Pariah play, generally combining the Silent King, Doomsday Arks and a few other hefty threats (often including a C’tan or two) to focus on smashing the foe. The King provides two great auras to pick from, and good invulnerable saves across the portfolio of threats means you’ll often come out ahead in a gunfight. Combining that with strong secondary scoring makes for a potent build
Alternatively, if you want to lean on the board control power and flexibility that having a Monolith around gives to tooled-up Infantry units with Leaders. Immortals lead by a Plasmancer with Arisen Tyrant can teleport around doing tremendous damage, while Warriors or Immortals with a Chronomancer can be used to reach out and seize objectives that your opponent thought were safe. You can also throw a unit of Wraiths into the mix to great effect – they’re not as deadly as either other option, but can be much harder to shift, and having the INFANTRY keyword via their Leader makes them eligible for zapping. They are pretty pricey these days, but one squad can still have appeal.
You generally want to support all this with some tools to do a bit more damage, which can either be one or two C’tan, various configurations of Lokhust Destroyer (also good with Arisen Tyrant if you aren’t using that on Immortals), or more recently a Skorpekh brick. You should also work in some cheap scoring units – Deathmarks and Hexmark Destroyers are great here, providing very flexible scoring pieces, but so are Tomb Blades, as they can zap in at 3” then move after shooting naturally, and with a total OC of 6 can often flip an objective from a small enemy unit. Flayed Ones also go up in value as you can pull them back from Infiltrating positions, and your cheap 30pts Lokhusts are good as ever.
Patrik Peer’s Heavy Hypercrypt – 3rd Place – Salzburg Major 40K – Alpine Cup
”The
This build shows off what is broadly the default plan for Hypercrypt in Pariah – take the Silent King, a couple of Doomsdays, a few more heavy hitters (here C’tan) and fill to taste. Notable on top of that is including a lone 5-Immortal unit with no real buffs, because as mentioned earlier this unit is super valuable for unlocking the threat of War of Attrition.
David Necron Anducas’ All-Rounder Hypercrypt Legion – 3rd Place – II GT Tormenta de Hostias
”The
This version of Hypercrypt maximises flexibility and tricks, able to control the board and launch incredibly effective Primary pressure plays via the Monolith. Where a heavier touch is needed, the Lokhust bricks or Nightbringer can swan in to do some damage.
David Leniewski’s C’tan Hypercrypt Legion – 2nd Place – The Glasshammer GT – Birmingham
”The
Finally, if you still yearn to unleash the wrath of the star gods upon your foes, that’s still pretty viable. While not being able to use Cosmic Precision on C’tan any more hurts, being able to run a Tesseract Vault without fear of having to skip a turn with it in some games is great, and it helps handle enemies that either hide behind walls or rely on Leaders.
Final Thoughts
Hypercrypt unleashes a Necron playstyle unlike anything we’ve seen in the last few Editions, and right now it’s both a tonne of fun and the best way to play the faction – what’s not to like?
Have any questions or feedback? Drop us a note in the comments below or email us at contact@goonhammer.com. Want articles like this linked in your inbox every Monday morning? Sign up for our newsletter. And don’t forget that you can support us on Patreon for backer rewards like early video content, Administratum access, an ad-free experience on our website and more.
