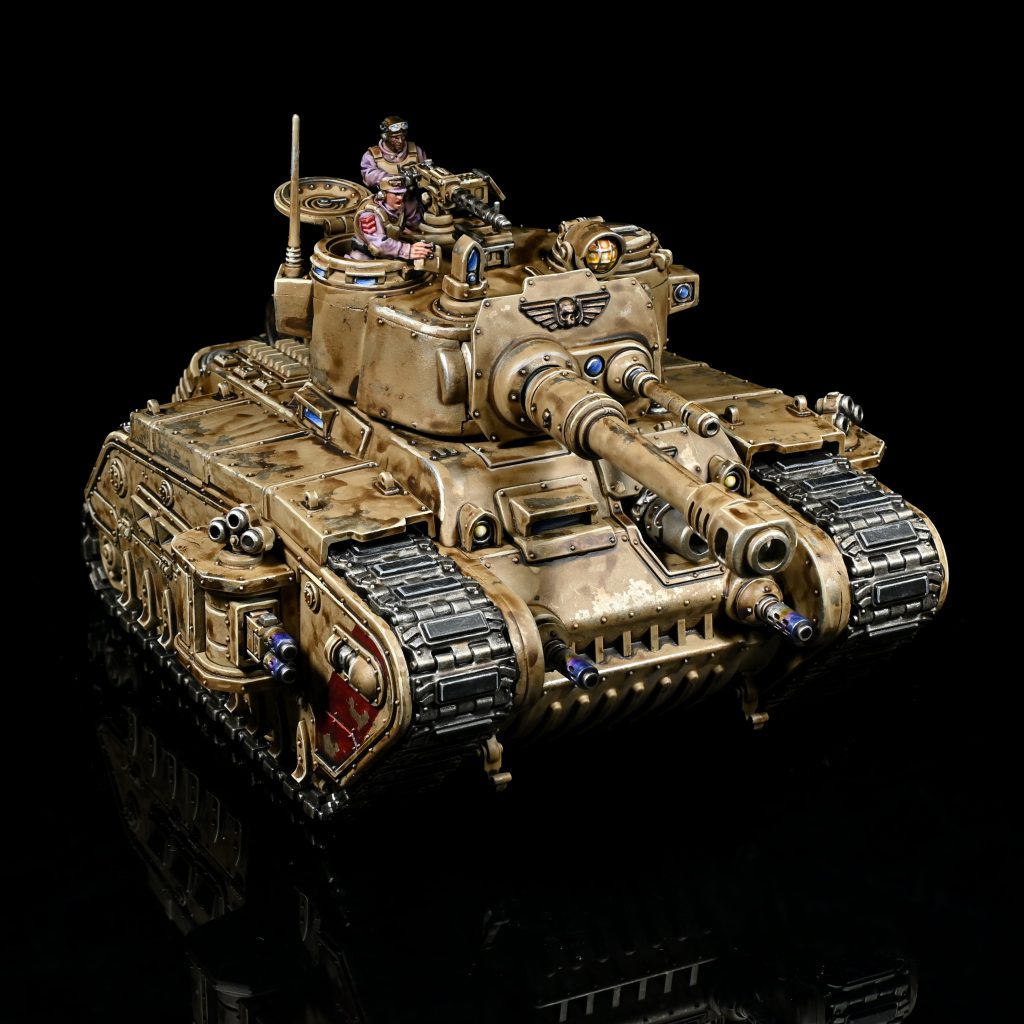
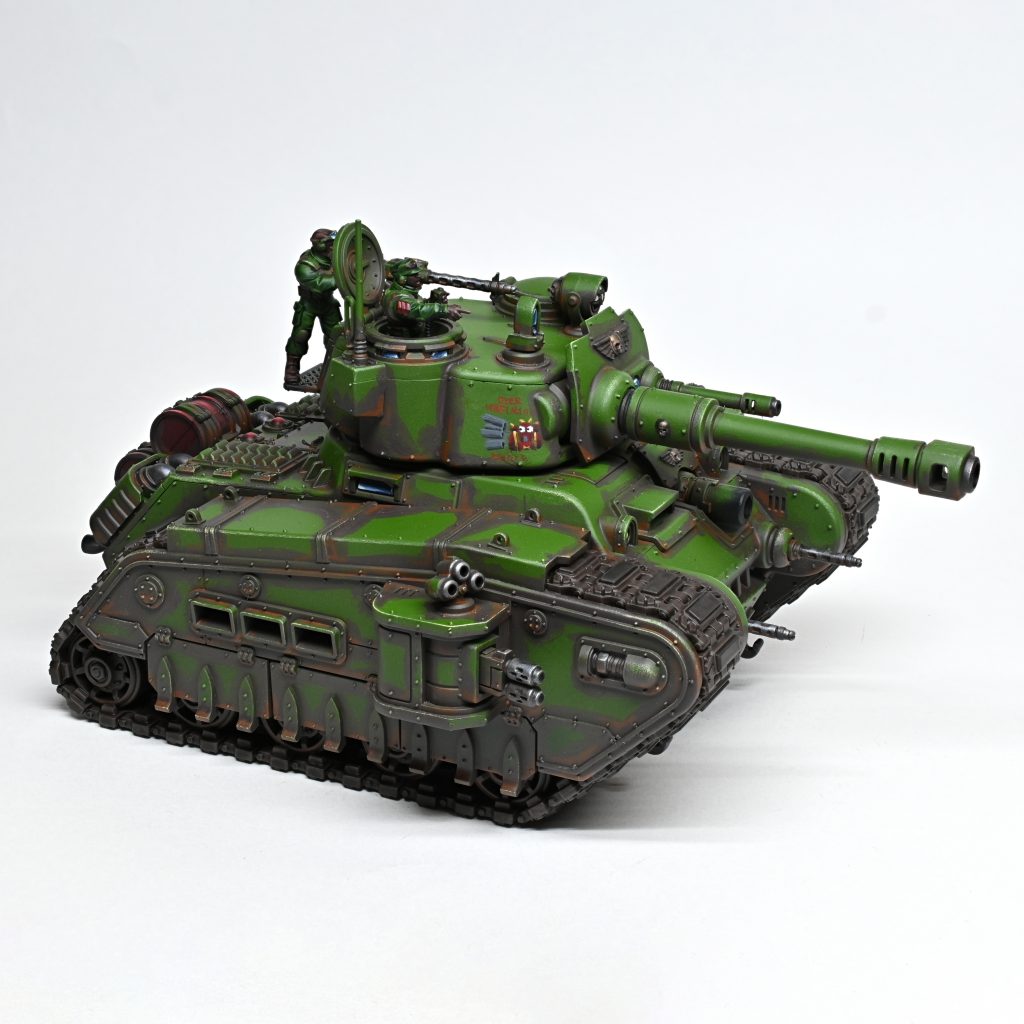
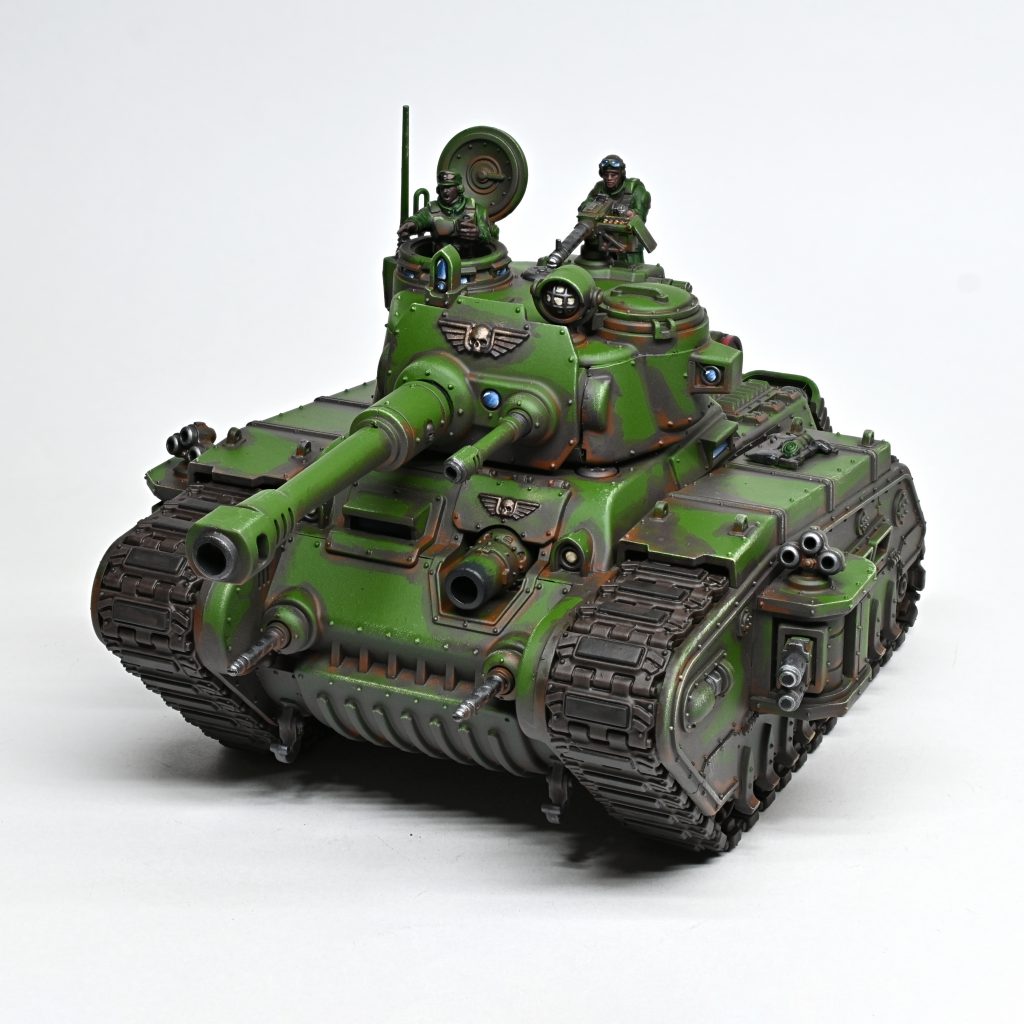
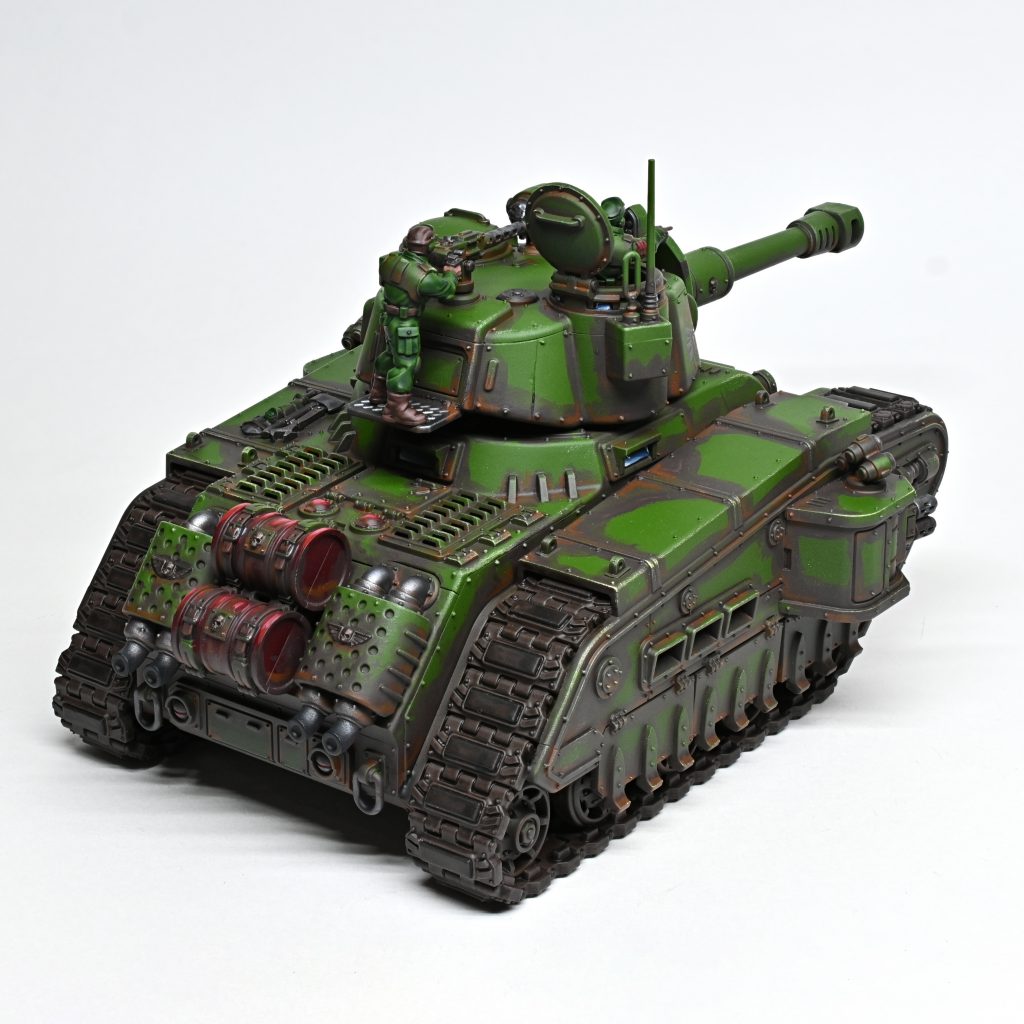
In our Detachment Focus series we take a deep dive into the game’s detachments, looking at their rules, how they play, and how they affect list building. In this article we’re looking at the Hammer of the Emperor Detachment from Codex: Astra Militarum.
This is what you’re here for. It’s why you collect Guard. It’s why you have 25 Lemans Russ Battle Tank in your closet right now: you love tanks. I love tanks. If you don’t love tanks, you’re uninvited from my article, and if you’ve read this far, you’ve already given me the view.
My friend, confidant, and hero, SgtMaj Avery Johnson once said: “Oh, I know what the ladies like.” As such I have it on good authority that ladies like armor plating, grinding treads, and, depending on what difficulty you’re playing the bridge sequence on Metropolis in Halo 2, superior firepower. This Detachment is therefore for the ladies.
We’d like to thank Games Workshop for providing us with a preview copy of these rules for Review purposes.

Detachment Overview
Play tanks; simple as.
The Video Version of This Review
If you’d rather watch something about playing tanks than read it, we’ve got you covered with this video version of our review:
Detachment Rule: Iron Tread
Each time a SQUADRON unit advances, add 6” to the unit’s Move characteristic instead of making an Advance roll. When these units make Advance moves, they may move within engagement range of enemy models, but cannot end their move within engagement range of enemy models.
Note: We’re waiting for a FAQ to see if this is intended let you move through enemy models or begin an Advance move while within engagement range. The flavor text and rest of the description of this rule seems like there ought to be some other effect associated with this. The answer to this FAQ will be impactful to the overall utility of this detachment. I will update this article once we get a firm answer on this.
Assuming the rule will settle as written, this is a firmly okay detachment rule. Auto advancing 6” is great for the mobility it gives you. It pairs beautifully with the Blazing Advance and Crash Through stratagems below, allowing you to move your big honkin’ Rogals Dorn around the map faster.

Enhancements
All enhancements are only equippable by VEHICLE OFFICERs. Buff up your Tank Commanders, they’re gonna have to carry a lot of weight. Three of these Enhancements are very viable. This is what Dorn Commanders were made for so get ready to slap these on those bad boys.
- Calm Under Fire – Once per turn, when a VEHICLE OFFICER issues an order to a SQUADRON unit, it may issue that same Order to another Squadron unit from your army. We love Calm Under Fire, you’ll be taking this every time you make a list to max out your order capacity.
- Indomitable Steed – VEHICLE OFFICER only; gains Feel No Pain 6+. Also good, this helps bump the Rogal Dorn Tank Commander to similar resilience to their non-Tank Commander version. Not quite as comforting as automatically blanking an incoming attack, but has more potential in the long run since it’s always on. Statistically this is a 20% boost in effective wounds for your vehicle.
- Regimental Banner – VEHICLE OFFICER only; add 3 to the OC of this model. I’m not so hot on this one, especially at its proposed cost. Seems like this is a little pricey for its effect.
- Veteran Crew – VEHICLE OFFICE only; re-roll hit rolls of 1 for ranged attacks. A very solid pick. It’s probably third in my tier list for these enhancements. It offers good offensive utility but doesn’t shore up the defensive shortfalls of the Tank Commander relative to the line unit. Still, pretty much worth taking whenever you have the points for it.

Stratagems
While the overall detachment rule may be of dubious usefulness, almost every single one of these Stratagems is an absolute banger. These shore up the key weaknesses of tanks on the tabletop and allow you to better exploit your middling detachment rule. Without such a strong lineup of Stratagems, I would have more concerns about the overall viability of this detachment.
- Final Hour (Epic Deed, 1 CP) – Used in your Command phase on one non-OFFICER SQUARDON unit from your army Below Half-strength; until the end of the battle round all non-[ONE SHOT] weapons on this model are [HARZARDOUS]. Each time this unit makes a ranged attack, ignore any or all modifiers to Ballistic Skill and Hit rolls. Adding [HAZARD] to all of the vehicle’s weapons is wild. I can only imagine how mad I’m going to be the first time I take 12 mortal wounds from using this stratagem on a wounded tank. That being said, the real utility is using this when you have a tank that has suffered damage from a charge in your next shooting phase, this will allow you to fire at full effectiveness with that vehicle, and if you explode, you’ll have to opportunity to freely fire at whatever was previously engaged with it.
- Blazing Advance (Battle Tactic, 1CP) – Used in your Movement phase after a SQUADRON unit Advances; that unit is eligible to shoot even though it Advanced. Very straightforward to use here. You have a Detachment rule that automatically adds 6” to your movement when you advance; slam the Blazing Advance button to fire after you do that.
- Tactical Withdrawal (Strategic Ploy, 1 CP) – Used in your Movement phase after a SQUADRON unit Falls Back; that unit is eligible to shoot even though it Fell Back. This Stratagem will single-handedly change how aggressive you can be with your tanks. One of the key challenges of playing vehicles is keeping them from getting tied up in combat, this allows you to push forward with your Dorns and Russes and be confident you won’t get crunchy stuck in your treads as you do it.
- Crash Thorugh (Strategic Ploy, 1 CP) – Used in your Movement phase or Charge phase; select an ASTRA MILITARUM VEHICLE, until the end of the phase, if it makes a Normal, Advance or Charge move, that unit may move horizontally through terrain features as if they were not there. Rogals Dorn are big; they don’t fit through every gap on the map. Do you really need to fit through your deployment Ls on Layout 1? Well, now you can. No more getting scummed by terrain placement when your opponent claims “I’m not sure your sponsons can fit through there.”
- Furious Cannonade (Battle Tactic, 1 CP) – Shooting phase; select on SQUADRON unit, until the end of the phase, when making a ranged attack within 12”, improve the Armour Penetration of those attacks by 1—great utility for the price. This is a stratagem to always keep in the back of your mind; when you’ve closed to within 12” with tanks, you want to make sure you kill what your shooting at. This stratagem helps you get there almost every time.
- Ablative Plating (Wargear, 2 CP) – Shooting phase after an ASTRA MILITARUM VEHICLE is selected as a target; until the end of the phase, each time an attack is allocated to your unit, subtract 1 from the Damage characteristic of that attack. Rehomed from the Index’s Combined Arms Detachment, this is a staple stratagem you should consider using in addition to Smoke to throw off your opponent’s math on destroying your precious tanks. In many cases, this results in a 25% to 50% damage reduction. Armies that can comfortably kill a Smoke and Ablative Plating active Rogal Dorn are vanishingly small.

Playing This Detachment
This detachment leans into the speed and concentration of firepower the armored vehicles can bring to the battlefield. It was no secret that I plan on exploiting this detachment to its fullest to pump up the effectiveness of my beloved Rogal Dorn army, and this detachment will let me do exactly that. Tank players will find themselves right at home in this detachment, the only challenge will be determining which mix of units you want to bring along to get the maximum effects out of your favorite metal boxes.
Strengths
- Tanks: “Tank beats everything” – Unnamed UNSC Marine, the Ark, 2553. It’s true, and this detachment helps you do it better. Start your lists with three Rogals Dorn, and go from there.
- Mobility: This detachment is fast. With your stratagems, you can Advance a SQUADRON unit 19” and still fire. Taurox can Advance 21” and dump out elite infantry to fire in critical positions. This detachment acts like armor does in real life; it’s perfect.
- Upgrades: We’ve got a very strong lineup of Enhancements and Stratagems in this detachment. Three Enhancements are competitive and five of the Stratagems are strong.
Weaknesses
- Non-Battle Tank Units: We’re firmly focused on Rogals Dorn and Lemans Russ. Anything outside of these units is going to have a hard time. You’re leaving a lot on the table if you have a natural inclination to run a wide range of unit types.
- Detachment Rule: Pending an Errata clarification, this detachment rule is relatively weak. It effectively only grants automatic 6” Advance moves, which rates last in detachment rules offered by this faction.
- Board Control: If you’re a board control player, this detachment doesn’t do you any favors. Go have a look at the Siege Regiment or Recon Element.

A Sample List
It’s somewhat difficult to go wrong with this detachment. Start with a base of around 1000-1200 points of tanks; grab support for them and season to taste. I’m on a Rogal Dorn kick that will probably be the basis of my entire personality from now until I’m free from this mortal coil, so I’ve gone with Rogals Dorn as my base. Feel free to substitute Lemans Russ if you prefer a less gamey protein.
I got a fever, and the only prescription is more Dornhole! - click to expand
Rogals Dorn bring the heat, supported by Kasrkin zipping around the board in super fast Taurox wherever they’re needed. We’ve talked at length in this article how the tanks will play. When approaching list building with the detachment, I found the harder question is: How do you support them?
I’ve gone with a core support choice of Taurox-mounted Kasrkin. The Taurox becomes a very interesting transport in this detachment rule allowing them to blast across the battlefield at a blistering 21” when supported by a Move! Move! Move! order. They follow up this speed by dropping Karkin in optimal range to net out punishment wherever they’re needed. Kasrkin now function in transports with their updated Warrior Elite rule, allowing them to issue themselves an order at the beginning of any phase. Combine this with Gaunt’s Ghosts arriving from Deep Strike every turn to tag them with a second order, and you have an amazingly flexible and potent grenadier force ready to deliver the hurt wherever the tanks need extra support.
From there we move onto some mortars to hold your backfield objective and pepper weak action units wherever they’re needed, with Scout Sentinels and a Hellhound to further boost your shooting effectiveness from your tanks and Kasrkin. With 55 points remaining, I select a Tech-priest to help keep my tank commanders in the fight longer and offer another action economy piece to round out the list.
As soon as this book is legal, you’ll find me playing this list extensively. This detachment is a dream come true for someone who has an unhealthy relationship with Rogals Dorn, like I do. My only regret is that I’m not brave enough to bring more than four.
Final Thoughts
Do you love tanks? If you do, you’ve found your home for the rest of the edition. We’re likely going to see a lot of this detachment throughout the edition, regardless of whether you’re a Guard player or the player standing across the table. Most folks get into this faction for the love of the tread and have a similarly “ride or die” approach to list building. This detachment enables your dumb dedication to one unit type and shores up some key weaknesses they bring via stratagems. I have no doubt that Guard players all over the world will be making fewer friends with this detachment in their arsenal.
Have any questions or feedback? Drop us a note in the comments below or email us at contact@goonhammer.com. Want articles like this linked in your inbox every Monday morning? Sign up for our newsletter. And don’t forget that you can support us on Patreon for backer rewards like early video content, Administratum access, an ad-free experience on our website and more.

