Codex Aeldari equips the Asuryani (and friends) with eight powerful new Detachments to choose from. In today’s articles, we’re breaking down what each and every one of these has to offer Aeldari aficionados.
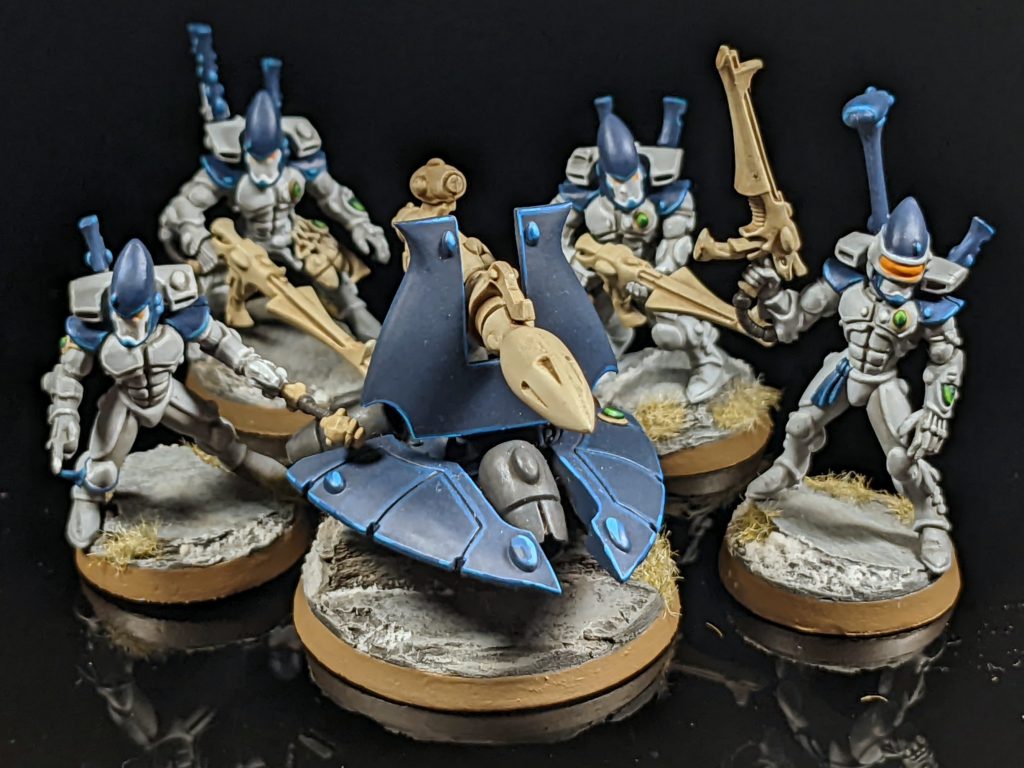
The Aeldari have a host of different units available to them, and sometimes amidst all the flashy things like Aspect Warriors, jetbikes and flying tanks the humble Guardian gets left behind. No longer – the new Aeldari Codex provides a detachment for those who want to put together an army themed around the citizen militia of the Craftworld, bringing some of the energy of older Ulthwe rules, but mostly carving out some new design space. Let’s find out whether it comes together into something that can stand proudly alongside the Detachments themed around more specialist tools.
We’d like to thank Games Workshop for providing us with a preview copy of these rules for Review purposes.
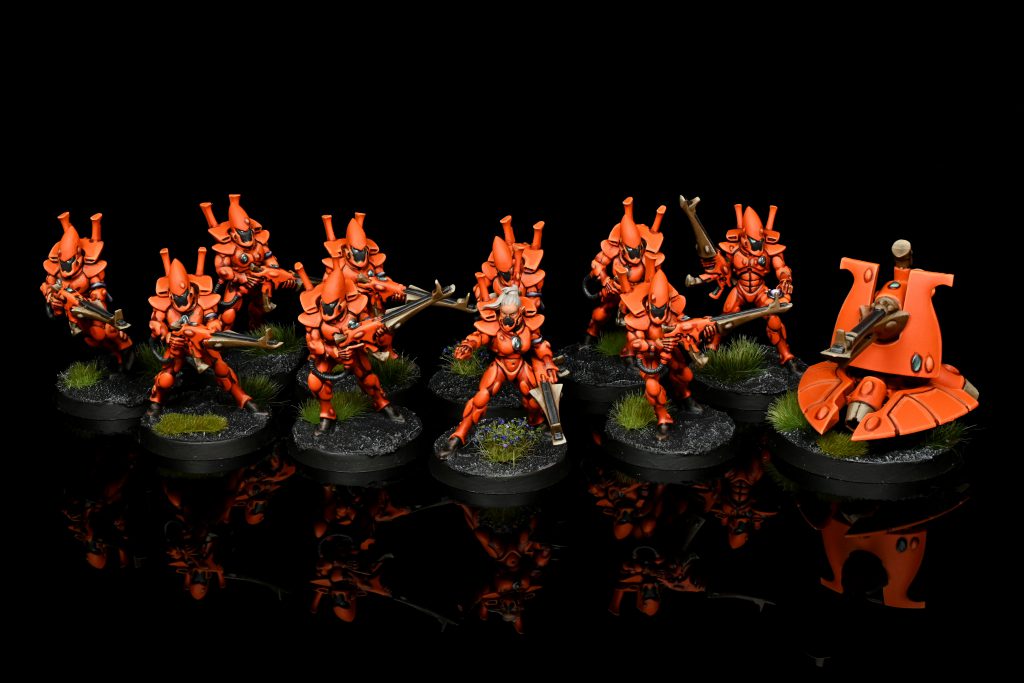
Detachment Overview
This detachment provides buffs for Guardians, the weapon platforms they crew (War Walkers and Support Weapons), and then Dire Avengers, presumably reflecting them being similarly armed to Guardians and the most common of the Aspects. As is appropriate for an army built around such defensive troops, most of the buffs reward units either defending objectives or striking at foes doing the same, but it also adds some ways of adding mobility to these units. The options in this detachment let you play a strong board and Primary objective control game with this detachment, that is quite distinct from the more trade-focused or keep-away playstyles other Aeldari Detachments reward.
The Video Version
If you’d rather watch the recap of this detachment than read it, you can find the video version of this detachment focus here:
Detachment Rule: Defend at All Costs
Whenever a Guardian, Dire Avenger, War Walker or Support Weapon model makes an attack, if either their unit or their target is in range of an objective, the attack gets +1 to hit. This is a decent buff, and working in both directions makes this pretty easy to activate whenever you want it, though it is obviously somewhat constrained in what it affects. It encourages you to invest in the relevant units and there are other things at play here which further encourage you to get onto objectives. It does suffer a bit from there being very few relevant sources of re-rolls for this army, which is what you’d really like to combo this with, but it’s certainly not bad. There is a particular incentive for going Ulthwe mode and bringing Eldrad for Doom, as stacking +1 to Hit and +1 to Wound into a key target is going to make them dead very quickly.
On the topic of Characters, there is one important thing to note here – this only affects models of the relevant type, so Autarchs, Warlocks, Farseers and (hilariously) Asurmen don’t benefit. Sometimes those would be hitting on 3s, so don’t accidentally misplay and give them a +1 back to 2s!
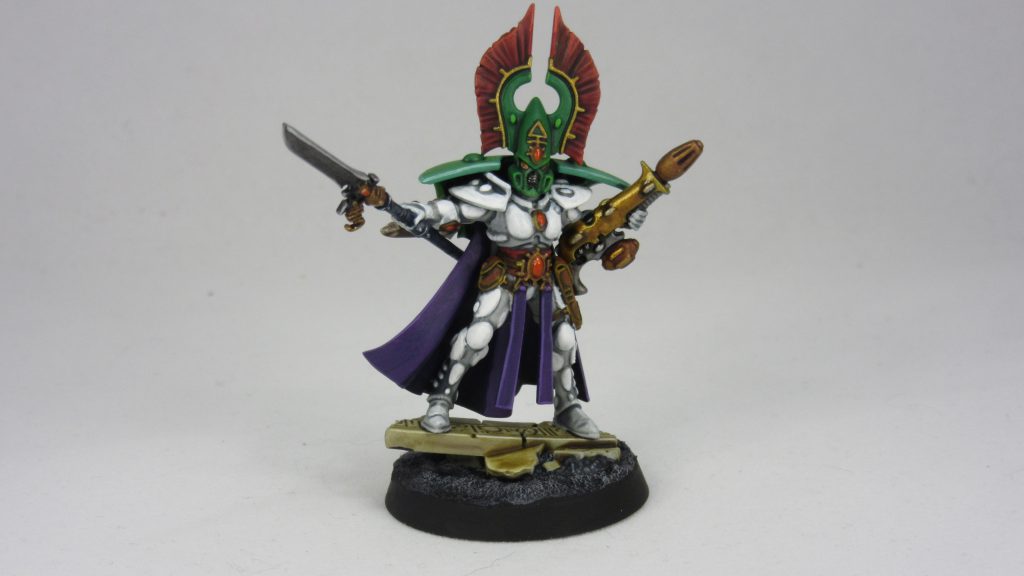
Enhancements
The Enhancements here provide some transformative tools that let you play a very different game with Guardians than is normally possible, and also a few useful utility tricks.
- Craftworld’s Champion: This is an unusual upgrade that gives the bearer an OC of 5. This is a little at odds with the units this detachment incentivises, because Guardian units have good OC and don’t really need the help.
- Ethereal Pathway: In the Deploy Armies step, you can give two Guardian units Infiltrators. This is a key part of this Detachment and you definitely want to try and build around it. Once you’ve stacked a Character (or even multiple) plus a Support Weapon and/or a Warlock Conclave into a Guardian unit they become a hefty threat, and being able to start two of those up the board (and support them with Scouting War Walkers) is potent. It also synergises very effectively with the special abilities of both kinds of Guardian – Defenders using their free Fade Away can protect themselves, Storm Guardians sticky’ing an objective mid field can provide strong early momentum for such a control-oriented army. Access to Cost of Victory also makes this better, unless the opponent manages to wipe a unit (no mean feat with Fade Away to protect them) you can just revive the casualties and re-position.
- Protector of the Paths: Lets the bearer’s unit Overwatch for 0CP, hitting on a 5+ rather than 6+, or 4+ if your unit is in objective range. This is good, and it’s fun to Infiltrate a D-Cannon to the mid-board then threaten to Overwatch with it on 4+ if your opponent tries to get a line on itt.
- Breath of Vaul: A special buff for Storm Guardians, and it’s even kind of fine – if the bearer is leading a Storm Guardian unit, they can re-roll shots for their flamers and damage for their fusion guns. I love Storm Guardians, people never expect the spike threat they present, and this makes them a bit better (though it is also entirely optional and a nice-to-have for 10 spare points).
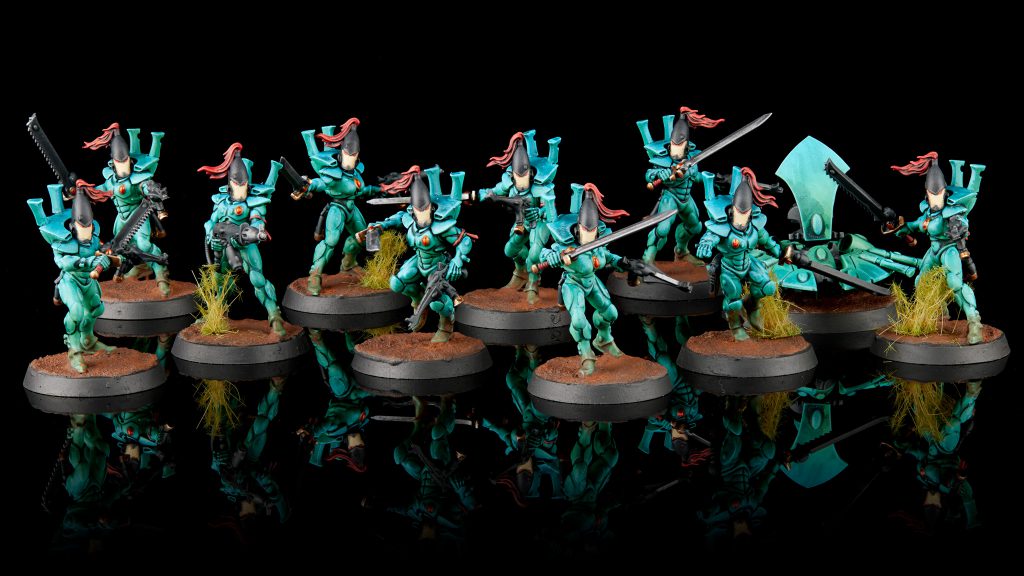
Stratagems
This detachment definitely needs good Stratagems, as it encourages you to favour units that are not as naturally gifted at killing as some of the more specialised stuff. Luckily, it very much gets them – there’s an extremely potent set of tools available for pretty much all your needs.
- Warding Salvos (Battle Tactic, 1 CP): Give a Guardian or Dire Avenger unit full Wound re-rolls when targeting an enemy unit on an Objective. Yes please. Particularly good with Asurmen’s once-per-game pop-off (and unlike the Detachment Rule, this affects units rather than only appropriately keyworded models).
- Shield Nodes (Battle Tactic, 1 CP): When a Guardian or Dire Avenger unit in range of an Objective is targeted, attacks against them are -1 to Wound for the rest of the phase. Also yes please. This is especially strong because Cost of Victory exists, as it makes an opponent narrowly missing the kill on some Guardians extra bad.
- Vaul’s Vengeance (Battle Tactic, 1 CP): Once per Battle Round, after an enemy unit destroys a Guardian or Dire Avenger in either the opponent’s Shooting phase or the Fight Phase, a War Walkers unit from your army can shoot the culprit (as long as they’re a legal target). This is hilarious when it goes off, and encourages you to run a two-model War Walker unit and some Dire Avenger MSUs to maximise the chance of getting value from it. Because you can trigger this in your Fight Phase, you can also force the issue in some cases – there are plenty of things that you would absolutely like to put four bright lance shots into which will also absolutely kill a Dire Avenger unit you charged them with (don’t forget that you can choose to not to use an invulnerable save). This (and the price only being 1CP) elevates this substantially above similar effects – it’s still not always going to come up, but you can sometimes make this happen in a way that is going to surprise foes.
- Time to Strike (Strategic Ploy, 1 CP): A Storm Guardian unit can auto-Advance 6”, and can shoot and Charge. Oorah. Obviously they still kind of suck when they get there but this is still a very powerful positional play, the shooting is relevant, and you can lean into it with Characters if you want to – just an Autarch with an extra fusion gun and some melee heft helps, but you could also go full Torrent mode by attaching a four-model Warlock Conclave. Probably don’t do that when it still gives up 16VP on Assassinate by itself, but if that gets fixed, maybe?
- Blades of Asuryan (Battle Tactic, 1 CP): A Guardian or Dire Avenger unit gets Pistol on their guns in your Shooting Phase. Surprisingly OK, as these are the kinds of units that opponents can normally profitably bully charge, and they often have reasonably good output especially (again) when you put a Character in. Tragically, D-Cannons have Blast, so you can’t ever live the dream of point-blanking someone with them, though in theory you could use a Vibro Cannon.
- Cost of Victory (Strategic Ploy, 1 CP): At the end of the opponent’s Fight Phase, you can pull an unengaged Guardian unit into Strategic Reserves and return every destroyed Guardian model to the unit. This is extremely good – just the baseline effect would be kind of fine, but reviving models makes this gravy. Although it won’t revive a Character or Support Weapon in the unit, it doesn’t remove them if they haven’t been destroyed yet, and D-Cannons are something you’ve very excited to zap around the table. It’s also very synergistic with Infiltrating Guardians and Shield Nodes, as if a unit is down but not out, boom they’re suddenly better again. Also, while you do want the Support Weapon to be alive if possible, they aren’t Characters, so if you’re desperately trying to keep a final Guardian model in a unit alive so this works, you can eat five wounds on the platform. Finally, as a cherry on top, although this revives models, it isn’t creating a whole new unit, so it isn’t subject to the once-per-game limit on such Stratagems (though it wouldn’t shock us if it got folded in if this detachment turns out to bust the game open).
Playing This Detachment
Strengths
- Strong objective play.
- Powerful options to contest the mid-board early.
- Some nasty ways to punish the foe if they pick the wrong fights.
Weaknesses
- Doesn’t encourage Aspect Warriors outside Avengers, so you’re leaving strong units on the shelf.
- Your tricks are still keying off squishy Guardians, so if you mess up you can die fast and hard.
- CP-hungry to keep your units operating.
Analysis
This detachment is completely out there, mostly because the unit at its heart (Guardian Defenders) is one of the most configurable in 10th Edition. You can squeeze almost an entire Combat Patrol’s worth of models into one doomstack, and then in this detachment you can Infiltrate it or pull it round the table with Cost of Victory. You have a nearly unique ability to just play like half the table is your deployment zone, but also plenty of cunning tricks to flumox the foe, and some pretty hefty durability and offensive boosts to boot. You want to use all of this to ensure that your opponent’s army is walking on eggshells from turn 1, with one wrong move ready to completely smash them, and your threats somehow slipping through their grasp even when they seemed to be right there.
A Sample List
”How
Building lists for this detachment is a very unique experience because of the sheer configurability of Guardian units in this book. The plan here is to Infiltrate the Storm Guardian/Conclave unit and the Protector of the Paths Defender unit to create massive threat projection, as your opponent needs to worry about nasty Overwatch on either flank and the threat of the Storm unit reaching out and incinerating something. You back that up with more power shooting from Asurmen’s unit and the other Defender brick, add War Walkers to boost the AP of the volume stuff and blast tanks, and some Spears to keep the enemy honest by threatening a counter-charge. Eldrad ensures you can always be saving CP for Cost of Victory, which makes every failure to engage and properly handle your big bricks a disaster for the foe (and can also just be used to e.g. set up a new angle for the Torrent nightmare unit).
Final Thoughts
The Guardian Battlehost Detachment is one of the more unique options in the new book, and looks like a ton of fun to try out – there are a large number of different ways to run and outfit Guardians. While Guardians aren’t the most exciting unit in the Codex, they have some interesting potential, and being able to stack them with other units can create some really eye-popping combos.
Have any questions or feedback? Drop us a note in the comments below or email us at contact@goonhammer.com. Want articles like this linked in your inbox every Monday morning? Sign up for our newsletter. And don’t forget that you can support us on Patreon for backer rewards like early video content, Administratum access, an ad-free experience on our website and more.
