
In this series of articles we take a deep dive into a specific Detachment for a faction, covering the faction’s rules and upgrades and talking about how to build around that faction for competitive play. In this article, we’re covering the Goretrack Onslaught Detachment for World Eaters.
When Codex: Emperor’s Children dropped we wondered if every cult army would get its own “transports” Detachment. And while that didn’t happen, we did get one for the World Eaters. Specifically, the Goretrack Onslaught Detachment, which focuses on using transports, piling out of them, and killing your foe.

Detachment Overview
The Goretrack Onslaught Detachment is all about vehicles. Specifically, Transports. You’re encouraged to take multiple transports – and most of the time that means Rhinos – to get the best version of your units. The Stratagems in this Detachment play into that by giving you ways to move your Transports around, get back into them, and hop out in surprising ways. There are also a few cool tricks here to support other vehicles, making this your go-to option for mechanized warfare as World Eaters.
The Video Version
If you’d like to watch a video version of this Detachment Focus, we’ve got you covered here:
Detachment Rule: Rush to the Fray
Each time a WORLD EATERS unit from your army disembarks from a TRANSPORT you get +1 to Charge rolls for that unit and [LANCE] for their melee weapons until the end of that turn. A simple but effective rule, getting your World Eaters into combat faster and making them hit harder once they’re there. With the reduction of Berzerkers to Strength 4, getting widely-available LANCE will be a big deal for helping them to punch up; there’s also several ways to get your units out of their Rhinos beyond just stepping out in your own Movement phase where this rule will come into effect.
This is a solid start for the Detachment, but it’s not without its limitations – you’ll need to be careful of things like Blood Surge, which doesn’t count as a charge move (though Heroic Intervention will). It’s easy to get caught up in some of this Detachment’s tricks and wind up in combat, only to find you don’t have the +1 to wound from Lance you were counting on.
Enhancements
Three of your options here focus on Transports. They’re pretty solid, though Aggressive Deployment is the one you really want to focus on as a must-take.
- Murderous Onslaught – If the bearer’s unit disembarked from a TRANSPORT this turn, then until the end of the turn enemy units cannot Overwatch them. Straightforwardly useful for getting your Berzerkers into combat without someone lifting them with a flamestorm cannon first.
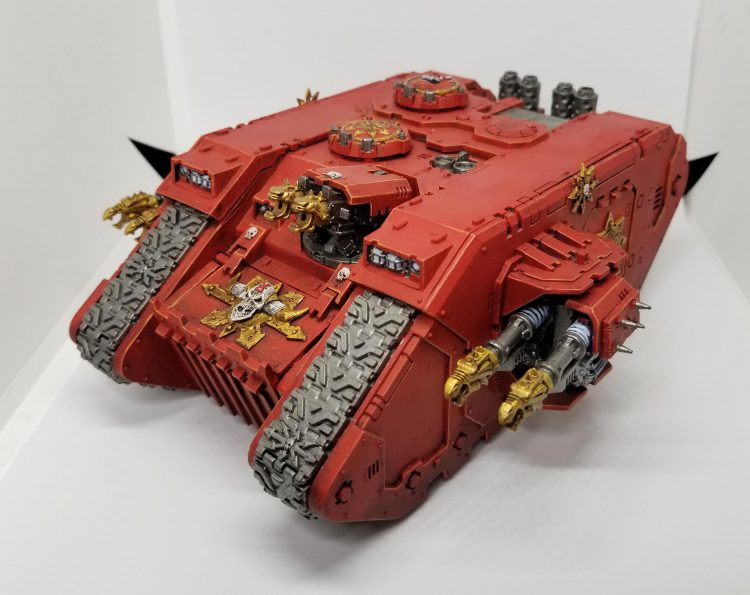
- Aggressive Deployment – If the bearer starts the battle embarked in a DEDICATED TRANSPORT, that transport gets Scouts 9”. Again, good solid stuff that ties in with your main game plan of running up to people and hitting them, and it helps you deploy into open positions, then Scout into cover before the first round begins to protect yourself. Do take note that it’s only for Dedicated Transports and not transports generally, so you can’t use it to scout a Land Raider.
- Unleash Hell – At the start of your Shooting phase, you can select one VEHICLE model within 6” of the bearer, or if the bearer is in a TRANSPORT you can pick that transport model. Until the end of the phase, after the selected model has shot, pick one enemy unit hit by one or more of those attacks and until the start of your next turn that enemy unit is suppressed and gets -1 to their Hit rolls. This isn’t nothing but you can take a maximum of 3 enhancements and you should look at the other three here first.
- Infernal Infusion – Once per battle, at the start of the Fight phase, the bearer’s unit can gain Fights First. Now that Masters of Executions have lost fights first as a native ability, having access to this is a lot more important than it was. Once per game isn’t ideal, but it’s usually all you need in a pinch.
There’s three enhancements here that all work well towards your overall strategy and one that just kind of exists.
Stratagems
- Endless Pursuit of Violence (Strategic Ploy, 1 CP) – At the end of the Fight phase, one INFANTRY unit in your army can get into one TRANSPORT unit that it is wholly within 6” of that it is able to embark within. No Engagement Range limitation or anything on this, so you can feel free to jump back into the bus. Very helpful for recycling units to make use of the Detachment rule again and for getting them out of the way of enemy counter-punches. Emperor’s Children wish they had this, and it’s the closest thing World Eaters get to “fall back and charge.”
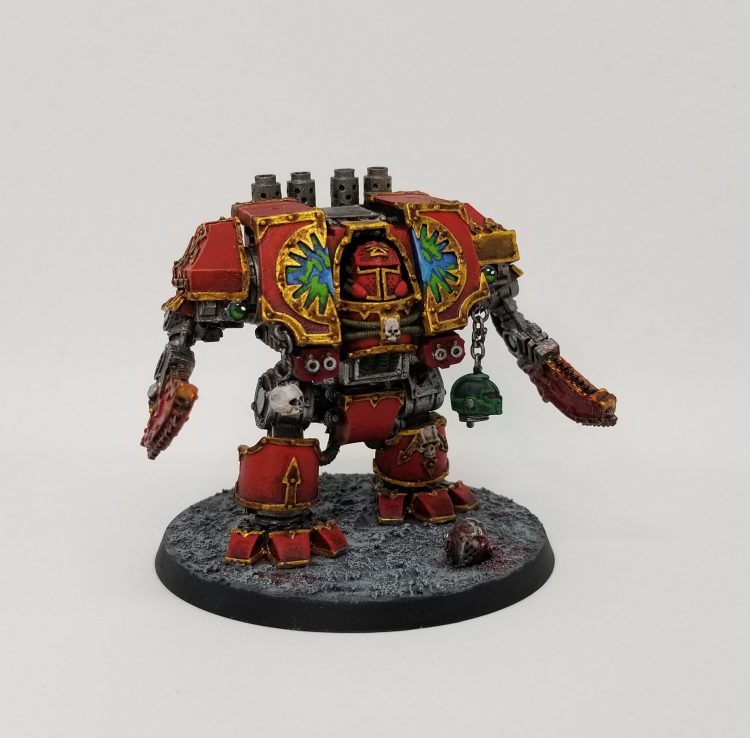
- Smash Through (Strategic Ploy, 1 CP) – Use in your Movement phase on a VEHICLE that has not been selected to move; you can make a Normal or Advance move horizontally through terrain features. Great for popping a Land Raider or Rhino around the table, but it’s broader than that, enabling otherwise awkward units like Helbrutes, Maulerfiends, or Defilers to get around unrestricted. This Stratagem alone makes Maulerfiends worth a look in this Detachment.
- Aggressive Disembarkation (Strategic Ploy, 1 CP) – Use in your Movement phase on a RHINO model that has not been selected to move this phase; a unit embarked in it can disembark. You can set them up anywhere that is wholly within 6” of the Rhino and they can be set up within Engagement Range. You don’t count as charging, but if there’s a nasty Overwatch threat within 7” or an opponent has wrapped your vehicle then you can not only escape but also get out and into combat with them.
- Full-Throttle Assault (Strategic Ploy, 1 CP) – Use in your Movement phase on a RHINO model that has not been selected to move this phase; until the end of the phase any unit that disembarks from that Rhino after it has made a Normal move is eligible to declare a charge. This is HUGE, especially with the loss of Advance and charge in the army rule; your minimum threat range from a Rhino staged in midfield is now 17”, and combined with Smash Through you can start the turn safely ensconced in a ruin and end it with multiple units out and charging up the field.
- Unrelenting Advance (Strategic Ploy, 1 CP) – Use in your opponent’s Shooting phase on a VEHICLE that they have just shot and which was hit by one or more of the attacking unit’s attacks. Your model can make a Normal move of up to 6”. Note that you cannot use this and Fury Unleashed on the same unit in the same phase. There is no rider about this move having to be closer to the unit that shot or anything like that – you just get a free 6” to play with. Movement tricks are great (just ask any Aeldari player) and being able to move a key unit out of line of sight of other shooting, or bring them closer to stage for your next turn, or even slide over onto an objective you couldn’t previously reach is all very powerful. Just hope your Rhino survives.
- Fury Unleashed (Strategic Ploy, 1 CP) – Use in your opponent’s Shooting phase on a RHINO that has one or more wounds remaining and which was hit by one or more of the attacking unit’s attacks. One KHORNE BERZERKERS unit embarked in that Rhino can disembark and make a Blood Surge move. Note that you cannot use this and Unrelenting Advance on the same unit in the same phase. This Stratagem absolutely rules. With Blood Surge moves being D6+2 now, your unit can get a minimum 6” move out of the Rhino and end up in combat at the end; on a high roll you get 11” to work with. Your opponent can of course play around it by not targeting the Rhino, but then if they’re not shooting your Rhinos full of Berzerkers for fear of them getting out and hitting things, you’re already kind of winning.
This is a great Stratagem set. Your major limitations are going to be that you want to do everything here every turn and only have so much CP to make it happen in practice and that you won’t get a charge bonus for much of it, but building a game plan around what’s here and using it for a front-foot approach while having the option for some nasty reactive tricks is straightforwardly strong.
Playing This Detachment
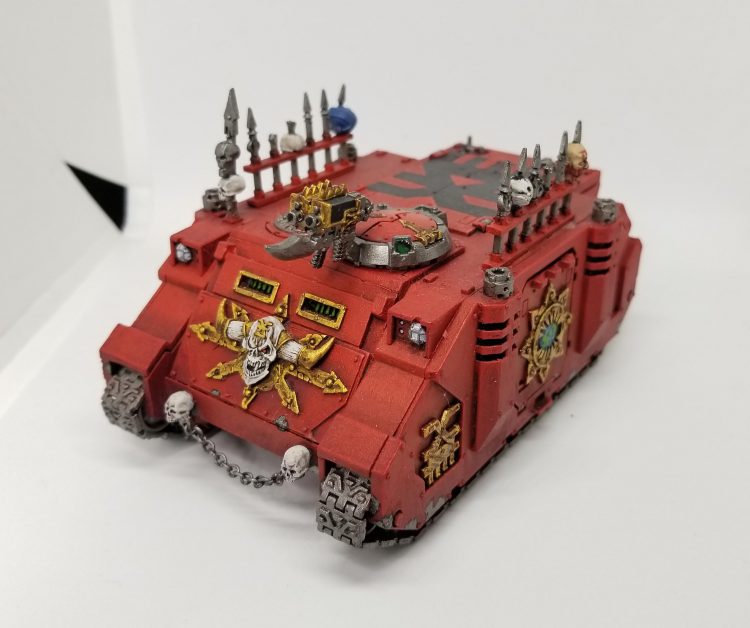
I hope you like Rhinos, because you’re bringing them in this Detachment. There’s potentially some play for a Land Raider but more likely than not you want Berzerkers in Rhinos to take advantage of these rules. A standard list likely starts the three Rhinos full of Berzerkers and an attached character to benefit from the disembark buff. On that note, World Eaters Rhinos are perfect for this Detachment – you can get out of them any time someone ends up within 9″ of you already, making it easy to track opponents down or punish them for trying to steal an objective out from under you. Because Lance isn’t necessarily worth 85 points, it’s important to think of this less as a “Charging out of Rhinos” Detachment and more as a fast-moving Detachment where you can strategically deploy Berzerkers to deal damage. If you want hordes, the Berzerker Warband is over there. If you want movement tricks and the ability to react quickly to threats, this is a better option.
Because this Detachment also lets vehicles move through walls, Maulerfiends are right at home here – it solves their biggest problem, letting them stage effectively before moving through a wall and into contact with your target. Defilers also like this on tables with lots of 5″ terrain, and they got a similar glow-up in the new Codex.
Overall, this is more of a finesse Detachment. It lacks the raw damage output you get from Berzerker Warband and its tricks are more movement-focused. The melee tools you have are still plenty deadly, but need to be applied at the right time and place.
Strengths
- Transports. The benefits to transports and units in them in this Detachment are huge. Chaos Rhinos are already great in World Eaters, and making them even better is great.
- Vehicle Support. The ability to walk through walls with a Maulerfiend or Defiler is huge.
- Movement Tricks. There are some amazing movement tricks here which let you really react to your opponent, snatching away key moments from them when they aren’t expecting it.
Weaknesses
- Damage Output. Your tricks here are movement-based. That means your Berzerkers are going to feel pretty anemic in melee, especially when they aren’t charging.
- Need to Charge. As with the Berzerker Warband, your remit here is to always be charging; you get very little benefit from this Detachment if you aren’t going on the offensive.
A Sample List
Here’s the sample list I played in my test games. There’s a lot of value to be had in vehicles generally here, but if you told me there was a 60 Berzerkers, 6-rhino version to play, I’d think it was at least worth testing.
This list has a ton of speed in the form of mechanized units, Scout, and just high movement values. The Maulerfiends can use Bust Through to move through terrain, staying hidden until it’s time to strike. The Forgefiends will more often than not go into Strategic Reserves, to show up and eliminate a target on the sides of the table, or soften it for the final kill.
Final Thoughts
The Goretrack Onslaught Detachment looks to be one of the stronger options for World Eaters, with some very good Stratagems and Enhancements that give you a fast, durable army – two combinations for a good time. Output-wise, Lance is a good consolation for the loss of +2 strength, but you’ll still need to make sure you’re playing aggressively and being the one to charge.
Have any questions or feedback? Drop us a note in the comments below or email us at contact@goonhammer.com. Want articles like this linked in your inbox every Monday morning? Sign up for our newsletter. And don’t forget that you can support us on Patreon for backer rewards like early video content, Administratum access, an ad-free experience on our website and more.
