Codex Aeldari equips the Asuryani (and friend) with eight powerful new Detachments to choose from. In today’s articles, we’re breaking down what each and every one of these has to offer Aeldari aficionados.
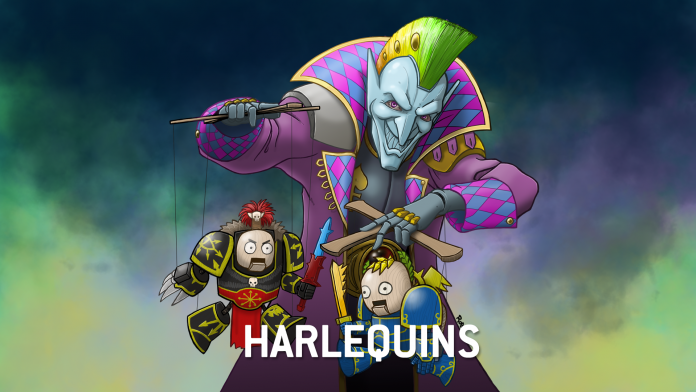
With the release of the Aeldari Codex it’s time to deep-dive the multitude of factions that comprise the Craftworld’s diaspora. Contained in this book is a representation of just about every major archetype of Eldar lore, and in this focus, we’ll cover the enigmatic Masques of the Harlequins via the Ghosts of the Webway.
We’d like to thank Games Workshop for providing us with a preview copy of these rules for Review purposes.
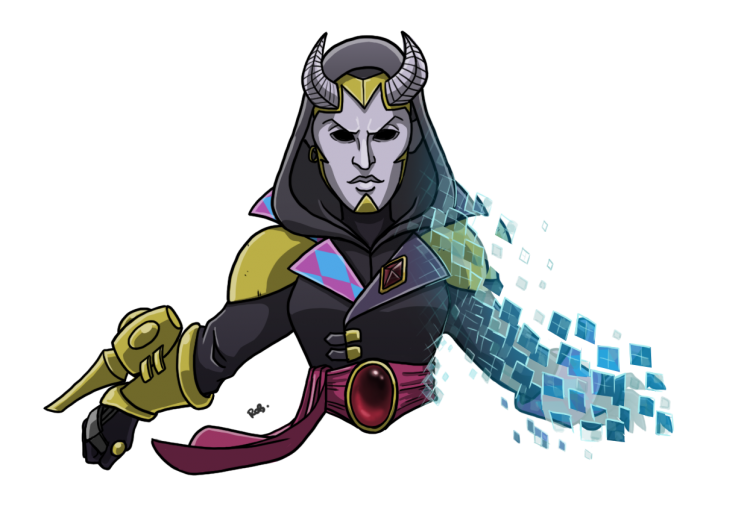
Detachment Overview: Ghosts of the Webway
In addition to the obvious reasons, the release of the Aeldari index saw some corners of the internet absolutely piss themselves because Harlequins didn’t get their own index detachment. I cannot explain why people thought that eight datasheets, exactly two of which are not characters or vehicles, deserve its own book but I also cannot explain why my nearly 2-year old son insists on grabbing the mess out of his diaper. However, they do get the pick me up most of us expected with the full codex release and I think the rules team have done a really nice job making this army feel like it should. Moreover, as I’ll note periodically, the detachment is not specifically restricted to Harlequin units, though the rules will only apply to them. You’re going to find a lot of movement tricks in here and the underlying datasheet updates have made substantial improvements over the index and/or returned some previous abilities from earlier editions.
The Video Version
If you’d rather see this play than read the script, we’ve got you covered with a video version of this article:
Detachment Rule: Acrobatic Onslaught
As might be expected, the Harlequins gain a detachment benefit that enhances their mobility and makes their datasheets function in a more traditional army format. They gain the Acrobatic Onslaught ability enabling Harlequin models to move through enemy models during a Charge move. In addition, the datasheet restrictions on unit count (for Troupe Masters, Shadowseers and Death Jesters) are lifted (up to three) and Troupe units become Battleline.
While not wildly impressive for a detachment ability, it is useful and it does set the stage for Harlequins to function as an army rather than a tag on. A theme here is going to be the inability to adequately pin down Harlequin units which are going to be annoyingly in and around you like mosquitoes.
Enhancements
This probably goes without saying but enhancements will only apply to Harlequin units. One may be taken by any of a Death Jester, Troupe Master, or Shadowseer while the remaining three are specific to one of those character types.
- Cegorach’s Coil – Troupe Master only. Each time the bearer’s unit ends a Charge move, select one enemy unit. For every model in the bearer’s unit within Engagement range, roll a d6. On a 4+ the enemy unit suffers a Mortal wound (up to 6). Very nice chip damage ability that can be used over and over, extra damage is always a good bet for game planning and a large troupe block ensures a fair amount of damage can be dealt reliably into almost any target. Even with a small unit, you can throw Grenades before slamming in with this, taking a big chunk out of the foe.
- Mask of Secrets – Each time a non-Monster/Vehicle unit within Engagement range of the bearer’s unit attempts to fall back, must take a Desperate Escape test. If battle-shocked, a -1 modifier applies. Not really sold on this – notionally this enhancement wants to trap a unit in combat or at the very least force a difficult decision. But in practical use I don’t know that it really does either of these things and will commonly not alter the opponent’s plans but might kill a model or two. This is best used against elite units that have a low volume of attacks and stand the risk of being tarpitted for an extended period.
- Murder’s Jest – Death Jester only. Each time the bearer targets a unit below half-strength, a successful hit results in a Critical Hit. The obvious benefit here is on the ability for Sustained 3 profile on the Shrieker Cannon. It’s good, but I’d caution that the practical application will be limited and often result in extreme overkill due to the trigger requirements that a unit be below half-strength. Still, if you want to kill the hell out of something, look no further.
- Mistweave – Shadowseer only. Grants the bearer and its unit Infiltrate. Given the combination of datasheet abilities the Shadowseer brings, this is a strong take to apply early pressure to an opponent- likely best used on the flanks to avoid invalidating the Fog of Dreams ability. Real good.
Stratagems
Additionally, the Harlequins bring a strong set of thematic stratagems that help them perform like the agile, slippery playstyle they represent.
- Staged Death (Strategic Ploy, 1 CP) – In any phase, after one of your characters has died, model may be set back onto the battlefield at the end of the phase, outside of Engagement range, nearest to where it was destroyed, with half its starting wounds remaining. May do so for each character in your army once. Clearly a useful stratagem, particularly for a Solitaire or Death Jester. Will you need to resurrect every character? Probably not, but can it create a lot of problems? Yes, particularly if the character was Precisioned out of a bodyguard unit where its half-life is less of a concern. The fact that it doesn’t have the 2+ rolloff that a lot of these abilities have is a nice plus since nothing feels worse than spending CP for a thing that does nothing.
- Heroes’ Fall (Strategic Ploy, 1 CP) – In the Fight phase, just after an opponent selected targets. One Harlequins unit targeted may fight-on-death on a 4+ if it has not yet fought this phase. A bit expensive for a coin flip, but if a large unit is at risk of being wiped, the enemy unit is weakened, or if a Solitaire might inflict significant damage in return it may be worth the valuable CP.
- Mocking Flight (Strategic Ploy, 1 CP) – In your movement phase, just after a Harlequin unit has fallen back, your unit remains eligible to shoot and declare a charge. More limited than some other versions of this ability owing to the lack of an advance and charge mechanic, but still a strong mobility tool preventing your units from being pinned down or to reload a devastating charge elsewhere.
- Trickster’s Retort (Strategic Ploy, 1 CP) – End of opponent’s Movement phase. One Troupe unit that is within 9” of an enemy unit may make a Normal move up to 6”. Always a strong ability – may help you avoid being charged or put you into a better position to execute a later action out of Battle Focus. This is the good stuff right here, you love to see it. Wings reminded me of an important note. Right now we are not sure what constitutes a “surge” move. However, by the definitions of such a move, only one is allowed per phase, and we are generally agreed that until clarified, any out-of-phase move is basically a surge move. In this case, you wouldn’t be able to execute this in addition to an Opportunity Seized Battle Focus (move after an enemy has fallen back from your unit) as they both occur in the same phase.
- Bloody Dance (Strategic Ploy, 1 CP) – End of your opponent’s Charge phase. Select one Harlequins Infantry or Mounted unit that is within 6” of an enemy unit and would otherwise be eligible to Charge if it were your turn – your unit may charge that unit(s) but does not gain the benefits of charging. This is a better version of a heroic intervention as it does not require anyone to have charged. Merely being within 6” makes an opponent’s units eligible to trigger this. Given your out-of-phase move options available via Battle Focus or the prior stratagem, there are a lot of interesting possibilities to create chaos with this.
Wings: I’ll add that this is particularly good on UKTC terrain, as there is always a staging ruin very close to the central objective. - Exit the Stage (Strategic Ploy, 1 CP) – End of your opponent’s Fight phase, remove one Harlequins unit not in Engagement range and place into Strategic Reserves. A nice up/down ability to help with mission play. Really provides the capstone to mission play possibilities with this detachment. Can be used to put a single model like a Death Jester or a Voidweaver into an advantageous position.
Playing This Detachment
Strengths
- Exceptional mobility options combined with Battle Focus and datasheet updates
- Good battleline units with easy access to Devastating Wounds
- Multiple abilities limiting opponent’s ability to engage at long range
Weaknesses
- Lack of access to wound rerolls may limit damage output into many factions
- Particularly vulnerable to Mortal Wound dealing abilities due to low wound counts
- CP hungry
Just as it is hard to pin this faction down on the table, I’m having trouble trying to place this army in terms of how it’ll play and where it’ll excel. The damage it can deliver is sneaky, as is its durability at range, but in close I’m struggling to identify how it’ll effectively combat armies that rely on Monsters, like Tyranids, Daemons, or some builds of Necrons. I’m also curious about their capability into Knights where the output of Haywire just won’t be as reliable as in the index. Chip damage, particularly out of waves of Devastating Wounds will be key, and a triple set of Voidweavers may be a requirement to provide additional heft with Prismatic Cannons.
Certainly, they are going to be among the best in the game at mission play, and that might be enough. The movement shenanigans between the stratagems and Battle Focus will allow a savvy player to really frustrate an opponent’s game plan. But in a game of attrition I wonder if they’ll have enough staying power into turn five, and output before it, to prevent an opponent from big final game-changing turns. Either way, I’m intrigued and they will be a lot of fun to play, and moreover, I think Harlequin players will be excited to try out the options here, mix and match with Asuryani, and find out what works for them.
Wings: We discussed the lack of Wound re-rolls a bit, and I think there’s a fairly solid chance that what ends up happening is most Harlequin armies just end up sticking in two Fire Dragon MSUs to put in Strategic Reserves, maybe including Fuegan in one. They don’t need any detachment rules to dunk something, and can still use the critical Flitting Shadows from Battle Focus to protect themselves from Overwatch. We’ve gone for a “true” Harlequin build below, but if you find yourself struggling with Vehicles and Monsters, this is your play.
A Sample List
Unfortunately, owing to the few datasheets available in this army, I think most pure Harlequin lists will look very similar. Now, I need to be clear here that the Harlequin detachment does not restrict your unit selections to Harlequins only, but the rest of the Aeldari roster won’t benefit from this detachment in any way. That said, there are strong datasheets and useful tools to help support a Harlequin-forward list. Just as an example, Eldrad and a squad of Storm Guardians could make for an interesting addition to provide additional CP, wound benefits, and sticky objectives. Fire Dragons can fill anti-monster gaps without further support necessary. That said, we’re going pure on this sample list because this is a Harlequins detachment focus and we’re going to honor that.
Flying Circus - click to expand
So what we have here is a full expression of the Harlequin’s deep and expansive range (short of the only special character that exists and is not, in fact, usable with Harlequins). Your Shadowseers will likely each take a 12x-Quin block to provide the Lone Operative-lite defense while the third becomes a Troupe Master block with a little extra oomph. Your Skyweavers provide some decent anti-tank and are likely best used out of reserves to ensure good angles. If they are able to make combat, they do provide a good punch on the upgraded Zephyrglaives but they’re more a cleanup option and not the main thrust which your Troupes represent.
The two smaller Troupe squads, one with the remaining Troupe Master and embarked in a Starweaver, provide some more scaled-back assault and mission options so you don’t need to always commit the sledge hammers that are the 12-quin blocks. The Solitaire can start in the other Starweaver along with the non-leader Troupe unit to gain a movement buff out of the disembark. Meanwhile the Death Jester just floats around, redeploying, or doing Death Jester things as you need him for mission play or to finish up a light/medium-infantry unit. Voidweavers maintain their distance beyond their Lone Operative-lite range and target out any armor or monsters that need pew pew’ing. Because the wargear is made up and the points don’t matter, everything is maximally armed.
The one decision I did make was for Harlequin Blades over Harlequin Special Weapons because of the extra attack providing a better chance of Devastating Wounds. Ultimately, I think the more Devastating Wounds you can pour on with this army the better you’ll fare, and the difference between strength 3 and strength 4 with a +1 to wound is fairly small against most targets that you’ll want to launch them into; that extra attack is generally more beneficial.
Final Thoughts
They look like a lot of fun! The amount of tricks they can pile on give them a suitably circus-like feel and the first time you land a full squad of Troupe into the enemy’s lap and deliver a wallop they probably weren’t expecting is going to be real cathartic. That said, I think the most powerful expression of this detachment is probably not a pure clown version, there’s just clear downsides that the limited number of datasheets struggle to cover, particularly against Monster heavy builds like Chaos Daemons, Tyranids, or lord help you a gaggle of C’tan. Fortunately, the rest of the Aeldari codex remains open to you and you’ll be able to choose what weaknesses you’d like to shore up from the bevy of strong datasheets. Either way it’ll remain a competitive detachment out of the gate and I predict fairly well balanced generally into the meta… though I won’t bother predicting what a mix and match of Aeldari may do to that prior statement.
Have any questions or feedback? Drop us a note in the comments below or email us at contact@goonhammer.com. Want articles like this linked in your inbox every Monday morning? Sign up for our newsletter. And don’t forget that you can support us on Patreon for backer rewards like early video content, Administratum access, an ad-free experience on our website and more.




![[40k] Competitive Innovations in 10th: An Ominous Stench pt.2](https://d1w82usnq70pt2.cloudfront.net/wp-content/uploads/2020/01/Analysis_Banner.png)
