
What’s that? A challenger approaches? The March Dataslate brings with it a quartet of new detachments, and in this article we’re unpacking the Experimental Prototype Cadre detachment for T’au Empire.
The T’au Empire’s way of war in tenth edition has taken on a certain fetish for complexity. Not as complex as the eighth edition AdMech books, but still a bit much to track. The army rule of Observing/Guiding takes multiple paragraphs to explain its own limitations and scheduling rules. Half the Detachments only have a rule for part of the game, and the other half have been infested with Kroot. There’s always something to worry about with your positioning. What then, is the Quiet Quitting player to do? The one who just wants to clock in for a single phase every turn, inflict maximal violence, then go back to playing around on their phone? Rejoice, fellow lazy bones, because they finally made a Detachment for us.
We’d like to thank Games Workshop for providing us with a preview copy of these rules for Review purposes.
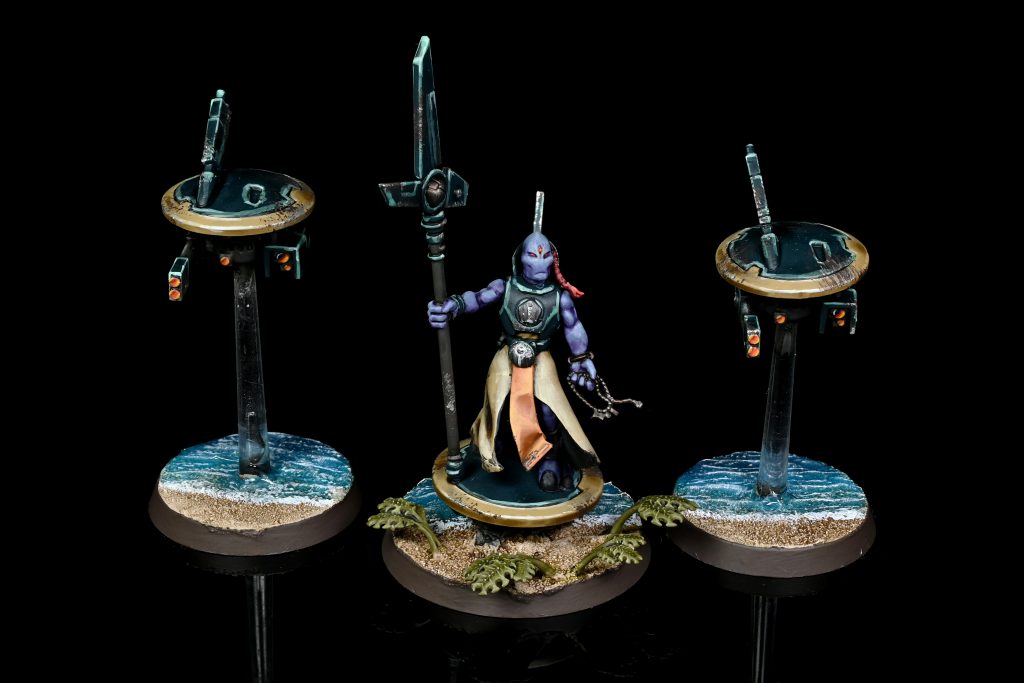
![]()
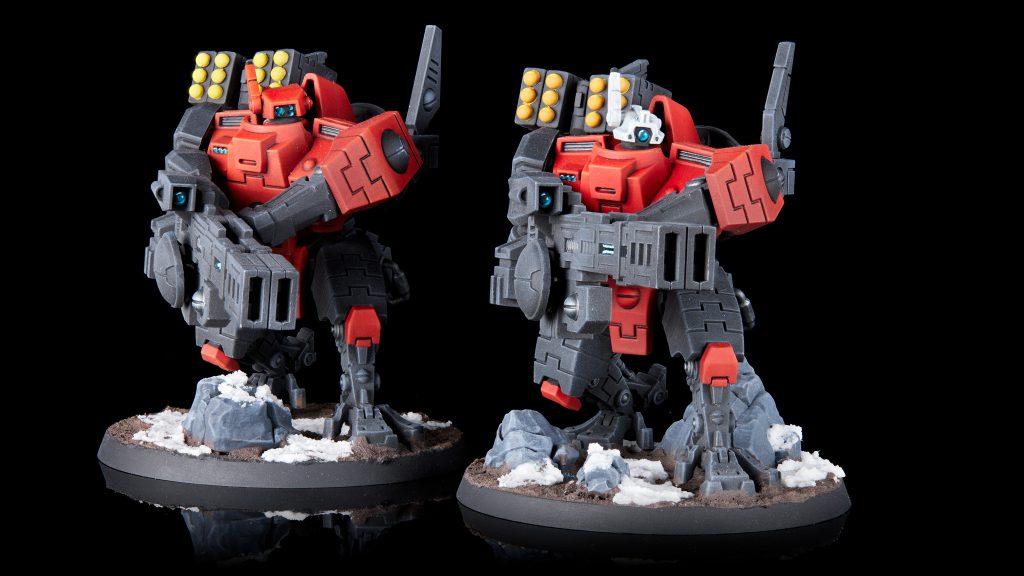
![]()
Detachment Overview
On some level you have to hate this thing. It takes a Redditor’s understanding of the faction that they haven’t interrogated since seventh edition and makes it real again. It is going to resurrect every bad-faith argument about T’au and make people absolutely furious when they run into the buzzsaw. On another level, you have to admire the purity of purpose here. It’s a blunt instrument, swung wildly and with almost Khornate joy. Welcome to the Bork’an Detachment for T’au.
Other than a few survival-based stratagems, this entire thing is devoted to firing guns at things until they die. The enhancements list is – I mean this sincerely – hilarious. All four upgrades are Better Gun. You get no force multipliers, no synergies, no movement tricks or re-deploys, no out-of-phase pieces. In exchange for giving that up, it does one thing extraordinarily well, across nearly any unit type in the codex (though there’s a clear bias toward battlesuit commanders over any other character). This is probably the most straightforward detachment that T’au have ever seen.
The Video Version
If you’d rather watch and hear about this detachment than read about it, you can check out our video version here:
Detachment Rule: Superior Craftsmanship
Add 6” to the Range characteristic of ranged weapons equipped by T’AU EMPIRE models in your army.
That may not seem like a ton but it’s a huge boost. This gives you Breachers with 16” range, Fusions hitting out to 18” and triggering the MELTA rule at 9”, and it rolls back a whole array of Crisis Suit weapon nerfs. One of the more disrespectful combos available here is the Smart Missile System wanging S6 indirect shots at 36”, which is going to be a good counter to the T3 Infantry meta.
This rules, and is going to drive people insane. As we’ll see with the enhancements and especially with the stratagems, this detachment leans almost exclusively into the sort of playstyle that made T’au the most hated faction in Warhammer. They just shoot better. Aside from a few defensive stratagems, this is nothing but raw single-phase damage output. I love it.
Extra range is a fairly powerful buff that is also easy to remember, use, and understand. The universality of it is the real charm: every gun on every model, with none of the timing conditions of Mont’ka or Kau’yon, or the positioning foibles around Auxiliary Cadre. Just shoot further, all the time, everywhere. It’s not the strongest detachment rule, but it’s one that’s very easy to extract considerable value from.
Enhancements
These are very straightforward. Every single one is just a better version of a gun you probably already had. You’re going to want to take whichever ones match your models, and you will not regret any of them. Just to be clear, these each upgrade one weapon on a model, not all of the same type. And remember that these will then combine with the Detachment rule to give you +6” Range.
- Supernova Launcher (15 pts): +3S, and +1AP/damage on an Airbursting Fragmentation Projector. Normally the worst possible gun on a Crisis commander, will this make the AFP useful? Probably! The juiced AFP is more or less a better version of the Smart Missile System now.
- Thermoneutronic Projector (20 pts): +2S, and +1AP/damage on a flamer. An 18” cover-ignoring auto-hitting gun at 6/-1/2 is going to do work, particularly in overwatch, and at this cost it’s a good insurance policy to deter a charge, if nothing else. Putting this thing on a commander in a unit of Starscythes, its natural environment, will boost it to AP-2 against infantry. Sick.
- Plasma Accelerator Rifle (10 pts): +2S, and +1AP/damage, and an extra shot on a plasma rifle. Double-tapping at 10/-4/4 (remember this is also 24” now) might be the best in class, which is saying something given this murderer’s row of enhancements. Cannot believe this is only 10 points.
- Fusion Blades (25 pts): Hilariously, not a melee weapon (despite the “blade” in the name) and only one weapon (despite the “s” in the name). Gives one Fusion Blaster an extra shot, +3S, and an upgrade from MELTA 2 to MELTA 4. The obligatory quad-melta Coldstar now has a S12 multi-melta and three regular meltas. You pay for the privilege but it’s hard to argue that it isn’t worth it.
Stratagems
A 50/50 mix of defensive survivability buffs and outrageous boosts to damage, these range from super-saiyan-god-tier to merely situationally excellent. They’re all priced at 1 CP.
- Automated Repair Drones (Strategic Ploy, 1 CP): In your command phase, put d3+1 wounds back on a BATTLESUIT unit. This won’t resurrect a model, but it gives your bigger models (Riptides and Ghostkeels) a way to tank extra damage, or top off an important Crisis Suit. The +1 there is really just the icing on the cake, ensuring that you are always getting at least 2 wounds for your 1CP, which is great value for money.
- Reactive Impact Dampeners (Battle Tactic, 1 CP): In their shooting or anyone’s combat phase, when a BATTLESUIT unit is targeted, give the opponent -1 to wound if their strength is higher than your toughness. Everything from a T4 Stealth Suit (where you’ll also be dealing with -1 to hit from Stealth) to a T9 Riptide can stand to benefit from this. Neat!
- Experimental Weaponry (Battle Tactic, 1 CP): In your shooting phase, re-roll the number of attacks for weapons in that unit. The obvious/sole use case here is on flamer Crises, because it applies to the entire unit’s shooting with every gun. The other common variable-shot weapons are the Commander’s AFP or the Hammerhead’s Ion Cannon, but those aren’t worth it due to the timing – you have to use the stratagem before the unit is selected to shoot, so you don’t get to see the dice first and then decide if it’s worth it – making this a downgrade from just using Command Re-Roll unless you have multiple weapons rolling, at which point it becomes a massive upgrade.
- Experimental Ammunition (Wargear, 1 CP): The first of two borderline Orky shooting stratagems, which cannot both be used on the same unit at the same time. Give a unit (any T’au unit) +1S, or swing for the fences with +1S, +1AP, and HAZARDOUS. This is how you get S6 SMS shots, or S10 Fusions, or S7/AP-2 Breachers. Rude, but perhaps not as rude as pairing this with the Plasma Accelerator Rifle Commander in Fireknives for a pair of S11 AP-5 damage 4 shots and a quantity of (relatively) more pedestrian 9/-4/3 fire. The gambling aspect is tempting, and can mitigate some of the T’au problems with middling AP. Into anything with an invulnerable save you’re better off sticking to the strength buff and avoiding the hazards.
- Threat Assessment Analyzer (Wargear, 1 CP): Similar to the above, in that any unit can be selected and given either a single safe buff or two dangerous ones. Choose either Lethal Hits or Sustained Hits, or get both plus HAZARDOUS. Lethal+Sussy is a known-good combo, and being able to flex into either without the risks gives you situational Mont’ka/Kauyon powers.
- Neuroweb System Jammer (Wargear, 1 CP): After being selected as the target of a shooting attack, a CRISIS unit can only be targeted if it’s within 18”. Giving a unit temporary 18” Lone Operative is strong as hell, and baiting this out will be a key part of playing against the army. It also synergizes nicely with the detachment rule, because Crises can actually be more than 18” away and still do their job, making this far more useful than it would be otherwise.
These stratagems are making the case for an Ethereal in every list, because you are going to want a lot of CP to power them – plan on 2CP a turn to use both of the damage-boosting ones, plus a third CP for Repair Drones when you have to fix the damage you did to yourself, and probably a fourth for Reactive Impact Dampeners. On that note, the two with Hazardous options are going to be absolutely lethal on a Commander. Having up to four guns and two gun drones potentially gives them up to six attempts (that is, as many as a stock Crisis unit) to eat Mortal Wounds and die.
Playing This Detachment
When you build a list for this Detachment you’re going to get the most value out of taking units with shorter ranges – Railguns and Riptides don’t really get much out of going from an extra 6” of range – but you’ll get a ton of value out of 18” Fusion blasters, 18” flamers, and 24” Plasma Rifles. Modern terrain layouts from Games Workshop and the WTC tend to limit the number of sightlines you’ll have longer than 24” but 24”-30” is basically the sweet spot for ranged attacks. 18” range on your fusion guns means they can hit MELTA range out to 9″, while having Flamers which can hit at 18” helps ensure you can drop in at a safer distance. And as we mentioned, having 36” range on your smart missile systems can be a huge boon against armies like Eldar and Guard, which are packed with T3 infantry who will otherwise try to hide behind cover.
Every single stratagem in this Detachment is good, and making good use of the Detachment will mean making good use of your CP and stratagems. Every Experimental Prototype list wants an Ethereal to help generate extra CP, but if you don’t want to take an Ethereal then Farsight has some real value here as well for their ability to reduce CP costs for a Stratagem targeting their unit. On that note, you’re going to eat a lot of mortal wounds for your units from the [HAZARDOUS] ability you pick up from Experimental Ammunition and Threat Assessment Analyser, so it’s important to save CP for Automated Repair Drones each round. Likewise, it’s also worth considering a Shield Drone on your Commander as a bit of a backstop against dying to a pair of failed Hazardous rolls. Though I’m not sure how often you’ll want to be firing up either Stratagem with a solo commander.
Strengths
- Range. The range boost here is substantial. It makes all of your units better and increases your ability to hang back while enjoying the benefits of MELTA and Rapid Fire against your targets.
- Firepower. The mix of enhancements and stratagems here allow you to throw out some intense buffs to your units that will absolutely feel like bullshit to opponents caught in your crosshairs. 18” Flamers that re-roll the shot counts, with +1 Strength and AP? Your enemies are already screaming, crying, and throwing up over it.
- Defensive Buffs. On top of the offensive buffs you have some very good defensive buffs against enemy shooting here to complement your increased range.
Weaknesses
- CP Thirsty. The downside to having amazing stratagems – even six that all cost 1 CP – is that you’re going to need a lot of CP to use them all the time. The good news is that you can bring an Ethereal.
- Less Maneuvrability. T’au armies aren’t slow, but there’s less support here for good movement tricks than you get in other Detachments.
- Melee. Melee is generally a threat for T’au armies but there’s almost nothing here to help you in the Fight phase or to dig out of a bad spot once opponents reach you in combat. You’ll need to use your extended reach to keep the opponent away while screening them out.
A Sample List
Chase has been playing T’au recently, and he was always a big fan of the Bork’an sept and some of the cool things they could get up to. So we asked him to build his best sicko mode list for this Detachment.
Chase's List - click to expand
As you might expect, this one’s heavy on Crisis Suits. There’s a lot of powerful midrange shooting here, and a trio of decked-out Commanders to take advantage of the new upgrades. Rather than take an Ethereal, Chase has opted for Commander Farsight and his free Stratagem, and that can often be a better play if you end up discarding a Secondary Objective for CP.
Chase: Crisis Suits and Commanders! I decided to build my list from the top down, focusing on the heroes of my list, the Commanders. Getting the most out of these bottom-dollar Gundams means pairing them with units they can lead, so I’ve tried to give each of them a unit to join, but while also giving them options.
For example, we can put Farsight in with a missile team, which allows us to use experimental ammunition every single turn for free—making this a wall of strength 8, -2, 2D shots. This strategy is particularly effective for long-range engagements. Or let’s say we put him in with the flamer team and use that same stratagem to make my flamers strength 5 and -1 and ignore cover. This strategy is more suitable for close-quarters combat. It’s important to understand the purpose of each strategy and when to apply them. The fantastic thing about crisis teams and how they interact with Commanders is the bonuses they provide to those leaders. I don’t have to put my fusion Commander into my fusion suits. Maybe I’ll put them in with my plasma team so that I can use the Threat Assessment Analyzer stratagem to maximize my lethal and sustained hits due to their built-in rerolls. Each strategy in the detachment serves a specific purpose, and their versatility allows for adaptability in different battlefield situations.
You will notice that I have set up all my crisis teams only to have 14 wounds. That way, I can avoid giving up too many points too easily for Bring it Down and avoid making it a good Fixed secondary pick. I’m taking a squad of pathfinders so they can stand in the way of world leaders. I am taking the obligatory three squads of stealth teams and two Krootox riders for objective play. I am taking the two different battleline teams for different reasons: First, because I wanna make sure I have models available for banners. And second because they benefit from the Detachment’s extra range and that allows me to apply the strike teams debuff from a place of a bit more safety. This might also allow for my breacher team to walk on and blast some guys on objectives.
Overall, the plan here is to utilize my commanders and their enhancements to hit the things that I need to be hit hard and utilize some cagey play to protect my pieces.
Final Thoughts
Greg: I love this Detachment. It’s absolutely the T’au play style most directly aimed at me, a Dumb Guy. It does one thing – hang back and blast the crap out of people – and does it well enough that it’s going to make people very angry. The enhancements are all good, the stratagems are 6 out of 6 for being absolute bangers, and the detachment rule is universally helpful on every unit and doesn’t require you to go Big Brain to use it. It might not be the army’s flat-out strongest Detachment, but it’s my new favorite. Given how hard it can be to optimize Guiding/Spotting with T’au in tenth, it’s incredibly nice to have a Detachment rule that just works, without having to jump through any hoops or think about it.
Have any questions or feedback? Drop us a note in the comments below or email us at contact@goonhammer.com. Want articles like this linked in your inbox every Monday morning? Sign up for our newsletter. And don’t forget that you can support us on Patreon for backer rewards like early video content, Administratum access, an ad-free experience on our website and more.
