
In this series of articles we take a deep dive into a specific detachment for a faction, covering the faction’s rules and upgrades and talking about how to build around that faction for competitive play. In this article, we’re covering the Dread Talons Detachment for the Chaos Space Marines.
The Tenth Edition release of Codex: Chaos Space Marines gives the faction access to a whopping eight detachments, each with their own strengths and weaknesses. These can dramatically change how the army plays, as each one tends to push players to build in a different way. In this series we’re diving deep into each Detachment and talking about what its rules are and how to play it.
Changelog
- 2025-01-14: Updated with Q4 Dataslate and a new list
- 2024-05-11: Initial Publication

Detachment Overview
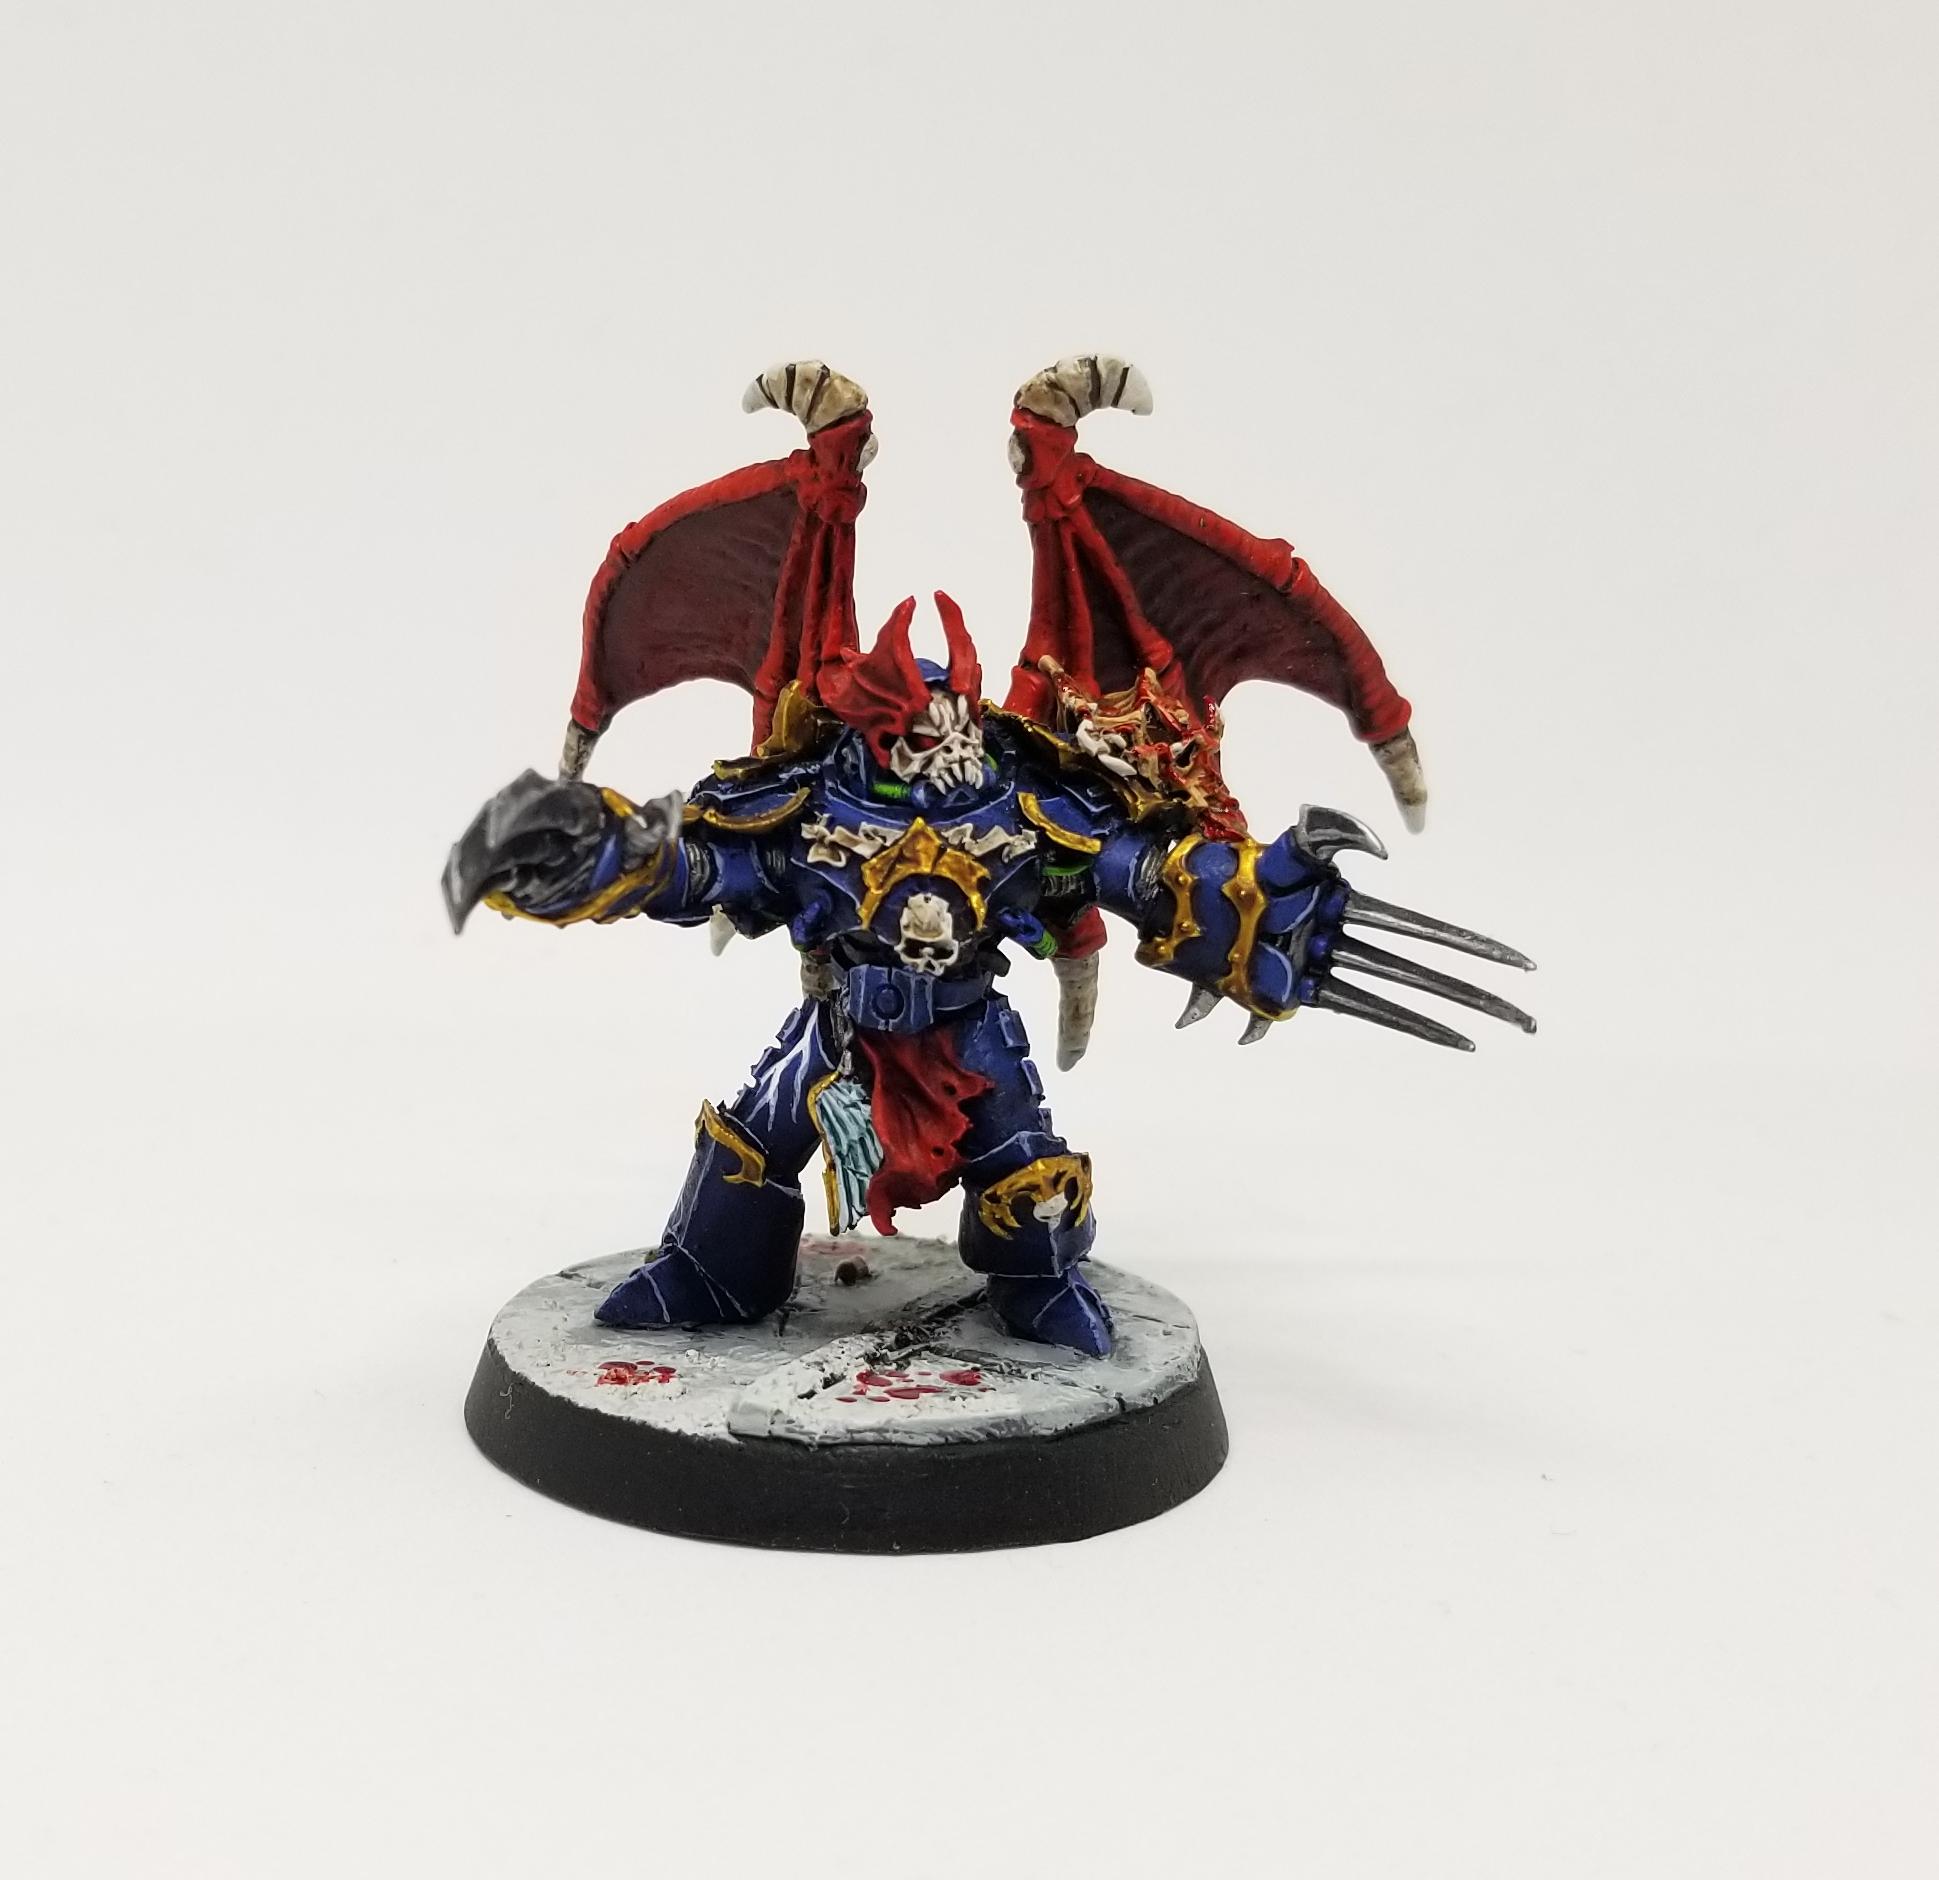
The Dread Talons Detachment gives us a ruleset that’s clearly intended to model the sinister, oft-maligned Night Lords. The VIII Legion are especially cruel and cunning, favoring hit and run tactics, brutal shows of violence and terror tactics to cow the enemy. They’ve got some amazing lore and if you’re not already a fan of trilogy of books by Aaron Dempski-Bowden, then you really should be. On the tabletop they’ve tended towards cute but slightly weaker than some of their peers, this detachment continues that theme, with a very Battle-Shock focused set of rules that can pull some amazing tricks and traps, but doesn’t bring the same raw power you see elsewhere and is just wildly variable. If you love it when a plan comes together and you want to get the most from the Jump Pack-clad Raptors of the CSM range, then this can be a fun way to play them.
Detachment Rule: Terror Descends
In the Battle-shock step of your opponent’s Command phase, if an enemy unit that is below its Starting Strength is within 12″ of one of your Heretic Astartes units, they have to take a Battle-shock test (they don’t take any other tests this phase). Each time an enemy unit within 12″ of one or more of your Heretic Astartes units takes a Battle-shock test, subtract 1 from the result.
This is just not much of a mechanic. In theory, you’re forcing a bunch of tests for enemy units each turn, causing them to break and preventing scoring. In reality, you’re forcing a bunch of 7+ and 8+ rolls that still pass around half the time. Or, in a situation where the stakes are really high, forcing an opponent to use the Insane Bravery Stratagem. The ability to shut down Stratagems and OC across chunks of the opponents army has undeniable power, but the variable nature of the tests, combined with the fact that most of the game’s units have Ld 6 or 7, means you can’t rely on it in the same ways you can raw damage and delivery. Into low leadership armies this can add up very quickly, but they can mitigate this by attaching characters to their units and putting multiple units on objectives. And this assumes there’s even a value to battle-shocking a unit to begin with – many times you will end up battle-shocking a unit that isn’t trying to fall back, can’t capture an objective, or wasn’t going to be targeted with a Stratagem, making that work pointless anyways. The result is a detachment rule that feels more like a fun nice-to-have than something you actually want to build around.
If you do plan to build around this, the best way to do so is by stacking modifiers – such as with Raptors – and finding ways to force more than one test per turn. The way you get around tests being easy to pass is by making an opponent roll them so many times they have to fail. That said, battle-shocking an opponent on your turn has limited value, and you have more reliable ways of turning off Stratagems, such as through Cypher or the Nemesis Claw.
Enhancements
Dread Talons have some two decent enhancements and two pretty forgettable ones. Of these, the Warp-Fuelled Thrusters are the pick you’re most likely to take, as they give you the uppy-downy utility you’re really missing in a CSM army.
- Night’s Shroud (20 points) – Gives a Chaos Lord’s unit the STEALTH ability. Very nice for adding some durability to a key piece; the frustration here is that you can’t take it on Terminator Lords. Still decent for a Hammer Lord with some Legionaries.
- Willbreaker (10 points) – A HERETIC ASTARTES model from your army can trigger a Battle-shock after its unit has fought in the first phase, on an enemy that it hit. This is awful – the timing on this is just terrible; it’s too late to trigger any of your Stratagems or effects which require targeting a Battle-shocked unit, and because Battle-shock wears off at the end of the turn it won’t carry into your opponent’s Command phase to prevent them from scoring. At best it can help you flip an objective for the current turn, letting you steal it away for end-of-turn scoring on something like Secure No Man’s Land, or for an action you started earlier with another unit, since things like Cleanse don’t check for control until the end of the turn. But this is one of those times where I’ll just point out that killing an enemy off the objective is a better and more reliable way to flip it. It can also turn off Stratagems for the unit you hit but again, just kill them or use a Nemesis Claw.
- Warp-Fuelled Thrusters (20 points) – Probably the most thematic enhancement in the Detachment, this one lets a Jump Pack Chaos Lord and his unit (Raptors) return to reserves at the end of the opponent’s turn if they’re not within Engagement range of an enemy unit. A nice way to keep a Raptor squad on the move and it combos well with other tools in this detachment. You usually just want this on a solo Jump Lord who can drop in for scoring on things like Behind Enemy Lines and Establish Locus, though you can attach a unit of Raptors. This combos well with Screaming Descent to drop you into tight spots and trigger an extra test.
- Eater of Dread (15 points) – At the start of your Command phase roll a D6 if the bearer is on the battlefield, adding 1 to the roll for each Battle-shocked enemy unit on the field. On a 5+ you get one CP. Mid-to-late game this is likely to trigger on a 3+ or 4+ and could help keeping the CP rolling in. It’s the better of the two 10-point options but it’s nothing to write home about.
Stratagems
The stratagems on offer here lean into the brutal shock tactics feel of the Night Lords. Most of them either key off of or help to trigger Battle-shock, doubling down on the detachment rule. I think the frustration here for Night Lords players will be that many of these buffs are a lot more situational than ones available elsewhere, and need more work to trigger. And far too many of them don’t help you in melee. That said there are some very useful tools here.
- Depthless Cruelty (Battle Tactic, 1 CP) – Used in the Fight phase to give an INFANTRY unit +1 AP against a unit that is either Battle-shocked or Below Half-strength. It’s good to have when you have it, and something that Raptors will really appreciate, since they force a battle-shock test against every enemy unit within Engagement Range at the start of the Fight phase. They really need that AP boost to be effective, which makes this a rough game of chance to rely on since you won’t know if you can use this Stratagem against a healthy enemy until after you’ve committed.
- Relentless Terror (Strategic Ploy, 1 CP) – Used in the Movement phase after an INFANTRY unit Falls Back. They can Fall Back and Charge this turn. This is always useful, and great for letting you pick when and where you want to engage with enemy units. At the very least it’s good for making sure you get to fight first again.
- Bloody Example (Epic Deed, 1 CP) – A Fight phase stratagem triggered when you kill an enemy Character unit, forcing Battle-shock tests for every enemy unit within 12 inches. Theoretically powerful but the timing of this means its overall game impact is quite limited outside primary play in your own turn. Another area where the writers seem to have misunderstood the actual impact of a unit being Battle-shocked in your turn, though it’s theoretically better if you can pull it of during your opponent’s Fight phase. It’s a big hoop to jump through for very little payoff and could have just been another part of the Detachment ability.
- Screaming Descent (Strategic Ploy, 1 CP) – One of the cooler toys on offer here, this lets you bring in a Jump Pack unit from Reserves anywhere that is more than 6 inches away in the Reinforcements step of your Movement phase, and immediately trigger a Battle-shock test on an enemy Infantry or Mounted unit within 9 inches of and visible to the unit. This used to have a nice combo with Raptors, but the Q2 dataslate change to push the range out to 6″ made it impossible to get a -2 test on arrival, which killed one of the few moderately interesting combos you had in this Detachment. That’s mostly fine because this was not a good Strategic choice anyways and was largely a trap. This is good for fitting into tight spaces with units that want to do actions or steal objectives – the units which can use this aren’t particularly durable nor do they have great shooting so you don’t really want to do this unless they’re going to score you some points or you can hide them really well.
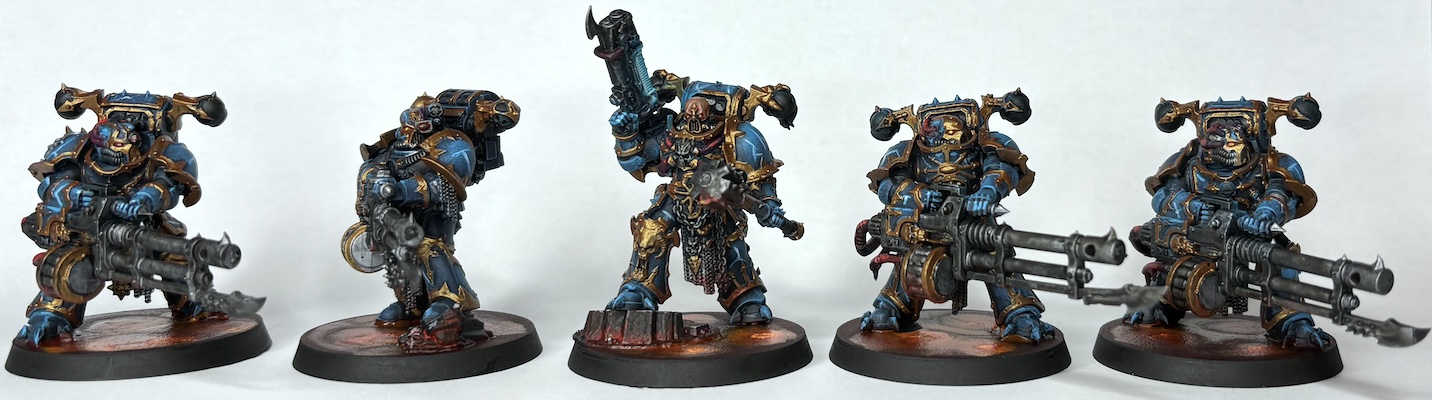
- Pitiless Hunters (Battle Tactic, 1 CP) – This is used in the Shooting phase to give full re-rolls to hit and wound in to an infantry unit targeting an enemy unit that is either Battle-shocked or Below Half strength. The biggest missed opportunity here is that this doesn’t work in melee, making it very hard to use well. It also only applies to INFANTRY so the units you really want it on – Vindicators, Predators, or Forgefiends – can’t benefit. That leaves you with basically Havocs and Obliterators, and in order to use this you need to already have shocked units on the table, which will either only happen later in the game, or if you can force a test in the Shooting phase. Noise Marines can do this at range, but committing those units to shooting things so you can shoot them with better units isn’t a great way to play and even if they do, you will often find your opponent just passing the tests anyways. It’s honestly miserable to try and build/play around this Stratagem so look to it more as a very situational buff.
- Merciless Pursuit (Strategic Ploy, 1 CP) – The real ‘Gotcha’ trick of the detachment, this triggers at the end of the opponent’s Movement phase. One of your infantry units can select an enemy unit that Fell Back and is within 6 inches, and declare a Charge against them. You don’t receive any Charge bonuses for doing so. Trapping can win games on its own, and when this works it will cause the enemy enormous problems. Keeping opponents tied up and in the grip of your combat units is crucial so any tools that help you do this are really very valuable. It’s also free Movement, and this is good enough that opponents will have to think twice about making a Fall Back move at all – and that’s the best place to be.
Playing This Detachment
So what’s the best way to play Night Lords in the tenth edition Codex? The honest answer is “As Red Corsairs using the Renegade Raiders Detachment.” If you’re still invested in making this work, there are a few ways you can go about doing that, but we’d generally recommend that you treat the Detachment rule like a nice bonus and not something you actually build around and depend on. That said, when you play this Detachment you can get some interesting mileage out of just doing chip damage to every unit in your opponent’s army, forcing them to take Battle-shock tests as early as possible once you get inside of 12″ with your units.
Leadership Nonsense
If you want to play around Leadership, here’s a comprehensive list of the effects you have access to when you play this Detachment:
- Cultist Firebrand: An INFANTRY unit hit by his flamer in the Shooting phase has to take a Battle-shock test.
- Haarken Worldclaimer: Enemy units within 6″ during the opponent’s Command phase have to take a battle-shock test if they are below Starting Strength. This won’t cause two tests, and so is just a non-bo with the Detachment rule.
- Noise Marines: An enemy unit hit by Noise Marines in your Shooting phase has to take a Battle-shock test.
- Raptors: Enemy units within 6″ of Raptors has to take a -1 penalty to their Leadership tests. Also, at the start of the Fight phase, enemy units within Engagement Range of Raptors have to take a Battle-shock tests.
- Sorcerer: An enemy unit hit by a Sorcerer has to take a Leadership test and if they fail, they take D3 mortal wounds.
- Khorne Lord of Skulls: forces tests after killing units in the Fight phase
- Skull Cannon: Forces a Battle-shock test for an enemy unit hit by it in the Shooting phase.
- Poxbringer: Enemy units within 6″ of this model take Battle-shock tests at -1.
- Sloppity Bilepiper: Forces Battle-shock tests against all enemy units within 6″ at the start of the Fight phase.
Those last two are for characters who join units of Plaguebearers, in case you want to add some Daemons to your list. In that regard, Plaguebearers aren’t bad as Deep-striking threats with moderate toughness who can sticky objectives. They only have 5″ movement however, so you’ll want to Ingress them if your plan is to get them into melee. You’ll find them largely underwhelming in melee, however – hitting on a 4+ even with 5+ crits from the Poxbringer isn’t going to get much done. The Skullcannon is actually surprisingly solid in this list, with both a decent gun and the ability to force tests at range in the Shooting phase, but taking it requires buying a unit of Bloodletters, making it too expensive to take seriously.
The real value in this Detachment comes from Screaming Descent and Warp-Fuelled Thrusters, which give your army capabilities it wouldn’t otherwise have. Warp-Fuelled Thursters lets you pull the kinds of uppy-downy tricks that have become common in other armies, scoring easy VP for position-based secondary objectives, while Screaming Descent gives you the ability to squeeze into tight spaces and contest objectives or score even when an opponent is attempting to screen you out at 9″. The change from 3″ to 6″ in the last dataslate hurts this one quite a bit however as you’ll no longer get that test at -2 with Raptors.
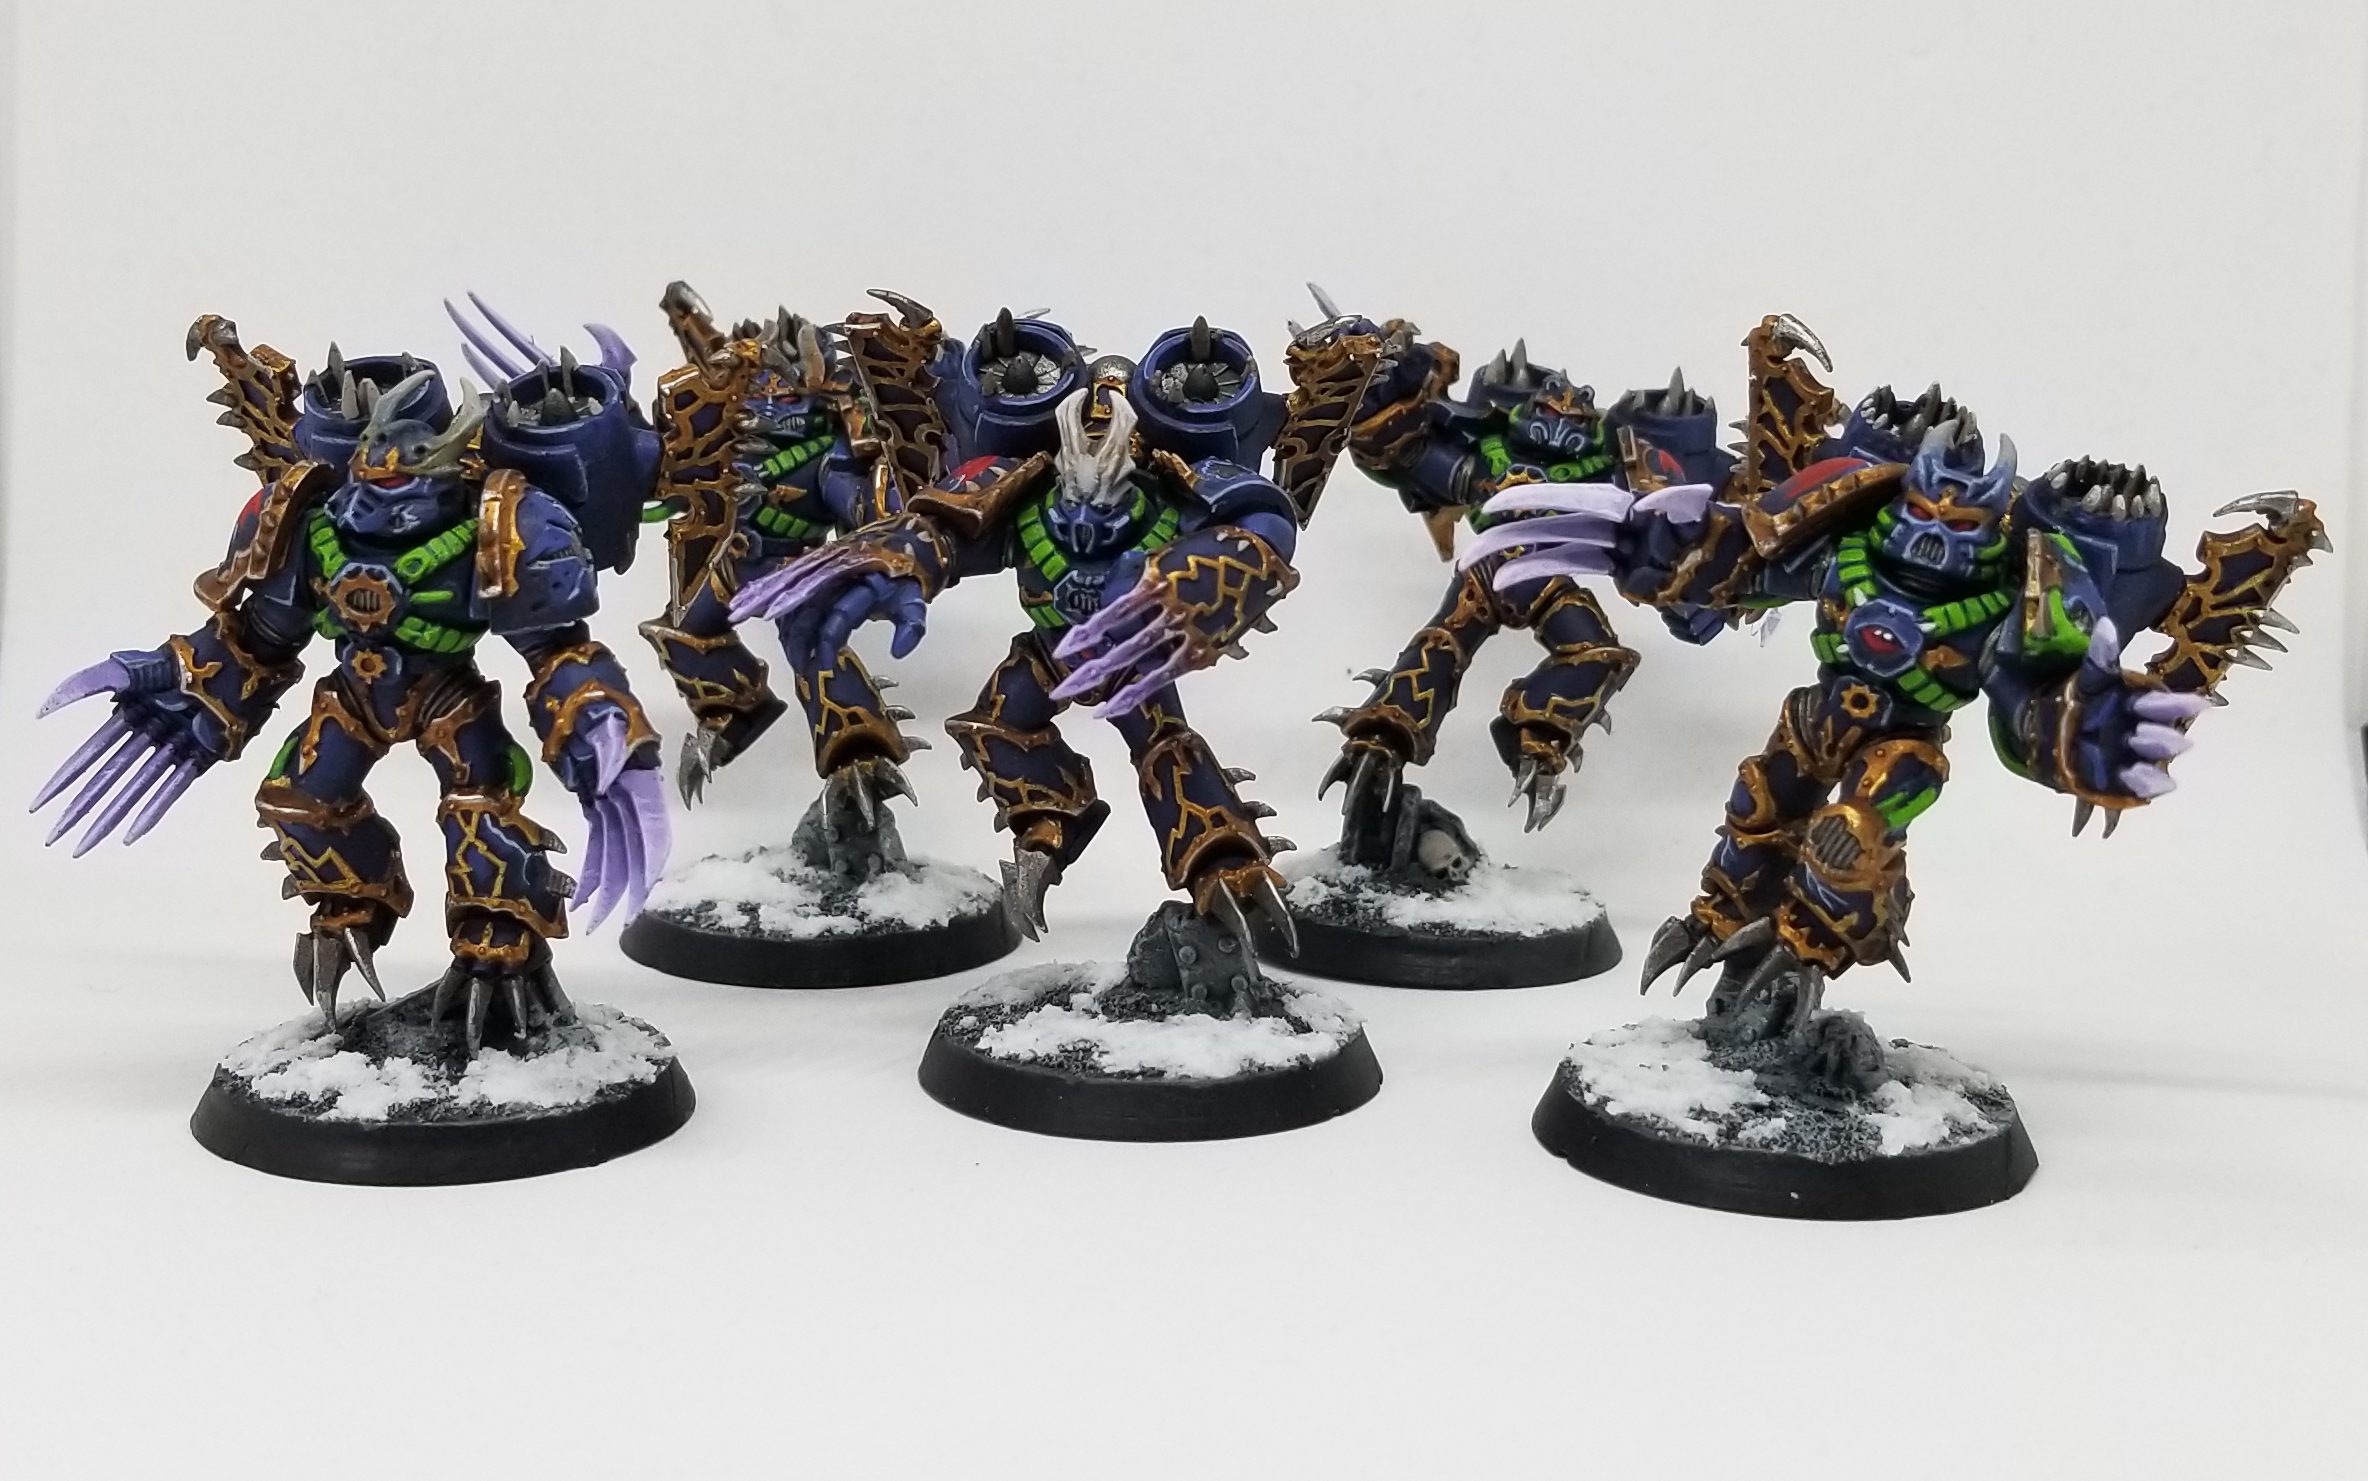
The Stratagems here aren’t a ton of help; the effects from Pitiless Hunters and Depthless Cruelty are really good, but it’s very hard to actually meet the conditions for them, which in turn makes it too difficult to rely on them. The Infantry-only clause on Pitiless Hunters is particularly cruel in that regard, because it’s not worth taking Havocs or Obliterators for a buff you can’t depend on. The result is that this army pushes you into melee, and in that regard Raptors are pretty disappointing, given they only have AP-1 chainswords to work with. Warp Talons are a better bet in that regard, as they can actually claw through weaker units. That said, Raptors still have some value for forcing those battle-shock tests on targets within Engagement Range, and at AP-2 for your best chance to actually succeed against Ld 6+ targets.
Strengths
- Warp-Fuelled Engines gives you a key uppy-downy action piece missing from most CSM armies.
- The ability to drop outside of 6″ with Screaming Descent lets you fit into some tight gaps, forcing opponents to play tighter to screen you out.
- You have tricks to both fall back and charge and chase down fleeing units to stay locked in combat.
Weaknesses
- Battle-shock mechanics are impossible to rely on, and even when you shock a unit, it may not be the one you wanted or even matter.
- Key melee and shooting buffs are locked to INFANTRY units and behind needing to battle-shock the target or drop them below half-strength.
- No defensive buffs in the Stratagem set, and your offensive buffs are locked behind some very tough hoops to jump through.
A Sample List
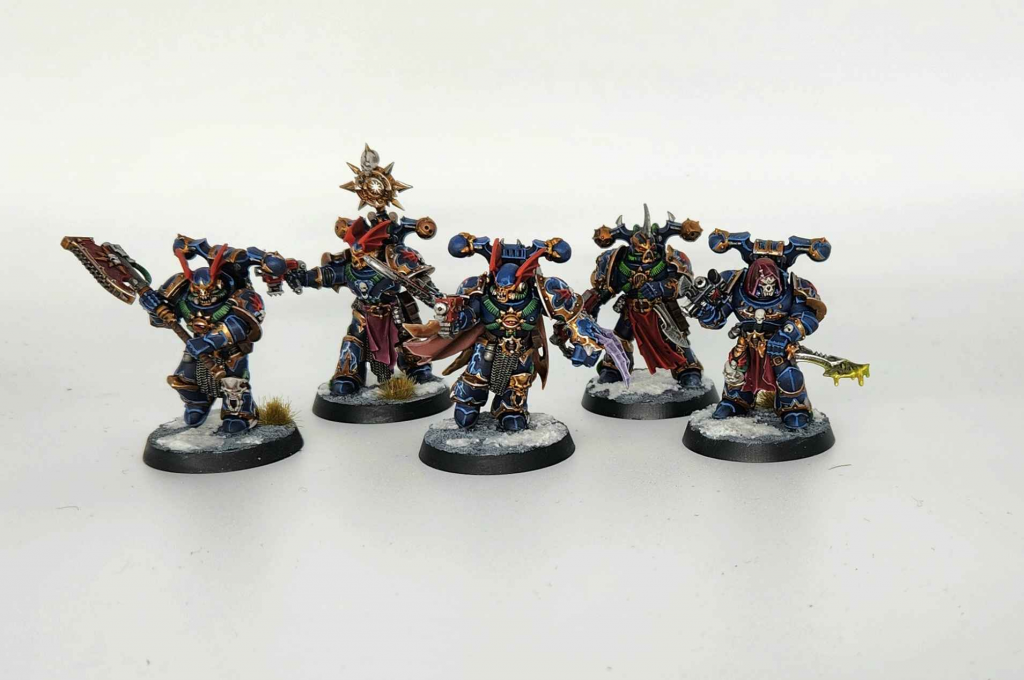
Alright, let’s dispense with the weird tricks. After multiple games I can tell you it’s just not worth it trying to make all that happen. We can put a couple of things in here to potentially trigger effects, but on the whole our goal should be to maximize the value we can get here and treat the Detachment’s rules more like nice-to-have bonuses that may help us occasionally. And because I’m interested in the thematics of it, I’m going to go heavier on Nemesis Claw squads than I otherwise would.
”The
The Cultists are your backfield objective holders here, while the core is two units of legionaries and two units of Nemesis Claw, each joined by a character and riding around in Rhinos. Your support are Raptors and Warp Talons, and while the Jump Lord can join Raptors he’s also happy to stay on his own as the mission/opponent allow. He doesn’t have Lone Op, so you’ll need to keep him protected when using him as an action/secondary piece. There are a few leadership pieces here – the Noise Marines are just a good unit but helpful in a pinch for forcing an extra test, while the Plaguebearers can do the same but also deep strike and sticky objectives. As with other CSM lists, your big hitters are the tanks. They don’t hit as hard here but if they can soften a target up to be below half strength you can finish the job in melee with the bonus AP, using free Stratagem buffs from your Chaos Lords to power that on.
Final Thoughts
Ave Dominus Nox, brothers. Night Lords are back where they usually are, with a cool flavourful detachment that probably won’t quite hit the heights of some of the other offerings in Codex: Chaos Space Marines. There are some fun tools here and some interesting options for helping you do actions and score secondary VP, but nothing here is better than what you can get from other Detachment options. Unless you have something to prove, you can skip this detachment when playing competitively – there are other, more compelling ways to make Night Lords work on the table.
Have any questions or feedback? Drop us a note in the comments below or email us at contact@goonhammer.com. Want articles like this linked in your inbox every Monday morning? Sign up for our newsletter. And don’t forget that you can support us on Patreon for backer rewards like early video content, Administratum access, an ad-free experience on our website and more.

You must be logged in to post a comment.