In this series of articles we take a deep dive into a specific detachment for a faction, covering the faction’s rules and upgrades and talking about how to build around that faction for competitive play. In this article, we’re covering the Daemonic Incursion Detachment for Chaos Daemons.
The Tenth Edition Indexes gave Chaos Daemons some solid rules to work with, giving them a Detachment which more or less models an army of daemons united across various gods, often under the direction of Be’lakor. It’s your “all gods” Detachment, compared to the four monogod Detachments released during the Grotmas batch. It’s not currently the most powerful way to play Daemons, but it’s very competitively viable, particularly as it has a lot of great tricks for mobility and scoring.
Changelog
- Update (Latest): 2025-01-27 for the January 2025 Balance Update
- Update: 2024-05-30 Initial Publication
![]()
Detachment Overview
The Daemonic Incursion represents the unified forces of Chaos, with gods devoted to each of the ruinous powers coming together to lay siege to the physical universe. There are upgrades associated with each of the Dark Gods here, and you’re free to take greater daemons of every variety as well as Be’lakor, the first Daemon Prince. The Detachment’s core rule revolves around letting you Deep Strike only 6″ away from opponents, setting up nasty charges and working very well with Be’lakor’s The Dark Master Aura.
As a quick refresher, the Army rule for Chaos Daemons is The Shadow of Chaos. If you’re playing Daemons then parts of the battlefield can be within your Shadow of Chaos. Your Deployment Zone is always in Shadow, while at the start of any phase, No Man’s Land is considered to be in your Shadow if you control at least half of the markers in it, and your opponent’s Deployment Zone is considered to be in your shadow if you control at least half of the markers in it. Also, any enemy units within 6″ of a Greater Daemon (including the named variants like Rotigus and Kairos), are considered to be within your army’s shadow of Chaos.
While enemy units are within your army’s Shadow of Chaos, they take a -1 to their Battle-shock tests and suffer D3 mortal wounds each time they fail.
Detachment Rule: Warp Rifts
Each time a LEGIONES DAEMONICA unit from your army is set up on the battlefield using the Deep Strike ability, if it is set up wholly within your army’s Shadow of Chaos or within 6″ of a Greater Daemon unit (including named variants) of the same god, it can be set up anywhere that is more than 6″ horizontally from all enemy models, instead of more than 9″.
This is very powerful, as it essentially allows you to set up for nearly guaranteed charges out of Deep Strike with some very powerful melee threats. There are a few ways to use this – you can certainly employ a strategy that uses fast units to capture objectives in No Man’s Land to extend your Shadow of Chaos to include No Man’s Land – but the real value here is with Be’lakor and Greater Daemons. Specifically, Be’lakor’s The Dark Master Aura ability means that the area wholly within 6″ of him is always in your army’s Shadow of Chaos, while each of the four greater daemons has a similar ability which only applies for Daemons of the same god. This gives them a ton of utility, as they can drop onto the battlefield outside 9″ and then act as the lightening rod for your other units to arrive around.
This is one of the big reasons to take Be’lakor beyond his protective aura, as he can act as the gate for daemons of any god. This is particularly good for getting your greater daemons down, as the Keeper of Secrets and Skarbrand need to get into melee as quick as possible and are a bit too fragile to slog across the table. This rule also lets your greater daemons project their own auras thanks to errata added last year, and can be chained with the Denizens of the Warp Stratagem to drop in just outside of 6″ and then follow up with multiple units from Deep Strike. That said, having this stratagem and the shadow ability on every greater daemon means you no longer need Be’lakor, either – and he’s been dropping out of Incursion lists.

Enhancements
The Daemonic Incursion Detachment gives you one option for each Chaos God. They’re all pretty useful.
- A’rgath, the King of Blades (20 points) – Goes on a Khorne model. Add 1 to the Attacks and Strength characteristics of the bearer’s melee weapons. While the bearer is in your army’s Shadow of Chaos, add 2 to those characteristics instead. This is a solid upgrade, though not necessarily crucial to have. Giving a Bloodthirster more attacks is the real value, as added strength doesn’t mean too much on weapons which are already S14+.
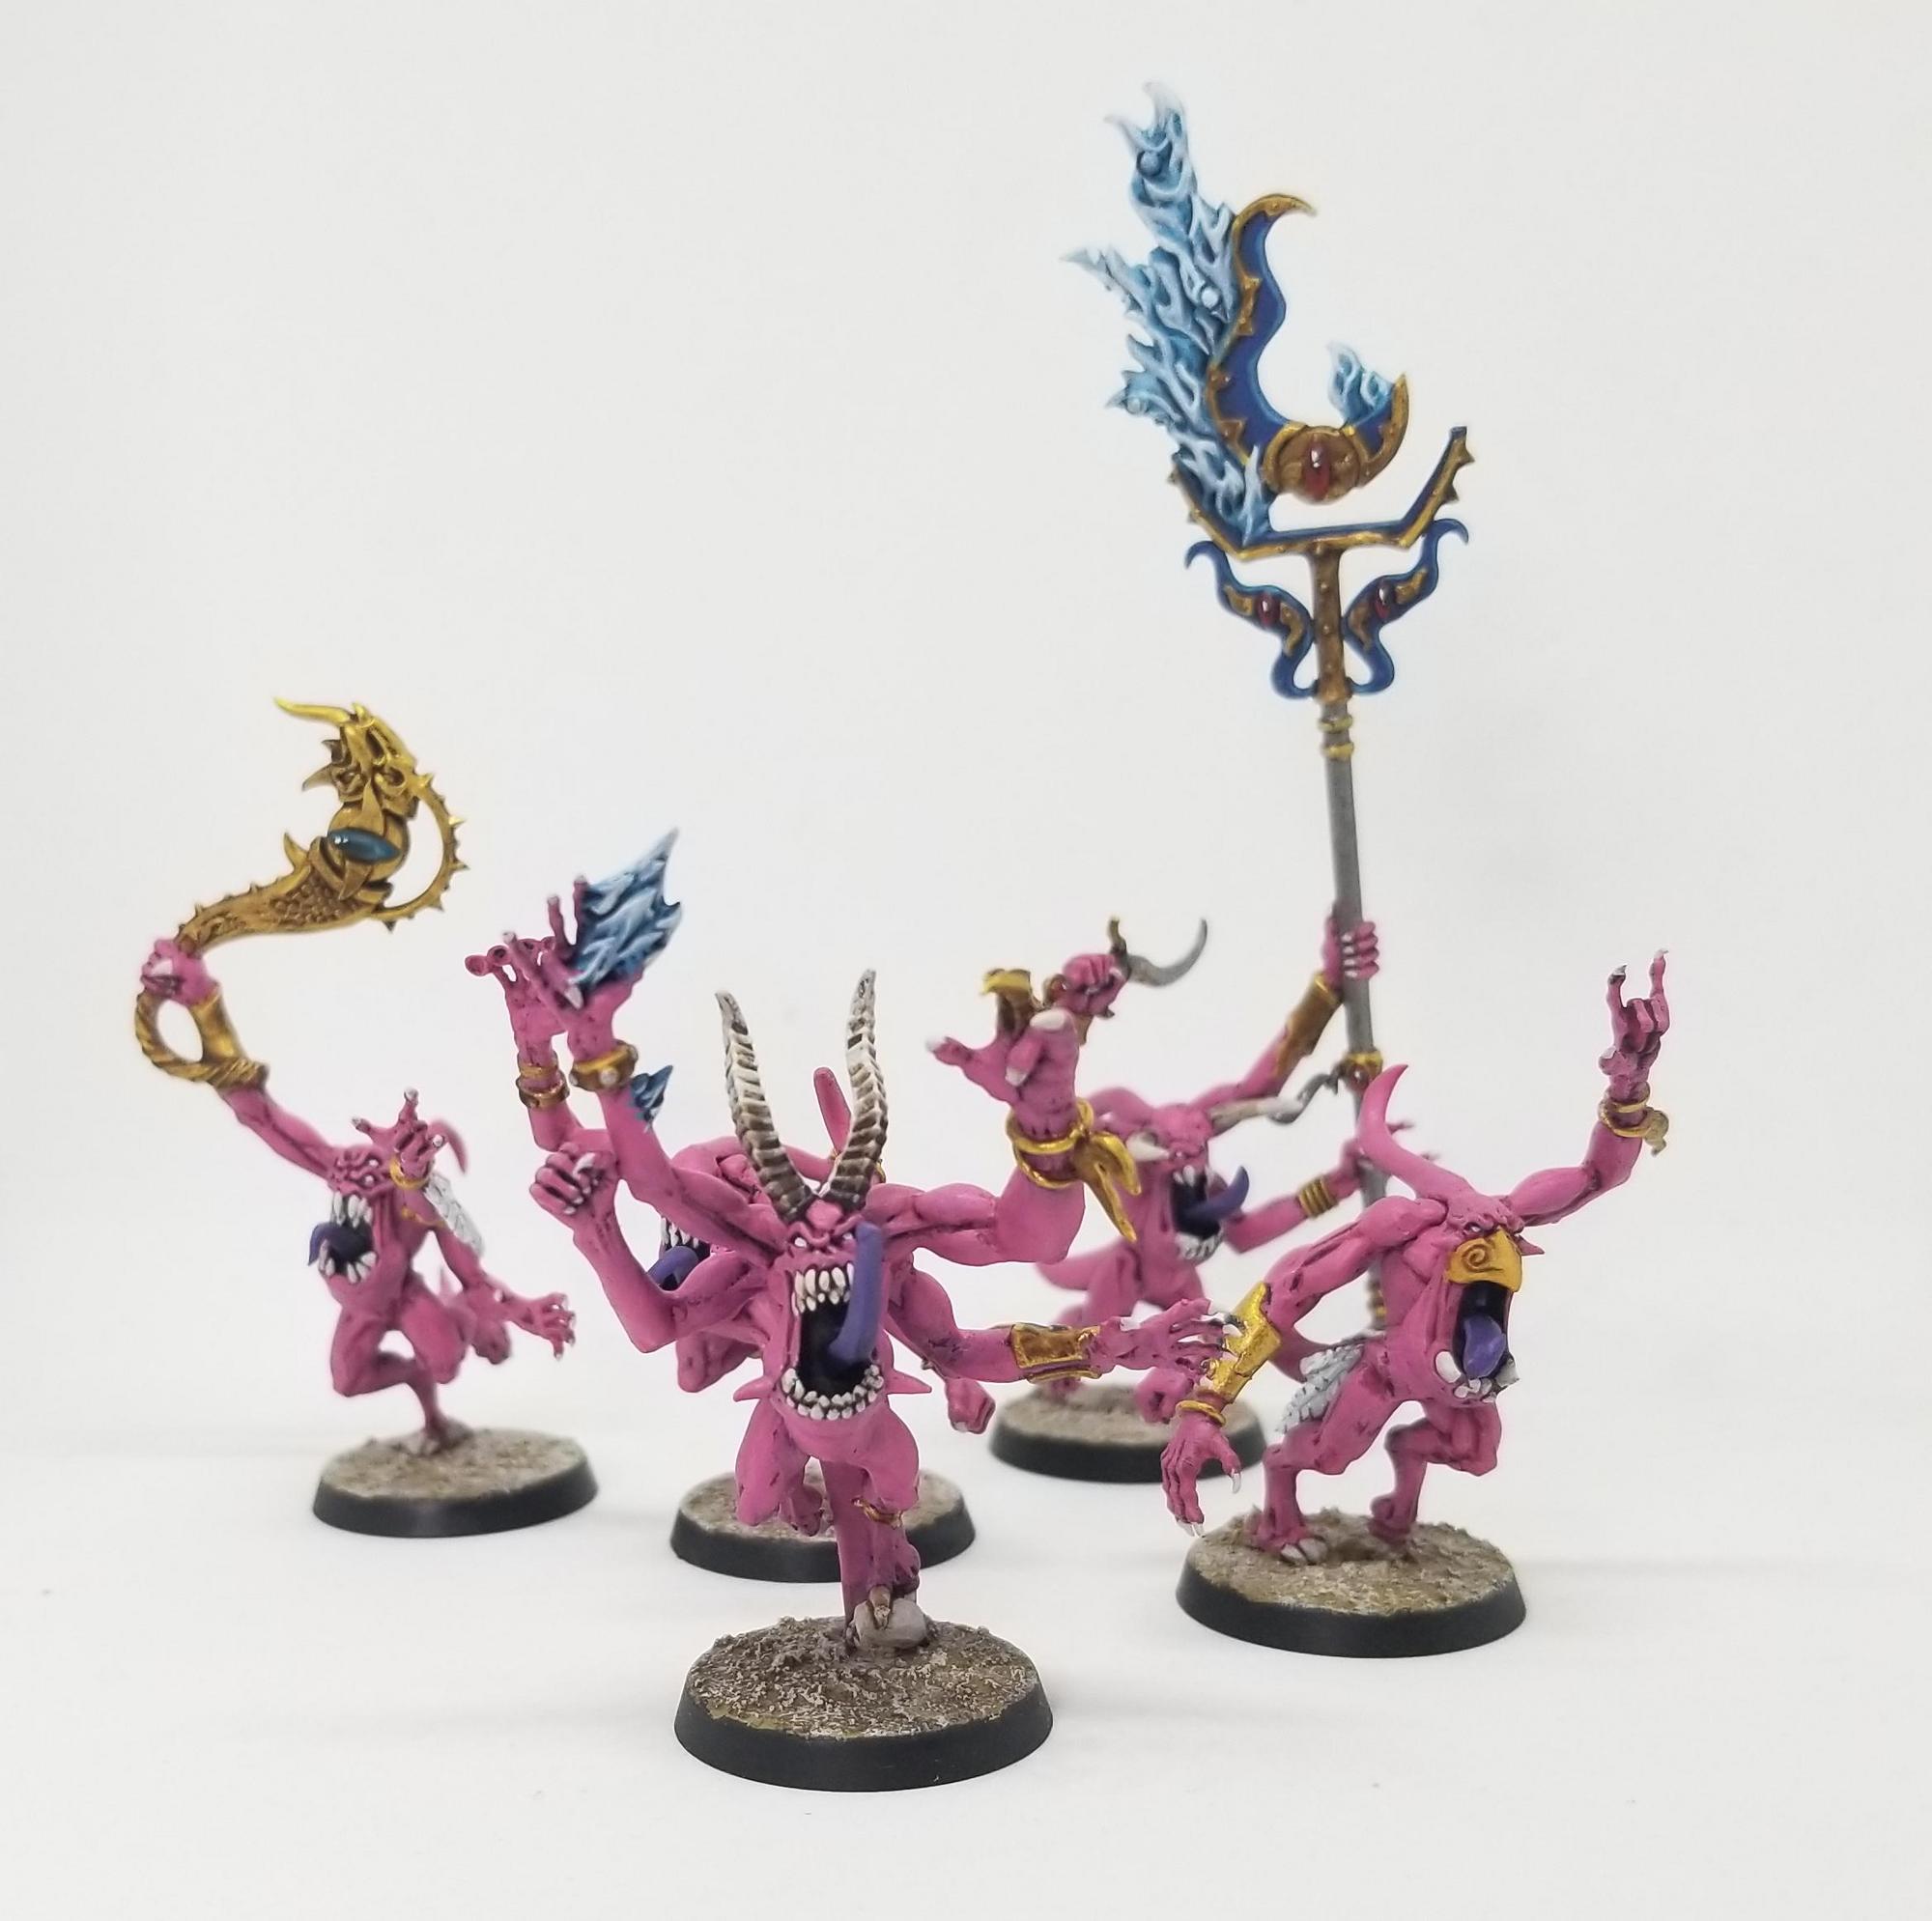
- Soulstealer (15 points) – Slaanesh model. Each time the bearer destroys an enemy model with a melee attack, roll one D6, adding 1 to the result if the bearer is within your Shadow of Chaos. On a 4+, the bearer regains 1 lost wound. You generally want to put this on your Keeper of Secrets, but it’s easily the most disposable of the four Enhancements – something you’ll take if you have the points but not something you have to take.
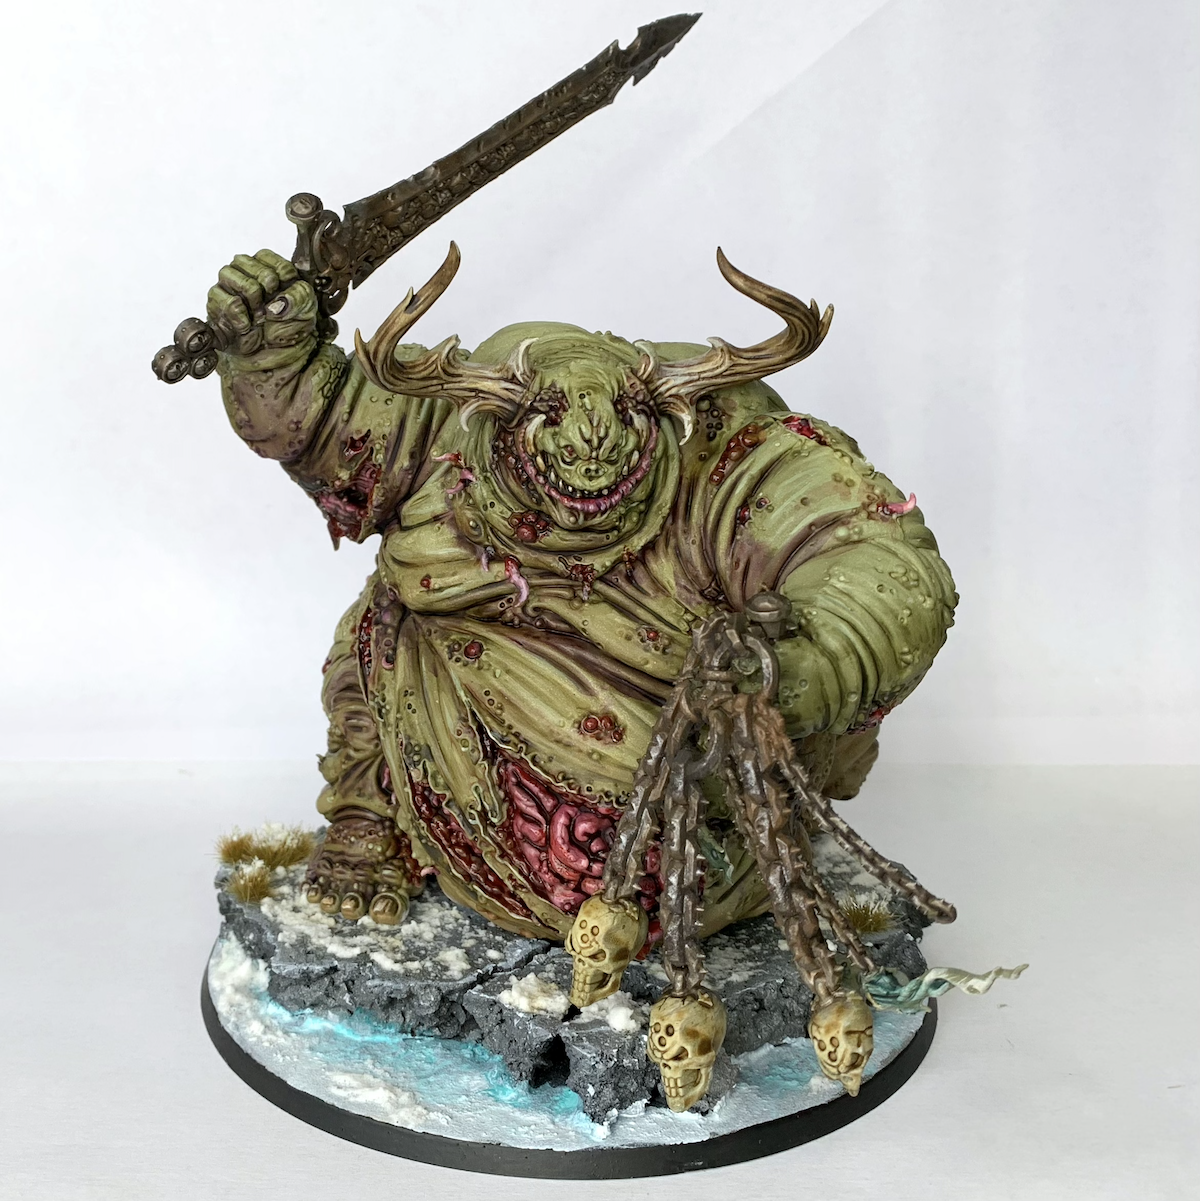
- The Endless Gift (30 points) – Nurgle model. The bearer has the Feel No Pain 5+ ability, which increases to 4+ while the model is within your army’s Shadow of Chaos. You have to take this 100% of the time on a Great Unclean One. The benefit is huge – having a 5+ Feel No Pain is mathematically equivalent to a 50% increase in wounds, and a 4+ gives you a 100% boost, meaning that while your Great Unclean One is in the Shadow, he functionally has 40 wounds. Add to that T12 and a 4+ invulnerable save and you basically have the reason he’s showing up in every Daemons list now. Oh and by the way, he’s always in your army’s Shadow of Chaos thanks to the update to the Greater Daemon of Nurgle (Aura) rule.
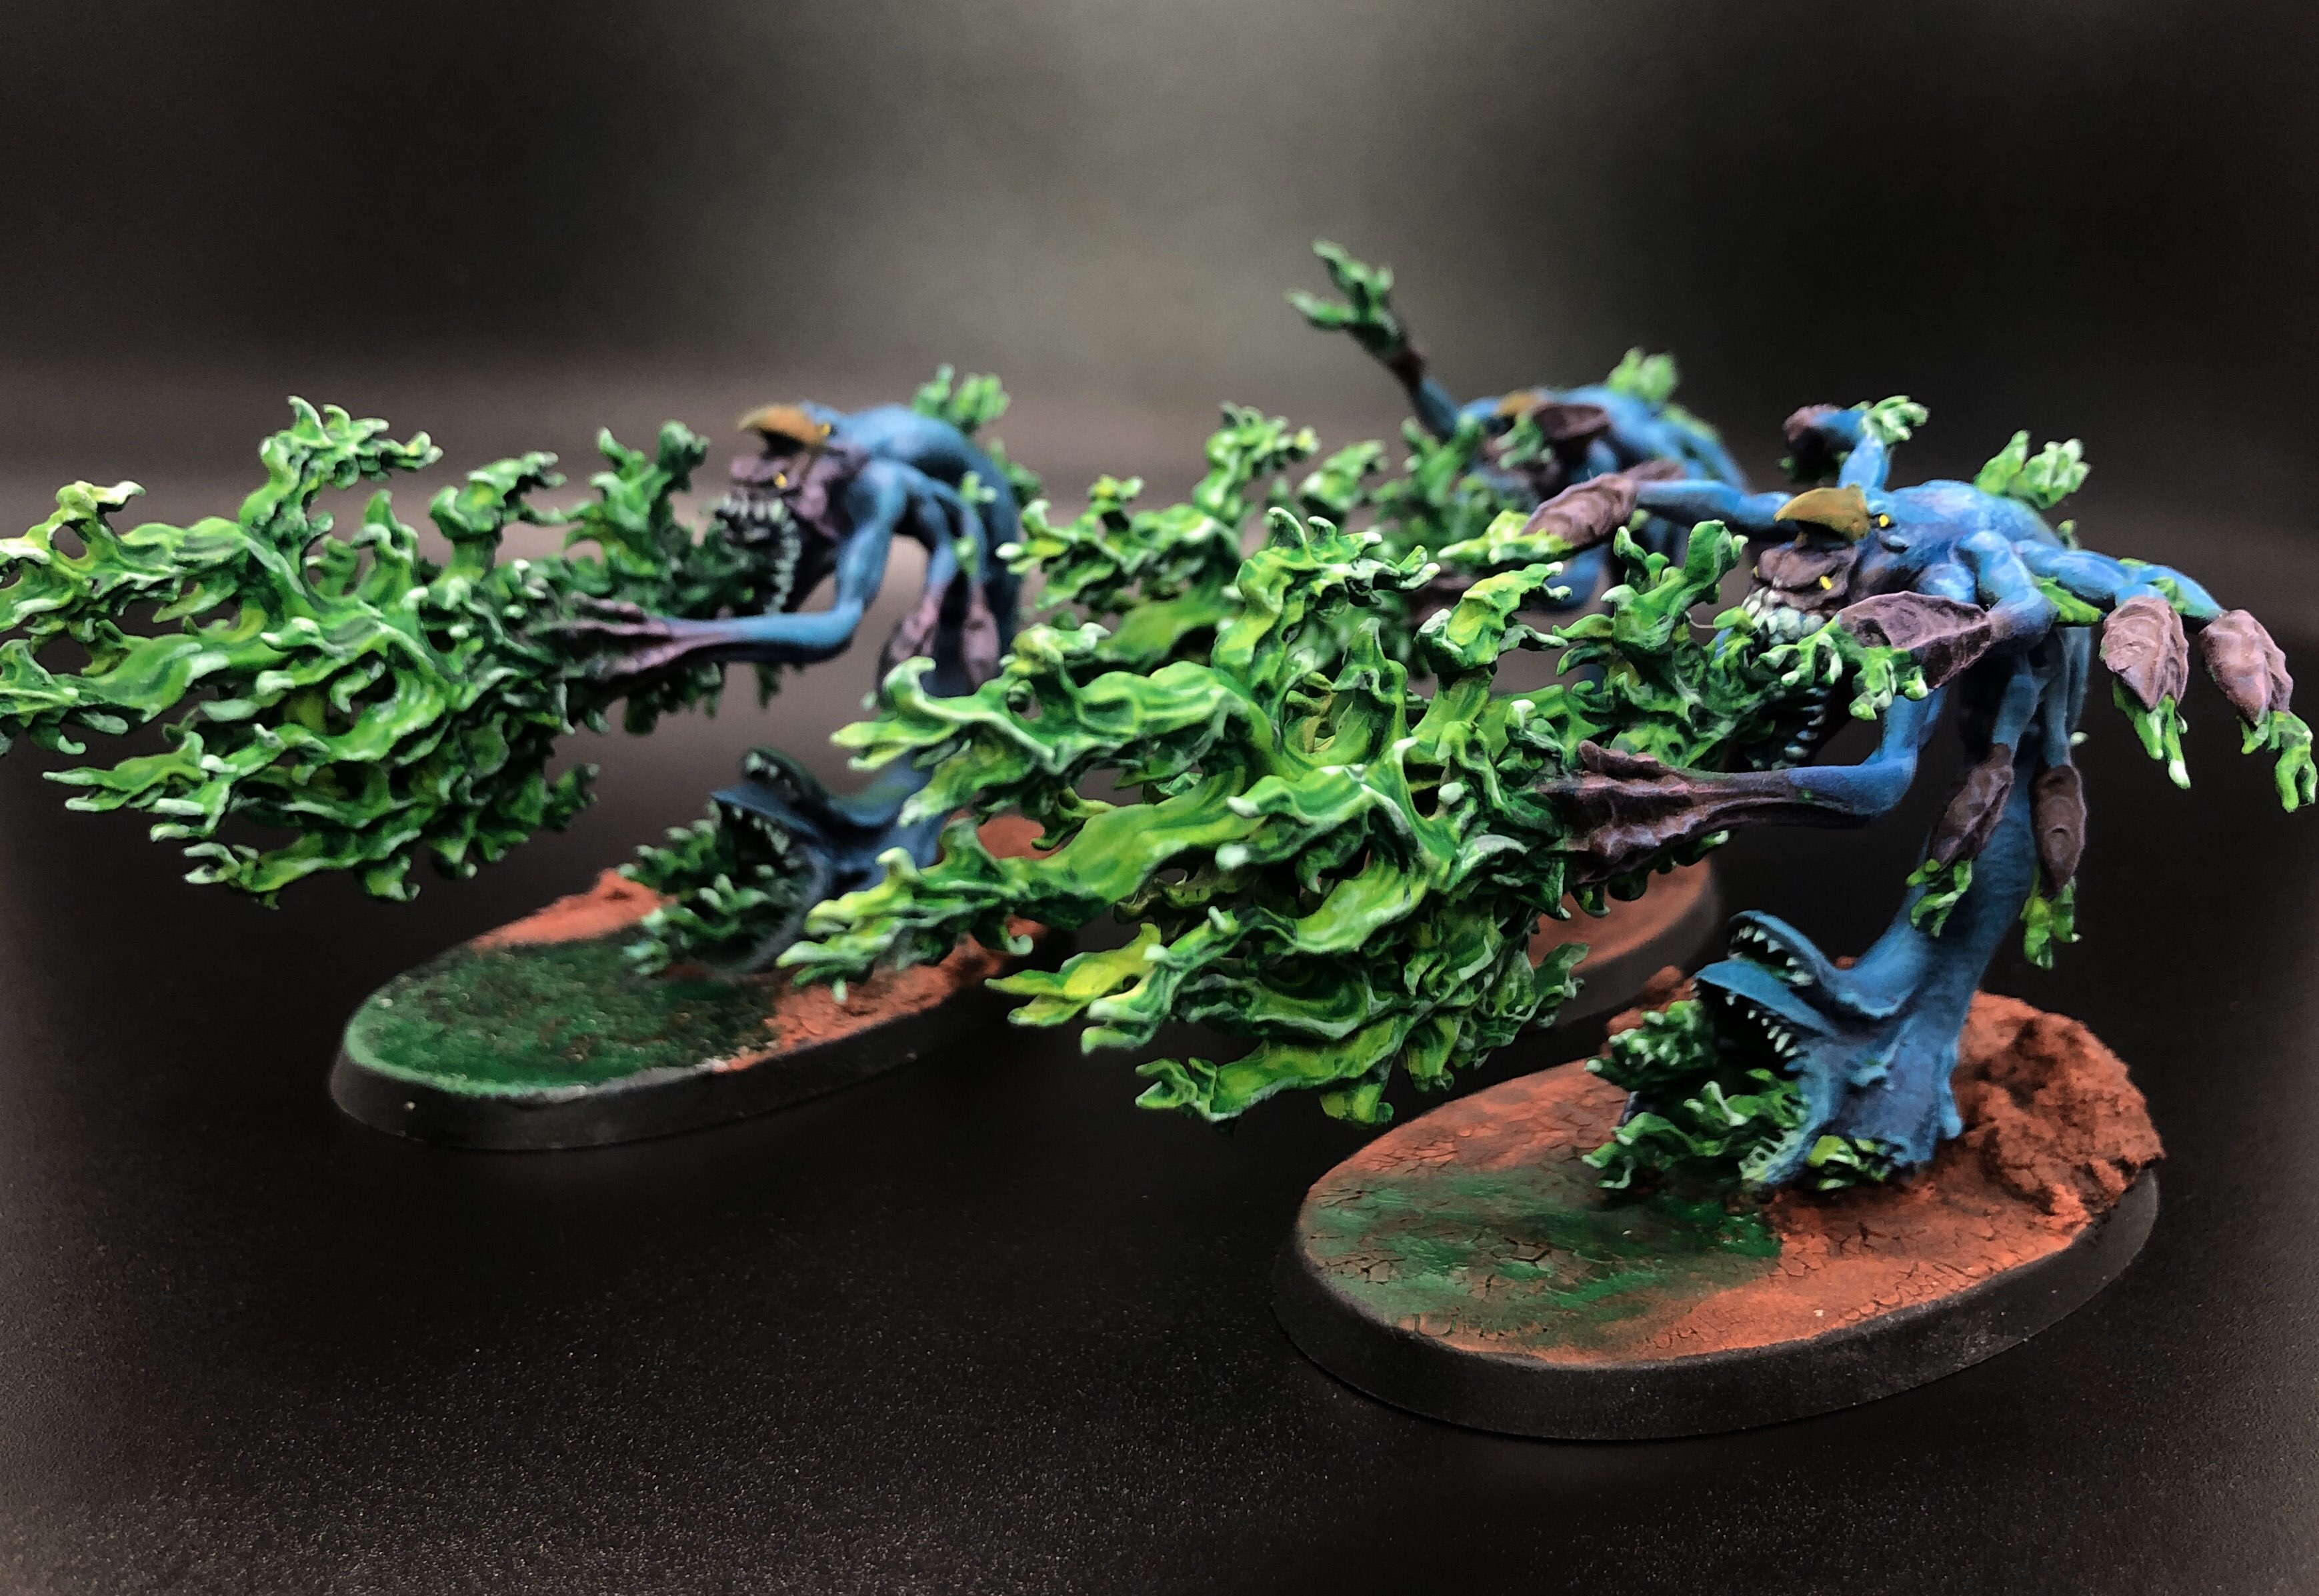
- The Everstave (25 points) – Tzeentch model. Add 1 to the Strength of the bearer’s Ranged weapons and increase their range by 3″. While you’re within the army’s Shadow of Chaos, you get +2 to the Strength of your ranged attacks and increase their range by 6″. This is something you windmill slam on your Lord of Change, as it combines with his own aura for +1 Strength on ranged attacks to push his Bolt of Change to S11 base and S12 when you’re in your Shadow of Chaos. That turns him into an absolute terror, wounding most vehicles in the game on a 3+, and turning him into a nightmare for heavy infantry. The extra range boost is also nice, as it lets you shoot across no man’s land.

Stratagems
There are six Stratagems in the Daemonic Incursion Detachment, and none of them are locked to a specific god. These are some really powerful Stratagems to work with, and they offer a ton of utility. They’re all priced to move at 1 CP.
- Corrupt Realspace (Strategic Ploy, 1 CP) – Used at the start of any Command Phase – pick a Daemons unit from your army in range of an objective marker you control. That objective marker becomes Corrupted and remains under your control until an opponent controls it, and in addition, the area of the battlefield within 6″ of that objective marker is considered to be within your Shadow of Chaos. This is incredibly good – being able to “sticky” objectives is always great, but the added benefit of shadow here is huge. This is particularly great for when your Great Unclean One wants to sit on an objective at midfield – you can use this to sticky the objective he sits on and guarantee he’ll get his 4+ Feel No Pain from The Endless Gift, ensuring you’ll be able to hold that objective most of the game. Remember that you can use it in your opponent’s Command phase to turn on Shadow for your opponent’s Shooting phase or to Rapid Ingress.
- Warp Surge (Strategic Ploy, 1 CP) – Used in your charge phase on a unit from your army that is within your Shadow of Chaos. Until the end of the phase, your unit can declare a charge even if it Advanced. Another great Stratagem, this gives you a lot of value if you have fast units which can quickly move across the table and hold objectives – remember that Shadow of Chaos checks for control at the start of a phase and lasts all phase, so you can use this to Advance onto an objective, gain control of it in your Movement phase, use that control to put No Man’s Land in your Shadow of Chaos, then charge off the objective in your Charge phase. This also means that Be’lakor can just always advance and charge.
- Draught of Terror, (Battle Tactic, 1 CP) – Used in your Shooting phase or the Fight phase. Pick a Daemons unit from your army and until the end of the phase, improve the AP of their weapons by 1. Additionally, if they’re hitting a Battle-shocked unit, they can re-roll the Wound roll. That second rider is more a nice to have but this is great when you’re going up against heavier infantry and targets with a 2+ save. It can be particularly nasty on something like Daemonettes, who come with AP-1 claws and Devastating Wounds.
- Denizens of the Warp (Strategic Ploy, 1 CP) – Used in your Movement phase – one of your Daemons units arriving from Deep Strike can be set up anywhere more than 6″ away from all enemy models. This Stratagem has gone through a few changes recently, moving from 3″ to 6″ in the December dataslate update, then losing its “can’t charge” rider in the December update. That means this is a 1 CP deep strike 6″ away at any time Stratagem, something pretty much unavailable anywhere else in the game. And while your daemons could always drop in near Be’lakor or a Greater Daemon, this offers you a ton more flexibility, as it opens the gates for turn 1 deep strike charges if you’re going second, and means that your nesting doll tactic got much better since the Daemon dropping in close can themselves make an easy charge. Where this has the most value is likely on Bloodcrushers, who get a 5″ charge thanks to their instrument, struggle to fit around a greater daemon, and are much easier to field when they don’t require an entire Bloodthirster to enable them. It also gives you easy charges at any point in the game. The changes to this stratagem make it much less a utility piece for capturing objectives and squeezing into tight spaces and more an offensive piece for threatening your opponent all the time.
- The Realm of Chaos (Battle Tactic, 1 CP) – Used at the end of your opponent’s turn. Pick one daemons unit, or two that are within your Shadow of Chaos and not within Engagement Range of enemy units, and put those back into Strategic Reserves. They arrive back on the battlefield in the Reinforcements step of your next Movement phase using the Deep Strike ability. It’s expensive CP-wise, but having an up-down ability is great for ensuring you can reliably score certain fixed secondaries, and if you’re going second you can use it to get a turn 1 Deep Strike. This Stratagem just gives you a ton of flexibility to put units wherever you need them without having to put them out in the open and combines with Be’lakor’s Shadow of Chaos aura to just be perpetually useful.
- Daemonic Invulnerability (Battle Tactic, 1 CP) – Used in your opponent’s Shooting phase, after they pick targets. Until the end of the phase, you can re-roll your invulnerable saves of 1. This is solid in a pinch, and will do its best work on your big greater Daemons where having a lot of incoming attacks makes it marginally better than saving your CP for a single re-roll. That said, you’re often going to be spending your CP on other things.

Playing This Detachment
A lot of your game plan is going to revolve around using your Shadow of Chaos to get the most out of your daemons units. The easiest way to that is with Be’lakor – and he brings a ton of value – but with the changes to Greater Daemons you can get by just fine running without him. The biggest value in this Detachment is the Realm of Chaos Stratagem – the ability to pick up a unit is already one of the game’s strongest powers, and being able to do it with two units in your Shadow – and then drop them outside of 6″ from enemy units – can lead to some incredibly strong movement tricks, both for scoring and for just popping off easy charges. Having an always-on 6″ deep strike means your opponent has to work even harder to screen you out, and slower or more elite armies just may not have the coverage to do so.
When you do set up, a big part of your plan should be chaining deep strikes, using the Detachment rule to drop daemons within 6″ of your arriving Greater Daemon/Be’lakor and outside 6″ from enemy units. Used in concert with Denizens of the Warp, you can easily drop a pair of big threats this way and still have easy charges with both. Denizens also helps you to bypass one of the big challenges you had with units like the Great Unclean One and Rotigus, as you can use it to deep strike around screens that might limit the movement of those bigger, slower models.
If there’s a must-take in this Detachment, it’s the Great Unclean One running The Endless Gift Enhancement. Having a 4+++ on that model just makes him incredibly durable and the change to Greater Daemons means it’s always on. He’s an incredible piece for holding objectives and even if an opponent manages to drop him below half wounds, he’s likely to start regaining them each turn as he takes (and passes) Battle-shock tests. Be’lakor’s still got some value with his aura, but the change to Greater Daemons and Denizens of the Warp make him much less necessary, as it’s pretty easy to teleport units from your Deployment zone directly into charge range or keep them out of line of sight until they need to teleport, making his protective aura much less necessary.
Because of their intense mobility and access to cheap action units, Chaos Daemons armies have an easy time scoring secondary objectives. As you play them you should be picking units up with Realm of Chaos at the end of every opponent’s turn, then re-positioning them to score after you’ve drawn secondary objectives on your turn. While you can’t still drop 3″ away, 6″ is still pretty tough to screen out, and having units that can drop in close makes scoring secondaries like Engage, Containment, Sabotage, Behind Enemy Lines, and Establish Locus very easy to score at max value.
On Fixed objectives their ability to repeatedly drop units in enemy Deployment Zones really opens things up for secondary missions like Behind Enemy Lines or Deploy Teleport Homers, where it can be nearly impossible to stop a unit from dropping just over 3″ away and scoring, and something like Plaguebearers can be tough to remove late-game if you’ve already spread out of your Deployment Zone. The biggest challenge you’re going to face when it comes to action secondaries is going to be protecting your smaller, cheaper units. You need to reliably keep up the pressure with your big threats to keep opponents from just clearing your smaller units off the board or you’ll find yourself unable to reliably score some secondary missions, or having to Investigate Signals with a Lord of Change.
Strengths
- Great movement Stratagems, with the ability to pull up two units per turn
- Insanely good Deep Strike Flexibility between Denizens of the Warp and Greater Daemons, without losing the ability to charge
- Great mission play between Sticky objectives and movement tricks make it hard to prevent this army from scoring
Weaknesses
- God-locked Enhancements really narrow your options for how you can build, particuarly with Greater Daemons
- Not much in the way of offensive buffs
- Opponents can hard counter your strategy with units like Infiltrators, which prevent setting up units within 12″
Final Thoughts
That wraps up our look at the Daemonic Incursion Detachment, which is surprisingly one of the more powerful in the game from a “pure value generated by Stratagems and its army rule” standpoint. Of course, that doesn’t always translate to massive success on the tabletop – the army’s datasheets and point costs are a big part of that – but the Detachment gives you some really great tools to work with. There’s a ton of power here and while it has been overshadowed recently by the Grotmas detachments, there’s still plenty to work with and some great scoring tools.
Have any questions or feedback? Drop us a note in the comments below or email us at contact@goonhammer.com. Want articles like this linked in your inbox every Monday morning? Sign up for our newsletter. And don’t forget that you can support us on Patreon for backer rewards like early video content, Administratum access, an ad-free experience on our website and more.


