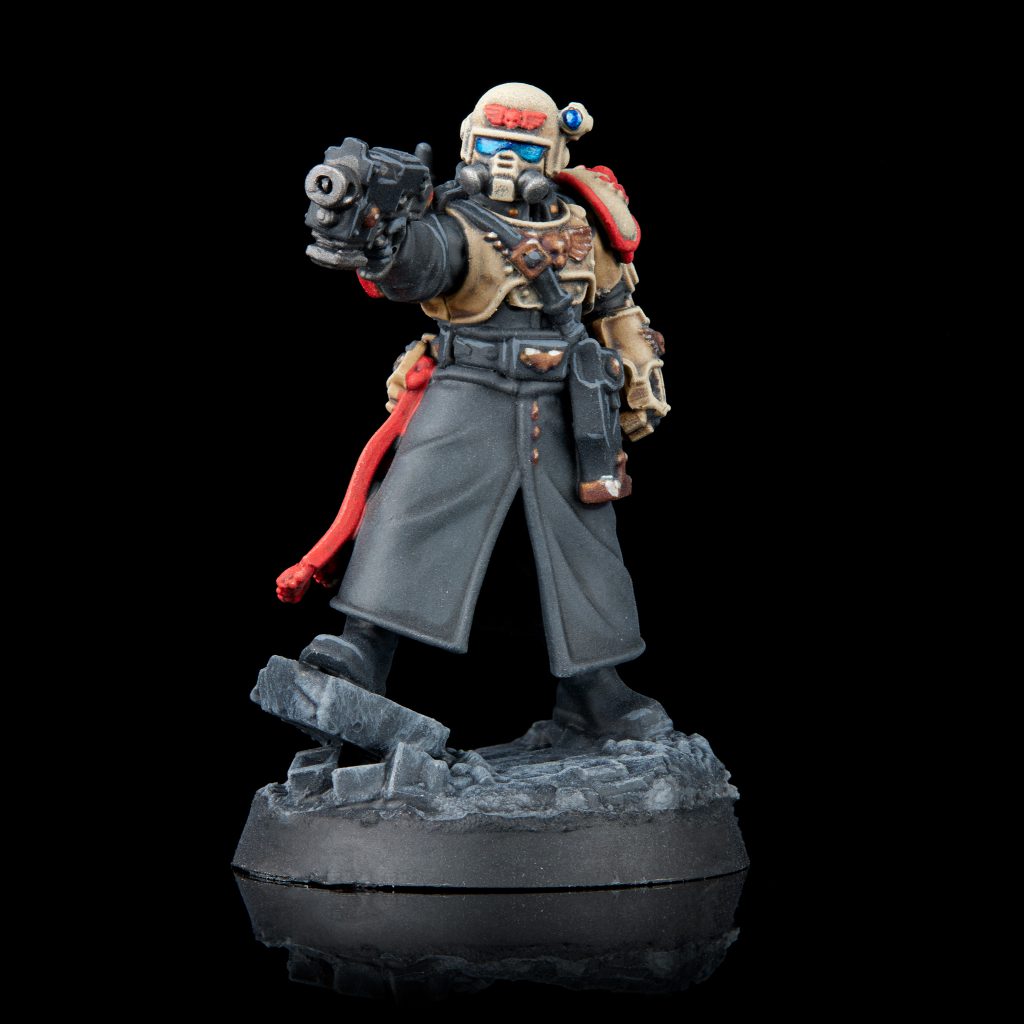
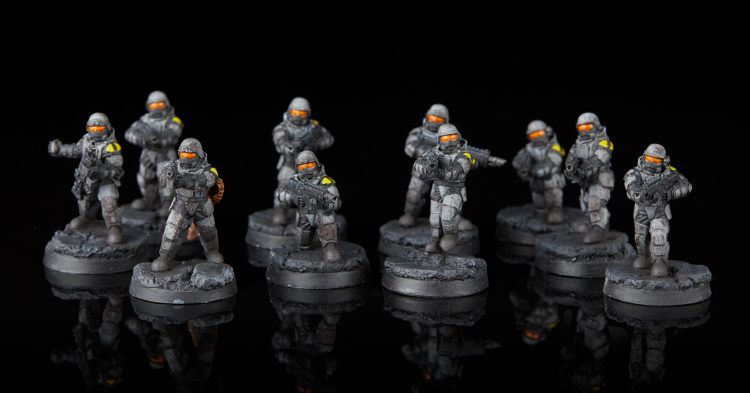
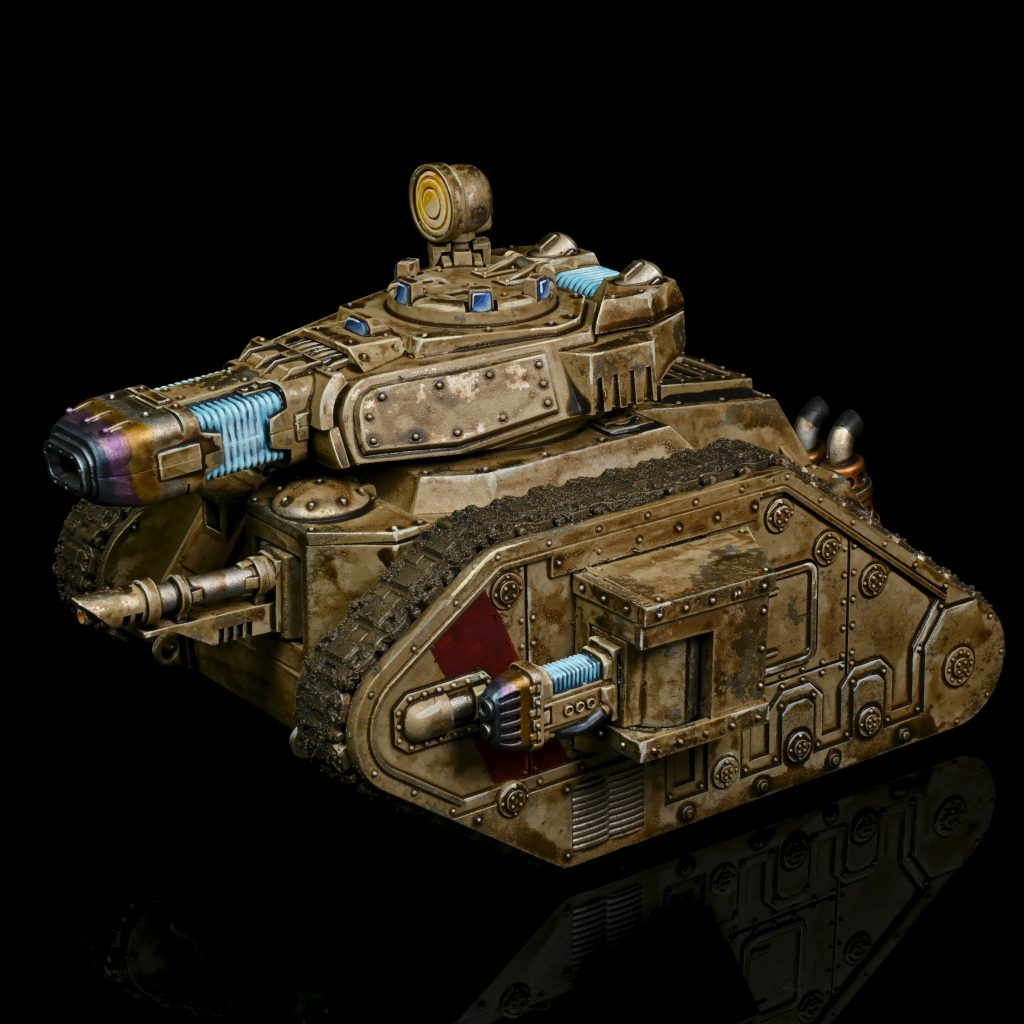
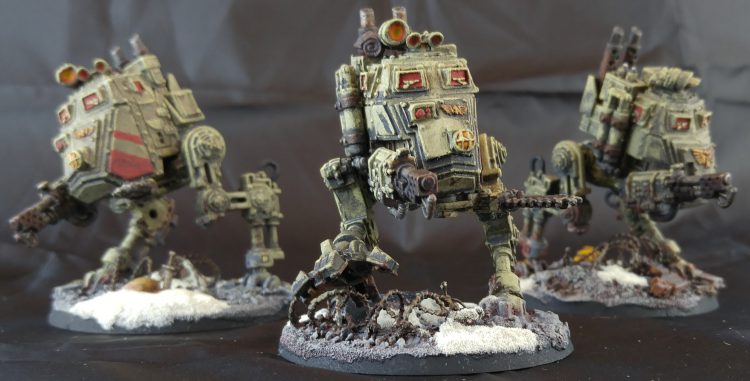
In our Detachment Focus series we look at the different Detachments available to players of a faction, talk about their rules, and how to play them. In this article we’re looking at the Combined Arms Detachment for the Astra Militarum.
Are you a new player with a scattered and unfocused collection? Are you too much of a coward to include six Rogals Dorn in your army? Do you like teamwork and synergy between your non-Rogal Dorn units and your several Rogals Dorn? If you answered “Yes” to any of those questions, we have the detachment for you: the Combined Arms Detachment. This is an updated version of the Index Detachment of the same name, and while they’re pretty similar, there are some important differences between them.
We’d like to thank Games Workshop for providing us with a preview copy of the Codex for this review.

Welcome to the most miscellaneous detachment in the Guard book. We’ve brought this with us from the index, and while there’ve been some significant changes, this detachment will serve as the home for players to choose to “go wide” with their unit selection. Born Soldiers remains very good at supporting all unit types, and our stratagems reflect coordination between armor and infantry units.
The Video Version
If you’re more of a visual learner when it comes to warfare, we have a video version of this Detachment Overview, just for you.
Detachment Rule: Born Soldiers
SQUADRON units get Lethal Hits with their ranged weapons against MONSTERS and VEHICLES, while REGIMENT units get Lethal Hits on ranged attacks against everything else.
The rule is back, just like you remember it from the Index. Crucially, the rule doesn’t come with an “in your Shooting phase” clause, so it works on Overwatch as well. If you want to know how powerful that can be, ask our own James “Boon” Kelling about what a Rogal Dorn with Lethal Hits can do to the Avatar of Khaine when it steps out of cover. It’s good on vehicles and Infantry, makes Dorns a terror in Overwatch, and just a good, versatile rule to have.

Enhancements
Three of the four enhancements here are returning picks from the Index detachment. Unfortunately, the Munitorum appears to have lost the most annoying one you had available to you before, and the now-MIA Kurov’s Aquila has been replaced with the brand-new Reactive Command. One thing to keep in mind: each of these enhancements can go on any OFFICER model in your army, including the commander in a Command Squad or either of the Tank Commander units.
The loss of Kurov’s Aquila is a shame here. It doesn’t show up in any other detachment. As written, Reactive Command is a bit of a miss. We’ll cover that in more detail below.
- Death Mask of Ollanius – Slap this on an OFFICER model to make the bearer’s unit less susceptible to Battle-shock: rather than having their OC drop to 0, models in their unit will only suffer a penalty of 1 to their OC.
- Drill Commander – While leading a unit, if this model’s unit Remains Stationary, it gets critical hits on 5+ with ranged weapons that turn. This enhancement takes some creativity to use as it was unfortunately not updated from the index version. The clause specifying that the bearer’s must be leading a unit means that Tank Commanders of all flavors can never benefit from the effects of the enhancement. The most reasonable use I can think of is using this on a Rapid Ingress’d Scions squad with an attached Command Squad.
- Grand Strategist – The bearer can hand out an extra order in your Command phase. This option is generally the best pick, especially now that Castellans and Tank Commanders get an additional order, letting them issue as many as Lord Solar. Remember, this enhancement only works in your Command phase. A Tank Commander arriving from Strategic Reserves or Tempestor Prime arriving from Deep Strike will not benefit from this relic.
- Reactive Command – If an enemy unit is set up within 9” of the bearer’s unit, it can issue a single order that doesn’t count against the total they can issue in a round. This is an interesting idea, but the limitation to being set up within 9” really holds it back, especially now that units can’t drop in closer than 6”. In all honesty, the range on this looks like a mistake. The only orders that you would reasonably issue in your opponent’s turn are Fix Bayonets!, Take Cover!, and Duty and Honor!. Take Cover! is typically the only one you would use when a unit arrives within 9”, because most units arriving within 9” have a clause restricting them from charging the turn they arrive. Restricting this to 9″ basically means that you’ll only be using it when something drops in too close or when it disembarks from a transport, making this a very situational ability to spend points on.

Stratagems
Two of the Stratagems from the Index Detachment return in full here, with a third returning in-name-only. Overall, this set has been significantly reworked to allow REGIMENT and SQUADRON units to interact with each other.
- Coordinated Action (Battle Tactic, 1CP) – Choose a REGIMENT unit and a SQUADRON unit that are within 6” of and visible to each other, and each unit benefits from the orders issued to the other. As written, this doesn’t appear to bypass the “you can only be affected by a single order at a time” rule, so this is currently more of a way to stretch an order on one unit to another. We’re not really sure what happens if you use it on two units which have orders on them already, and this one needs an FAQ to address it.
- Reinforcements! (Strategic Ploy, 2CP) – Bring back an INFANTRY REGIMENT unit into Strategic Reserves when it’s destroyed. This does not bring back CHARACTERs attached to the unit unit. This one’s as good as it always was and few things are more demoralizing to an opponent than killing one of your units in Overwatch only for you to spend 2 CP to put it back into reserves and plop it right back on the table. Note that the Infantry restriction is new here, meaning you can’t use this to bring back Scout Sentinels any more.
- Flexible Command (Strategic Ploy, 2CP) – This is used in your Command phase and allows all of your OFFICER units to issue orders to any unit, regardless of whether they’re REGIMENT or SQUADRON units. This is expensive at 2 CP but very potent, and gives you a ton of freedom to play more aggressively early in the game with your tank commanders as you’ll have some insurance if you lose them.
- Fields of Fire (Battle Tactic, 1CP) – Used in your Shooting phase. Pick one REGIMENT unit and one SQUADRON unit from your army, then an enemy unit of your choice. Until the end of the phase, whenever those units attack the selected enemy unit, improve the AP of their attacks by 1. This is cheaper than the index version, but weaker in that it only applies to two of your units. The upside however is that it no longer requires you to shoot at that target first to activate the Stratagem, making this more of a sidegrade than a downgrade. It’s still pretty good.
- Inspired Command (Epic Deed, 1CP) – Used in your opponent’s Command phase to issue an order with one of your OFFICER units. This is useful if you need to get an extra point of OC on a unit to flip a point and deny an opponent’s scoring, or want to slap Take Cover! on a key unit, or Fix Bayonets! before an opponent’s charge.
- Stalwart Protector (Battle Tactic, 1CP) – Used in your opponent’s Shooting phase after they pick targets. One of your ASTRA MILITARUM VEHICLE units gives cover to your INFANTRY units as though it were a piece of terrain for a phase. Solid when used in conjunction with the Take Cover! order.

Playing This Detachment
We’ve been playing this detachment for the entire edition. Most of what you’re going to be doing here isn’t going to change if you’ve been taking fairly balanced lists. This detachment offers a lot of flexibility in what you’re bringing and how you play it on the table, which ought to allow you to have a fairly responsive game plan as you progress through your game.
Combined Arms lists usually run a core of the army’s most useful tanks – a mix of Dorns, Russes, and the occasional Hellhound – supported by some Sentinels and a large contingent of infantry, often run in Chimera transports. Because these lists still run a large number of infantry, they tend to be very good at scoring secondary objectives, using Kasrkin and Scions to perform actions, flip points, and soften up bigger targets for their tanks. The good news for Combined Arms players is that thanks to changes to the number of orders many units can issue, Lord Solar Leontus is no longer the absolute must-take he was, freeing you up to experiment with different command structures in your army.
Strengths
- Unit Viability: Almost everything in the book benefits from the detachment rule. You’re not leaving anything on the table for taking a wider collection of models.
- Familiarity: It’s brought forward from the index. If you’re a Guard player from earlier in the edition, you’re going to feel right at home. You’ll be able to refine your play style with this detachment faster and get those podium placings at tournaments because you already have reps with this.
- Flexibility: Grand Strategist, Reinforcements!, Flexible Command, and Coordinated Action all give you flexibility with your Orders system and units. These all culminate in a way that allows you to react to what is happening mid-game on the spot and recover from bad situations in ways other detachments won’t allow.
Weaknesses
- Unit Focus: Everything gets a bonus, but nothing is getting focused design space. Almost no unit in the book is going to perform better here than it would in another detachment.
- Stratagem Inter-dependence: The stratagems in this detachment give bonuses to both INFANTRY and VEHICLES. The issue is that if you don’t have both unit types in position to capitalize on these stratagems, you’re leaving combat power on the table.
- Enhancements: Honestly, the only enhancement worth taking most of the time in this detachment is Grand Strategist. This isn’t a departure from the index iteration, but it doesn’t help that there weren’t any new legitimate options.

A Sample List
Truly the charcuterie board of detachments for the non-commital Guard enthusiast. Don’t think too hard while putting this together; let your style shine through on this one and focus on the presentation. If you find yourself gravitating towards any one unit type over another as you get more reps in, consider moving to a different detachment to see if that feels right.
Lists using the Combined Arms detachment will presumably be “going wide” in unit selection to take advantage of your suite of stratagems that typically require both SQUADRON and REGIMENT units to be present to get the most mileage out of them.
I'm literally shaking because I don't have to start this list with Lord Solar - click to expand
Following through with the theme of an eclectic collection that has a good presentation and complementing flavors, I’ve included a good mix of SQUADRON and REGIMENT units. As I mentioned before, let your style show through in this detachment; almost anything is gonna work. In that vein, most of the units here are Cadian theme because that’s where my interests lie.
I’ve started with Rogals Dorn as a base because I always stay strapped; by strapped, I mean equipped with three Rogals Dorn. From there I moved onto my edition-favorite support choices and picked up Kasrkin, Scout Sentinels, a Hellhound, and Gaunt’s Ghosts. At this point in the list-building phase, I wanted to move onto mortars to help pepper objective holders and small action units, and Creed for CP support and backup in case my Rogal Dorn Commander goes down early in the fight. To help avoid that situation for as long as possible, I threw in a Techpriest for healing and an invulnerable save to toss around. Lastly, I tossed in two Hydras. These guys are cheap for what they do and great for general utility and trading. As a bonus, if you hate Eldar (you will soon) you can get a lot of bang for your buck out of these guys.
This list is going to play in a pretty typical way you’ve been seeing Guard play all edition. Conservatively push the mid-board objectives during the first turn or two; skirmish with your opponent to force them to bring out big assets to contest scoring. When they’re committed, roll your Rogals Dorn into firing position and bring the pain.
The elements in this can be swapped out in pretty modular manners. Don’t like Rogals Dorn? Swap for Lemans Russ. Prefer to skirmish with horsies rather than Hydras, Hellhounds, and Sentinels? Drop them and bring in some Rough Riders or Death Riders. Prefer standard Guardsmen to elite grenadier-type infantry? Swap Kasrkin for Catachans, Cadians, or Death Korps. Once you’ve decided on the tools you want to play, the Combined Arms detachment gives you a platform to explore the model range.
Final Thoughts
Does the Combined Arms detachment do anything cool? Yes; its Detachment Rule, stratagems, and enhancements all generally have the ability to benefit the Rogal Dorn Battle Tank. In all seriousness, this is the detachment most nascent Guard players should start with, it’s the most generally helpful offered by this book, and likely remains one of the most competitive. It offers general utility to SQUADRON and REGIMENT units, and most importantly offers support to your army rule and allows you to spend your command points to enhance the synergy of those units in an extremely flexible manner.
Have any questions or feedback? Drop us a note in the comments below or email us at contact@goonhammer.com. Want articles like this linked in your inbox every Monday morning? Sign up for our newsletter. And don’t forget that you can support us on Patreon for backer rewards like early video content, Administratum access, an ad-free experience on our website and more.

