


")


In this series of articles we take a deep dive into a specific detachment for a faction, covering the faction’s rules and upgrades and talking about how to build around that faction for competitive play. In this article, we’re covering the Canoptek Court Detachment for the Necrons.
The Tenth Edition release of Codex: Necrons gives the faction access to five detachments, each with their own strengths and weaknesses. These can dramatically change how the army plays, as each one tends to push players to build in a different way. In this series we’re diving deep into each Detachment and talking about what its rules are and how to play it.
Detachment Overview
The Canoptek Court is a Detachment themed around Crypteks and their Canoptek creations and is one of the two strongest Detachments in the Necron Codex. It provides offensive reliability via easy access to hit re-rolls, which unlocks the power of some units that are mediocre elsewhere, and amps others up to their peak potential, while also sporting a strong suite of defensive Stratagems, allowing you to preserve key resources. This results in lists that focus on grinding the opponent out of the game, unable to keep up with the steady clip of damage you unleash while your Wraiths shrug off the foe’s attempts at reprisal.
Detachment Rule: Power Matrix
As battle unfolds, the Power Matrix of the Canoptek Court spreads over the battlefield, boosting the power of CANOPTEK and CRYPTEK units (the latter usually meaning squads of Immortals lead by a suitable CRYPTEK).
How much of a boost depends on whether your units are Wholly Within your army’s Power Matrix, the spread of which is determined by objective control. Your own Deployment Zone is always within your Power Matrix, and at the start of each phase you then determine whether No Man’s Land and your opponent’s Deployment Zone are within it. In each case, if you control half or more of the Objectives in that area (so usually two in No Man’s Land or your opponent’s home objective), your Power Matrix extends to that area for the phase.
CANOPTEK and CRYPTEK units that are Wholly Within your Matrix get full re-rolls to hit. If they aren’t Wholly Within the Matrix, they get the consolation prize of re-rolling 1s to hit, which still isn’t shabby, particularly on Immortals as they hit on 3s (whereas most of the rest of what you’re buffing hits on 4s, so need the full re-rolls more).
Unsurprisingly, a rule that hands out full hit re-rolls is extremely good, and when playing this Detachment you want to maximise how often you’re reaping the full benefits. You want to make sure as many units in your army as possible are eligible to benefit (usually all your “alpha” units except optionally C’tan), and you should take Canoptek Doomstalkers and Tomb Sentinels in this Detachment where you otherwise might turn up your nose at their BS4+.
You also want to look for opportunities to cunningly manage and exploit your Matrix. In particular:
- You only need to hold half or more No-Man’s Land objectives rather than more than half. That means that if you’re playing with the Hidden Supplies Mission Rule, it’s suddenly very easy to switch your Matrix on, and it’s also considerably easier on Vital Ground, and can become so on Scorched Earth. Watch out for Supply Drop though – on this mission, if you’re running a bit low on stuff it can be very hard to turn the Matrix on in the key final turn where there’s only one No-Man’s Land objective left.
- Matrix spread locks in at the start of the phase. Managing this is particularly important in the Fight Phase, as it can be quite hard to flip control of an objective you’re charging onto prior to piling in. You can often mitigate this by trailing back a model onto a different, unoccupied objective, as it conversely doesn’t matter if you pile off it once the Fight Phase begins.
- The Matrix can make Overwatch from tesla Immortals or Canoptek Doomstalkers really good, as the former have Sustained Hits 2 (so 10 of them Overwatching with full re-rolls is ~21 hits) while Doomstalkers hit on 5s on Overwatch, and 5s re-rolling with their gun starts to seriously alarm elite infantry. Doomstalkers often end up sitting on the edge of your deployment zone projecting threat, while Immortals can take advantage of the fact that an opponent moving onto objectives in their Movement Phase won’t switch the Matrix off until the end of the phase.
Enhancements
Enhancements are arguably the weakest part of this Detachment – there’s one (nearly) auto-take, and three nice-to-haves that can use up floating points. Nice-to-have options tend to see less use than normal in Necrons, because you have access to very cheap single model Lokhust units, so you only take them if you have <30pts left and can’t rejig your objective chaff to squeeze in one more Destroyer.
All of these can only be taken by Crypteks.
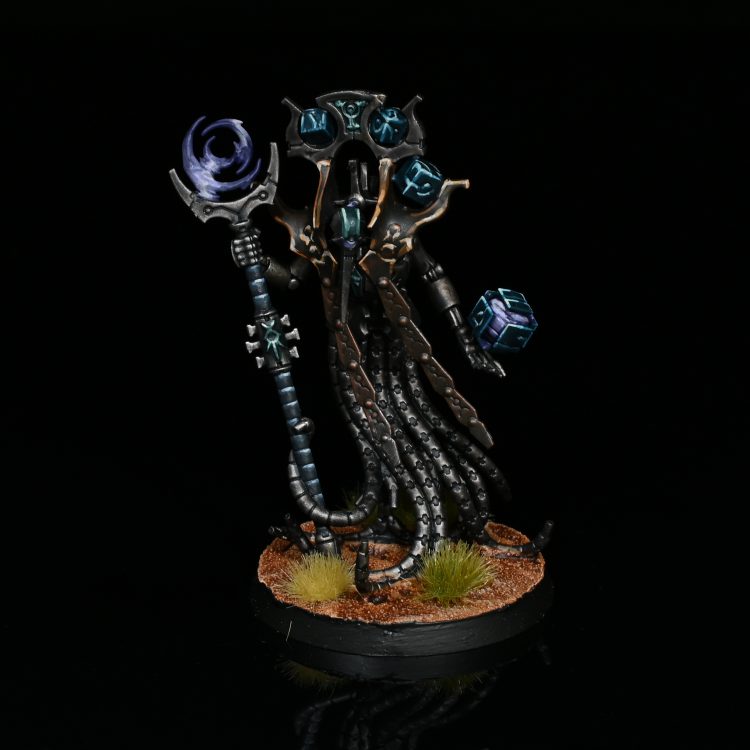
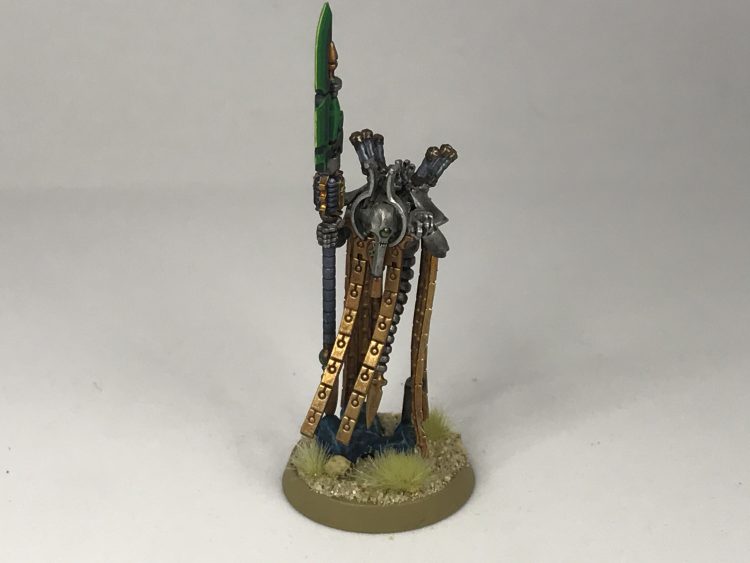
- Dimensional Sanctum (20 points) – This is the one you almost always take, providing the bearer’s unit with Infiltrators. This allows you to start a unit of Wraiths mid-board, projecting considerable mischief right out the gate.
- Hyperphasic Fulcrum (15 points) – This provides the bearer’s unit with re-roll 1s to Wound while Wholly Within your Power Matrix. This is fine on a unit of Wraiths, but even with it they’re not reliable big damage dealers, and Immortals don’t need this as they have re-rolls built-in.
- Autodivinator (15 points) – Each time your opponent gains a CP via an ability, you also gain one on 2+. This is very dependent on the metagame and whether you can fit Imotekh in your list. Court is very CP hungry, so extras are nice, but you’d need this to be live in a solid 60% of games before it started looking really good.
- Metalodermal Tesla Weave (15 points) – The big zap. Once per phase, when an enemy unit targets the bearer’s unit with a charge, they take Mortal Wounds on a 2+. Cute, and probably the most metagame dependent of the tools here – if Sororitas, Aeldari and Drukhari melee builds are ever dominating the metagame, remember this exists, but if it’s Terminators and Meganobz don’t bother, as it’ll only smoke a whole 3W model about 40% of the time.
Stratagems
There’s a fairly wide range of power in the Court’s stratagems – two of them are Detachment-defining, one is great with a specific combo, two are situational (one with plausible upside, one mediocre at best), and one may as well not exist (after a brief period on release of being the most broken thing in the Codex). We’ll go through these in order of utility rather than the order they show up in the book.
- Reactive Subroutines (Strategic Ploy, 1 CP) – This allows a CANOPTEK unit that your opponent ends a move within 9” to make a 6” Normal Move. This makes Wraiths exceptionally annoying to deal with, as they can dart behind walls or just far enough away to turn on the next Stratagem, and can sometimes bail a Doomstalker out of a sticky situation. You can also use this proactively – because it’s a Normal Move, it triggers the Wraiths’ Mortal Wound ability if you can tag an enemy model during it, potentially unleashing some surprise Mortal Wounds, and sometimes moving towards the foe can block a Charge, or perhaps make it impossible for the foe to Charge onto an objective they were planning to steal. Finally, you can sometimes use it to line a Doomstalker up for a good Overwatch.
- Countertemporal Shift (Strategic Ploy, 1 CP) – When your opponent targets a Canoptek unit, you can make them untargetable outside of 12” for the Phase. This is wildly strong – it means that a single Doomstalker can stand on the edge of your Deployment Zone blasting/Overwatching away with impunity, while it can make it extremely hard for opponents to concentrate enough firepower on a Wraith unit to shift them.
- Solar Pulse (Strategic Ploy, 1 CP) – This is activated at the start of the Shooting Phase, and lets you choose an objective within 18” of a Cryptek and give all your units No Cover while targeting stuff that’s in range of it that phase. This is specifically good if you’re packing the combo of Illuminor Szeras and Tesla Immortals, as it can let them actually threaten stuff with a 2+ save that’s in Cover (e.g. a big tank of some kind), and it can also be helpful if you really need to finish off a key target with Doomstalkers.
- Curse of the Cryptek (Battle Tactic, 1 CP) – You use this after your opponent destroys a Cryptek model in the Shooting or Fight Phases, and for the rest of the battle your CANOPTEK units get +1 to Hit and Wound against the culprit. This is very situational, but does occasionally have uses – it can be potent if the opponent charges a unit of Wraiths and Precisions out the Technomancer, allowing you to hit back much harder than they planned for, and if something like a Knight finishes off a Cryptek-lead unit, it can allow your Doomstalkers to take swift vengeance.
- Suboptimal Facade (Strategic Ploy, 1 CP) – This allows a Canoptek unit that’s wholly within your Power Matrix and is targeted for a Charge to immediately activate their Reanimation Protocols. This isn’t usually what you want to be blowing your CP on, and you have unreliable access to it thanks to the Power Matrix restriction. The only time this can be worth considering is if your opponent is doing a relatively unthreatening charge into a Wraith unit where all the models are on full health and the extra model will get you above Battle-shock threshold in your next Command Phase – it can lock in some scoring, which could be worth it. There are probably also extremely fringe situations where you can utilise it to force charges into base contact in awkward positions, but you’re talking one game in one hundred where that comes up.
- Cynosure of Eradication (Battle Tactic, 2 CP) – This is activated at the start of the Shooting or Fight Phases, and gives CRYPTEK and CANOPTEK models in one of your units that is wholly in your Power Matrix the Devastating Wounds ability. Too pure for this world, and nerfed very swiftly after release to not affect non-Cryptek models in a unit one is leading. This was wildly too good when Immortals could do it (the full fish maths with a Plasmancer worked out to ~12 Devastating Wounds to any target on an objective, and they could do it for free with an Overlord), and almost completely worthless anywhere else. You might be able to frame a desperate situation where you’d go for this if you have the CP, but realistically if you’re in a desperate situation with two spare CP in this Detachment, you’ve messed up somewhere by not using it on one of the reliably good options!
Playing This Detachment
The Canoptek Court wants to bog the foe down in the mid-board while their grindy firepower does its job, keeping Primary scoring low via well-timed lunges with Wraiths. Infiltrating a big Wraith brick plus (if you have them) Canoptek Acanthrites allow you to start responding to the opponent’s moves very quickly, with the fallback of Reactive Subroutines providing a relative degree of impunity. The Necrons’ supporting cast of cheap scoring units like Tomb Blades, Lokhusts, Scarabs and Deathmarks provide reliable Secondary scoring while this is going on, and if you want a big hammer/roving threat, you have C’tan available.
Your basic building blocks for Canoptek Court builds are:
- Wraiths with Technomancers. Almost all builds use at least two units, many take three.
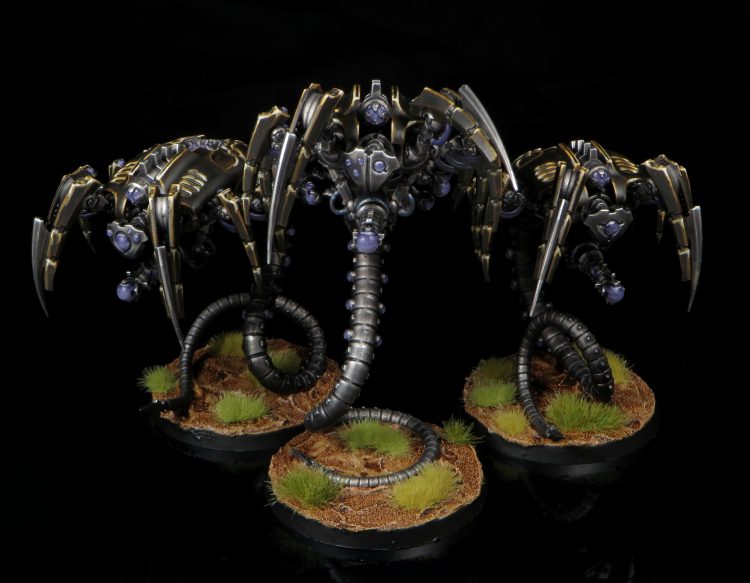
- Canoptek Doomstalkers. Two is about the average, with some builds going to three, and others skipping on them entirely – though that’s a lot less common post-Q2 2024 Balance Dataslate, as these are now one of the most cost-efficient units in the roster.
- Tesla Immortals with Plasmancers/Chronomancers. Zero to two full units is common, 5-model units with a Plasmancer are also good, though more prohibitively priced after the Q2 2024 Balance Dataslate.
- C’tan. Zero to two commonly seen.
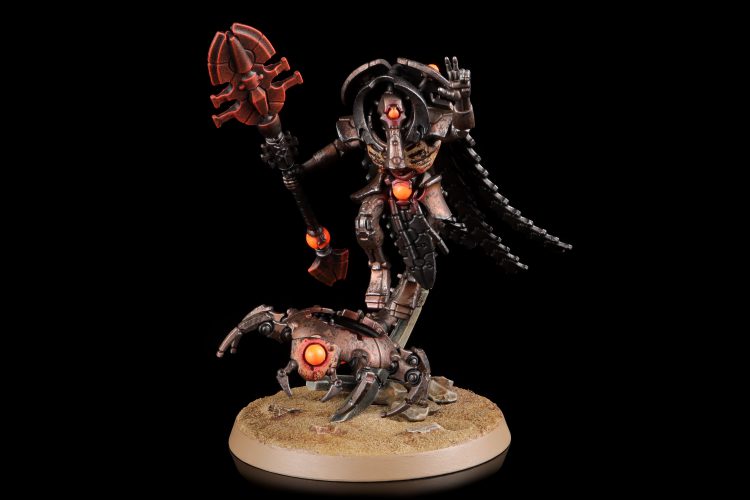
- Illuminor Szeras. Kind of just good on rate in this Detachment, as he’s a nasty, durable brawler when he has re-rolls, but especially strong if you have at least one full Immortal unit.
- Canoptek Acanthrites. Great if you can get the models.
- Canoptek Tomb Sentinels. A cost-efficient include that gives you a bit of flexibility via Deep Strike, plus some incidental protection against Psychic nonsense. If you have one, try one.
- Scoring stuff. Try to get in a decent number, and bear in mind that Scarabs are better here than usual, as you’ll reliably have a Cryptek to chain them back to, and the re-rolls aren’t terrible on them.
You can optionally add Imotekh to that list if you can fit him, but that’s much harder to do after the Q2 2024 Dataslate, as you’re running lean on spare points, and need to squeeze in enough scoring units so you don’t run out of tools for Secondaries.
The highest-performing builds have generally been the ones with the full three Wraith units, but almost every variation on two each of Wraiths, C’tan, Doomstalkers and Immortal bricks has seen top table success. You do want to ensure you have a minimum of three really tough things (i.e. Wraiths or C’tan), as this army’s game plan relies on being able to hold the foe up while grinding them out. As things stand in Q2 2024, I would recommend that you start any list with either 2 Wraiths/1 C’tan/2 Doomstalkers or 3 Wraiths/2 Doomstalkers and work from there – those are the two cores that ensure you’re utilising the capabilities of the Detachment, and provide a relatively forgiving level of resilience.
With your Wraiths and C’tan, make sure you’re thinking about how aggressively to commit with them, and keep abreast of what’s particularly good at killing them – high volume D1 stuff is a real threat in both cases. Sometimes you just want to push a single model out onto an objective, planning to zip back with Reactive, while at other times you’ll face foes who simply cannot lift two units at once, so going with both can provide a turn that acts as a tipping point. Meanwhile, with the Doomstalkers think carefully about both their Overwatch potential (so keeping one reliably in your matrix) and how you might best use Countertemporal Shift to protect them – if you can stop the enemy lining up all their guns on both of them, you can make it hard for them to kill either, but sometimes you need to accept you’re going to lose one early, but then the other is going to be active in perpetuity.
If you extend out into Immortals, keep in mind what they are and are not good at killing. Obviously they’ll underwhelm if they shoot T10+ stuff that isn’t on an objective, and if the opponent can take a 2+ save against them their output suddenly craters, and you get the “fun” of 2-3 minutes of dice rolling to do a couple of wounds at most. Use Solar Pulse and Szeras to minimise the situations where this happens, but don’t waste your CP by walking into Armour of Contempt or similar if the opponent has a 2+ base save.
Finally, C’tan. Prior to the Q2 2024 Dataslate, the Nightbringer was a gimme pick because of how undercosted they were. In the current metagame, I’d actually favour a Transcendent as my first choic, as you’re more invested in their durability than killing power. With that in mind, the flexibility of the Transcendent to zap around doing objectives ends up more useful to you than the sheer power of the Nightbringer, especially as you can generally fit fewer throwaway scoring pieces in than you used to.
Joshua Campbell’s Canoptek Court – 1st Place – Richmond Open
Joshua kicked off the post-Dataslate season with a big win at the Richmond Open, a six round major with 130 players.
”The
There is very little to say about it that isn’t already covered earlier – it’s on the full three Wraith bricks and a C’tan for a durability tilt, but still has the mandatory pair of Doomstalkers, and is ready for a hordier, Orkier metagame with an Immortal/Szeras brick. Definitely worth highlighting that Joshua has gone for the Transcendent option when picking a C’tan – the build can only fit three chaff scoring units after squeezing in all the powerhouses, so the value of a fallback scoring piece outshines a bigger damage dealer.
Final Thoughts
Canoptek Court has been one of the strongest Detachments in the game since release, and even after the Q2 2024 Dataslate toned it down a bit, remains a real top-tier competitor. If you can face painting 12-18 Wraiths, you can’t go too far wrong with it!
Have any questions or feedback? Drop us a note in the comments below or email us at contact@goonhammer.com.
