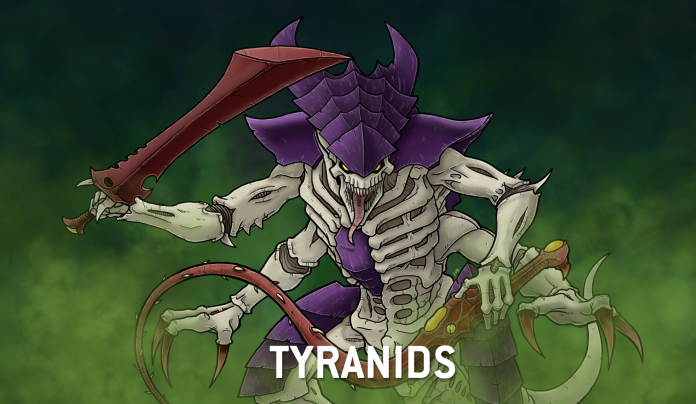
In this series of articles, we take a deep dive into a specific detachment for a faction, covering the faction’s rules and upgrades and discussing how to build around that faction for competitive play. In this article, we are covering the Army of Assimilation swarm from Codex: Tyranids
One of the big surprises of tenth edition was Tyranids receiving the first Codex, following an even win in Games Workshop’s global campaign. The Tyranids book released with some great deatchments, and of those Assimilation Swarm was one of the more overlooked options. Since then, as people have been able to experiment with the book and its options, and as we’ve seen a few dataslate buffs to the faction, we’ve seen some fun, effective builds using Assimilation Swarm emerge. The Detachment has some restrictions to work around but a fun ability to play with.
Changelog
- Update: 2024-12-30 for the Q4 Balance Dataslate
- Published: 2024-11-2024
![]()
Detachment Overview
This detachment is for Tyranid players who want to do their best Necrons impression, fielding a sustainable, tanky force. This detachment allows us you focus on units like Hive Tyrants paired with Tyrant Guard, the Haruspex, and the unassuming Ripper. You can also use units like Biovores for combo potential with Spore mines and a collection of enhancements that helps forward the game plan of returning dead models to units. It’s a bit of an odd Detachment in that it’s focused on some very specific keywords and units, but using those can pay off with some solid results.
Detachment Rule: Feed the Swarm
At the start of your Command phase, each HARVESTER unit in your army can regenerate one friendly TYRANIDS unit within 6″. A unit can only be regenerated once per phase. When a unit regenerates, you can either have one model regain up to D3+1 lost wounds or return one destroyed INFANTRY model (excluding CHARACTERS) to the unit with its full wounds remaining. If the unit is an ENDLESS MULTITUDE unit, up to three destroyed models are returned instead.
This ability got a major update in the Q4 dataslate, dropping a requirement that your Assimilators be within range of an objective marker and adding 1 to the wounds regenerated. This makes it much more useful and a lot less complicated, and the extra healing makes the ability much more reliable and useful. The only catch here is that you need a HARVESTER unit – and there aren’t many of those in the book. There are five now, with one added in the Q4 balance dataslate, and it’s worth reviewing them:
- Norn Assimilator – The only model with “Assimilator” in its name was originally left out of this detachment, but that was corrected in the Q4 dataslate. This adds a powerful extra option to the army, as this is immediately the biggest, most durable Harvester you can take at T11 and 16 Wounds with a 2+ save. They’re also the only unit that’s both Synapse and Harvester, and these are especially good targets for the Ablative Carapace Stratagem if they’re not on their chosen objective.
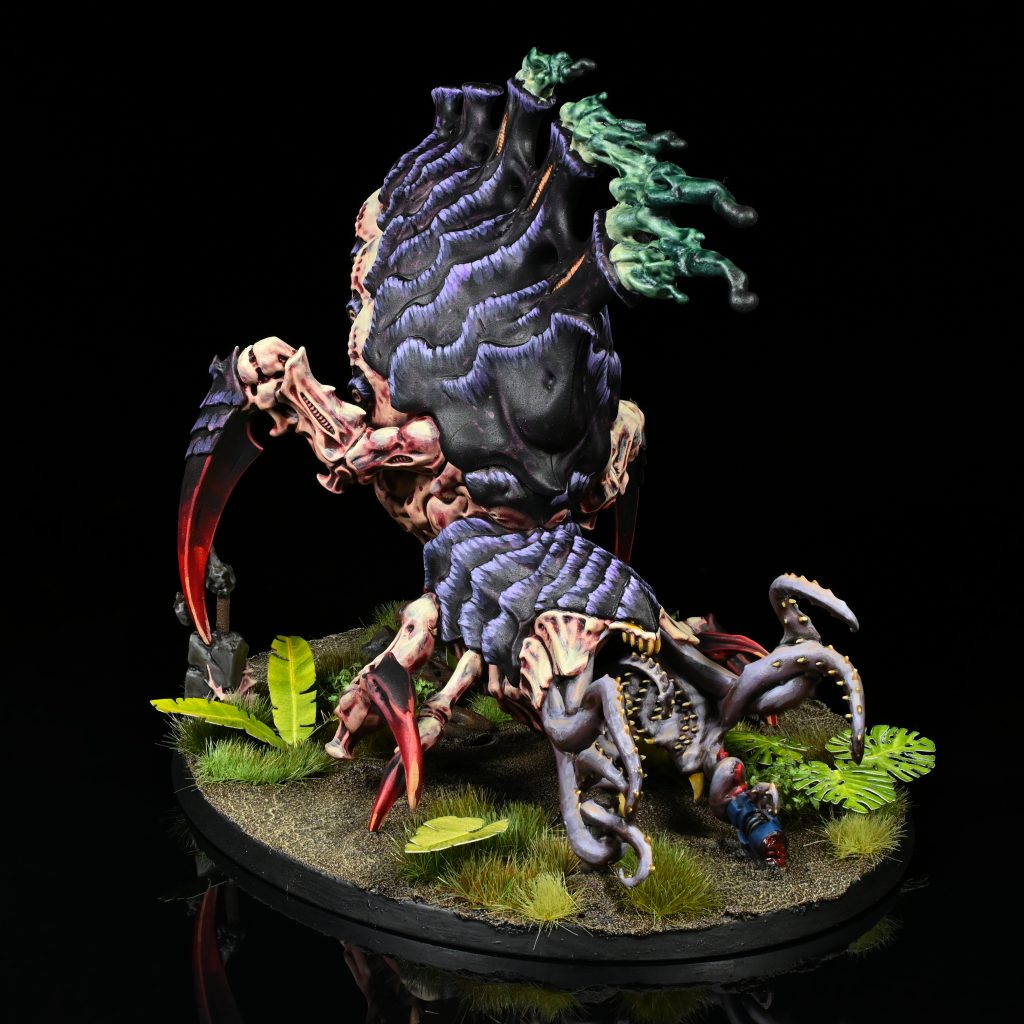
- Psychophage – These were new additions in the Tenth edition Leviathan boxed set and they’re going to be must-takes in your Assimilation Swarm lists. You’ll want to play aggressively with these guys, placing them on the edges of objectives and using their large base sizes to toss out regeneration at a distance.
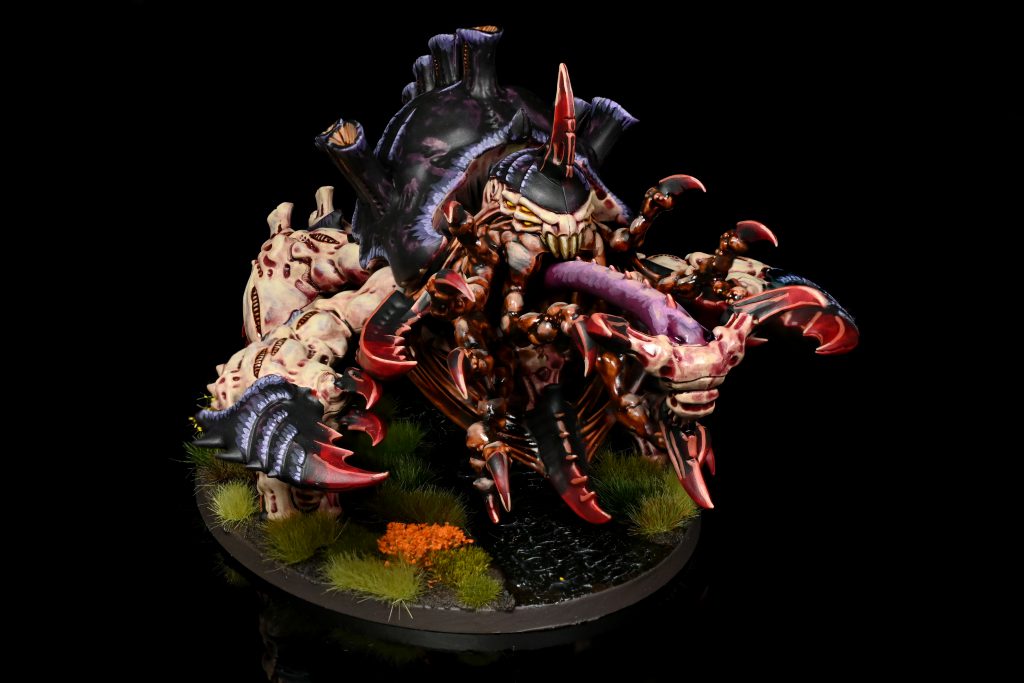
- Haruspex – This unit still needs to be more appropriately priced for the melee damage it can produce. These make an excellent target for your Rapacious Hunger Stratagem and in my estimation should show up as three-ofs in lists, even if tournament results haven’t borne that out yet.
- Pyrovore – These are cheap objective holders which can also walk on from reserves to deliver ignore cover in different areas.
- Ripper Swarms – Cute little guys who can help you play the game and wreak havoc on opponents trying to steal objectives from you. Not only that, but since they are HARVESTER units, you can try and make them into larger squads of two or three to further the range of where your regeneration abilities can touch.
Enhancements
The Annihlation Force Enhancements are great. They help support what our army wants to do and, at the same time, make it so our bigger units can function and be more deadly. Redundancy with our regeneration and improved melee capabilities make some of these real choices. None of your character options in the army are HARVESTER units natively, so these all tend to interact with other nearby units.
- Biophagic Flow (Aura) – 10pts – This enhancement is for any Tyranids character and allows friendly harvester models within 12” to use their Regeneration army ability at 9” instead of 6”. It boosts a backline healing unit or something you want to hide behind a building. Rippers can stretch out how far they can heal when supported by this enhancement, as can a Neurotyrant or another unit that wants to stand in the backfield. This would be one of my auto-take enhancements, as it helps minimize the distances we have to work with in this army.
- Instinctive Defence – 15pts – While the bearer is within six inches of one or more friendly harvester units, you can target the bearer’s unit with the Heroic Intervention stratagem for free. In addition, while the bearer is within 6″ of a friendly harvester unit, models in the bearer’s unit gain the Fights First ability. This is great – it reinforces what you already want to do, which is staying next to your Harvester units while also helping you protect them with Fights First. You want to put this on a Hive Tyrant with Tyrant Guard or a Broodlord with a unit of Genestealers.
- Parasitic Biomorphology – 25pts – This enhancement adds one to the Strength characteristic of melee weapons equipped by the models in that bearer’s unit. This can be interesting with the recent update to Synapse, which already increases your strength by 1 while you’re within Synapse Range. The fact that this works on the whole unit and not just the character is great, and getting +2 Strength on your melee weapons is huge – on a unit of Tyrant Guard you’ll be hitting at S7 with the Bone cleaver and scything talons, or S10 if you opt for the Crushing claws. As an additional benefit, the first time you kill an enemy unit in melee while the bearer is within six inches of one or more friendly Harvester units then until the end of the battle that unit gets +1 to its Attacks characteristic as well. That’s a huge boost for doing something you already wanted to do – eat.
- Regenerating Monstrosity – 20 pts – This enhancement can go on any non-Monstrous model. The bearer’s unit can be regenerated up to twice per phase instead of once. The monstrous creature’s exclusion is clearly to prevent people from bringing back Tyrant Guards multiple times per turn, and limits you essentially to the Winged Tyranid Prime and the Broodlord. Where this is interesting is if you take this enhancement on a winged Tyranid Prime and put him into a max-size unit of Gargoyles or Tyranid Warriors. This gives you a sort of Endless Swarm dynamic with them which can hlep you stay on the table much longer than your opponent will expect.
Stratagems
The main problem with the Assimilation Swarm stratagems is that most of them either target Harvester units or want your unit to be near a Harvester unit. This further endorses that you’ll be spending a lot of time and energy to keep your key units around Harvesters.
- Broodguard Impulse (Epic Deed, 1CP) – This can be used in any phase, just after a Harvester unit from your army is destroyed. This places a target on the enemy unit that just killed yours, giving every unit in your army +1 to wound when attacking that enemy unit. This allows generals to play aggressively with some of their Pyrovores or even a Haruspex to bait those must-kill units our enemies are using into becoming more vulnerable. Did a mean unit of Deathwing Knights just bully your poor Ripper Swarm into the dirt? Good news – it’s time to rain down buggy vengeance!
- Reclaim Biomass (Strategic Ploy, 1 CP) – This is used in any phase after one of your units is destroyed, before removing the last model. One Harvester unit from your army within 6″ of that destroyed unit (so read this as the last model) can then Regenerate one friendly Tyranids unit within 6″ of the Harvester. This is pretty tricky – you need to make sure the last model you remove is within 6″ of a Harvester to make it work but where this really shines is with Spore Mines. Every time a unit of these explodes you can trigger a Regeneration, provided you have a Harvester unit close by to take advantage. This is a convenient strategy as it gives Spore Mines a real job to do given that they can no longer perform actions.
- Tyrannoformed (Strategic Ploy, 1 CP) – Used in your Command phase; one Harvester unit from your army within range of an objective marker can utilize this stratagem to make that marker sticky (it stays under your control even if you don’t have any units on it until an opponent controls it at the start or end of a phase). This is pretty straightforward, though note that you have to control the objective, so this isn’t something you can do with just Ripper Swarms as they’re OC 0 units and would need a partner. Every army wants a way to do sticky objectives, and the only method Tyranids have access to is here in this detachment.
- Ablative Carapace (Epic Deed, 2 CP) – Used during your opponent’s Shooting phase or the Fight phase, just after they select their targets (so before attacks are made). One Harvester unit from your army that was chosen as a target of that attack gains a 5+ Feel No Pain. If your unit is also within range of an objective marker, this improves to a 4+ Feel No Pain. This is a fantastic ability but it’s unfortunately locked behind that keyword requirement, meaning the only good target for this Stratagem is the Haruspex. And for 2 CP it’s going to be hard to justify using it on anything that isn’t in a particularly key situation (such as being the last unit on an objective you need to hold in the following phase). If you have a Hive Tyrant nearby to knock the cost of this down to 1 CP on your Haruspex or Norn Assimilator, that’s not a bad shout.
- Secure Biomass (Strategic Ploy, 1 CP) – Used during either player’s Fight phase, where one Tyranids unit from your army that has yet to be selected to fight can be selected to gain the [LETHAL HITS] ability. As an added bonus, if you choose a harvester unit with this Stratagem, then every time they make an attack, they score a critical hit on a 5+ until the end of the phase. This is a stratagem that again works perfectly with the Haruspex thanks to the large volume of attacks it can throw out, though it’s also worth looking at on a non-Harvester unit like Genestealers or Raveners to give them an output boost against a unit which they might normally bounce off.
- Rapacious Hunger (Battle Tactic, 1 CP) – Used in the Fight phase when one Tyranids unit from our army kills another unit in melee. That unit can immediately regenerate as laid out in the rules of the detachment. If the unit you use this on is a Harvester unit and you chose to heal back wounds, it regains a flat 3 wounds instead of D3. This is great for monsters and Haruspexes and good enough for units of Tyrant Guard.
There is some real playability here that you might not see in other detachments. You’re going to be looking at extra healing and making objectives sticky pretty often. If you’re going heavier on monsters and building a Monster Mash list you’re going to want to lean heavier on Ablative Carapace for a Feel No Pain to effectively give you more wounds and get more value out of your healing – when you can get a 4+ FNP, every wound you regain can effectively be two wounds. There are a lot of people who aren’t fans of 4+ Feel No Pain abilities but if you’ve got then you should absolutely use them, especially when doing os means keeping a big, wiggly monster standing on an objective.
Playing This Detachment
The Assimilation Swarm is a tough detachment to play with well – it’s not for players who aren’t big on Movement and Positioning. Understanding aura distances, understanding where your models need to be to take advantage of those auras, and understanding how you can interact with your opponent’s army while still staying near your harvester units is vital. These skills take time to develop, and require having a good play group to test with. This is a detachment that will take a little bit of practice to play well. That’s not a bad thing, though – getting in those games can be legitimately fun, and as you focus on the game thinking about your auras and working around the best combos in the army to use them makes this Detachment and play style feel incredibly unique. The good news is that it’s quite a bit easier to play now thanks to the dataslate update, as you can range around the table a bit more freely – but you’ll still need to focus on your auras and positioning.
One of the big problems this army faces is that there are very few Harvester units – you’re going to be boxed in and playing around a small number of units. Rippers can be a big part of this: Taking them in swarms of pairs that can be strung out between objectives – giving you range on multiple units which are standing on the edges of objectives – can be very effective. At 40 points for two bases they’re the cheapest Harvester unit you can run and at two models starting strength, if your opponent kills one you won’t be forced to take Battle-shock tests.
The other good bit of news from the Dataslate is that the Norn Assimilator is now an option, and gives the Detachment an intriguing use for the otherwise under-used monster. Norn Assimilators are the only Synapse Harvester unit and give you some solid melee output while also being the kind of big, tough unit you want to be healing itself while holding an objective. The biggest problem is that their damage output can be a bit underwhelming. Being able to give them a 4+ Feel No Pain on objectives can be a pretty big deal however.
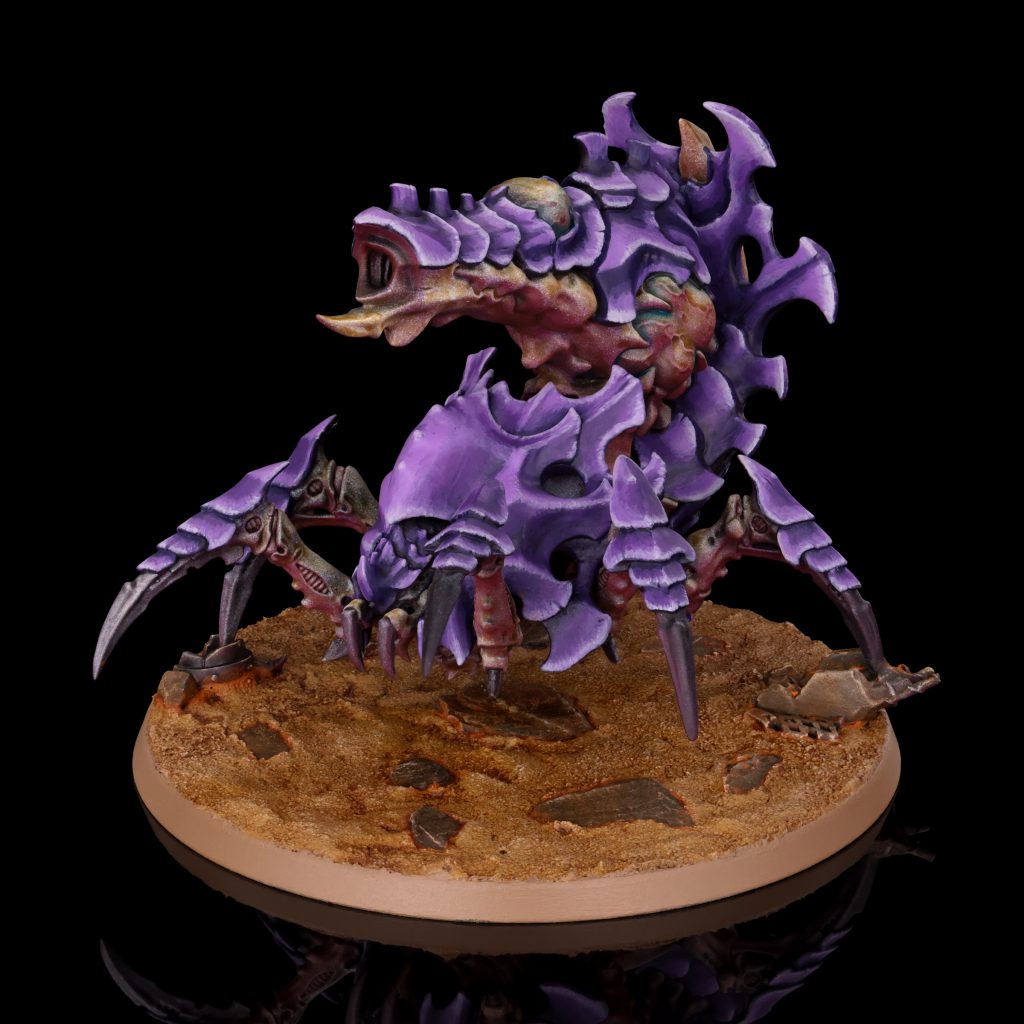
Next up is the Psychophage, a smaller but semi-durable monster which gives nearby units a 6+ Feel No Pain, which makes regenerating nearby units 20% more valuable. These work well with your advance forces, hanging out near the units you want to regenerate, and they’re good units to have near your Spore Mines so you can use the Reclaim Biomass Stratagem when those explode. Psychophages represent the kind of lower cost, durable units you want if your plan is to support better units with cheap healing effects without going “all in” on the Detachment’s secondary, Harvester-focused bonus effects. They’re good to have running alongside your large units of Tyrant Guard.
If you want to go bigger, you’ll want to get comfortable with the Haruspex. These can be very strong forward pressure units alongside full size units of Tyrant Guard with a Hive Tyrant, and when you combine that pressure with their strong defensive abilities they can make your Tyranids army feel like an unstoppable melee swarm. Bringing back full models of Tyrant Guard has a really demoralizing effect akin to bringing back canpotek wraiths and can make for tarpits your opponent can’t fight out of. They’re also just pretty reasonably priced for what they offer, and they’re the ideal target for many of your Stratagems.
Ultimately the name of the game here is to use your Detachment’s regenerative ability to return the biggest, nastiest INFANTRY models you can – namely, Tyrant Guard and Zoanthropes. These are bigger, multi-wound models with good saves and a solid amount of damage output and getting an entire model back is usually going to be a lot more value than healing D3 wounds on a bigger monster, especially if you can double up on the regeneration or combine it with feel no pain abilities like the Psychophage’s 6+. These regeneration effects don’t just make your units super durable; they also force your opponent to expend extra resources to overkill a unit to ensure it has no models left with which to regenerate. And if you’re doing your job right with positioning and pressure, that won’t be possible, forcing them to watch as you bring back 1-2 models the following turn.
The key here will be positioning – you need to make sure your Harvester units stay close by, and take into account where you’ll be pulling casualties from when you move – you don’t want to end up in a situation where you pull yourself out of regeneration range removing casualties.
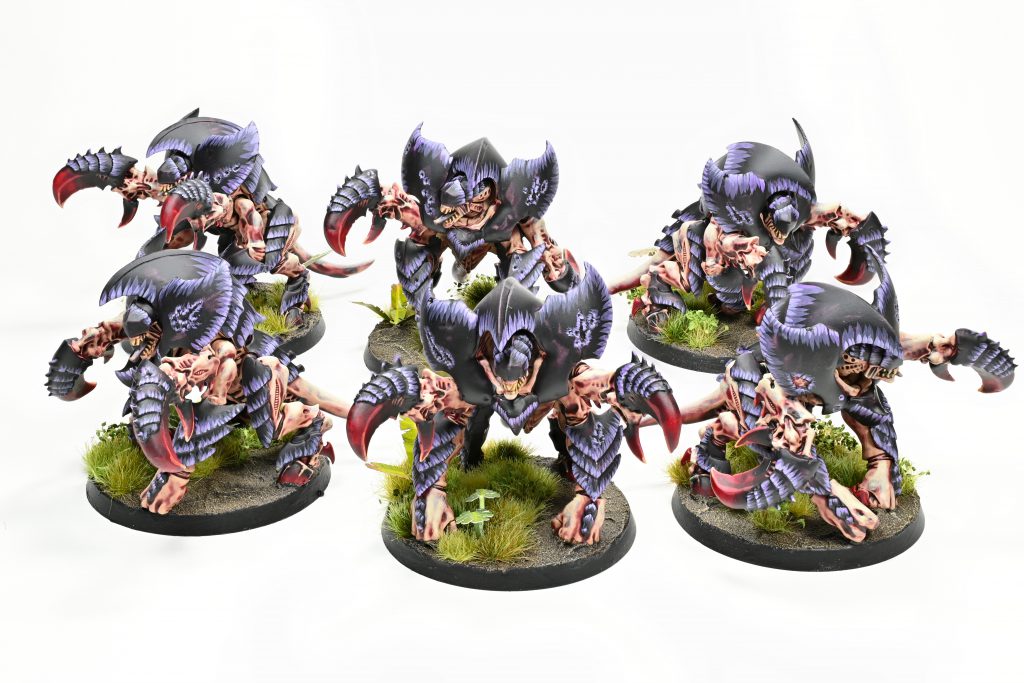
A Sample List
If you want to see what this looks like in a successful list, you’re in luck – while there haven’t been a ton of successful Assimilation Swarm lists, we have seen it happen. Paddy Baron took this list to a 4-1, fourth place finish at a 5 round event in mid October, taking down two Chaos Knights players, a Custodes player, and a Necrons player before losing to Orks in the final round. It’s a great example of a solid Assimilation Swarm list.
The list - click to expand
A lot of what we’ve already talked about is in here – two large units of Tyrant Guard, Zoanthropes, a Tyrannofex, and an Exocrine make up the bulk of the list while there are five Harvester units to support them – Two Pyrovores, two Psychophages, and a Ripper Swarm. This list opts for cheaper regeneration enablers on bigger units, specifically the two units of Tyrant Guard which get attached to the Swarmlord and Hive Tyrant. There are two significant enhancements here – one for Fights First and the other for extended Regeneration range on the Neuroptyrant. The key here is to use your regeneration effects to bring back dead Tyrant Guard and Zoanthrope models, getting the most out of your recursive abilities as you threaten different parts of the board and force your opponent to expend extra resources trying to overkill units.
Final Thoughts
This Detachment has some great aesthetic vibes and really makes you want to think about how to play with these mechanics and units as an army. It is not easy to do certain things because of the spacing required around your Harvester units, but getting it right is going to be very rewarding. It’s a great challenge for someone who wants to step up their Tyranids game and move in a different direction to what we usually see and it’s very possible to build something competitive with this Detachment.
Have any questions or feedback? Drop us a note in the comments below or email us at contact@goonhammer.com. Want articles like this linked in your inbox every Monday morning? Sign up for our newsletter. And don’t forget that you can support us on Patreon for backer rewards like early video content, Administratum access, an ad-free experience on our website and more.
