Codex Aeldari equips the Asuryani (and friend) with eight powerful new Detachments to choose from. In today’s articles, we’re breaking down what each and every one of these has to offer Aeldari aficionados.
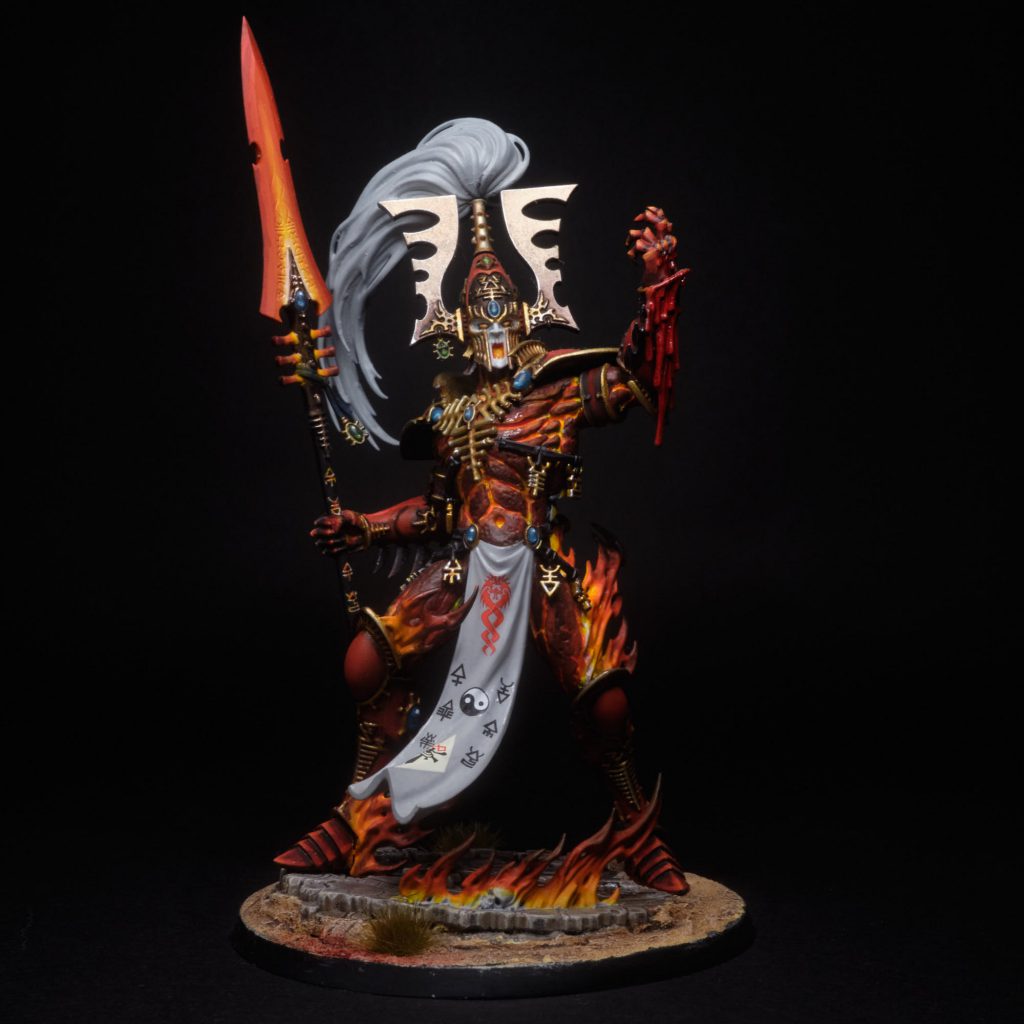
The path of war calls louder than ever in the new Aeldari codex, bringing players both powerful updates to Aspect Warrior datasheets and a whole detachment dedicated to unleashing the wrath of Khaine. The Aspect Host is, appropriately, the closest you get to a “raw violence” detachment in the Aeldari codex, upping the power level of Aspect Warriors and the Avatar of Khaine so that they can sweep through your opposition. This is a very special moment for me (Wings), as I’ve always loved Biel-Tan and Aspects (my very first tournament list was an 8th Edition Brigade of Aspect Warriors), and I’m delighted to finally get rules themed around them that really hit. Let’s unpack why.
We’d like to thank Games Workshop for providing us with a preview copy of these rules for Review purposes.
Detachment Overview
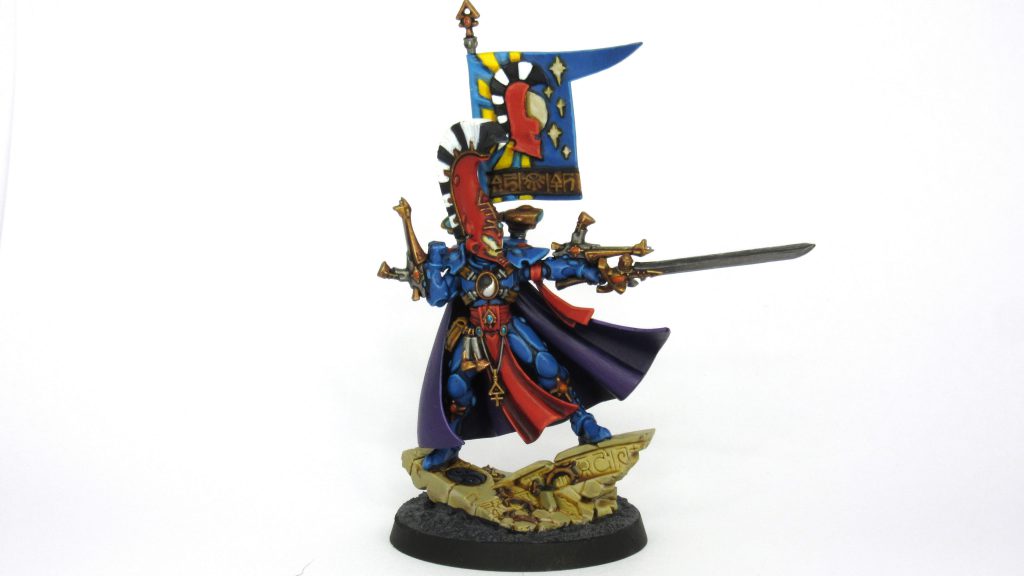
The Aspect Host plan isn’t especially complicated – put the Avatar, Aspect Warriors and Phoenix Lords in your army, sprinkle in a few supporting elements, then leverage your lethal killers to carve through the foe at speed. This is still an Aeldari detachment, so it isn’t just offensive boosts, but those are the main selling point here, with powerful Stratagems and an all-purpose output upgrade from the Detachment rule ensuring that when you want something dead, they get dead.
The Video Version
If you’re more interested in watching the paths of the warrior than reading about them, you can find the video version of our Detachment Focus here:
Detachment Rule – Path of the Warrior
Each time an Aspect Warrior unit or the Avatar of Khaine shoots or fights, you can select to either re-roll Hit or Wound rolls of 1 while making those attacks. Good clean fun, particularly in a book that doesn’t have too many Datasheet-based sources of re-rolls for the units that this detachment supports.
In terms of how to use it, at a baseline the expected impact on your damage output doesn’t actually change whether you choose Hits or Wounds for this, as re-rolls of 1 are always just a 7/6 multiplier added in to the probability of a successful Hit → Wound → Failed Save. You will, however, get lower variance if you pick whichever of Hit or Wound your unit was already better at, which can occasionally be something you factor in (i.e. if you just want a reliable clip of improvement or just can’t afford an unlucky low roll, go for the one you’re already better at, if you need a wild high roll, pick the one you’re worse at). On low volume, high quality attacks (e.g. big Avatar swings) it can also be worth prioritising the Hit roll if you’re willing to spend a Command Point down the line to re-roll a Wound, as use of a Command Point re-roll is more likely to have an impact the further through the attack process you are.
Other effects can obviously change this calculus. If you have Critical Hit or Critical Wound effects, assigning this to the relevant roll gives you more shots at those, and this detachment has a fair few ways of adding Critical Hit effects. You also obviously don’t want to use this on a roll where you already have re-rolls for some reason, such as Wound re-rolls from a Falcon.
The net outcome of the maths here is that you basically can’t go wrong if you always pick hit rolls unless there’s a very obvious reason not to, and it’s probably worth defaulting to that a lot of the time rather than overthinking your way into picking Wounds as there are probably more situations where that’s marginally the wrong choice (though it is marginal).
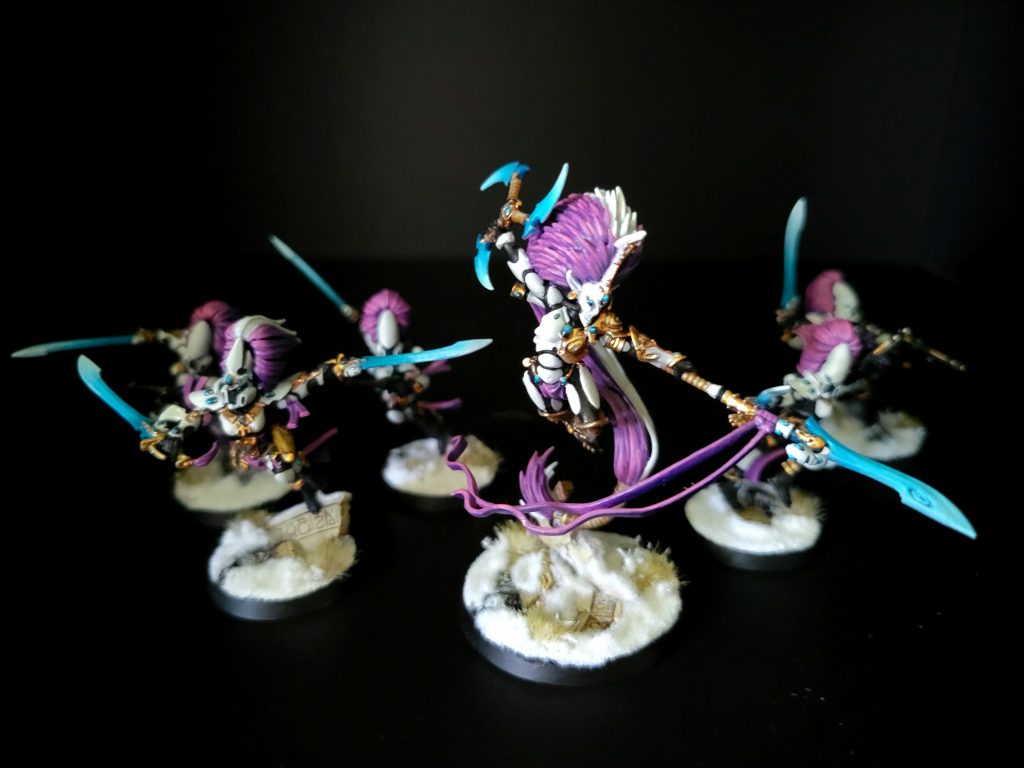
In terms of what this works well with, the answer is “all the units you already wanted to take here”, which is good, though it is worth saying that because re-roll 1s is just a consistent percentage output increase, it does more for units that were already high-impact, so the Avatar and units with Phoenix Lords in particular get a lot out of this. Howling Banshees also do especially well when fighting their favoured targets of enemy Infantry, as the combination of hitting on 2s and wounding on 3s there gives them a high “starting” conversion rate for attacks. It also stacks well with anything else that gives bonuses, as it creates a compounding boost, so combining it with a Falcon for Wound re-rolls or adding extra AP via a War Walker can be nice.
In terms of where it’s less impactful, Fire Dragons and Warp Spiders theoretically get a little less from it than other Aspects, the former because they already get re-roll everything against their priority targets, the latter because they can only use it on wound rolls where they’ll already often have low conversion rate. In practice, you’ll still take them in this detachment because they’re good units, and in both cases having the Phoenix Lord swaps this back to being excellent, as it turns a Fuegan-led unit into reliable elite-infantry killers as well, while Lhykhis wants the hit re-rolls in melee a lot.
Enhancements
Autarchs can lead Aspect Warriors now, and this detachment provides four upgrades you can give them to enhance their capabilities while doing so. All of these are at least interesting, but our experience thus far has been that they’re tricky to cram into lists, as we’re generally trying to slot in as many Phoenix Lords as possible rather than Autarchs. Finding the exact right Aspect unit for the cost/benefit to pay off can be tough. The sheer potential here means there are bound to be situations where they do get used though.
- Aspect of Murder: Gives an Autarch’s melee weapons +1D. On paper, very spicy on either the star glaive or banshee blade options, turning an Autarch into a nasty blender, but hard to find the exact right place for as it isn’t quite enough of a lift to make the Autarch a solo threat, but if you want to spend that many points on adding a melee threat to most small Aspect units, just take the Phoenix, while if you want a big Banshee unit with an Autarch in it, take the next option. The most plausible place for this, by process of elimination, is with a unit of Scorpions, and that could definitely be real – with their improved Infiltrate/Scout combo they can deploy very aggressively, and an Autarch with this and a fusion gun slotted in pushes them to wildly higher threat levels than most easily hidden Infiltrators (and the Autarch Battle Focus re-rolls are useful in that situation too). If you’re doing that, probably take the glaive, as you want to threaten to kill anything, not just INFANTRY.
- Mantle of Wisdom: While the model is leading an Aspect unit, they can pick both options from the Detachment Rule rather than just 1. This is expensive and wants you to ideally take a full 10-model unit to get the most value from it, and the most plausible option there is Banshees. They will get very reliable at converting damage with this up, and can use the Autarch Battle Focus re-rolls to dodge and weave after their first strike. You definitely wish you could take an Autarch Skyrunner and put this on Shining Spears. RIP to a resin one.
- Shimmerstone: While leading an Aspect Warrior unit, incoming enemy shooting has -1 to Wound against them. A solid nice-to-have, particularly on an Autarch leading Reapers whose initial plan is to jump in and out of a Falcon, as it gives them extra survivability if their ride gets blown up or if the opponent tries to handle them with Overwatch.
- Strategic Savant: While leading an Aspect Warrior unit, the unit has +1OC. A nice to have if you’ve got points left over, but not earth shattering. Becomes increasingly worth considering if Daemons or Tyranids are rampaging in your local metagame as it gives you a way to hold an objective while Battle-shocked.
Stratagems
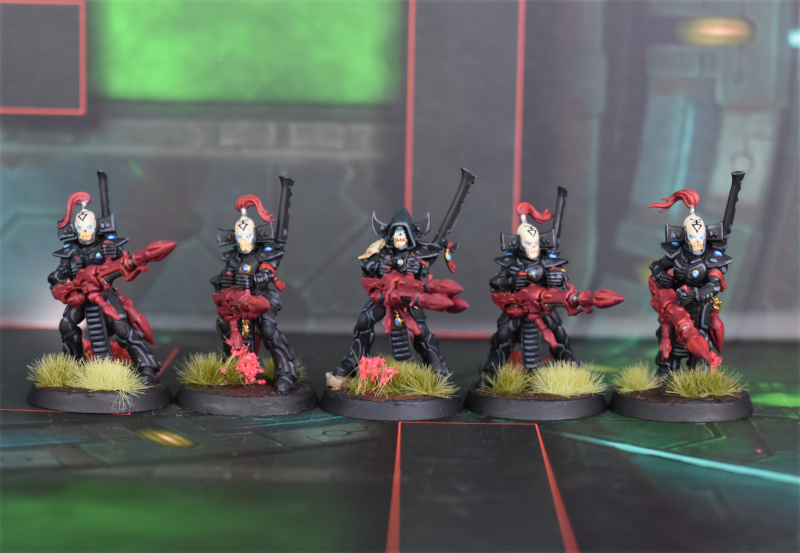
The Stratagems are definitely what pushes this detachment over the top – to make this kind of army work you need to reliably kill what you hit, keep your combos moving, and punish the enemy for every inch they try and push back.
- Warrior Focus (Battle Tactic, 1 CP): This is the key Stratagem here, ensuring your threats are live in all matchups. For 1CP when you Shoot/Fight with an Aspect or Avatar unit, you can ignore any/all modifiers to Hit Rolls, BS, WS, S, AP and (crucially) damage when resolving the attacks (note: not Wound rolls). Bypassing damage reduction is always worth its weight in gold, but to be able to do it on such a wide variety of units on demand is pretty much unprecedented, and helps all the flat D2 and D3 weaponry scattered through Aspects reliably pop off. It’s also exceptional with the Avatar’s sweep, letting him go through Space Marines like so many skittles. Top stuff and something you want to be saving CP for in any matchup where it’s relevant.
- To Their Final Breath (Strategic Ploy, 1 CP): Fight on death for Avatar/Aspects on a 4+, or on a 3+ if you discard an Aspect Shrine token (and if you have one and are triggering this, you probably should). Good for squeezing leftover value from your units after they’ve alpha striked, and good for making your opponent watch in terror as you try and roll a 4+ for the Avatar. Don’t love how swingy that coin flip will be in a lot of games from a design point of view, but when it hits it is definitely powerful. For the Lhykhis unit in particular this probably incentivises you to save your Shrine Token if you send them out on a go turn and you don’t think the opponent can bring shooting to bear.
- Skyborne Sanctuary (Strategic Ploy, 1 CP): Same as in Battle Host, lets you get back into a Transport for 1CP. Great on a unit of Reapers with an Autarch to activate this for free each turn.
- Doom Inescapable (Battle Tactic, 1 CP): Use in your Shooting Phase, boosting the Avatar’s range to 18” and setting their damage to flat eight. Still only one shot, but if there’s something nearby on exactly eight wounds (or you’re feeling real good about rolling a 6 to hit) then sure, go for it. This does also have a fringe but possibly relevant interaction with defensive abilities that set damage to zero (e.g. Dorn Ablative Plating) – per the rules commentary, because you’re using this on your turn, you choose the order in which “set” effects apply, so you can choose to apply this after setting to 0. Those effects are pretty rare, and I don’t like this as an interaction (I think GW should change the modifier ordering rule slightly so “set to 0” is always last when handling damage modifiers, because I also don’t think they way they interact with Melta weapons is intuitive) but be aware of it if you’re leaning on those tricks to protect your toys.
- Preternatural Precision (Battle Tactic, 1 CP): Used when Shooting to give an Aspect Warrior unit your choice of Lethal Hits, Sustained Hits 1 or Ignore Cover, or two of them if you burn a Shrine Token. Obviously strong, and has a breadth of options that mean you have something even for units that already have one or more of these built in. Note that if you’re picking Sustained Hits 1 you often don’t want to be burning a Shrine Token here, as you often get more value by using the Shrine Token to guarantee a Critical Hit. Imagine one-shotting a Knight by putting two “big” Fuegan hits into it. Wouldn’t that be fun? Also funny is using it on Baharroth coming in with a squad of Hawks thanks to his auto-crits on arrival.
- Khaine’s Vengeance (Strategic Ploy, 1 CP): Forces Desperate Escape tests for a non-Vehicle/Monster unit that Falls Back from Aspects or the Avatar (with the standard -1 on the tests if they’re also Battle-shocked). Fun if you use the Sudden Strike Battle Focus ability to slingshot the Avatar into something after killing his primary target, and provides another way to generally boost the value you’re getting from each unit that goes on a rampage.
Playing This Detachment
Strengths
- Ultra-high damage output, allowing you to carve through foes.
- Access to a very powerful Stratagem to bypass damage reduction, meaning there’s almost nothing you can’t kill.
- Maximises the value of the Avatar of Khaine, making it the best way to run a list with a big scary monster.
Weaknesses
- Encourages an all-in playstyle, which can go wrong if you pick bad targets.
- Limited tools for protecting large Aspect Warrior units.
- Enhancements can be hard to find the right units to boost
Analysis
This is a detachment all about lining up your threats with what they’re best at eviscerating, then landing those blows. Stratagems combine with the option to have an augmented Autarch Infiltrate with some Scorpions (or to just use Lhykhis) to let you sow some early chaos, the Avatar provides an all-purpose killing machine that’s at peak efficiency use here, and in general, the already strong Aspect units get even better at their jobs when unleashed in this detachment. Just remember that you do need to be prioritising picking achievable kills and taking them – outside of what Battle Focus gives you (plus one Skyborne Sanctuary unit) you don’t have too many tools here that protect your units, so it’s vital that when you go for big plays, they land. If your opponent has a threat you’re not confident you can kill with your Aspects, use Aeldari mobility to work around it until the Avatar can be lined up to murder it.
A Sample List
”Herohammer
Realistically this is the kind of list I would field early to try a lot of things out rather than down-the-line when people have worked out the most efficient choices, so there’s a bit of everything here. You have fast, early threats from either Lhykhis’ squad or the Spears, a big chunky threat from the Avatar, staged threats in a Serpent from Asurmen/Fuegan and then some attrition from the Reaper/Autarch squad and their Falcon. A bit of supporting utility, and you’re all done. I would dearly love to get some Banshees in here too, as they rule in this detachment, but there are so many cool things you want.
Final Thoughts
Biel Tan was my first love, and other than the fact it involves painting the vast majority of the Aspect Warriors that Games Workshop were so kind to send me, I’m very excited to play this list. So, like, ask me again in two months.
Have any questions or feedback? Drop us a note in the comments below or email us at contact@goonhammer.com. Want articles like this linked in your inbox every Monday morning? Sign up for our newsletter. And don’t forget that you can support us on Patreon for backer rewards like early video content, Administratum access, an ad-free experience on our website and more.
