
Who Are X-23 & Honey Badger?
Laura (X-23) and Gabrielle (Honey Badger) are products of an offshoot of Weapon X known as the Weapon Plus Program. Their creation was an attempt to recreate what many consider to be the ultimate weapon in the form of Logan James Howlett, or as we all know him as – The Wolverine.
While Honey Badger is technically a clone of X-23, when the pair first met in Issue #2 of All New Wolverine – they formed a more sisterly bond in their shared lethality and adeptness in all things SNICKT! Their makeshift family alongside Old Man Logan and Jonathan The Unstoppable, an actual wolverine Gabrielle insists on keeping as a pet (comics can get weird at times) forms the foundation for what keeps the pair so close. Which translates nicely into their play pattern in MCP…
X-23
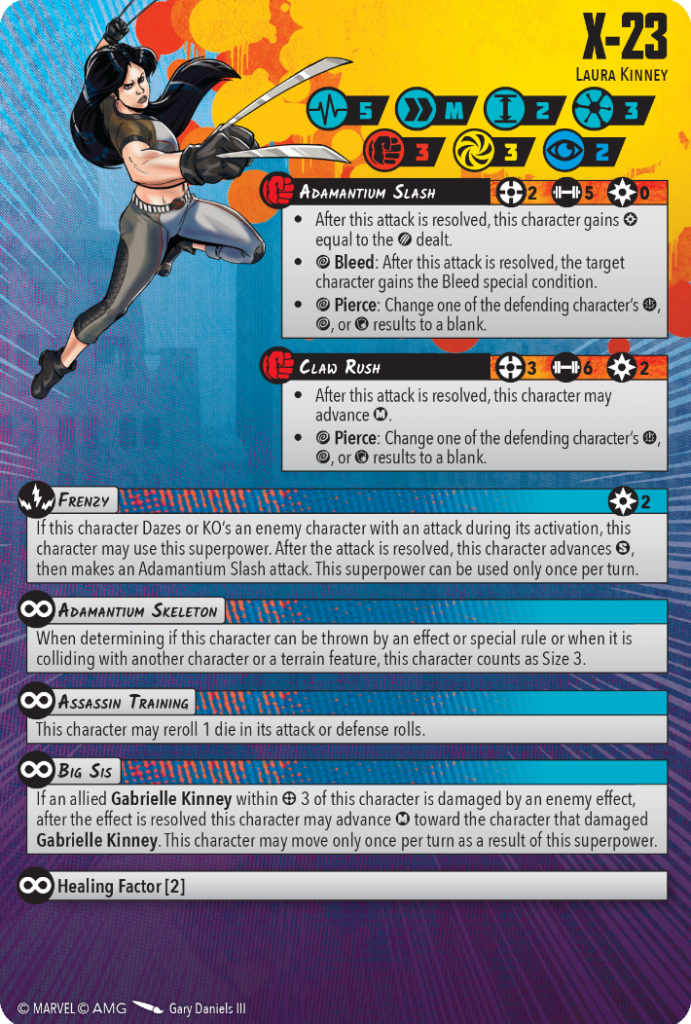
X-23 is one of the premier 3 threat assassins in MCP. Her job is to hit stuff hard and stay mobile while doing so. Having a Wild Pierce trigger on her Adamantium Slash, in combination with the re-roll granted by Assassin Training makes her very consistent with getting damage through her targets defences.
Frenzy can prove tricky to get off, but is devastating when it does. The timing for this trigger is a weird one, so it’s worth highlighting here. It shares the same timing as Angela’s Angelic Assassin, which means you must have 2 power to spend on Frenzy before you make an attack that could daze someone. There’s a bit of mental mathematics needed to plan this out, but since Laura’s entire kit is in multiples of 2, it isn’t too hard to track.
The biggest possible turn from X-23 requires 6 power, ideally next to an enemy with 1-2 health remaining (or a Grunt character…as Grunts sometimes struggle to defend themselves). Again, thanks to the Pierce triggers on Adamantium Slash and Claw Rush, predicting these ‘easy’ dazes is a little more forgiving.
Step 1: X-23 activates and spends 2 power to Claw Rush a target, achieving a Daze or KO.
Step 2: X-23 spends 2 power to Trigger Frenzy. As this happens when the attack is resolved, she now has a choice. Either move Short and make a free Adamantium Slash against a target within 2 OR move medium as part of her Claw Rush from Step 1. The timing of the ‘OR’ here is key to the real strength behind X-23. She will have full knowledge of the state of the board at the point where she decides where to move and how far. If she failed to Daze in Step 1, well then she can stay where she is and try again.
Step 3: After deciding where to move, hopefully making her free attack, X-23 can now spend the final 2 power to Claw Rush once more. After seeing the result of the attack, she can then decide if she wants to move forward towards more potential targets, or if she wants to disengage back to safety; perhaps to within Range 3 of our next character…
Honey Badger
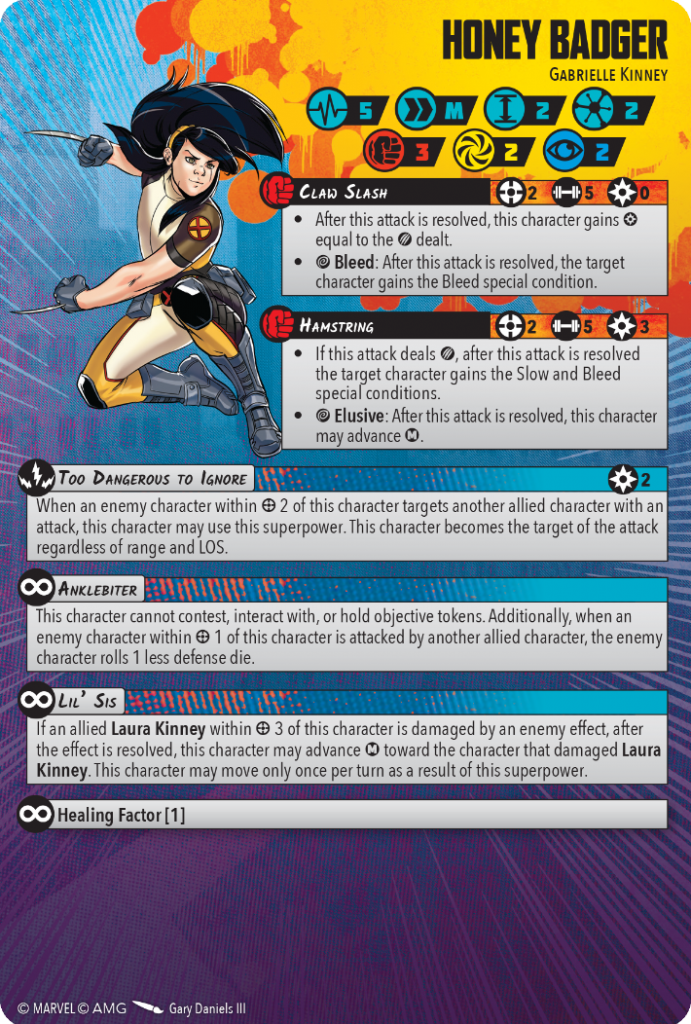
Honey Badger is a 2 Threat pseudo-bodyguard who has one primary job – to enable other members of the team to do their job.
Honey Badger gets a bit of a bad rep from some MCP players for being a 2 threat that cannot score points due to Anklebiter. However I think another way to view her is as part of a 5 threat duo with X-23. Much like Rocket and Groot, when the two of them are played together, they really shine. The combined 5 threat isn’t necessarily split evenly between the two though. I think that if we view Honey Badger as a 1 threat that enables X-23 to play like a 4 threat, it’ll help us enjoy what Honey Badger brings to the table more.
Moving twice with Honey Badger is a perfectly acceptable activation for her. She can’t score points and her attacks aren’t much to write home about, but having her stand within Range 1 of an enemy will put Anklebiter online – and within Range 2 of (hopefully) multiple enemies bringing Too Dangerous To Ignore online is exactly what her job is. But there is one more range we should be aware of when seeking for the Honey Badger sweet spot…
Being within Range 3 of X-23 is what will turn on what I think is the most fun part of her kit – and exactly what makes this duo shine, Lil’ Sis. Combined with X-23s ability Big Sis, if either of the sisters take damage from an enemy effect, the other one can move Medium towards the character that caused the damage.
Something important to note here, this isn’t just triggered by damage from attacks. It’s any damage from an enemy effect. Did The Mighty Thor get their Electric Shock trigger and deal damage to X-23? Honey Badger gets a free move. Did Honey Badger whiff an attack into a Gamora that used Martial Prowess? X-23 gets a free move. Did Kingpin get frustrated with the sisters and throw them into each other? Guess what, if they both take damage, they both get a free move!
Once you get used to spotting the triggers for Big Sis & Lil’ Sis, you’ll get a hell of a lot of enjoyment out of your opponent asking, “Is that that works? Can I see the card please?”
Yes. That is how it works and it’s fantastic.
Another one of Honey Badgers jobs is to be annoying. Because she doesn’t score points, you don’t have to worry about her positioning being just right. Instead, you are playing a mini game with the 3 ranges listed above. Range 1 for Anklebiter, Range 2 for Too Dangerous To Ignore and Range 3 for Lil’ Sis. This will likely encourage your opponents to spend resources to deal with your 2 threat, who isn’t scoring points and is likely about to help X-23 get into a position where she can do the best at what she does.
Too Dangerous To Ignore is fantastic, but the value can be somewhat hidden when you first start playing with Honey Badger. If she can take an attack from a much higher threat character, instead of it hitting a teammate with more important things to do (i.e. score points), that’s a win. Even if she dazes from it (which by the way…will still trigger Big Sis). The use of Anklebiter isn’t just to reduce your opponents defence dice. It’s to present them with a choice. Do they spend valuable actions on this 2 threat who isn’t scoring anything, or do they ignore her, risking getting hit harder by someone else?
The key to being a great damage dealer is often action compression. Charges and places help the big killers get around the board, ensuring that they always have the ability to attack twice each turn. X-23 lacks this, but with Honey Badger – she gains even more mobility, enabling her to really live up to her Wolverine nature.
Tactics Cards
Honey Badger’s lack of scoring ability allows for some interesting and quirky Team Tactics Card plays that we probably wouldn’t want to do with other 2 threats that could otherwise be scoring.
First let’s start off with Gabrielle’s signature card; Jonathan The Unstoppable.
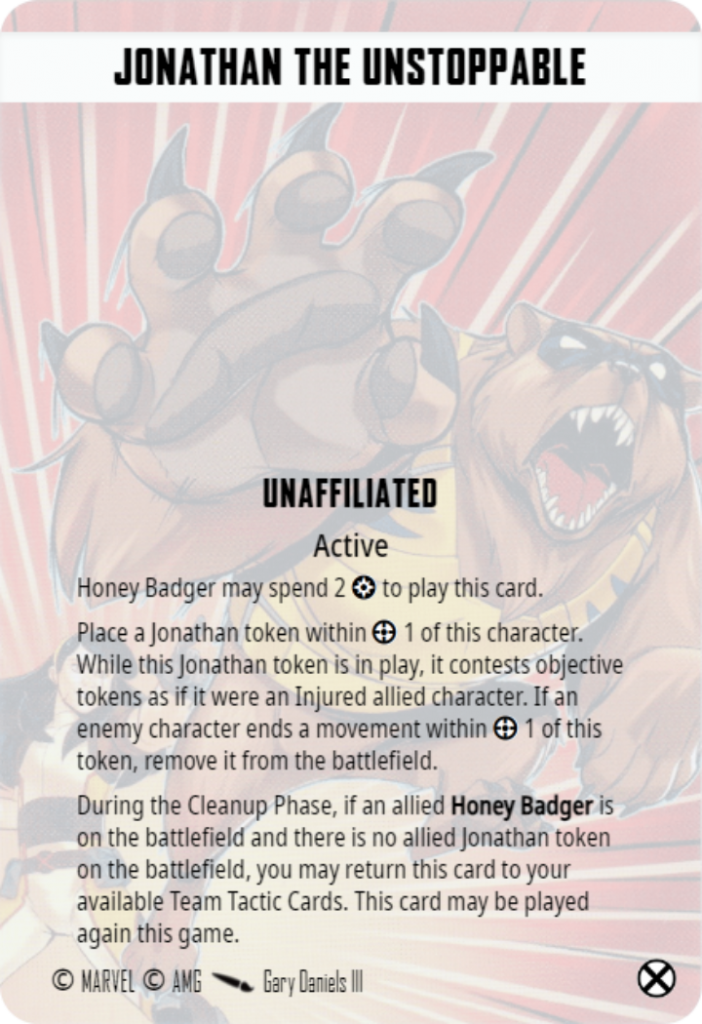
This card is cute, thematic and sometimes useful. Laura & Gabrielle want to go on up the board to start dishing out the damage, they don’t have time to sit at the back scoring points like all the other 2 & 3 threats! Using this allows Honey Badger to use her pet wolverine to score some points. Probably not worth a Tactics Card slot, but certainly fun.
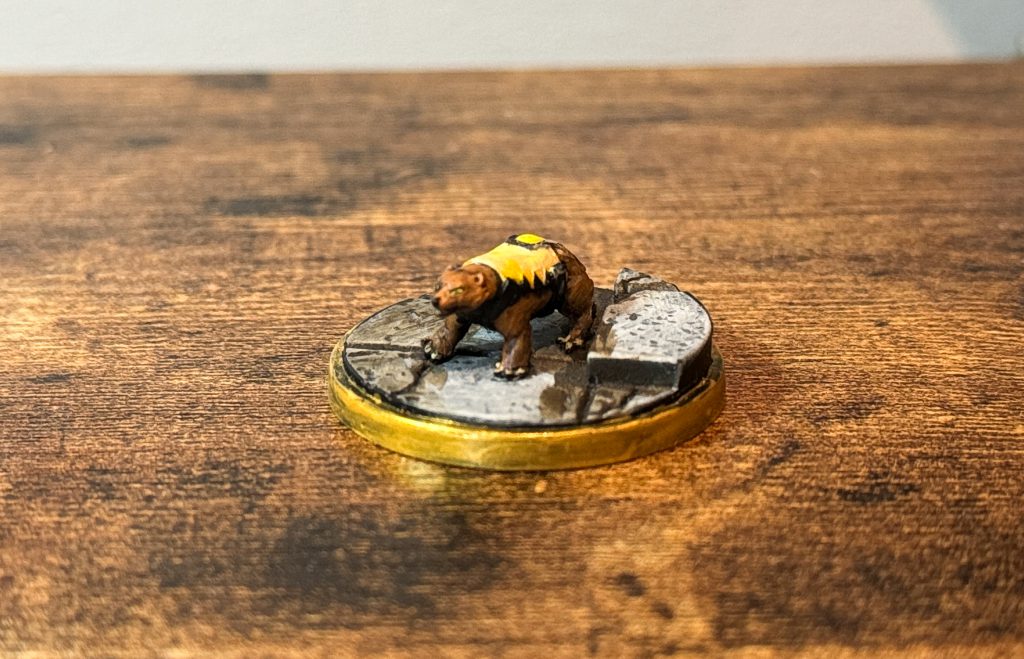
Especially if you make yourself your very own Honey Badger mini to use instead of the official token…
Both Laura & Gabrielle are X-Force affiliated. X-Force is a great home for them (giving X-23 another offensive re-roll from the X-Force leadership Wetworks on top of her Assassin Training is no joke).
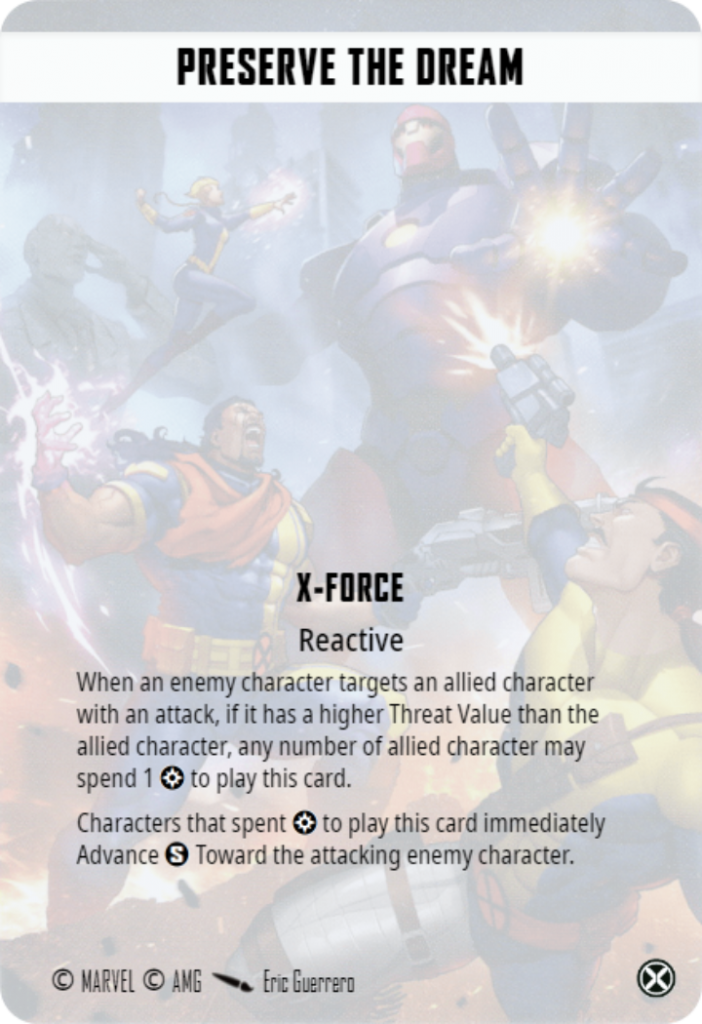
Preserve The Dream gives Honey Badger an interesting new trick. Being a 2 threat, she is going to get lots of opportunities to trigger this Tactics Card for the team. Setting this up in Round 1 offers huge potential movement to X-23.

First, move Honey Badger to the midline and dare your opponent to attack her. If they do, then you play Preserve The Dream on anyone that would benefit from a free move (and has 1 power they don’t need for interacting with Objectives in Round 1).
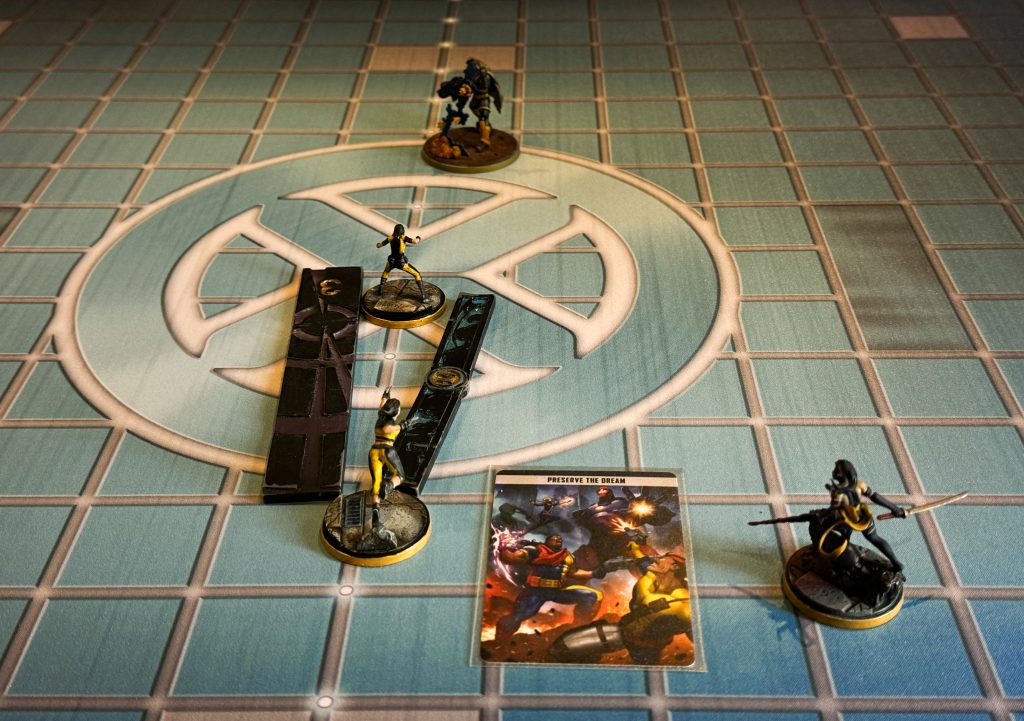
The moves granted by Preserve The Dream happen, then the attack commences. If the attack deals damage to Gabrielle, this will trigger Big Sis as X-23 is now within Range 3 of Honey Badger, granting her a free move to the midline – and she hasn’t even activated yet!
Granted this trick won’t work if your opponent knows what you’re doing so…let’s just hope they haven’t read this article…
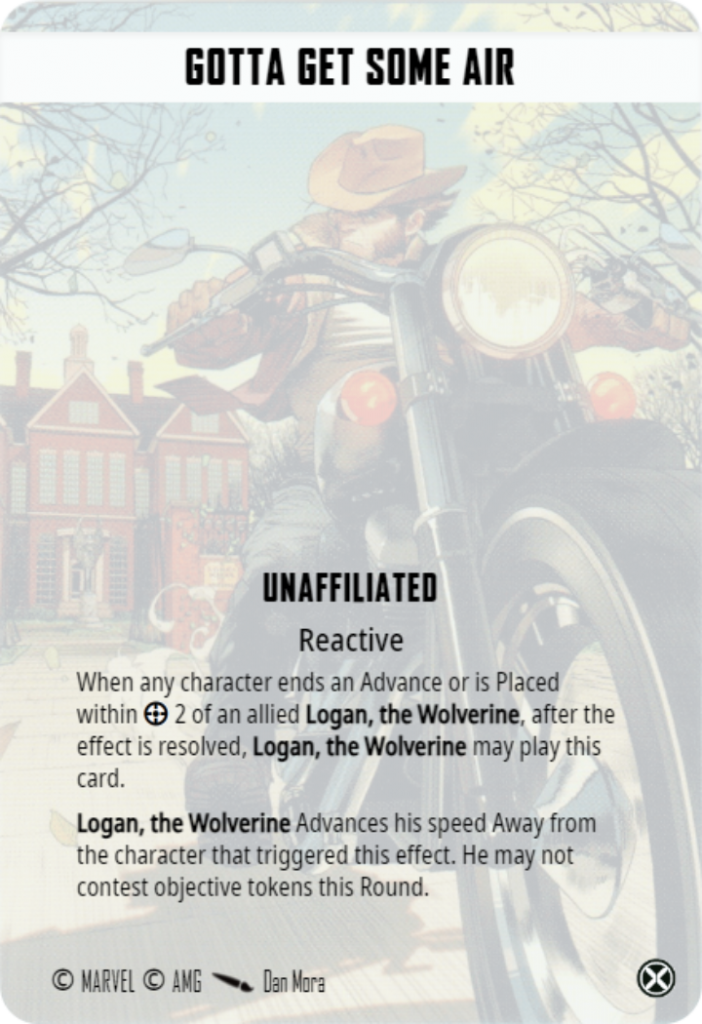
The theme of this duo wouldn’t be complete without some cool interaction with Gabrielle’s pseudo grandpa. Since Honey Badger can’t score points, we don’t mind her having a less than thrilling activation in Round 1. She’ll catch up later anyways. So, this means we can use Gotta Get Some Air on Logan, the Wolverine, and enable yet another premium killer to get up the board before they activate in Round 1.
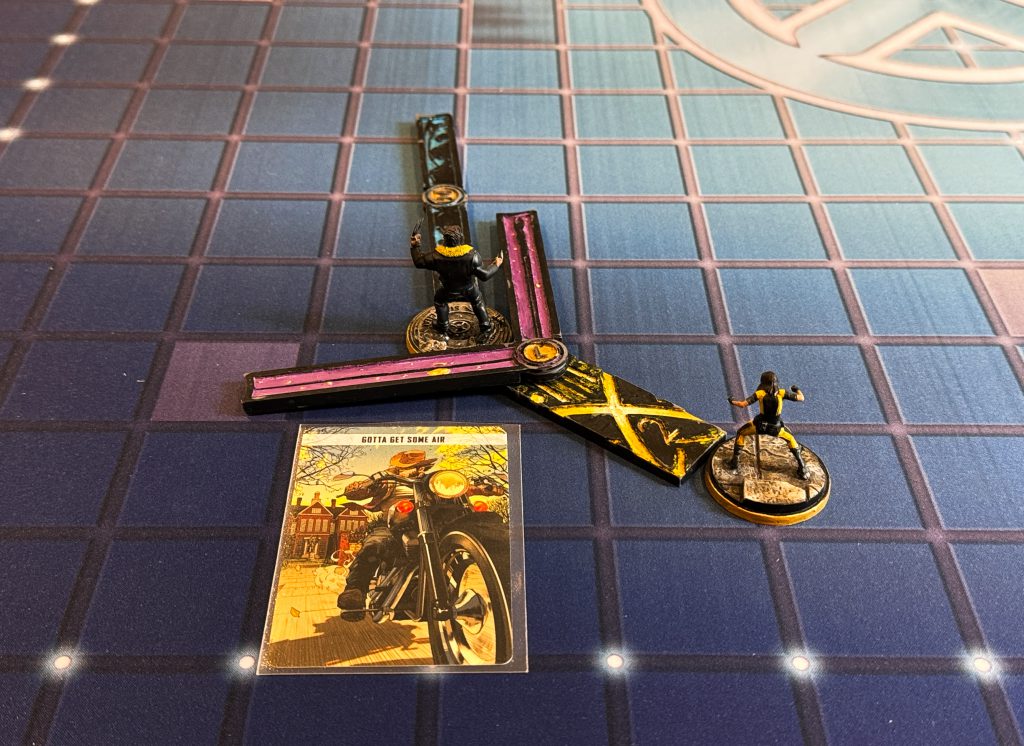
To do this, Honey Badger needs to end a movement within 2 of Logan. The above picture is exaggerated to help explain the effect. In reality, Gabrielle doesn’t have to move too far back into the deployment zone to get the same effect. The key here is to move Logan to within Range 3 of the midline so that he can attack a target standing there twice in Round 1.
Remember to keep Honey Badger out of Range 3 of Logan after doing this though, as you want Logan to get his offensive re-rolls from On The Hunt.
Conclusion
X-23 & Honey Badger have a ton of potential if played right (and if played against badly). Remembering the exact positioning they both require for the optimal Big Sis & Lil’ Sis is a bit of a learning curve.
But once you get it down, attack 10 times with X-23 and sink 12 threat worth of actions into Honey Badger in a game, it’ll feel like the Weapon Plus programme were bloody on one when they got to work on these two.
Have any questions or feedback? Drop us a note in the comments below or email us at contact@goonhammer.com. Want articles like this linked in your inbox every Monday morning? Sign up for our newsletter. And don’t forget that you can support us on Patreon for backer rewards like early video content, Administratum access, an ad-free experience on our website and more.
